Introducción
Thank you for choosing the YESWELDER MIG-205DS PRO Multi-Process Welder. This machine is designed for versatility, offering 5-in-1 welding capabilities including Gas MIG, Flux Core MIG, Spool Gun MIG, Lift TIG, and Stick welding. This manual provides essential information for the safe and efficient operation, setup, maintenance, and troubleshooting of your welding machine. Please read this manual thoroughly before operation to ensure proper use and to prevent injury or damage.
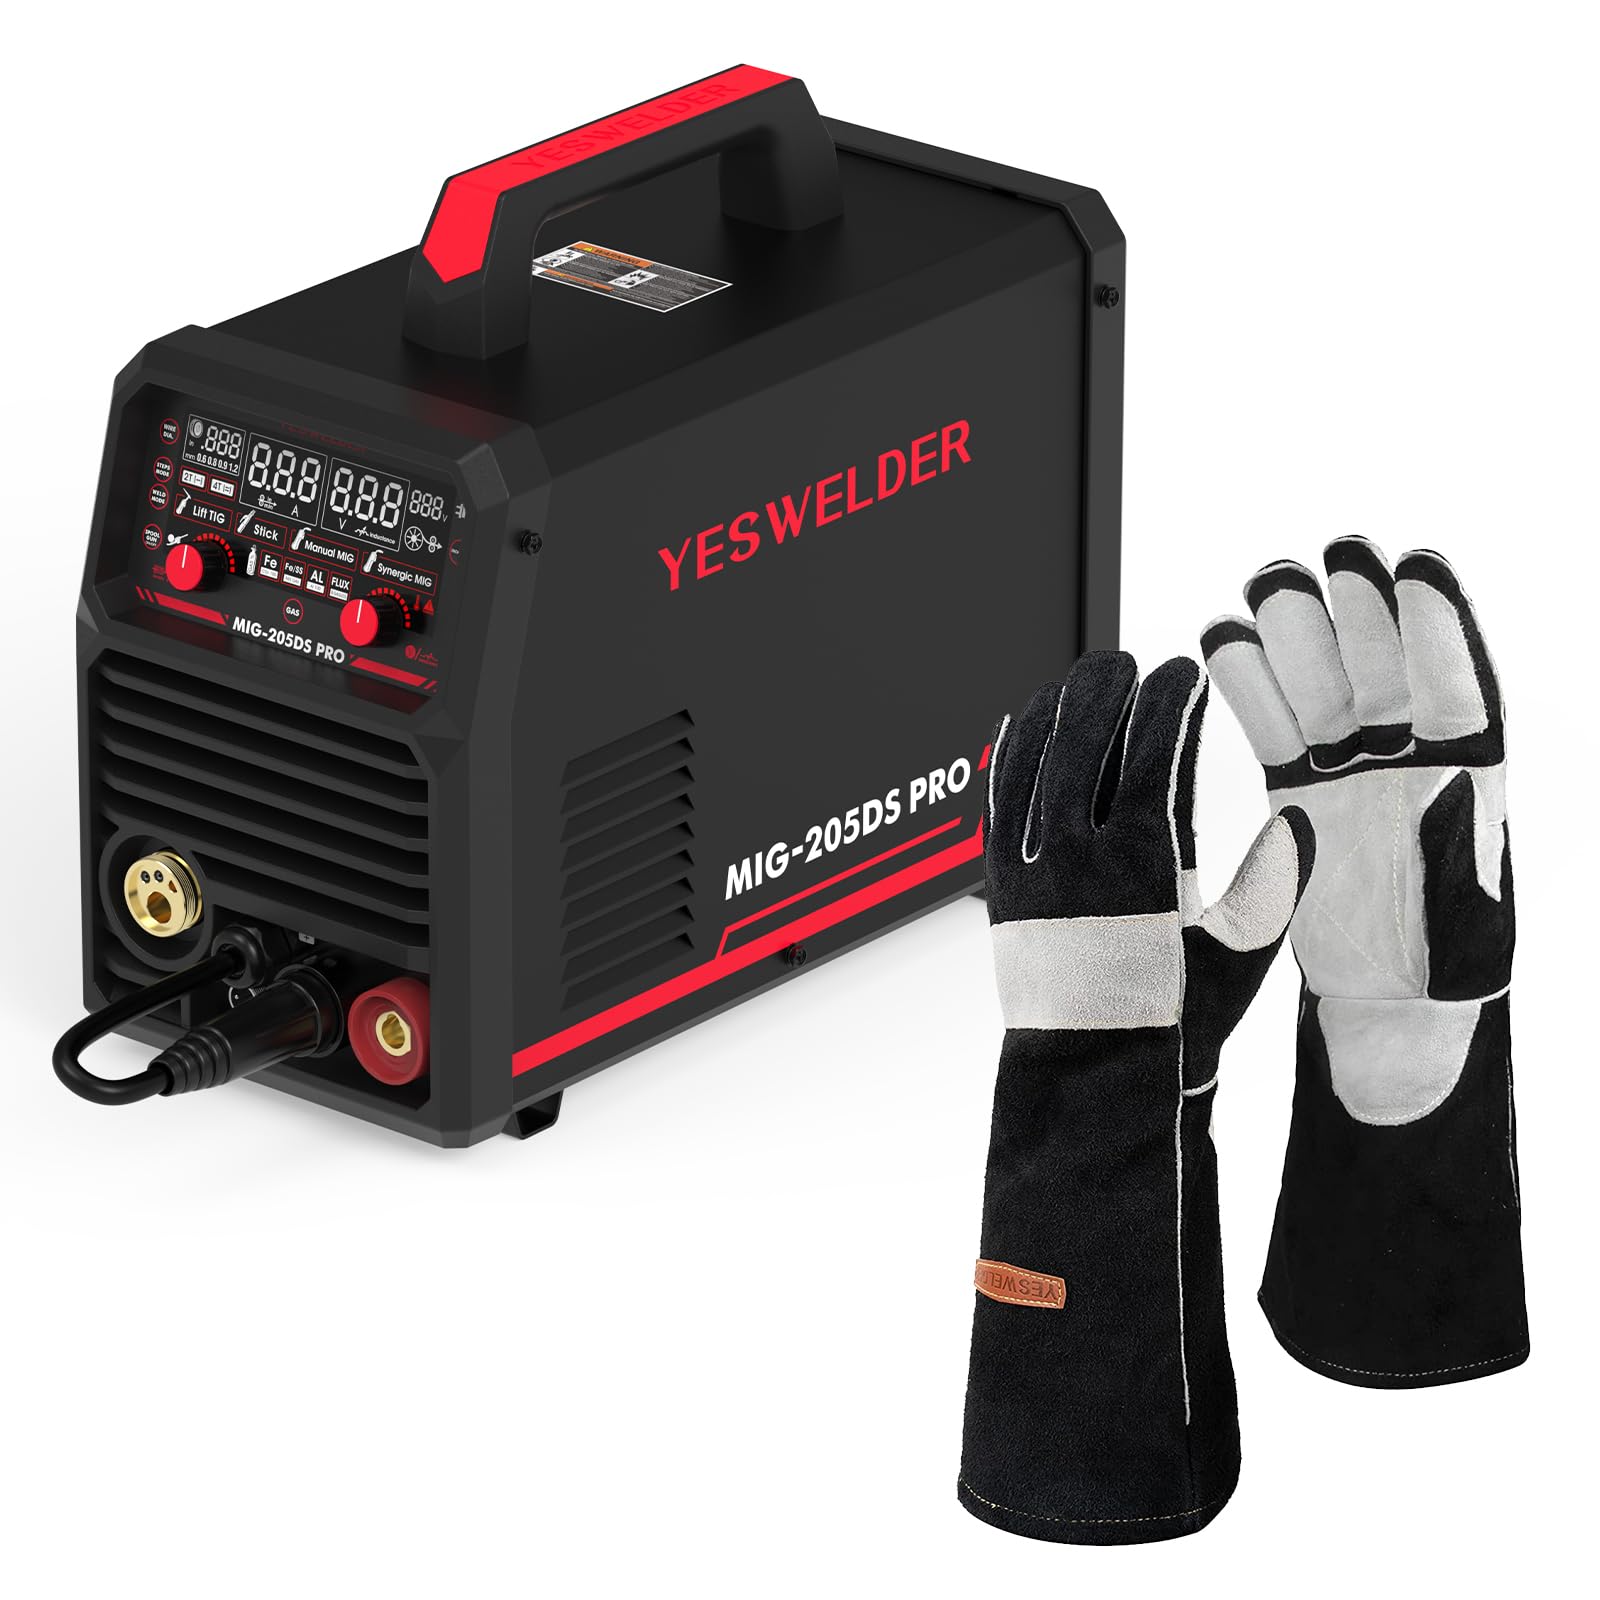
Image: The YESWELDER MIG-205DS PRO Multi-Process Welder, showcasing its compact design and various connection points for different welding processes, along with included accessories like the MIG torch, ground clamp, y portaelectrodos.
Información de seguridad
Welding can be dangerous. It is crucial to follow all safety precautions to prevent serious injury or death. Always wear appropriate personal protective equipment (PPE) including a welding helmet with proper shade, welding gloves, protective clothing, and safety shoes. Ensure adequate ventilation to avoid inhaling welding fumes. Keep a fire extinguisher nearby. Disconnect power before performing any maintenance or service.
- Descarga eléctrica: Can kill. Do not touch live electrical parts. Wear dry insulating gloves and clothing.
- Humos y Gases: Puede ser peligroso para la salud. Mantenga la cabeza alejada de los humos. Utilice suficiente ventilación o extracción en el arco para mantener los humos y gases alejados de la zona de respiración.
- Rayos de arco: Can burn eyes and skin. Wear a welding helmet with a proper shade filter. Wear protective clothing to protect your skin.
- Incendio y Explosión: Las chispas de soldadura pueden provocar incendios o explosiones. Mantenga los materiales inflamables alejados del área de soldadura. Tenga un extintor a mano.
- Partes calientes: Puede causar quemaduras graves. No toque las piezas calientes con las manos desnudas.

Image: A pair of black and gray YESWELDER MIG welding gloves, designed for hand protection during welding operations. These gloves feature a durable leather construction with reinforced palms and fingers.

Image: A diagram illustrating the dimensions of the YESWELDER MIG welding gloves, showing a total length of 16 inches, a palm width of 6.7 inches, and a finger length of 7.5 inches, indicating their extended coverage and fit.
Producto terminadoview
The MIG-205DS PRO is a versatile welding machine featuring advanced IGBT inverter technology for stable performance. It includes a large digital display for clear parameter adjustments and monitoring. The machine supports multiple welding processes, making it suitable for various applications.
Características principales:
- 5-in-1 Multi-Process: Gas MIG, Flux Core MIG, Spool Gun MIG, Lift TIG, Stick.
- Vol dobletage Input: 110V/220V automatic detection.
- Advanced Digital Display: Enhanced clarity for settings.
- IGBT Inverter Technology: For reliable and stable arc performance.
- Synergic Control: Simplifies parameter setup for MIG welding.

Imagen: Un primer plano view of the YESWELDER MIG-205DS PRO's upgraded large LED digital display, showing various welding parameters and mode selections such as Lift TIG, Stick, Manual MIG, and Synergic MIG, along with material and gas settings.

Image: A visual representation of the five welding processes supported by the YESWELDER MIG-205DS PRO: Spool Gun Welding, Gas MIG Welding, Flux Core Welding, Stick Welding, and Lift TIG Welding, each depicted with an example of the welding process.
Configuración
1. Desembalaje e inspección
- Retire con cuidado la soldadora y todos los accesorios del embalaje.
- Inspeccione si hay algún daño durante el envío. Contacte a su proveedor inmediatamente si encuentra algún daño.
- Verifique que todos los componentes enumerados en la lista de embalaje estén presentes.
2. Conexión de alimentación
- The MIG-205DS PRO automatically detects input voltage (110 V o 220 V).
- Connect the power cord to a suitable grounded power outlet. Ensure the circuit breaker rating is appropriate for welding current.
- For 220V operation, ensure the correct plug adapter is used if necessary.
3. Tierra Clamp Conexión
- Conecte el cable de tierraamp cable to the appropriate terminal on the front panel (usually the negative (-) terminal for MIG/Stick, or positive (+) for Lift TIG).
- Fije firmemente el soporte de tierra.amp a la pieza de trabajo, asegurando un buen contacto eléctrico.
4. Gas Connection (for Gas MIG)
- Connect the gas hose from your shielding gas cylinder (e.g., Argon/CO2 mix for MIG, 100% Argon for TIG) to the gas inlet on the rear of the machine.
- Asegúrese de que todas las conexiones estén bien ajustadas para evitar fugas de gas.
- Set the gas regulator to the recommended flow rate (typically 15-25 CFH for MIG).
5. Wire Installation (MIG/Flux Core)
- Abra el compartimiento del alimentador de alambre.
- Instale el carrete de alambre en el eje, asegurándose de que gire libremente.
- Pase el alambre de soldadura a través del tubo guía hasta los rodillos impulsores.
- Ajuste la tensión del rodillo impulsor para evitar que el cable se resbale o se aplaste.
- Select the correct drive roller groove size for your wire diameter.
- Pase el alambre a través del conducto del soplete MIG hasta que salga por la punta de contacto.
6. Spool Gun Connection (Optional)
- Connect the spool gun cable to the dedicated spool gun port on the front panel.
- Ensure the spool gun is loaded with the appropriate wire (e.g., aluminum wire for aluminum welding).
7. Lift TIG Torch Connection (Optional, not included)
- Connect the Lift TIG torch to the appropriate terminal (usually the negative (-) terminal for DC TIG).
- Connect the gas hose from the TIG torch to the gas outlet on the machine or directly to the gas cylinder with a separate regulator.
- Ensure a tungsten electrode is properly installed in the torch.
8. Stick Electrode Holder Connection
- Conecte el cable del portaelectrodos al terminal positivo (+) en el panel frontal.
- Insert the desired stick electrode into the holder.
Modos de funcionamiento
The MIG-205DS PRO offers multiple welding processes. Select the desired mode using the control panel.
1. Digital Display and Control Panel
The large digital display shows welding parameters such as current (Amps), volumentage (Volts), and wire feed speed. Use the control knobs to adjust these parameters. The display also indicates the selected welding mode and material type.
Imagen: Un detalle view of the YESWELDER MIG-205DS PRO's control panel and digital display, highlighting the clear readouts for current, voltage, and wire feed speed, along with indicators for selected welding modes and material types (Fe, Fe/Ss, AL, Flux).
2. Gas MIG Welding
- Configuración: Ensure gas cylinder is connected and flowing, correct wire is installed, and ground clamp Es seguro.
- Selección de modo: Select "Gas MIG" on the control panel.
- Ajuste de parámetros: Use the synergic function for automatic parameter setting based on wire diameter and material, or adjust manually.
- Operación: Position the torch, press the trigger to start the arc and wire feed. Maintain a consistent travel speed and arc length.
3. Flux Core MIG Welding
- Configuración: Install flux core wire. No shielding gas is required. Ensure polarity is set correctly (usually DCEN - electrode negative).
- Selección de modo: Select "Flux Core MIG" on the control panel.
- Ajuste de parámetros: Adjust current and wire feed speed according to wire manufacturer recommendations.
- Operación: Similar to Gas MIG, but the flux in the wire provides shielding.
4. Spool Gun MIG Welding
- Configuración: Connect the spool gun with appropriate wire (e.g., aluminum). Ensure shielding gas (100% Argon for aluminum) is connected.
- Selección de modo: Select "Spool Gun MIG" on the control panel.
- Ajuste de parámetros: Adjust settings for aluminum welding, typically higher wire feed speed and AC balance if available (this machine is DC only for TIG, so MIG will be DC).
- Operación: The spool gun feeds wire directly, ideal for softer wires like aluminum.
5. Soldadura TIG por elevación
- Configuración: Connect Lift TIG torch, gas, and ground clamp. Ensure tungsten electrode is sharpened.
- Selección de modo: Select "Lift TIG" on the control panel.
- Ajuste de parámetros: Establecer deseado ampedad
- Operación: Touch the tungsten to the workpiece, then lift slightly to initiate the arc. This method minimizes tungsten contamination.
6. Stick Welding (SMAW)
- Configuración: Connect electrode holder to positive (+) and ground clamp to negative (-) for DCEP (most common), or vice-versa for DCEN. Insert appropriate electrode.
- Selección de modo: Select "Stick" on the control panel.
- Ajuste de parámetros: Colocar amppromedio basado en el tipo y diámetro del electrodo.
- Operación: Strike the arc by lightly scratching the electrode on the workpiece. Maintain a consistent arc length and travel speed.

Image: A welder wearing a helmet and protective gear, operating the YESWELDER MIG-205DS PRO machine. The image emphasizes the smooth operation and quality results achievable with the welder, showing sparks during a welding process.
Mantenimiento
El mantenimiento regular garantiza la longevidad y el rendimiento óptimo de su soldadora. Desconecte siempre la alimentación antes de realizar cualquier mantenimiento.
1. Limpieza General
- Limpie periódicamente el exterior de la máquina con un paño suave y seco.
- Use compressed air to blow out dust and debris from the cooling vents. Ensure the air is dry and oil-free.
- Keep the control panel clean and free from grease or dirt.
2. Reemplazo de consumibles
- Antorcha MIG: Regularly inspect and replace worn contact tips, nozzles, and diffusers. Ensure the liner is clean and free of kinks.
- Antorcha TIG: Inspect and replace tungsten electrodes as needed. Ensure the collet and collet body are clean.
- Portaelectrodos de varilla: Check for wear on the jaws and cable connections.
3. Wire Feeder Maintenance
- Clean the drive rollers and wire guide tubes to prevent wire feeding issues.
- Check drive roller tension and adjust as necessary.
- Inspect the wire spool spindle for smooth rotation.
4. Inspección de cables y conexiones
- Regularly inspect all welding cables (MIG torch, ground clamp, electrode holder) for cuts, abrasions, or loose connections.
- Ensure power cord and plug are in good condition.
Solución de problemas
Esta sección ofrece soluciones a problemas comunes que podrías encontrar. Si tienes problemas que no aparecen aquí, contacta con atención al cliente.
| Problema | Posible causa | Solución |
|---|---|---|
| Sin poder | Power switch off, circuit breaker tripped, loose power cord. | Turn on power switch. Reset circuit breaker. Check power cord connection. |
| sin arco | Poor ground connection, incorrect welding mode, wrong parameters, faulty torch/electrode holder. | Asegúrese de que el suelo esté limpioamp is secure. Select correct mode. Adjust parameters. Inspect and replace torch/holder if damaged. |
| Poor Wire Feed (MIG) | Incorrect drive roller tension, wrong drive roller size, clogged liner, wire tangled. | Adjust drive roller tension. Use correct roller groove. Clean or replace liner. Untangle wire spool. |
| Porosity in Weld (MIG) | Insufficient shielding gas, gas leak, contaminated workpiece, incorrect gas type. | Check gas cylinder level and flow rate. Inspect gas hose for leaks. Clean workpiece thoroughly. Use correct shielding gas. |
| Protección contra sobrecalentamiento | Ciclo de trabajo excedido, rejillas de refrigeración bloqueadas. | Allow machine to cool down. Ensure cooling vents are clear. Reduce welding time or current. |
Presupuesto
| Característica | Detalle |
|---|---|
| Modelo | MIG-205DS PRO |
| Procesos de soldadura | Gas MIG, Flux Core MIG, Spool Gun MIG, Lift TIG, Stick |
| Vol de entradatage | Vol. doble de 110 V/220 Vtage (Automatic Detection) |
| Rango de corriente de salida | 30-205 Amps (máx.) |
| Tecnología | Inversor IGBT |
| Mostrar | Advanced Digital Display |
| Accesorios incluidos | MIG Torch, Ground Clamp, Electrode Holder, Welding Gloves |
Garantía y soporte
For warranty information, technical support, or service inquiries, please refer to the warranty card included with your product or visit the official YESWELDER webSitio. Conserve su recibo de compra como comprobante de compra.
Recursos en línea: For additional support, FAQs, and product registration, please visit www.yeswelder.com.