1. Introducción
Thank you for choosing the SeeSii Electric Pruning Shears. This manual provides essential information for the safe and efficient operation, maintenance, and care of your new tool. Please read this manual thoroughly before first use and keep it for future reference. These electric pruning shears are designed for precise and effortless cutting of branches up to 40mm in diameter, ideal for gardening, fruit trees, and vineyards.
2. Instrucciones de seguridad
Observe siempre las precauciones básicas de seguridad para reducir el riesgo de incendio, descarga eléctrica y lesiones personales.
- Equipo de protección personal: Always wear safety glasses, gloves, and appropriate protective clothing when operating the shears.
- Área de trabajo: Mantenga el área de trabajo limpia y bien iluminada. No trabaje en atmósferas explosivas, como en presencia de líquidos, gases o polvos inflamables.
- Seguridad eléctrica: Evite el contacto corporal con superficies conectadas a tierra. No exponga las herramientas eléctricas a la lluvia ni a la humedad.
- Cuidado de las herramientas: Cuide las herramientas. Mantenga las herramientas de corte afiladas y limpias. Siga las instrucciones de lubricación y cambio de accesorios.
- Seguridad de la batería: Use only the specified charger for the battery pack. Do not disassemble, crush, or expose battery packs to high temperatures or fire.
- Niños y transeúntes: Mantenga a los niños y a otras personas alejadas mientras utiliza una herramienta eléctrica.
- Unintended Starting: Asegúrese de que el interruptor esté en la posición de apagado antes de conectarlo a la batería, levantarlo o transportarlo.
3. Contenido del paquete
Desempaque la caja con cuidado y asegúrese de que todos los artículos estén presentes y sin daños. Si falta algún artículo o está dañado, contacte con su vendedor.

Image: Complete package contents of the SeeSii Electric Pruning Shears, showing the main unit, two batteries, charger, a spare blade, a wrench, a sharpening stone, and a protective carrying case.
- SeeSii Electric Pruning Shears (1 unit)
- 21V 2000mAh Lithium-Ion Batteries (2 units)
- Cargador de batería (1 unidad)
- Spare SK5 Carbon Steel Blade (1 unit)
- Llave inglesa (1 unidad)
- Sharpening Stone (1 unit)
- Manual de usuario (este documento)
- Estuche de transporte (1 unidad)
4. Producto terminadoview
The SeeSii Electric Pruning Shears feature a robust design for efficient and comfortable use.

Imagen: Detallada view of the pruning shears, emphasizing key features such as the 21V brushless motor, adjustable cutting diameter from 10-40mm, the SK5 high carbon steel blade, and the integrated LCD digital display.
Componentes clave:
- SK5 Carbon Steel Blade: Durable y afilado para cortes limpios.
- Motor sin escobillas: Provides smooth, quiet, and efficient operation with extended lifespan.
- Pantalla LCD: Shows battery charge level and number of cuts.
- Desencadenar: Activa la acción de corte.
- Interruptor de seguridad: Evita la activación accidental.
- Puerto de batería: For inserting the lithium-ion battery.
5. Configuración
5.1 Carga de las baterías
Before first use, fully charge both lithium-ion batteries. Each 2000mAh battery provides approximately 3-4 hours of continuous use, totaling 6-8 hours with both batteries.

Image: Two 21V 2000mAh batteries, emphasizing their role in providing extended power for prolonged pruning tasks.
- Conecte el cargador a una toma de corriente.
- Insert the battery into the charger. The indicator light on the charger will show the charging status (e.g., red for charging, green for fully charged).
- Once fully charged, disconnect the battery from the charger and unplug the charger.
5.2 Instalación de la batería
Ensure the pruning shears are turned off before installing or removing the battery.
- Align the battery with the battery port at the bottom of the shears handle.
- Deslice la batería firmemente en su lugar hasta que haga clic, lo que indica que está bloqueada de forma segura.
5.3 Initial Blade Preparation
The blades are pre-lubricated, but it is good practice to apply a light coat of machine oil before first use and periodically thereafter.
6. Instrucciones de funcionamiento
Follow these steps for safe and effective operation of your electric pruning shears.

Image: A visual guide demonstrating the four steps to operate the electric pruning shears: battery insertion, power-on sequence, activation by double-pressing the trigger, and power-off procedure.
6.1 Encendido / Apagado
- Para encender: Insert the battery. Press and hold the power switch until you hear a single beep. The LCD display will illuminate.
- To Activate Blades: After powering on, quickly press the trigger twice. The blades will open, indicating readiness for use.
- Para apagar: Press and hold the power switch until you hear a long beep. The blades will close and lock, and the LCD display will turn off.
6.2 Adjusting Cutting Diameter
The shears offer four adjustable cutting diameters: 10mm, 20mm, 30mm, and 40mm. The default maximum cutting diameter is 40mm upon activation.

Image: Illustration of the four adjustable cutting modes (10mm, 20mm, 30mm, 40mm) and how to switch between them using the power button, with visual cues from the LCD display.
To change the cutting diameter, simply press the power button briefly while the shears are active. Each press will cycle through the available sizes (40mm > 30mm > 20mm > 10mm > 40mm).
6.3 Técnicas de poda
Position the branch to be cut fully within the blades. Press the trigger to make a clean cut. Avoid forcing the shears on branches exceeding the maximum cutting diameter.

Imagen: Examples of the electric pruning shears in action, demonstrating their versatility for pruning branches, flowers, fruit stems, general garden maintenance, and shrubs.
The lightweight and ergonomic design allows for comfortable one-handed operation, reducing fatigue during extended use.
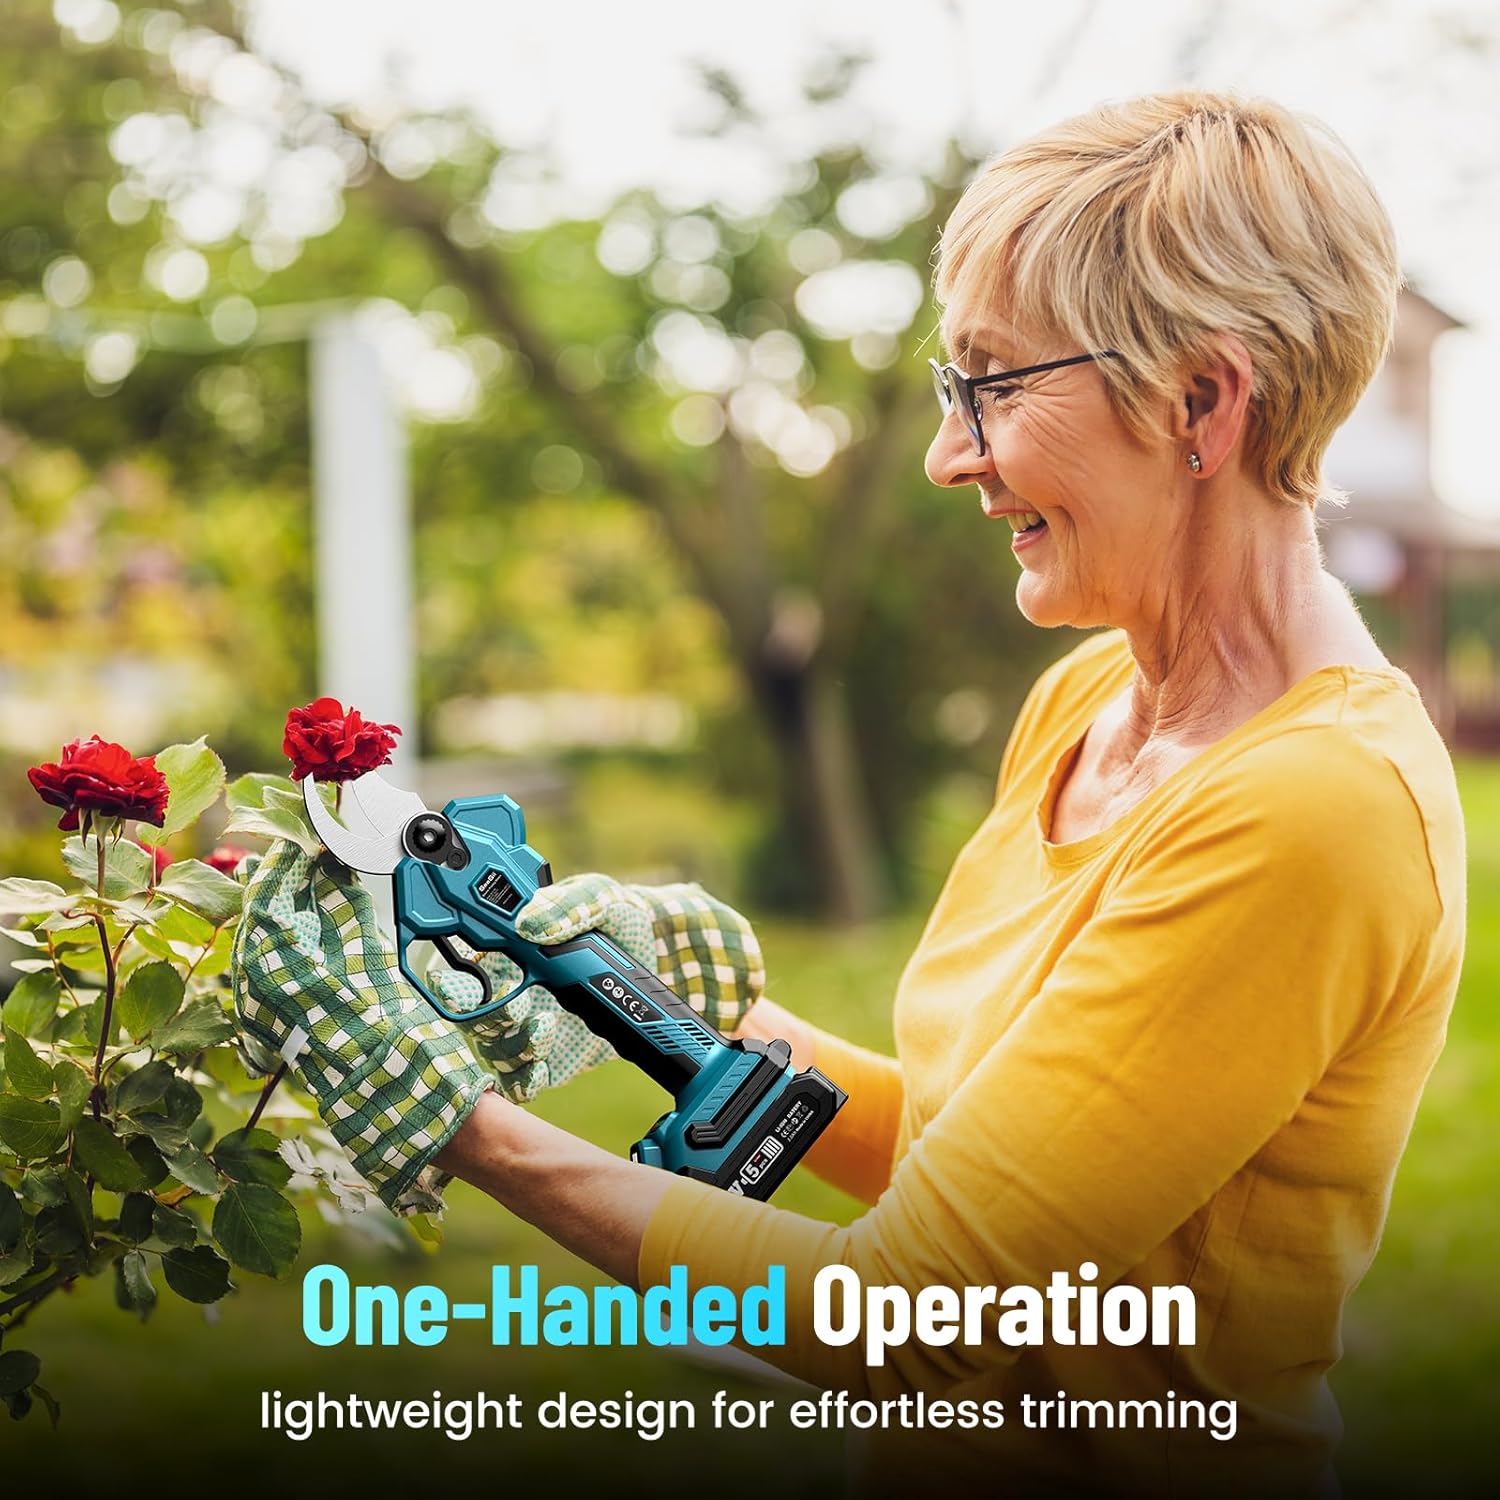
Image: A user demonstrating the one-handed operation of the SeeSii electric pruning shears while trimming a rose bush, highlighting its lightweight design for effortless use.
6.4 Información de la pantalla LCD
La pantalla LCD proporciona información en tiempo real:
- Nivel de batería: Indicates the remaining charge of the battery.
- Cut Count: Displays the total number of cuts made. Note: Turning the power switch off and on will reset the cut count.
7. Mantenimiento
Regular maintenance ensures optimal performance and extends the lifespan of your pruning shears.
7.1 Limpieza y lubricación de la cuchilla
After each use, especially after cutting resinous wood, clean the blades to prevent sap buildup and corrosion.

Imagen: Un primer plano view of the SK5 carbon steel blade in action, demonstrating its precision and clean cutting ability on a small branch.
- Ensure the shears are powered off and the battery is removed.
- Utilizar anuncioamp cloth to wipe off any sap, dirt, or debris from the blades. For stubborn residue, use a blade cleaner or rubbing alcohol.
- Once clean and dry, apply a few drops of light machine oil to the pivot point and along the cutting edge of the blade. Open and close the blades a few times to distribute the oil.
7.2 Afilado de cuchillas
Use the provided sharpening stone to maintain blade sharpness. Sharpen only the beveled edge of the blade.
- Ensure the shears are powered off and the battery is removed.
- Hold the sharpening stone at the original blade angle and gently rub it along the cutting edge in one direction.
- Repeat several times until the blade is sharp.
7.3 Reemplazo de cuchilla
If the blade becomes dull or damaged beyond sharpening, replace it with the provided spare blade or an original SeeSii replacement blade.
- Ensure the shears are powered off and the battery is removed.
- Using the provided wrench, carefully loosen the nut holding the blade in place.
- Remove the old blade and replace it with the new one, ensuring proper alignment.
- Apriete la tuerca de forma segura.
7.4 Cuidado y almacenamiento de la batería
- Guarde las baterías en un lugar fresco y seco, lejos de la luz solar directa y de temperaturas extremas.
- Para el almacenamiento a largo plazo, cargue las baterías aproximadamente al 50 % de su capacidad.
- Recharge batteries every 3-6 months during long storage periods to prevent deep discharge.
7.5 Storage of Shears
When not in use, store the pruning shears in their carrying case in a dry, secure location, out of reach of children.
8. Solución de problemas
Esta sección aborda problemas comunes que podrías encontrar.
| Problema | Posible causa | Solución |
|---|---|---|
| Shears do not power on. | La batería no está insertada correctamente o está descargada. | Asegúrese de que la batería esté completamente cargada y bien insertada. |
| Blades do not open after powering on. | Trigger not pressed twice rapidly. | Quickly press the trigger twice to activate the blades. |
| Blades cut poorly or get stuck. | Dull blades, sap buildup, or cutting branches too thick. | Clean and sharpen blades. Lubricate pivot point. Do not exceed maximum cutting diameter. |
| La duración de la batería es más corta de lo esperado. | Battery not fully charged, old battery, or extreme temperatures. | Ensure full charge. Store batteries properly. Consider battery replacement if old. |
9. Especificaciones
Detailed technical specifications for the SeeSii Electric Pruning Shears.
| Característica | Especificación |
|---|---|
| Número de modelo | CS400 |
| Marca | Verse |
| Diámetro de corte | 10mm, 20mm, 30mm, 40mm (Adjustable) |
| Material de la hoja | SK5 Carbon Steel |
| Tipo de motor | Sin escobillas |
| Fuente de poder | Batería (iones de litio) |
| Volumen de la bateríatage | 21 V |
| Capacidad de la batería | 2 x 2000mAh |
| Energía eléctrica | 600 vatios |
| Dimensiones del producto | 33 x 28 x 0.1 cm |
| Peso del producto (con batería) | 2.64 kilogramos |
| Color | Azul |
| Orientación de la mano | Ambidextro |
10. Garantía y soporte
SeeSii products are manufactured to high-quality standards. For warranty information or technical support, please refer to the warranty card included with your purchase or contact SeeSii customer service through the retailer where the product was purchased. Please have your model number (CS400) and purchase date ready when contacting support.
11. Vídeos oficiales del producto
No se encontraron vídeos oficiales del producto del vendedor en los datos proporcionados para incorporar en este manual.