Introducción
The JMDHKK K19+ is an advanced multi-functional device designed for comprehensive privacy protection. It efficiently detects hidden cameras, wireless listening devices, GPS trackers, and other suspicious surveillance tools. Utilizing German microprocessor technology, it offers precise detection with a user-friendly interface, making it suitable for various environments including travel, hotels, offices, and personal spaces.
- Advanced Hidden Camera Detection: Scans for hidden cameras and unauthorized surveillance devices.
- Detección de campo magnético: Detects magnetic fields used by covert devices like GPS trackers.
- Superior Accuracy: Equipped with advanced German microprocessor technology for precise detection.
- Fácil de usar: Features adjustable sensitivity, simple switches, and clear signal strength indicators with audible and vibration alerts.
- Diseño portátil: Compact and lightweight for on-the-go privacy protection.
Vídeo: Un overview of the JMDHKK brand's commitment to privacy protection and the K19+ detector's role in it.
Contenido del paquete
- Unidad principal
- Antena
- GS Probe
- Cable de carga
- Manual de usuario

Image: The JMDHKK K19+ detector shown with its included accessories: the main unit, RF antenna, magnetic field (GS) probe, and USB charging cable.
Configuración
- Attach RF Antenna: Carefully screw the RF antenna into the designated port on the main unit. Ensure it is securely tightened.
- Attach GS Probe: For magnetic field detection, connect the GS probe to its interface on the main unit and tighten the screw. The flexible probe can be bent to reach difficult areas.
- Encendido: Turn the power knob clockwise until a click sound is heard to power on the device.
- Ajustar la sensibilidad: Initially, turn the sensitivity knob clockwise to the maximum. Then, slowly turn it counter-clockwise until the alarm stops and only 1-3 green signal bars are flashing. This sets the device to a stable detection state.
Vídeo: Un producto másview of the K19+ detector, demonstrating its components and basic setup.

Image: The JMDHKK K19+ detector with its RF antenna attached, ready for use.
Modos de funcionamiento
1. RF Signal Detection
This mode detects wireless signals emitted by devices such as hidden listening bugs, wireless cameras, and GPS trackers. The device defaults to this mode upon power-on.
- Activación: Ensure the RF antenna is attached. The device automatically enters RF Signal Detection mode when switched on.
- Ajuste de sensibilidad: Adjust the sensitivity knob to find a balance where the device is not constantly alarming but is sensitive enough to detect signals.
- Interpretación: Signal bars on the LED display will light up, and the device will beep or vibrate when a wireless signal is detected. The closer you are to the source, the more bars will light up and the alarm will intensify.
- Consejo: To eliminate interference, switch off known electronic devices (cell phones, smartwatches, Wi-Fi routers, etc.) in your area before scanning.
Video: This comprehensive operation video for the K19+ detector demonstrates RF signal detection, magnetic field detection, IR auto scanning, flashlight, and camera lens detection.
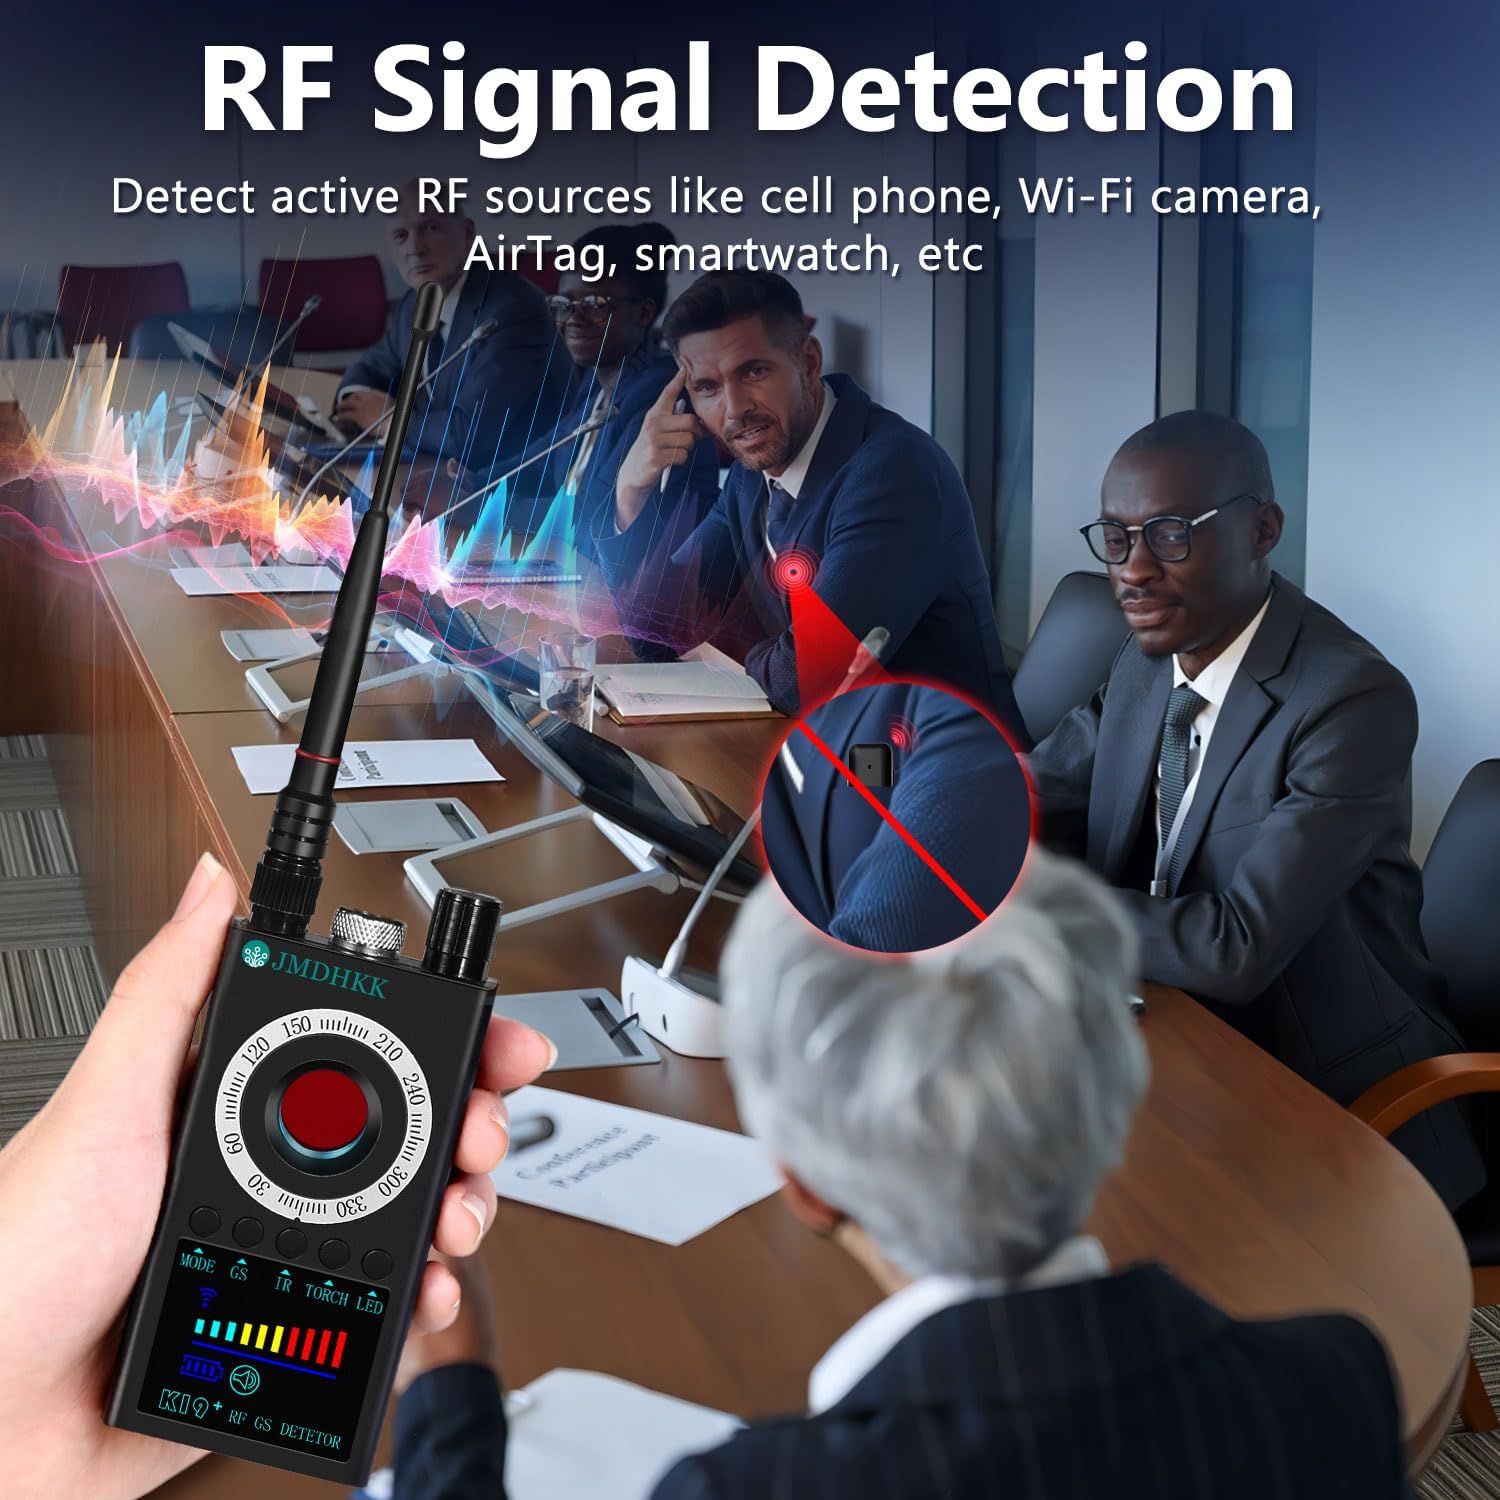
Image: The K19+ detector actively scanning for RF signals in a conference room, indicating its use for detecting wireless surveillance devices.
2. Magnetic Field Detection
This mode is used to identify magnetic objects such as GPS trackers, magnetic spy devices, and concealed tools with magnetic components.
- Activación: Attach the GS probe. Press and hold the "GS" button for 3-4 seconds to activate magnetic field detection. The magnetic detection icon and a white LED on the probe tip will light up.
- Exploración: Slowly move the GS probe around areas where magnetic devices might be hidden (e.g., under car seats, in luggage).
- Interpretación: When a strong magnetic object is detected, the device will sound an alarm. The closer the probe is to the object, the more signal bars will appear.
- Consejo: If the GPS tracker cannot be found, reduce the detection sensitivity to narrow the search range and continue scanning.
Video: This comprehensive operation video for the K19+ detector demonstrates RF signal detection, magnetic field detection, IR auto scanning, flashlight, and camera lens detection.

Image: The K19+ detector with its flexible magnetic field probe being used to search for a hidden GPS tracker under a car seat.
3. IR Auto Scan Mode
This mode automatically detects infrared night vision devices at night or in low-light environments.
- Activación: Press and hold the "IR" button for 3-4 seconds. A red icon will start flashing on the screen, indicating IR auto scanning is active.
- Ambiente: For best results, use this mode in a dark room with curtains closed to eliminate natural light interference.
- Detección: The highly sensitive infrared receiver on the back of the device catches IR lights emitted by night vision cameras. When it detects any type of infrared light within a 0.5 to 10-foot range, it will automatically sound an alarm.
Video: This comprehensive operation video for the K19+ detector demonstrates RF signal detection, magnetic field detection, IR auto scanning, flashlight, and camera lens detection.
4. Camera Lens Detection (Camera Finder)
This mode detects hidden cameras by utilizing light reflection technology and special filter lenses to reveal concealed camera lenses.
- Activación: Short press the "LASER" button to turn on the 8 red LED lights on the back of the device.
- Exploración: Mira a través de la viewfinder with one eye and slowly move the detector around the area you wish to scan.
- Interpretación: If there's a hidden camera, its lens will reflect the red LED lights, appearing as a bright, flashing red dot through the viewdescubridor.
- Frecuencia de parpadeo: Press and hold the "LASER" button again to cycle through different flashing speeds for the red LEDs, which can help in identifying different types of lenses.
Video: The K19+ main video demonstrating the camera lens detection feature and how to identify hidden cameras.

Image: The K19+ detector's camera lens detection feature highlighting potential hidden cameras in a hotel room and a bathroom using its red LED lights.
5. Torch / Flashlight
The device includes an auxiliary flashlight function for lighting or emergency purposes.
- Activación: Press and hold the "TORCH" button for 3-4 seconds to turn on the two LED lights on the back of the device.
- Desactivación: Short press the "TORCH" button again to turn off the lights.
- Probe Light: The search light on the GS probe head is also bright enough to be used as a night light or flashlight.
Video: This comprehensive operation video for the K19+ detector demonstrates RF signal detection, magnetic field detection, IR auto scanning, flashlight, and camera lens detection.
Cargando
To charge the JMDHKK K19+ detector, use the provided USB charging cable.
- Connect the small end of the USB charging cable to the charging port on the side of the detector.
- Plug the other end of the USB cable into a power source (e.g., a USB wall adapter, computer USB port).
- While charging, a battery icon will appear on the screen.
- A full charge typically takes about 4 to 5 hours. It is recommended to charge your detector regularly to maintain its battery life and ensure optimal performance.
Video: This comprehensive operation video for the K19+ detector demonstrates RF signal detection, magnetic field detection, IR auto scanning, flashlight, and camera lens detection, including the charging process.
Presupuesto
| Característica | Detalle |
|---|---|
| Nombre del modelo | K19+ Signal Detector |
| Tecnología de conectividad | Inalámbrico |
| Característica especial | Portátil |
| Uso en interiores y exteriores | Interior, exterior |
| Color | Gris |
| Material del recinto | Acrilonitrilo butadieno estireno (ABS) |
| Método de control | Aplicación, toque |
| Fuente de poder | Funciona con pilas |
| Volumentage | 3.7 voltios |
| Quétage | 4.07 vatios |
| Energía de la batería | 4.07 vatios horas |
| Dimensiones del artículo | 4.09 x 2.19 x 0.79 pulgadas |
| Peso del artículo | 0.35 libras |
Solución de problemas
- El dispositivo no enciende: Ensure the battery is charged. Connect the device to the charging cable and allow it to charge for at least 30 minutes before attempting to power on again.
- Constant false alarms in RF mode: Lower the sensitivity using the adjustment knob. Move away from known wireless devices like Wi-Fi routers, cell phones, or smart devices.
- Difficulty detecting hidden cameras in IR mode: Ensure the scanning area is sufficiently dark. Close curtains or turn off lights to minimize natural light interference.
- No detection in Magnetic Field mode: Ensure the GS probe is securely attached. Increase the sensitivity gradually. The magnetic field detection is short-range, so bring the probe very close to suspected areas.
- Red LED lights not flashing in Camera Lens Detection: Ensure the device is powered on and the "LASER" button has been pressed. Check battery level.
Mantenimiento
- Limpieza: Utilice un paño suave y seco para limpiar el dispositivo. No utilice limpiadores líquidos ni materiales abrasivos.
- Almacenamiento: Guarde el dispositivo en un lugar fresco y seco, alejado de la luz solar directa y de temperaturas extremas.
- Cuidado de la batería: Para prolongar la vida útil de la batería, evite descargar completamente el dispositivo con frecuencia. Cárguelo regularmente, incluso si no lo usa constantemente.
- Tratar con cuidado: El dispositivo contiene componentes electrónicos sensibles. Evite dejarlo caer o someterlo a impactos fuertes.
Garantía y soporte
The JMDHKK K19+ Hidden Camera Detector comes with standard manufacturer support. For specific warranty details, please refer to the documentation included in your product packaging or visit the official JMDHKK websitio.
Hay planes de protección opcionales disponibles para una cobertura extendida:
- Plan de protección de 2 años
- Plan de protección de 3 años
- Complete Protect (facturación mensual)
For technical assistance or customer service, please contact JMDHKK support through their official channels.