Introducción
This manual provides essential information for the safe and efficient operation, maintenance, and troubleshooting of your CONENTOOL 12V Cordless Drill Driver Kit. Please read this manual thoroughly before first use and keep it for future reference.
The CONENTOOL 12V Cordless Drill Driver is designed for drilling into wood, plastic, metal, and other materials, as well as for driving and removing screws. It features a powerful 35 N.m max torque, 25+1 torque settings, and two variable speeds for versatile applications.

Image: The CONENTOOL 12V Cordless Drill Driver Kit, including the drill, two batteries, charger, and a case filled with various drill bits and screwdriver bits.
Instrucciones de seguridad importantes
Siga siempre las precauciones básicas de seguridad al utilizar herramientas eléctricas para reducir el riesgo de incendio, descarga eléctrica y lesiones personales.
- Use equipo de protección personal (EPP) adecuado, como gafas de seguridad, guantes y protección auditiva.
- Mantenga su área de trabajo limpia y bien iluminada. Las áreas desordenadas u oscuras invitan a los accidentes.
- No opere herramientas eléctricas en atmósferas explosivas, como en presencia de líquidos, gases o polvos inflamables.
- Asegúrese de que la herramienta esté apagada antes de realizar cualquier ajuste, cambiar accesorios o guardarla.
- Utilice la herramienta correcta para su aplicación. No la fuerce.
- Guarde las herramientas inactivas fuera del alcance de los niños y otras personas no capacitadas.
Componentes y características del producto
Familiarize yourself with the various parts and features of your CONENTOOL Cordless Drill Driver.

Image: A detailed diagram of the CONENTOOL drill driver highlighting its key components: 3/8" keyless chuck, 25+1 adjustable clutch, LED light, variable speed switch, forward and reverse button, 2 variable speeds, and 2000 mAh lithium battery.
- Mandril sin llave de 3/8": For quick and easy bit changes. Features an all-metal automatic spindle lock.
- 25+1 Adjustable Clutch: Allows precise torque settings for various applications, preventing overtightening or stripping screws.
- Luz LED: Ilumina el área de trabajo para mejorar la visibilidad en espacios oscuros.
- Interruptor de velocidad variable: Provides precise control over drilling and driving speed.
- Botón de avance y retroceso: Easily switch between drilling/driving and unscrewing.
- 2 velocidades variables: Low speed (0-450 RPM) for screwing, high speed (0-1650 RPM) for drilling.
- 2000 mAh Lithium Battery: Offers long-lasting power and reliable performance.
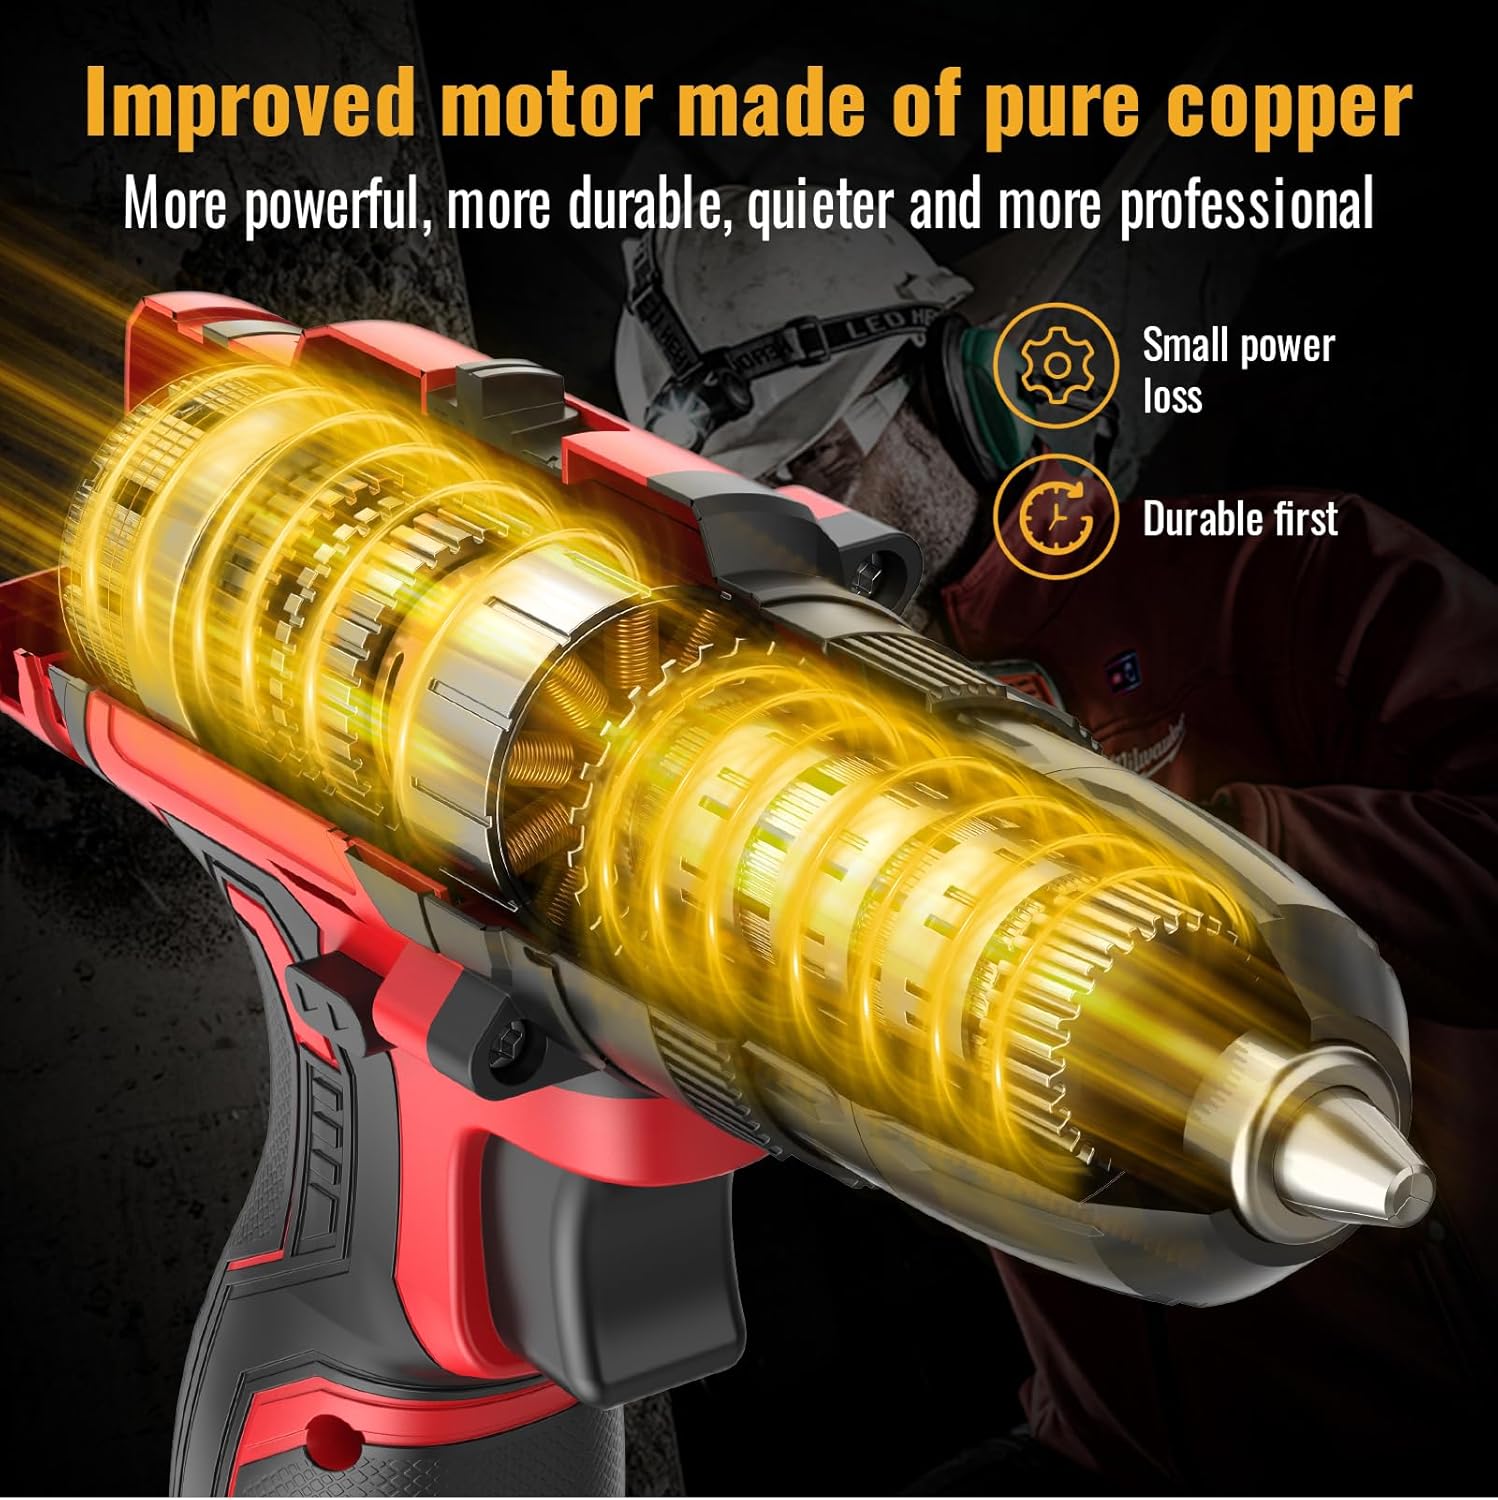
Imagen: Un interno view of the drill, highlighting the improved motor made of pure copper, designed for more power, durability, and quieter operation with small power loss.

Image: A graph illustrating the extended working hours provided by the 2x 2.0AH large capacity batteries compared to other batteries, showing a slower discharge rate over time.
Configuración
Cargando la batería
- Conecte el cargador a una toma de corriente estándar.
- Deslice el paquete de baterías sobre el cargador hasta que encaje en su lugar.
- Allow the battery to charge fully before first use. The indicator light on the charger will change when charging is complete.
- Always disconnect the charger from the power supply and remove the battery once fully charged.
Instalación/Extracción de la batería
- Para instalar: Alinee el paquete de baterías con la base del mango del taladro y deslícelo hasta que encaje de forma segura.
- To remove: Press the battery release button (usually located on the side of the battery pack) and slide the battery out.
Instalación/extracción de brocas o puntas de destornillador

Image: A close-up showing the operation of the 3/8" (10mm) self-locking drill chuck, demonstrating how to open and close it to insert or remove bits.
- Asegúrese de que el taladro esté apagado y que el interruptor de avance/retroceso esté en la posición central (bloqueado).
- Gire el mandril en sentido antihorario para abrir las mordazas.
- Inserte la broca o la punta de destornillador deseada completamente en el mandril.
- Gire el mandril en sentido horario para apretar firmemente las mordazas alrededor de la broca. Asegúrese de que la broca esté centrada y firmemente sujeta.
- Para quitar: gire el mandril en sentido antihorario para aflojar las mordazas y sacar la broca.
Instrucciones de funcionamiento
Seleccionar velocidad
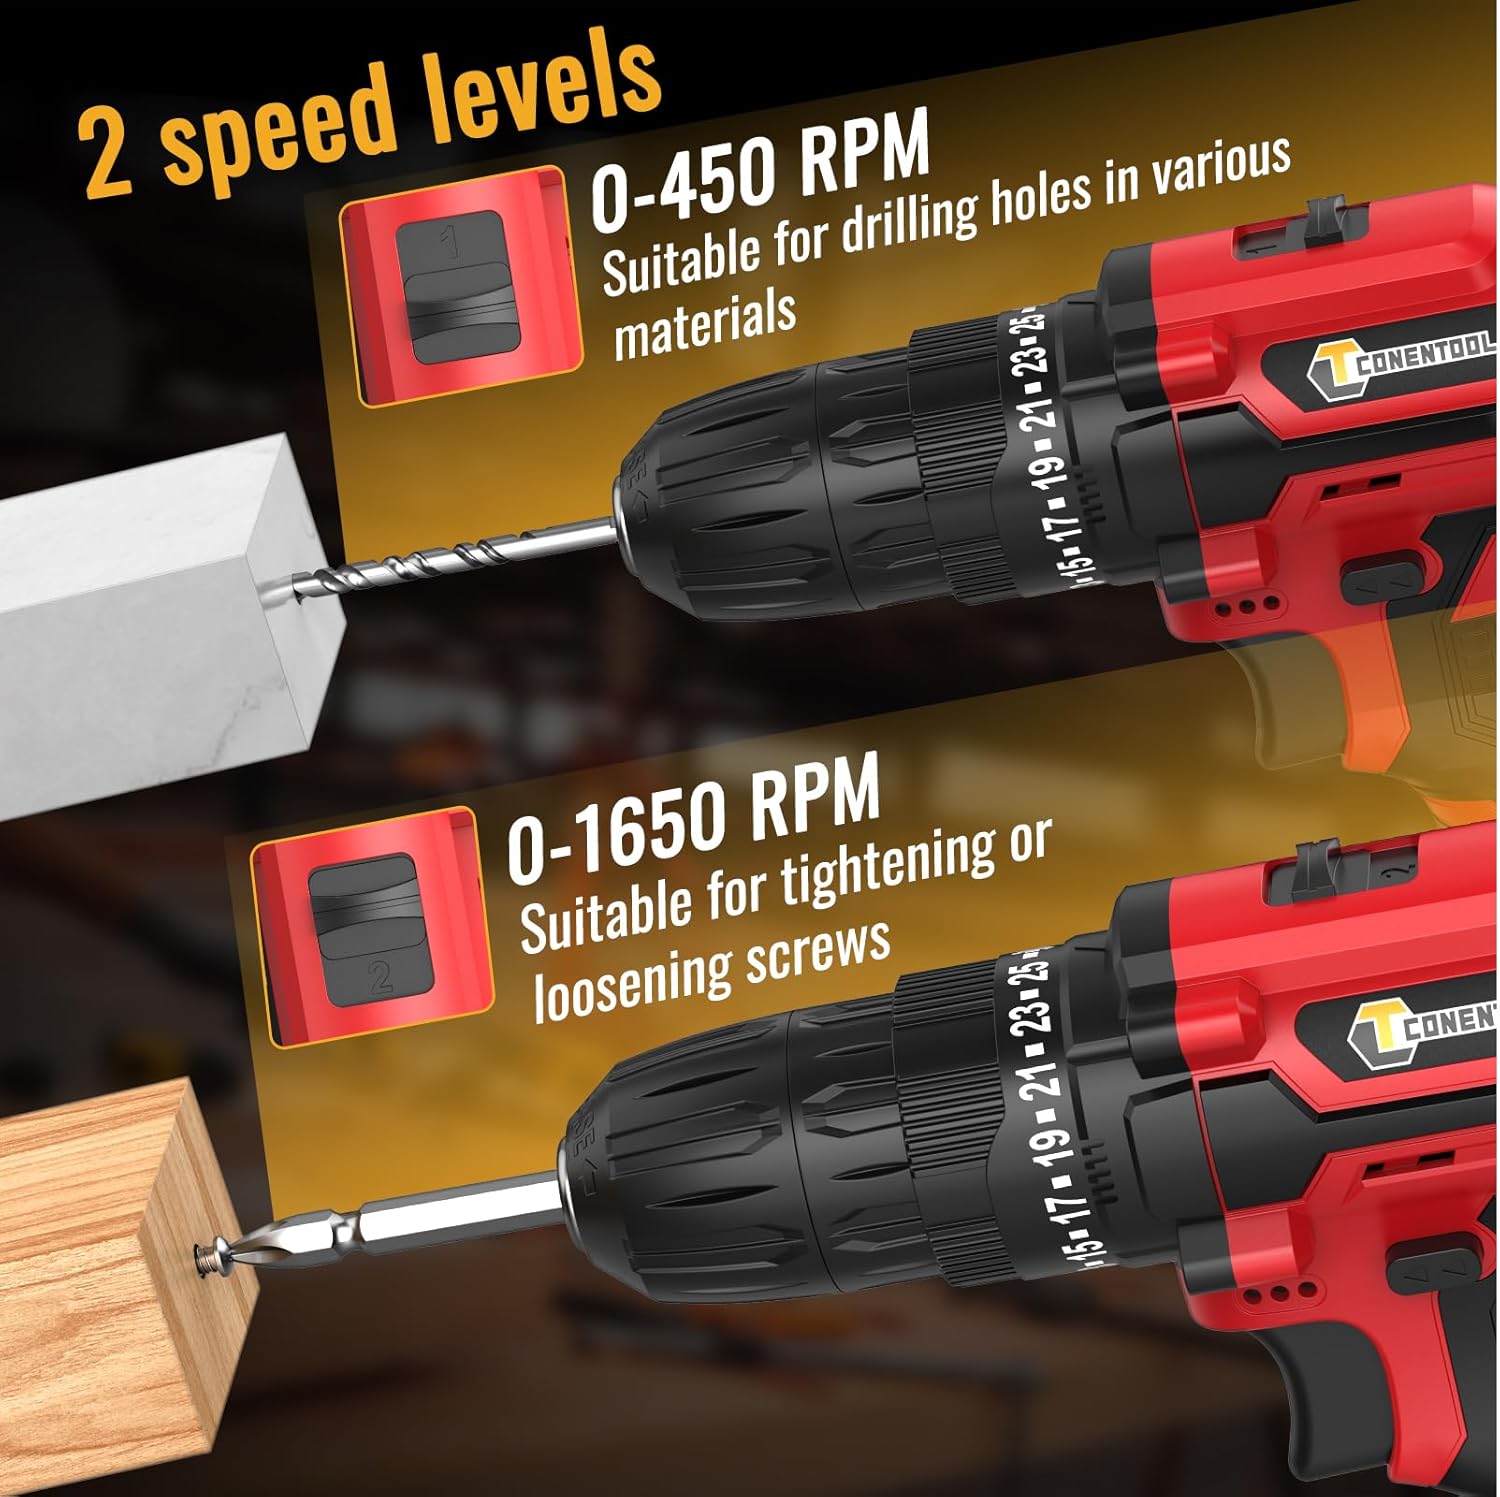
Image: A visual representation of the two-speed levels: 0-450 RPM for drilling holes in various materials (Speed 1) and 0-1650 RPM for tightening or loosening screws (Speed 2).
- Velocidad 1 (baja, 0-450 RPM): Ideal for driving screws, larger diameter drilling, or applications requiring higher torque.
- Velocidad 2 (Alta, 0-1650 RPM): Suitable for smaller diameter drilling and applications requiring faster speed.
- Adjust the speed by sliding the gear selector switch located on top of the drill.
Adjusting Torque (Clutch Setting)

Image: A chart illustrating the drill's multifunctional capabilities, showing increasing torque/power levels suitable for screws, wood, ceramics, brick, concrete, and steel, with distinct settings for drilling and screwdriving.
- The torque adjustment ring is located behind the chuck. Rotate it to select the desired torque setting from 1 to 25.
- The higher the number, the greater the torque. Start with a lower setting and increase as needed to prevent overtightening or damaging the workpiece.
- Use the drill symbol setting for drilling applications, which provides maximum torque without clutch engagement.
Operación de avance/retroceso
- Push the forward/reverse selector switch (located above the trigger) to the left for forward rotation (drilling/driving screws).
- Empuje el interruptor hacia la derecha para girar en sentido inverso (quitando los tornillos).
- For safety, place the switch in the center position to lock the trigger and prevent accidental starting.
Operando el taladro
- Asegúrese de que esté instalada la broca correcta y que la batería esté cargada.
- Seleccione la velocidad y el torque adecuados para su tarea.
- Position the drill bit on the workpiece.
- Press the trigger to start the drill. The LED light will illuminate the work area.
- Aplique una presión constante y uniforme. No fuerce el taladro.
- Suelte el gatillo para detener el taladro.
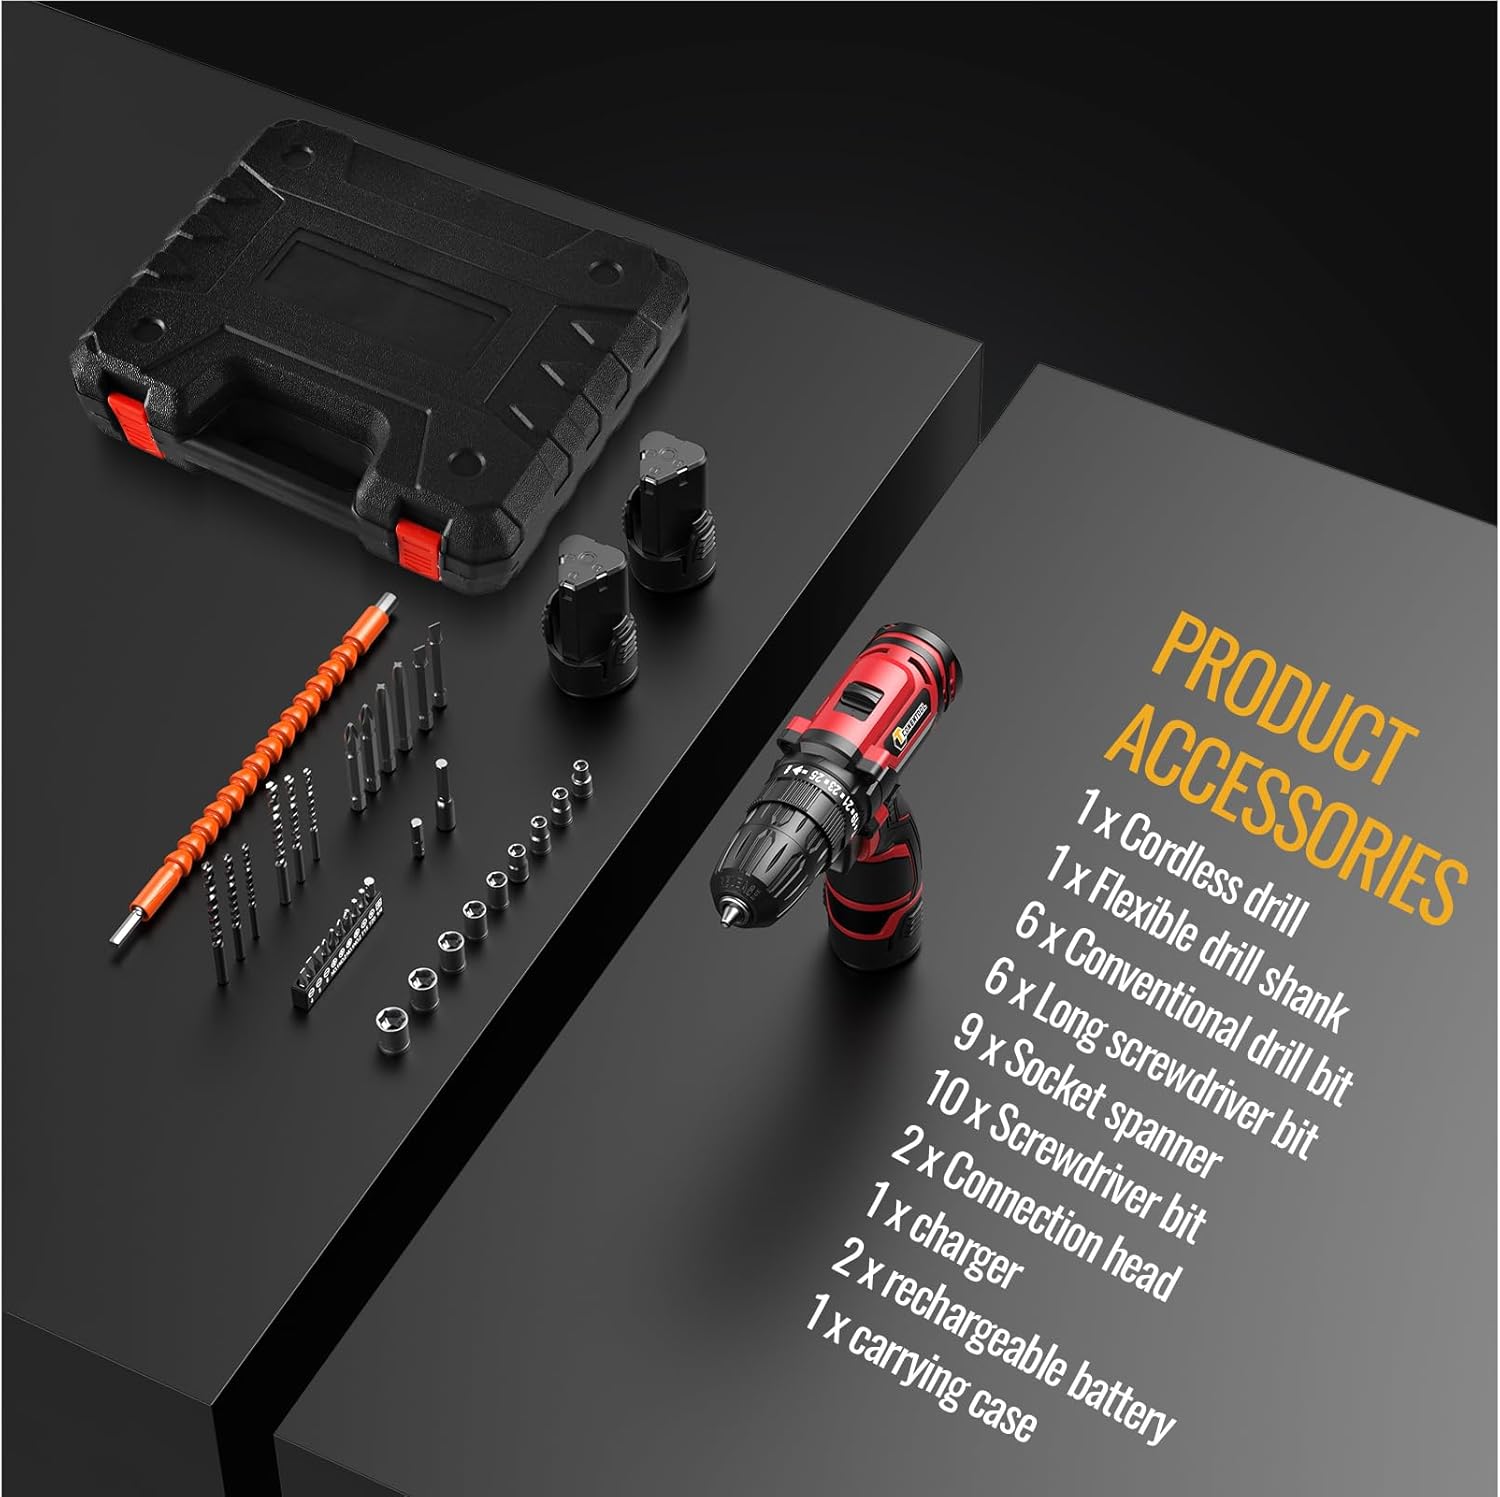
Image: A user demonstrating the versatility of the CONENTOOL drill, shown both drilling into wood and driving a screw into a wall, illustrating its practical application.
Mantenimiento
Limpieza general
- Desconecte siempre la batería antes de limpiarla.
- Limpie la herramienta con un paño limpio y seco.amp paño. No utilice productos químicos agresivos ni limpiadores abrasivos.
- Mantenga las aberturas de ventilación libres de polvo y residuos para evitar el sobrecalentamiento. Utilice aire comprimido si es necesario.
Cuidado de la batería
- Guarde las baterías en un lugar fresco y seco, lejos de la luz solar directa y de temperaturas extremas.
- No guarde las baterías descargadas durante períodos prolongados. Recárguelas periódicamente si no las usa.
- No provoque cortocircuito en los terminales de la batería.
Cuidado de accesorios
- Clean drill bits and screwdriver bits after use.
- Store accessories in the provided carrying case to prevent damage and loss.
Solución de problemas
| Problema | Posible causa | Solución |
|---|---|---|
| El taladro no arranca | Batería no cargada o mal instalada. Interruptor de avance/retroceso en posición central (bloqueado). | Charge battery fully. Reinstall battery securely. Move forward/reverse switch to desired direction. |
| Pérdida de potencia durante el funcionamiento | La batería está baja. Protección contra sobrecarga activada. | Recargue la batería. Reduzca la presión o utilice un par de apriete mayor. |
| La broca se tambalea o se cae | Chuck not tightened properly. Bit shank is damaged. | Vuelva a apretar el mandril firmemente. Reemplace la broca dañada. |
| Calentamiento excesivo | Uso intensivo continuo. Ventilación bloqueada. | Deje que la herramienta se enfríe. Limpie las aberturas de ventilación. |
Presupuesto
| Característica | Detalle |
|---|---|
| Número de modelo | CR-314 |
| Volumentage | 12 voltios |
| Par máximo | 35 Nm |
| Velocidad sin carga (baja) | 0-450 RPM |
| Velocidad sin carga (alta) | 0-1650 RPM |
| Configuración del embrague | 25+1 |
| Tamaño de Chuck | 3/8" (10 mm) sin llave |
| Tipo de batería | Iones de litio |
| Capacidad de la batería | 2000 mAh (2x included) |
| Peso | 2.13 kg (con batería) |
| Dimensiones (L x An x Al) | 31 x 25 x 9 cm |
Accesorios incluidos

Image: A display of all accessories included in the kit, such as the cordless drill, flexible drill shank, various drill bits, screwdriver bits, socket spanner, connection head, charger, rechargeable batteries, and carrying case.
- 1 x Cordless Drill
- 1 x Flexible Drill Shank
- 6 x Conventional Drill Bits
- 6 puntas de destornillador largas
- 9 x Socket Spanners
- 10 x Destornillador Bits
- 2 x Connection Heads
- 1 x cargador
- 2 x Rechargeable Batteries (2000 mAh each)
- 1 x Estuche de transporte
Garantía y soporte
CONENTOOL is committed to providing high-quality products. For any questions regarding your product, please refer to the seller's contact information or Amazon's customer service.
Aunque este manual no proporciona detalles específicos de la garantía, la mayoría de los productos incluyen una garantía estándar del fabricante contra defectos de materiales y mano de obra. Conserve su comprobante de compra para cualquier reclamación de garantía.
For further assistance or technical support, please contact the seller Zhen Hui Xiang EU through the Amazon platform.