1. Introducción
The Total TG11012556 1100 Watt Angle Grinder is a versatile electric power tool designed for grinding, cutting, and polishing various materials. This manual provides essential information for the safe and efficient operation, setup, and maintenance of your angle grinder. Please read these instructions carefully before use and keep them for future reference.

Imagen 1.1: Principal view of the Total TG11012556 1100W Angle Grinder.
2. Instrucciones de seguridad
Siga siempre las precauciones básicas de seguridad para reducir el riesgo de incendio, descarga eléctrica y lesiones personales al operar herramientas eléctricas.
2.1 Seguridad general de las herramientas eléctricas
- Seguridad en el área de trabajo: Mantenga su área de trabajo limpia y bien iluminada. Las áreas desordenadas u oscuras pueden provocar accidentes. No opere herramientas eléctricas en atmósferas explosivas, como en presencia de líquidos, gases o polvo inflamables.
- Seguridad eléctrica: Los enchufes de las herramientas eléctricas deben coincidir con la toma de corriente. Nunca modifique el enchufe de ninguna manera. No maltrate el cable. Nunca lo utilice para transportar, tirar ni desenchufar la herramienta eléctrica. Mantenga el cable alejado del calor, aceite, bordes afilados o piezas móviles.
- Seguridad personal: Always wear appropriate personal protective equipment (PPE) including safety glasses, hearing protection, gloves, and a dust mask. Dress properly; avoid loose clothing or jewelry that can get caught in moving parts.
- Uso y cuidado de herramientas: No fuerce la herramienta eléctrica. Utilice la herramienta eléctrica correcta para su aplicación. Desconecte el enchufe de la fuente de alimentación antes de realizar cualquier ajuste, cambiar accesorios o guardar la herramienta eléctrica.
2.2 Seguridad específica de la amoladora angular
- Asegúrese siempre de que la protección esté colocada correctamente y firmemente sujeta antes de la operación.
- Use only discs that are rated for the grinder's speed and size (125mm).
- Hold the tool firmly with both hands, utilizing the auxiliary handle for maximum control.
- Be aware of kickback and how to avoid it. Kickback is a sudden reaction to a pinched or snagged rotating wheel.
- Do not use the grinder for applications for which it is not intended.
3. Contenido del paquete
Verifique que todos los artículos estén presentes al desembalar:
- 1 x Total TG11012556 1100W Angle Grinder
- 1 x 125mm Disc
- 1 x Mango auxiliar
- 1 x Disc Guard
- 1 x Spanner (for disc changes)
- 1 x Manual de usuario
4. Especificaciones
| Característica | Especificación |
|---|---|
| Número de modelo | TG11012556 |
| Marca | Total |
| Entrada de potencia | 1100 vatios |
| Volumentage | 220 240-Volt |
| Velocidad sin carga | 12000 RPM |
| Diámetro del disco | 125 milímetros |
| Hilo del husillo | M14 |
| Dimensiones del producto (L x An x Al) | 30 x 15 x 11 cm |
| Peso del artículo | 2.4 kilogramos |
| Material | Metal |
| Fuente de poder | Eléctrico con cable |
| Color | Multicolor |

Image 4.1: Angle Grinder with approximate dimensions for reference.
5. Configuración
5.1 Colocación del mango auxiliar
- Asegúrese de que la amoladora angular esté desconectada de la fuente de alimentación.
- The auxiliary handle can be screwed into one of the threaded holes on either side of the gear housing, depending on your preference and working conditions.
- Apriete el mango firmemente con la mano.
5.2 Instalación/cambio del disco de amolar
- Seguridad ante todo: Always unplug the tool before changing discs.
- Mantenga presionado el botón de bloqueo del husillo ubicado en la carcasa del engranaje.
- Using the provided spanner, loosen the flange nut by turning it counter-clockwise.
- Retire el disco viejo (si corresponde) y limpie las bridas.
- Place the new 125mm disc onto the inner flange, ensuring it sits flush.
- Replace the outer flange nut and tighten it clockwise with the spanner while holding the spindle lock button. Do not overtighten.
5.3 Ajuste de la protección
- The disc guard protects against sparks and debris. Ensure it is securely attached and adjusted to provide maximum protection for your specific task.
- Afloje el protector clamping screw (if applicable), rotate the guard to the desired position, and then securely tighten the screw.
6. Instrucciones de funcionamiento
6.1 Encendido / Apagado
- Connect the angle grinder to a suitable 220-240V power outlet.
- To start the tool, slide the ON/OFF switch forward. For continuous operation, press the front part of the switch down.
- To stop the tool, release the switch. If locked on, press the rear part of the switch to release it.
6.2 Control de velocidad variable
This model features variable speed control, allowing you to adjust the RPM for different materials and applications. Refer to the speed dial or control mechanism on your tool to select the appropriate speed. Lower speeds are generally used for polishing or working with sensitive materials, while higher speeds are for aggressive grinding and cutting.
6.3 Técnicas de rectificado y corte
- Deje siempre que el disco alcance la velocidad máxima antes de entrar en contacto con la pieza de trabajo.
- Para amolar, sujete la herramienta ligeramente inclinada (15-30 grados) respecto a la pieza de trabajo. Aplique una presión moderada y mueva la herramienta suavemente sobre la superficie.
- For cutting, hold the tool perpendicular to the workpiece. Make straight, steady cuts without twisting or forcing the disc.
- Avoid applying excessive pressure, as this can damage the disc, reduce tool life, and increase the risk of kickback.
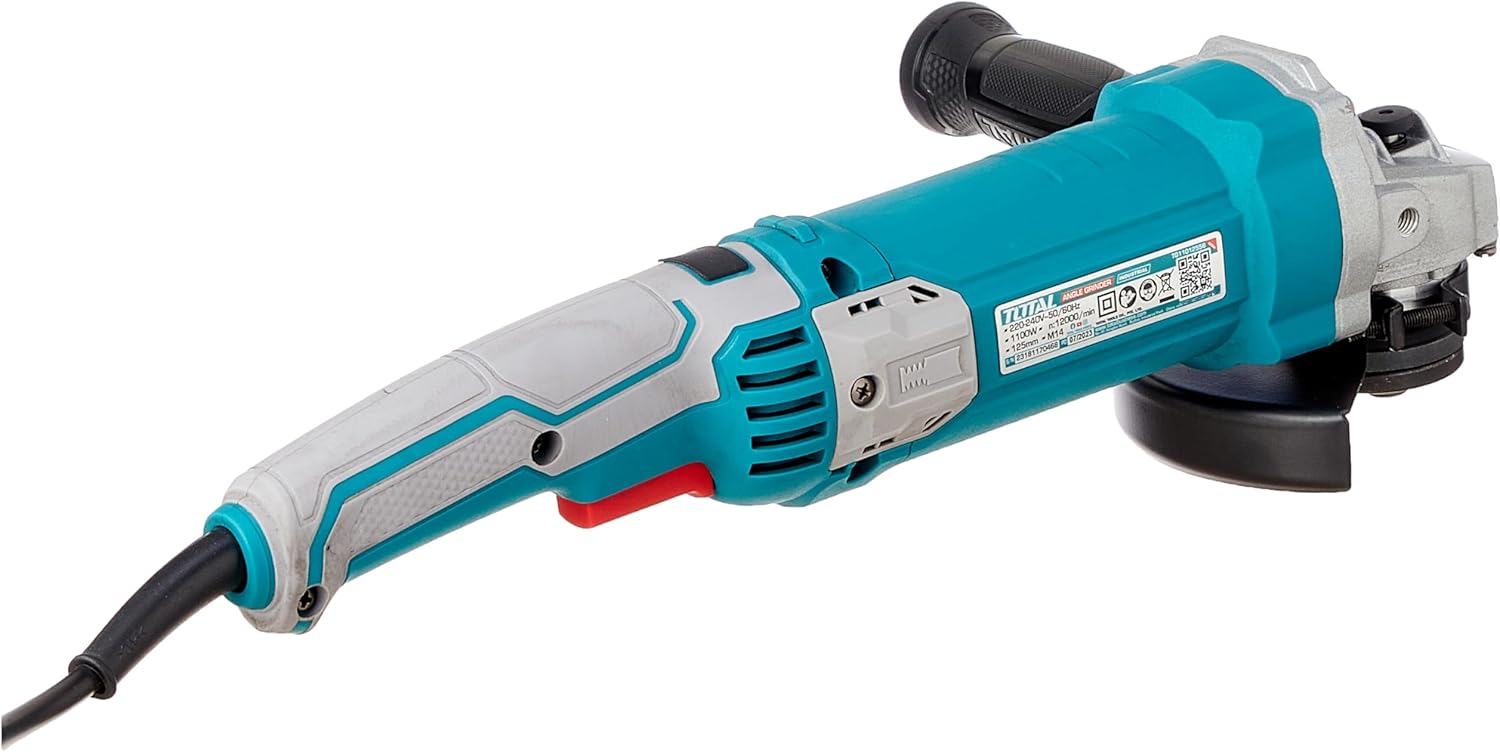
Imagen 6.1: Example of the angle grinder being used for a task.
7. Mantenimiento
El mantenimiento regular garantiza un rendimiento óptimo y prolonga la vida útil de su herramienta.
7.1 Limpieza
- Desenchufe siempre la herramienta antes de limpiarla.
- Keep the ventilation openings clear to prevent overheating. Use a soft brush or compressed air to remove dust and debris.
- No utilice agua ni agentes de limpieza químicos.
7.2 Inspección y reemplazo del disco
- Regularly inspect discs for cracks, chips, or excessive wear. Replace damaged or worn discs immediately.
- Ensure replacement discs match the specified diameter (125mm) and are rated for the grinder's speed.
7.3 Almacenamiento
Store the angle grinder in a dry, secure place out of reach of children. Protect it from moisture and direct sunlight.
8. Solución de problemas
Si tiene problemas con su amoladora angular, consulte los siguientes problemas y soluciones comunes:
| Problema | Posible causa | Solución |
|---|---|---|
| La herramienta no arranca | Sin suministro de energía; Interruptor defectuoso; Cable dañado | Check power connection; Inspect switch; Check cord for damage (replace if necessary) |
| Vibración excesiva | Damaged or unbalanced disc; Loose flanges | Replace disc; Ensure flanges are tightened correctly |
| Poor cutting/grinding performance | Worn or incorrect disc; Insufficient power | Replace disc; Ensure proper voltage suministro |
| Calentamiento excesivo | Ventilación bloqueada; Carga excesiva | Clean ventilation openings; Reduce working pressure; Allow tool to cool |
If the problem persists after attempting these solutions, please contact Total customer support.
9. Garantía y soporte
For warranty information, service, or technical support, please refer to the warranty card included with your product or visit the official Total tools webSitio. Conserve su recibo de compra como comprobante de compra.