1. Introducción
The Walfront MPPT Solar Charge Controller is designed to efficiently manage power flow from your solar panels to your battery bank, optimizing charging performance for off-grid solar systems. This manual provides essential information for the safe and effective installation, operation, and maintenance of your 50A MPPT solar charge controller.

Image 1.1: Walfront MPPT Solar Charge Controller 50A. This image shows the front view of the orange and black controller, featuring an LCD screen displaying PV, Battery, and Load information, along with 'ESC' and 'SET' buttons.
2. Características principales
- High Efficiency MPPT Tracking: Features MPPT tracking efficiency greater than 99% and a maximum conversion efficiency of up to 98%, maximizing energy harvest from solar panels.
- Wide 180V PV Input and Auto Voltage Reconocimiento: Supports a maximum solar input voltage of 180V (at 25℃) and automatically recognizes 12V, 24V, 36V, and 48V battery systems. Compatible with battery voltages de 9V a 64V.
- Clear LCD Display and Smart Protection: Built-in LCD provides real-time system data (voltage, current, operating status). Includes temperature compensation and multiple protection features for safe operation.
- Low No-Load Loss and Reliable Performance: No-load loss of ≤0.4W conserves energy. Designed for reliable operation in temperatures from -10℃ to 65℃ and altitudes up to 3000 meters.
- Fácil de instalar y utilizar: Auto-recognition feature simplifies setup. Compact design allows for straightforward mounting.

Imagen 2.1: Vol automáticotage Identification. This image highlights the controller's ability to automatically identify 12V, 24V, 36V, and 48V systems, shown with various solar panel application exampLes.
3. Información de seguridad
Please read all instructions carefully before installation and operation. Failure to follow these safety guidelines may result in personal injury, damage to the controller, or other equipment.
- Ensure all wiring is correctly polarized and securely connected. Loose connections can cause overheating and damage.
- Conecte siempre primero la batería, luego el panel solar y, por último, la carga. Desconecte en orden inverso.
- Do not connect the solar panel array to the controller without a battery connected.
- Asegúrese de que el volumen del sistematage of the solar panel and battery are compatible with the controller's specifications.
- Instale el controlador en un área bien ventilada, lejos de materiales inflamables y de la luz solar directa.
- Avoid touching live terminals. Use insulated tools during installation.
- This device is not waterproof. Protect it from moisture and water exposure.
4. Contenido del paquete
Verifique que todos los artículos enumerados a continuación estén incluidos en su paquete:
- 1 x Walfront MPPT Solar Charge Controller (50A)
- 4 x Tornillos
- 4 tornillos de expansión
- 1 x Manual de usuario (este documento)
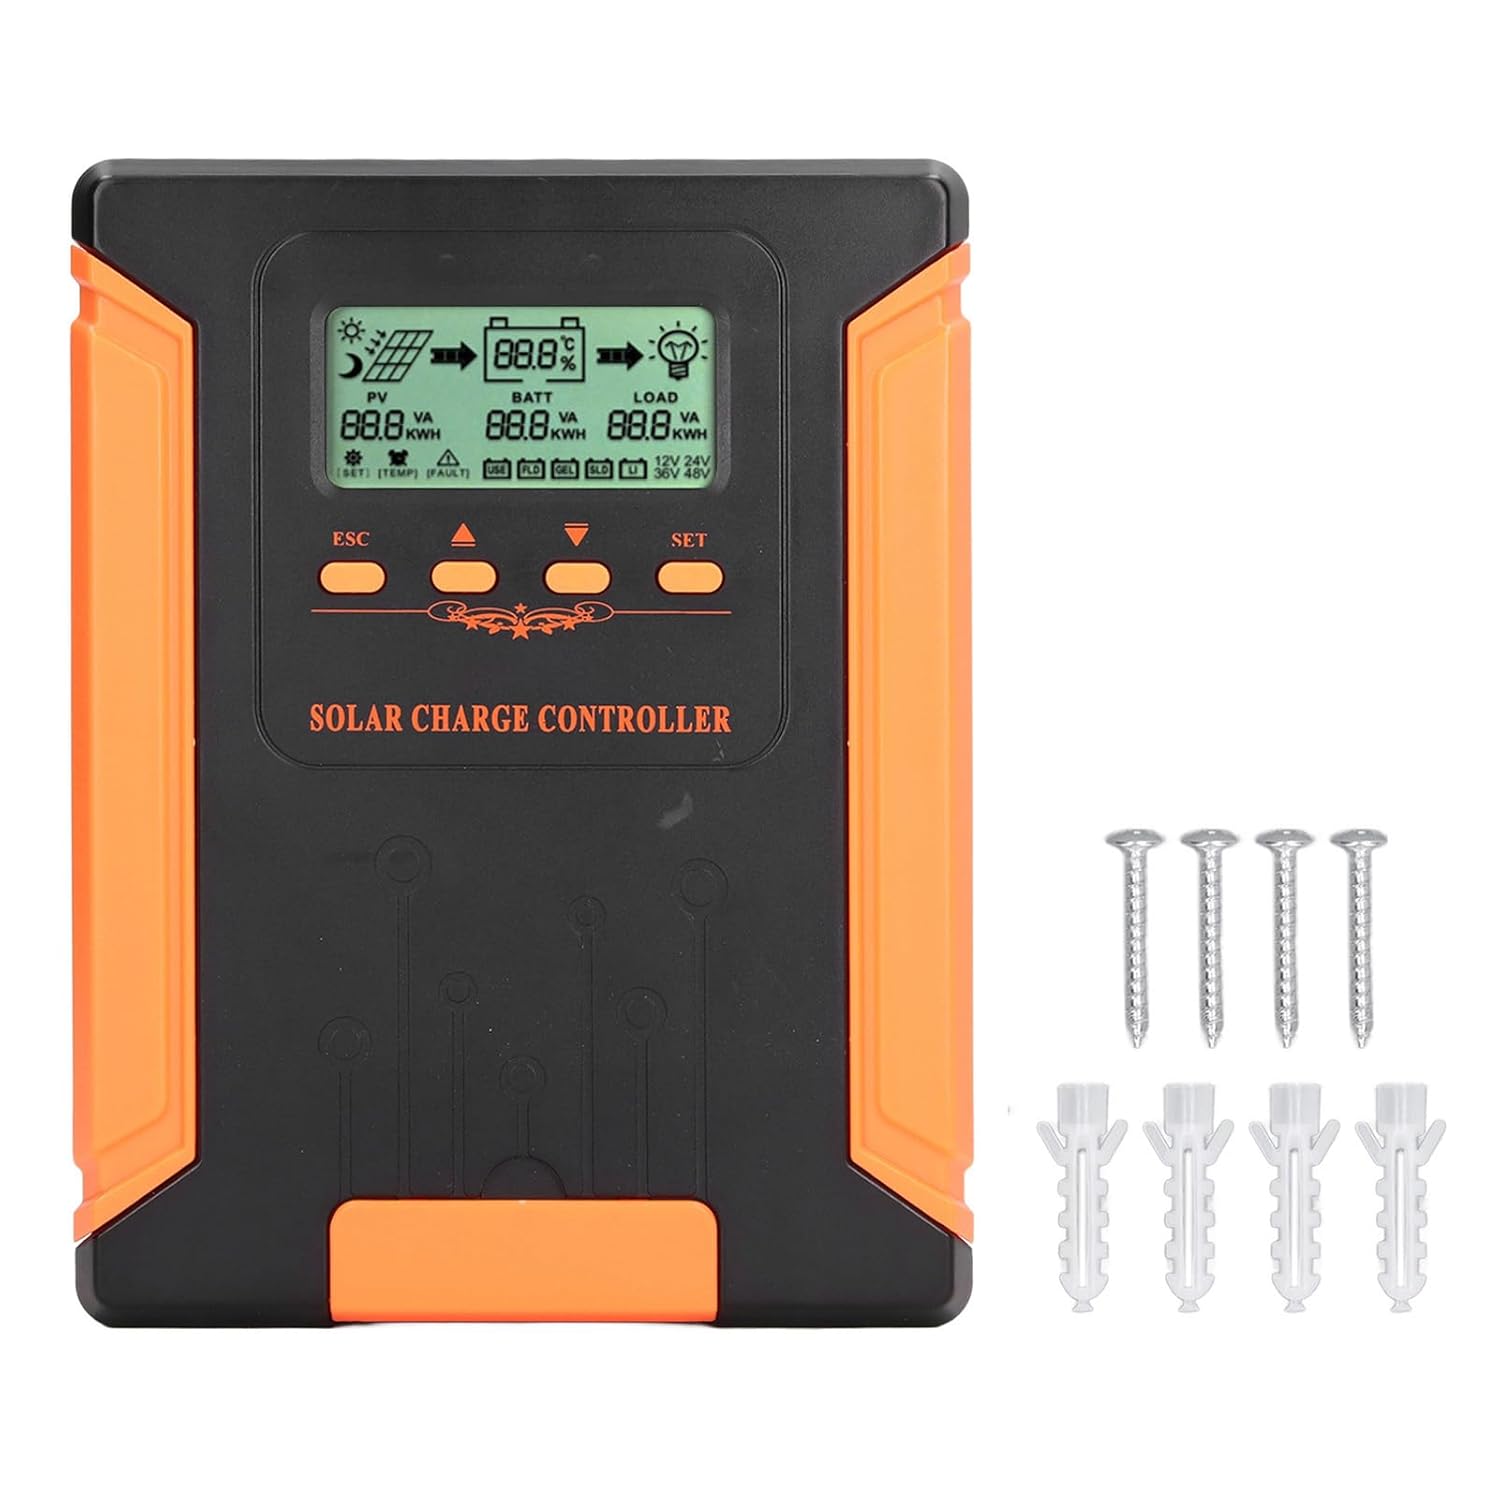
Image 4.1: Package Contents. This image displays the solar charge controller alongside the mounting screws and expansion screws provided in the package.
5. Configuración e instalación
Siga estos pasos para la correcta instalación de su controlador de carga solar.
5.1 Montaje del controlador
- Elija un lugar seco y bien ventilado, protegido de la luz solar directa, las altas temperaturas y la humedad.
- Ensure there is sufficient space around the controller for heat dissipation, especially around the cooling fins.
- Mount the controller vertically on a solid surface using the provided screws.
5.2 conexiones de cableado
Refer to the wiring diagrams below for correct connection sequence. Always connect in the following order:
- Conecte la batería: Conecte la batería a los terminales del controlador. Asegúrese de que la polaridad sea correcta (+ con + y - con -). El controlador detectará automáticamente el volumen de la batería.tage.
- Conecte el panel solar: Conecte el conjunto de paneles solares a los terminales fotovoltaicos del controlador. Asegúrese de que la polaridad sea correcta.
- Conecte la carga de CC (opcional): Conecte la carga de CC a los terminales de carga del controlador. Asegúrese de que la polaridad sea correcta.
To disconnect the system, follow the reverse order: disconnect load, then solar panel, then battery.

Image 5.1: Basic System Connection Diagram. This diagram illustrates the connection order: 1. Battery Assembly, 2. Solar Panel Assembly, 3. DC Load. It also shows an AC Load and Inverter connected to the Battery Assembly.

Image 5.2: Detailed System Wiring Diagram. This diagram provides a more comprehensive view of a solar power system, including solar panels, battery, inverter (AC Output/Input), and various AC loads like laptops, lights, air conditioners, televisions, and fans.
6. Instrucciones de funcionamiento
The controller features an LCD display and control buttons for monitoring and configuration.
Pantalla LCD 6.1
La pantalla LCD proporciona información en tiempo real sobre su sistema solar, que incluye:
- PV (Photovoltaic) Status: Vol de entradatage, current, and power from solar panels.
- BATT (Battery) Status: Vol de la bateríatage, charging current, and state of charge.
- LOAD Status: Output current and power to the DC load.
- Vol del sistematage: Automatically detected battery system voltagy (12V/24V/36V/48V).
- Indicadores de error: Displays fault codes or warnings if issues occur.
6.2 botones de control
The controller has three buttons: ESC, Up/Down arrows, and SET.
- Botón ESC: Used to exit current menu or cancel an operation.
- Botones arriba / abajo: Used to navigate through menu options or adjust parameter values.
- Botón de ajuste: Used to enter a menu, confirm a selection, or save changes to parameters.

Image 6.1: Control Buttons. This close-up image shows the 'ESC', 'Up arrow', 'Down arrow', and 'SET' buttons on the controller's front panel.
7. Mantenimiento
El mantenimiento regular garantiza un rendimiento óptimo y la longevidad de su controlador de carga solar.
- Limpieza: Periodically clean the controller's exterior with a dry cloth. Ensure the cooling fins are free from dust and debris to maintain proper heat dissipation.
- Conexiones: Check all wiring connections regularly to ensure they are tight and free from corrosion.
- Inspección: Inspect the controller for any signs of physical damage, overheating, or unusual odors.
- Ambiente: Asegúrese de que el entorno de instalación permanezca seco y bien ventilado.

Image 7.1: Cooling Fins. This close-up shows the cooling fins on the top of the controller, which are crucial for heat dissipation and require regular cleaning.
8. Solución de problemas
Si tiene problemas con su controlador, consulte los siguientes problemas y soluciones comunes:
| Problema | Posible causa | Solución |
|---|---|---|
| La pantalla del controlador está apagada | No hay batería conectada o el volumen de la batería es bajo.tagy demasiado bajo. | Ensure battery is connected correctly and has sufficient charge (above 9V). |
| No hay corriente de carga desde el sistema fotovoltaico | Solar panels not connected, insufficient sunlight, or PV polarity reversed. | Verifique las conexiones y la polaridad del sistema fotovoltaico. Asegúrese de que haya suficiente luz solar. Verifique el volumen del sistema fotovoltaico.tage está dentro del rango. |
| La carga no funciona | Load disconnected, load current too high, or load polarity reversed. | Check load connections and polarity. Ensure load current does not exceed controller's rating. |
| La batería no está completamente cargada | Insufficient solar input, undersized solar array, or battery issues. | Increase solar panel capacity or check for shading. Inspect battery health. |
9. Especificaciones técnicas
Below are the technical specifications for the Walfront MPPT Solar Charge Controller 50A.
| Parámetro | Especificación |
|---|---|
| Vol del sistematage | 12V / 24V / 36V / 48V Auto |
| Corriente de carga nominal | 50A |
| No Load Loss | ≤0.4 W |
| Solar Maximum Input Voltage | 180V (at 25℃), 150V (at -25℃) |
| Volumen de la bateríatage Rango | 9-64 V |
| Volumen del punto de máxima potenciatage Rango | Volumen de la bateríatage +2V a 150V |
| Eficiencia de conversión | ≤98% |
| Eficiencia de seguimiento MPPT | >99% |
| Coeficiente de compensación de temperatura | -2mv/℃/2V (default value) |
| Temperatura de trabajo | -10℃ a 65℃ |
| Grado de protección | IP21 |
| Altitud | ≤3000 Meter / 9842.5ft |

Image 9.1: Model Comparison Table. This table provides a comparison of rated charging current and solar panel maximum input power for CM-50 (50A) and CM-60 (60A) models across different system voltages.
10. Garantía y soporte
Para obtener información sobre la garantía y asistencia técnica, consulte la documentación proporcionada al momento de la compra o póngase en contacto con su vendedor. Conserve el recibo de compra como comprobante.