havit PJ205-PRO
Havit PJ205 Pro Portable Android Projector User Manual
Model: PJ205-PRO | Brand: Havit
1. Producto terminadoview
The Havit PJ205 Pro is a portable Android projector designed for versatile entertainment and presentation needs. It features native 1080p Full HD resolution, 220 ANSI lumens brightness, and a customized Android 9.0 operating system with access to the Google Play Store. Its compact design includes a hand rope for easy portability, and it offers multiple connectivity options including Wi-Fi, HDMI, USB, VGA, and AV ports.

Figura 1.1: Angulado view of the Havit PJ205 Pro projector, showcasing its compact design, front lens, and textured grey casing with a black carrying strap.
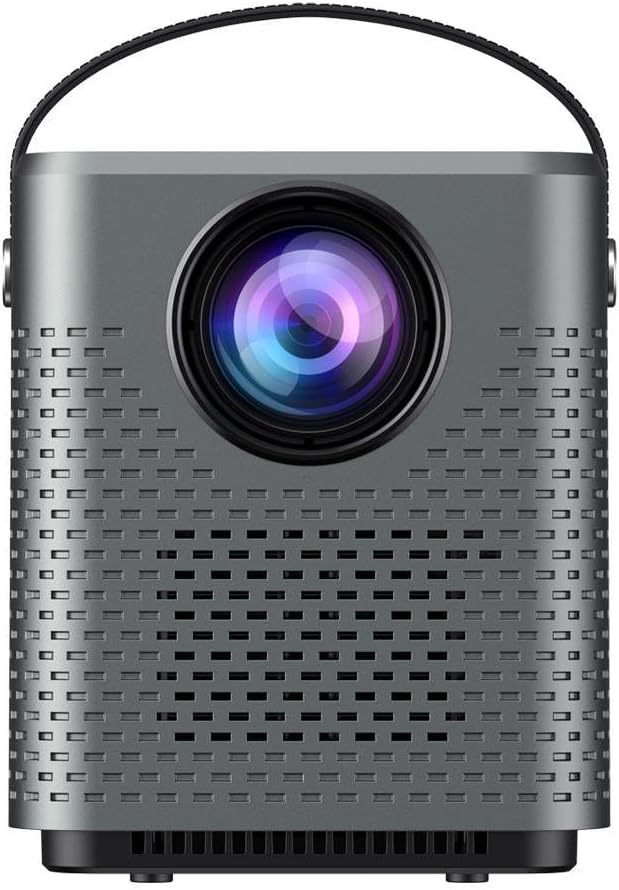
Figura 1.2: Frente view of the projector, highlighting the large projection lens and the perforated speaker grilles on the front panel.
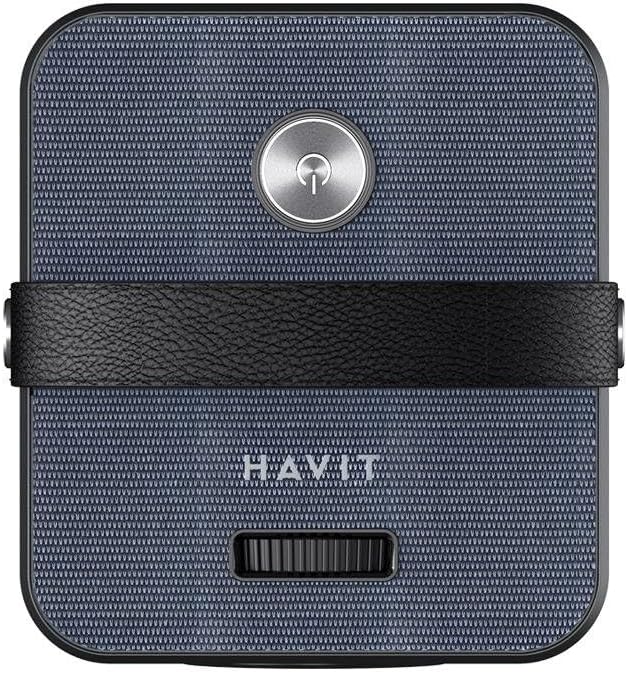
Figura 1.3: Arriba view of the projector, showing the power button, the "HAVIT" branding, and the focus adjustment wheel.

Figura 1.4: Posterior view of the projector, displaying the various input ports including AV, HDMI, USB, and the power input.
2. Información de seguridad
Lea atentamente todas las instrucciones de seguridad antes de usar este producto. Si no las sigue, podría sufrir descargas eléctricas, incendios u otros peligros.
- Fuente de energía: Utilice únicamente el adaptador de corriente especificado. Asegúrese de que el voltage es compatible con tu región.
- Ventilación: No bloquee las aberturas de ventilación. Asegúrese de que haya suficiente espacio alrededor del proyector para una ventilación adecuada.
- Calor: The projector may become warm during operation. Avoid touching the lens or hot surfaces.
- Agua y humedad: No exponga el proyector a la lluvia, la humedad ni ningún líquido.
- Limpieza: Unplug the projector before cleaning. Use a soft, dry cloth. Do not use liquid cleaners or aerosols.
- Cuidado de la lente: Evite tocar la lente del proyector directamente. Utilice un paño de limpieza si es necesario.
- Niños: Mantenga el proyector fuera del alcance de los niños.
- Desmontaje: No intente desmontar ni reparar el proyector usted mismo. Encargue cualquier reparación a personal técnico cualificado.
3. Contenido del paquete
Verifique que todos los artículos enumerados a continuación estén incluidos en su paquete. Si falta algún artículo o está dañado, comuníquese con su vendedor.
- Havit PJ205 Pro Portable Android Projector
- Adaptador de corriente
- Control remoto (pilas no incluidas)
- Cable HDMI
- Manual de usuario
4. Configuración
4.1 Colocación inicial
Place the projector on a stable, flat surface. Ensure there are no obstructions in front of the lens or around the ventilation openings. For optimal viewing, coloque el proyector perpendicular a la superficie de proyección.
4.2 Conexión de alimentación
- Conecte el adaptador de corriente al puerto DC IN del proyector.
- Conecte el adaptador de corriente a una toma de pared.
- Presione el botón de encendido del proyector o del control remoto para encenderlo. La luz indicadora se iluminará.
4.3 Ajuste de enfoque
Rotate the focus adjustment wheel located on the top of the projector until the projected image appears clear and sharp.
4.4 Corrección trapezoidal
If the projected image appears trapezoidal, use the digital keystone correction feature in the projector's settings menu to adjust the image shape until it is rectangular. This projector supports automatic and manual keystone correction.
5. Instrucciones de funcionamiento
5.1 Navegación por el sistema Android
The Havit PJ205 Pro runs on a customized Android 9.0 system. Use the remote control to navigate the interface. The main screen provides access to pre-installed apps, settings, and input sources.
- Pantalla de inicio: Displays frequently used applications and system shortcuts.
- Tienda Google Play: Log in with your Google account to download additional applications like Netflix, Prime Video, and YouTube.
- Ajustes: Acceda a la configuración de red, opciones de pantalla, configuración de sonido e información del sistema.
5.2 Conexión Wi-Fi
- Ir a Ajustes en la pantalla de inicio.
- Seleccionar Red e Internet.
- Encender Wifi y seleccione la red deseada de la lista.
- Ingrese la contraseña de Wi-Fi si se le solicita y conéctese.
5.3 Duplicación de pantalla (pantalla inalámbrica)
El proyector admite la duplicación de pantalla inalámbrica para dispositivos iOS y Android.
- Asegúrese de que su dispositivo móvil y el proyector estén conectados a la misma red Wi-Fi.
- On the projector, select the "Screen Mirroring" or "Wireless Display" application.
- On your iOS device, open Control Center and tap "Screen Mirroring" or "AirPlay Mirroring", then select the projector from the list.
- On your Android device, go to "Cast", "Smart View", "Wireless Display", or similar settings, then select the projector from the list.
5.4 Conexión de dispositivos externos
El proyector ofrece varios puertos para conectar dispositivos externos:
- HDMI: Connect Blu-ray players, game consoles, laptops, or other HDMI-enabled devices. Select the corresponding HDMI input from the projector's input source menu.
- USB: Inserte una unidad flash USB para reproducir contenido multimedia files (videos, photos, music, documents). Select the USB input source.
- VGA: Connect older computers or laptops using a VGA cable. Select the VGA input source.
- AV: Connect devices with AV output (e.g., DVD players) using the provided AV cable. Select the AV input source.
- Salida de audio (3.5 mm): Conecte parlantes o auriculares externos para obtener un audio mejorado.
6. Mantenimiento
6.1 Limpieza del proyector
- Exterior: Use a soft, lint-free cloth to wipe the projector's surface. For stubborn marks, slightly dampEn el paño con agua. No utilice limpiadores abrasivos ni disolventes.
- Lente: Gently wipe the lens with a professional lens cleaning cloth or lens paper. Avoid touching the lens with your fingers.
- Aberturas de ventilación: Use a soft brush or compressed air to remove dust from the ventilation openings. Ensure the projector is unplugged before cleaning.
6.2 Almacenamiento
Cuando no lo utilice durante un período prolongado, guarde el proyector en un lugar fresco y seco, alejado de la luz solar directa y de temperaturas extremas. Utilice el embalaje original o una funda protectora para evitar la acumulación de polvo y daños.
7. Solución de problemas
| Problema | Posible causa | Solución |
|---|---|---|
| No se proyecta ninguna imagen | Power cable loose; Projector off; Incorrect input source selected. | Check power connection; Press power button; Select correct input source (HDMI, USB, AV, VGA). |
| Imagen borrosa | Fuera de foco; Distancia de proyección incorrecta. | Adjust the focus wheel; Adjust the distance between the projector and the screen. |
| Sin sonido | Volume too low; Muted; External device audio settings. | Increase projector volume; Unmute; Check audio output settings on connected device. |
| Problemas de conexión wifi | Contraseña incorrecta; Enrutador demasiado lejos; Interferencia de red. | Vuelva a ingresar la contraseña; acerque el proyector al enrutador; reinicie el enrutador y el proyector. |
| El control remoto no funciona | Pilas agotadas; Obstrucción; Control remoto no emparejado. | Replace batteries; Remove obstructions; Re-pair remote if necessary (refer to specific pairing instructions if applicable). |
8. Especificaciones
| Característica | Detalle |
|---|---|
| Modelo | PJ205-PRO |
| Resolución nativa | 1920 x 1080 Pixels (1080p Full HD) |
| Brillo | Lúmenes 200 ANSI |
| Sistema operativo | Customized Android 9.0 |
| Conectividad | Wi-Fi, HDMI, USB, VGA, AV |
| Relación de aspecto | 16:9 |
| Tipo de pantalla | Pantalla LCD LED |
| Nivel de ruido | 35 dB |
| Quétage | 40 vatios |
| Dimensiones (L x An x Al) | 5 x 2 x 2 cm |
| Peso del artículo | 100 gramos |
| Características especiales | Portable, Hand rope, Hifi stereo sound, Screen Mirroring |
9. Garantía y soporte
For warranty information and technical support, please refer to the warranty card included in your product packaging or visit the official Havit webSitio. Conserve su comprobante de compra para reclamaciones de garantía.
If you encounter any issues not covered in this manual, please contact Havit customer support for assistance.
Información del contacto: Please refer to the contact details provided on the Havit official websitio web o su documentación de compra.
Ask a question about this manual
Ask about setup, troubleshooting, compatibility, parts, safety, or missing instructions. Manuals+ will review the question and use this page’s manual context to help answer it.