Introducción
Thank you for choosing the Roxicosly Digital Wooden Alarm Clock. This manual provides detailed instructions for setting up, operating, and maintaining your new alarm clock. Please read this manual thoroughly before use to ensure proper functionality and to maximize your experience with its features, including dual alarms, USB charging ports, and temperature/humidity display.
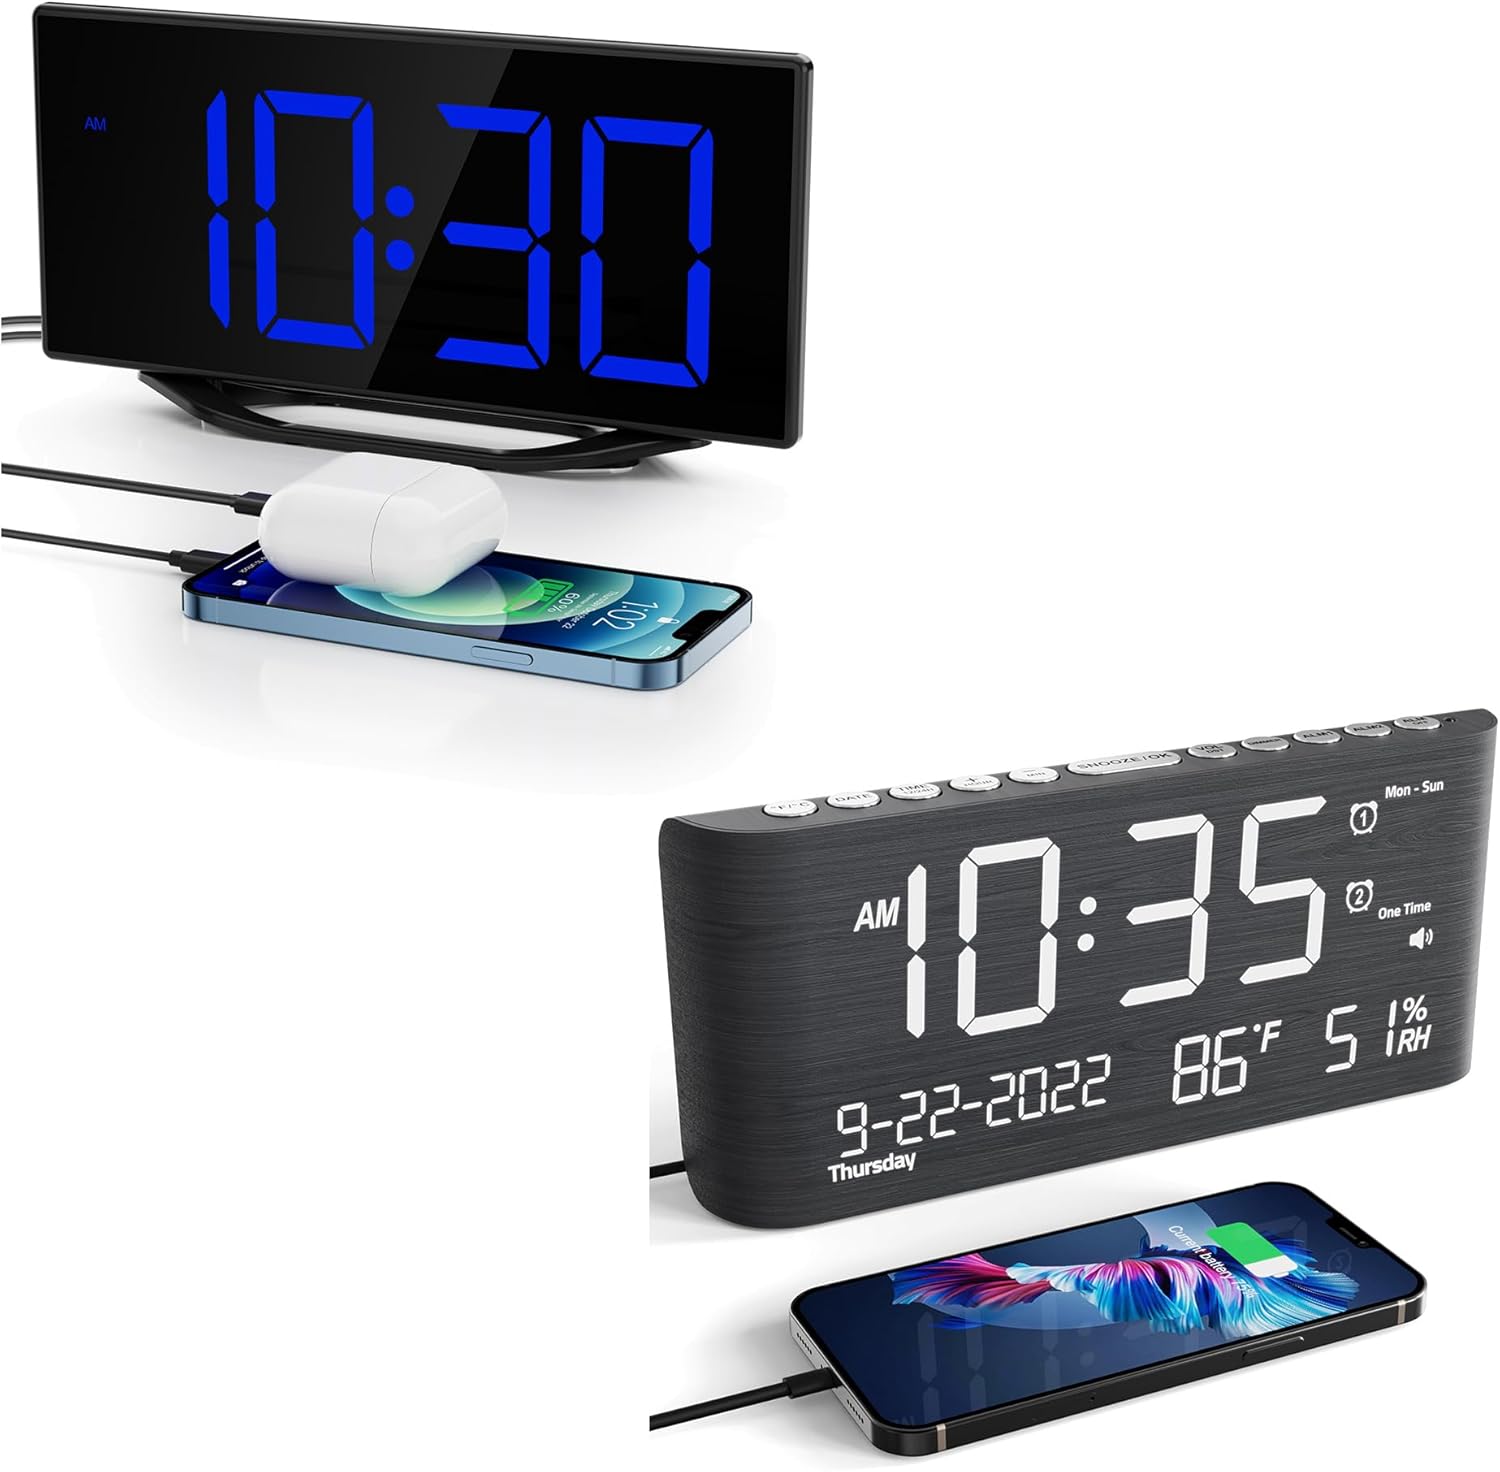
This image displays the Roxicosly Digital Wooden Alarm Clock, highlighting its prominent blue LED time display and the convenience of its integrated USB charging port, shown actively charging a smartphone.
Configuración
1. Conexión de alimentación
Connect the provided AC adapter to the DC/Type-C power input port on the back of the alarm clock, then plug the adapter into a standard electrical outlet. The clock will power on and the display will illuminate.
2. Instalación de batería de respaldo
Para energía de respaldo durante nuestratages, install two (2) AAA batteries (not included) into the battery compartment located on the back of the clock. The battery backup preserves time and alarm settings but does not power the display or USB charging ports.

The image details the power options for the clock, including the DC/Type-C power input and the battery backup compartment, where two AAA batteries (not included) can be installed to preserve settings during power outages.
Instrucciones de funcionamiento
1. Configuración de hora y fecha
- Presione el TIEMPO ESTABLECIDO Botón para entrar al modo de ajuste de hora. Los dígitos de la hora parpadearán.
- Utilice el HORA y MINUTO Botones para ajustar la hora y los minutos.
- Prensa TIEMPO ESTABLECIDO again to confirm and move to the 12/24-hour format setting. Use HORA or MINUTO Para seleccionar.
- Continuar presionando TIEMPO ESTABLECIDO para recorrer las configuraciones de año, mes y día, ajustando cada una con HORA or MINUTO.
- Prensa TIEMPO ESTABLECIDO one last time to exit time and date setting mode.
2. Configuración de alarmas (Alarma 1 y Alarma 2)
El reloj admite dos alarmas independientes.
- Presione el ALARMA 1 button to enter Alarm 1 setting mode. The hour digits for Alarm 1 will flash.
- Utilice el HORA y MINUTO Botones para configurar la hora de alarma deseada.
- Prensa ALARMA 1 again to confirm. The alarm icon will appear on the display, indicating Alarm 1 is active.
- Repita el proceso utilizando el ALARMA 2 button to set and activate Alarm 2.
- Para desactivar una alarma, presione su correspondiente ALARMA botón hasta que el icono de alarma desaparezca de la pantalla.

This image visually explains the dual alarm clock settings and the 9-minute snooze feature. A hand is shown pressing the large snooze button located on the top of the clock.
3. Función de repetición
Cuando suene una alarma, presione el botón grande DORMITOR / LUZ button on the top of the clock. The alarm will pause for 9 minutes and then sound again. This can be repeated multiple times.
4. Ajuste de brillo de pantalla
La pantalla LED tiene 7 niveles de brillo ajustables. Presione el botón REGULADOR DE INTENSIDAD button repeatedly to cycle through the brightness levels (Level 1 being the dimmest, Level 7 the brightest) to suit your preference.

This visual guide illustrates the seven distinct brightness levels of the clock's LED display, allowing users to customize visibility from very dim to bright, suitable for various lighting conditions.
5. Ajuste del volumen de la alarma
The alarm volume can be adjusted to 5 different levels, ranging from 65dB to 120dB. While an alarm is sounding, or during alarm setup, press the VOLUMEN button repeatedly to select your desired volume level.

The image demonstrates the adjustable alarm volume feature, contrasting a lower volume setting (92dB) with a higher one (110dB), indicating the range from gentle to loud for different user preferences.
6. Puertos de carga USB
The clock features two USB charging ports on its side. Connect your USB-powered devices (e.g., smartphones, tablets, earbuds) to these ports for convenient charging. These ports are active when the clock is connected to AC power.
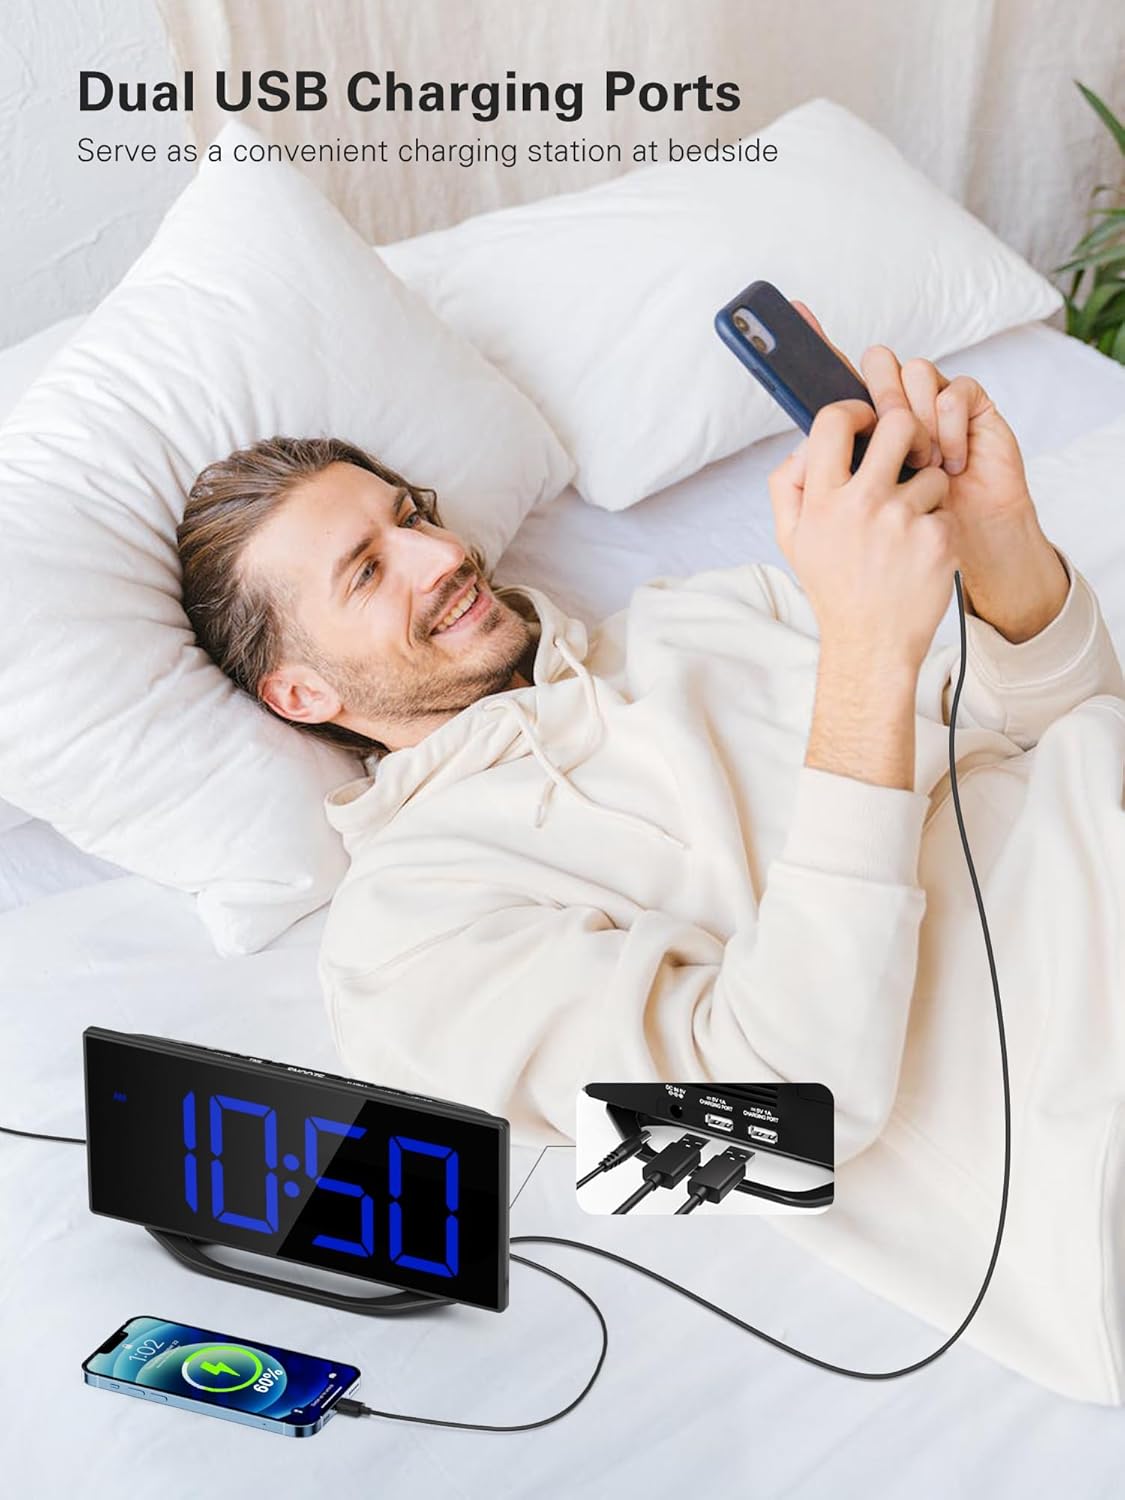
A user is depicted utilizing the dual USB charging ports on the side of the alarm clock to conveniently charge their smartphone, highlighting the clock's functionality as a bedside charging hub.
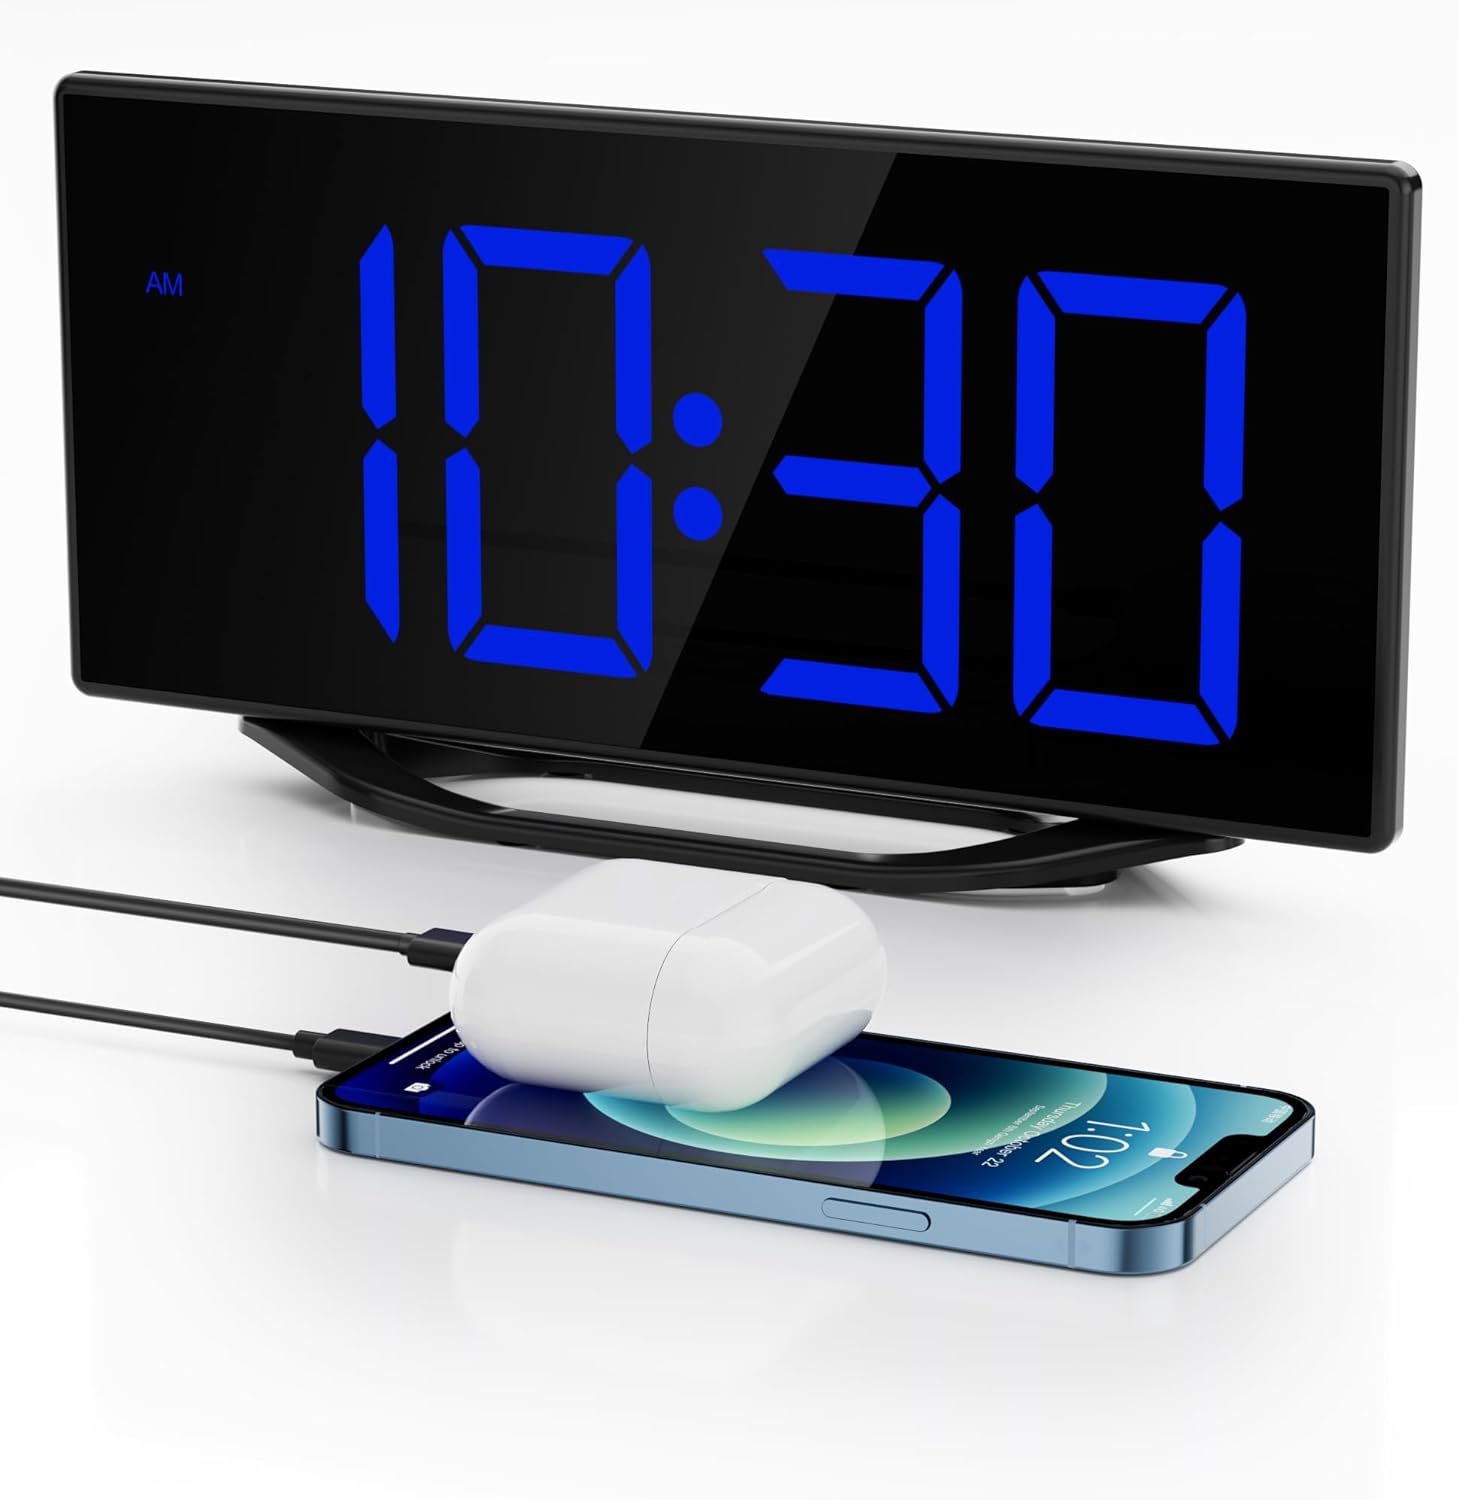
The image illustrates the clock's dual USB charging capability, with a smartphone and a pair of wireless earbuds connected and charging, demonstrating its utility as a bedside charging station.
7. Visualización de temperatura y humedad
The clock continuously monitors and displays indoor temperature and humidity. To switch between Celsius (C°) and Fahrenheit (F°) for temperature, press the C / F botón.
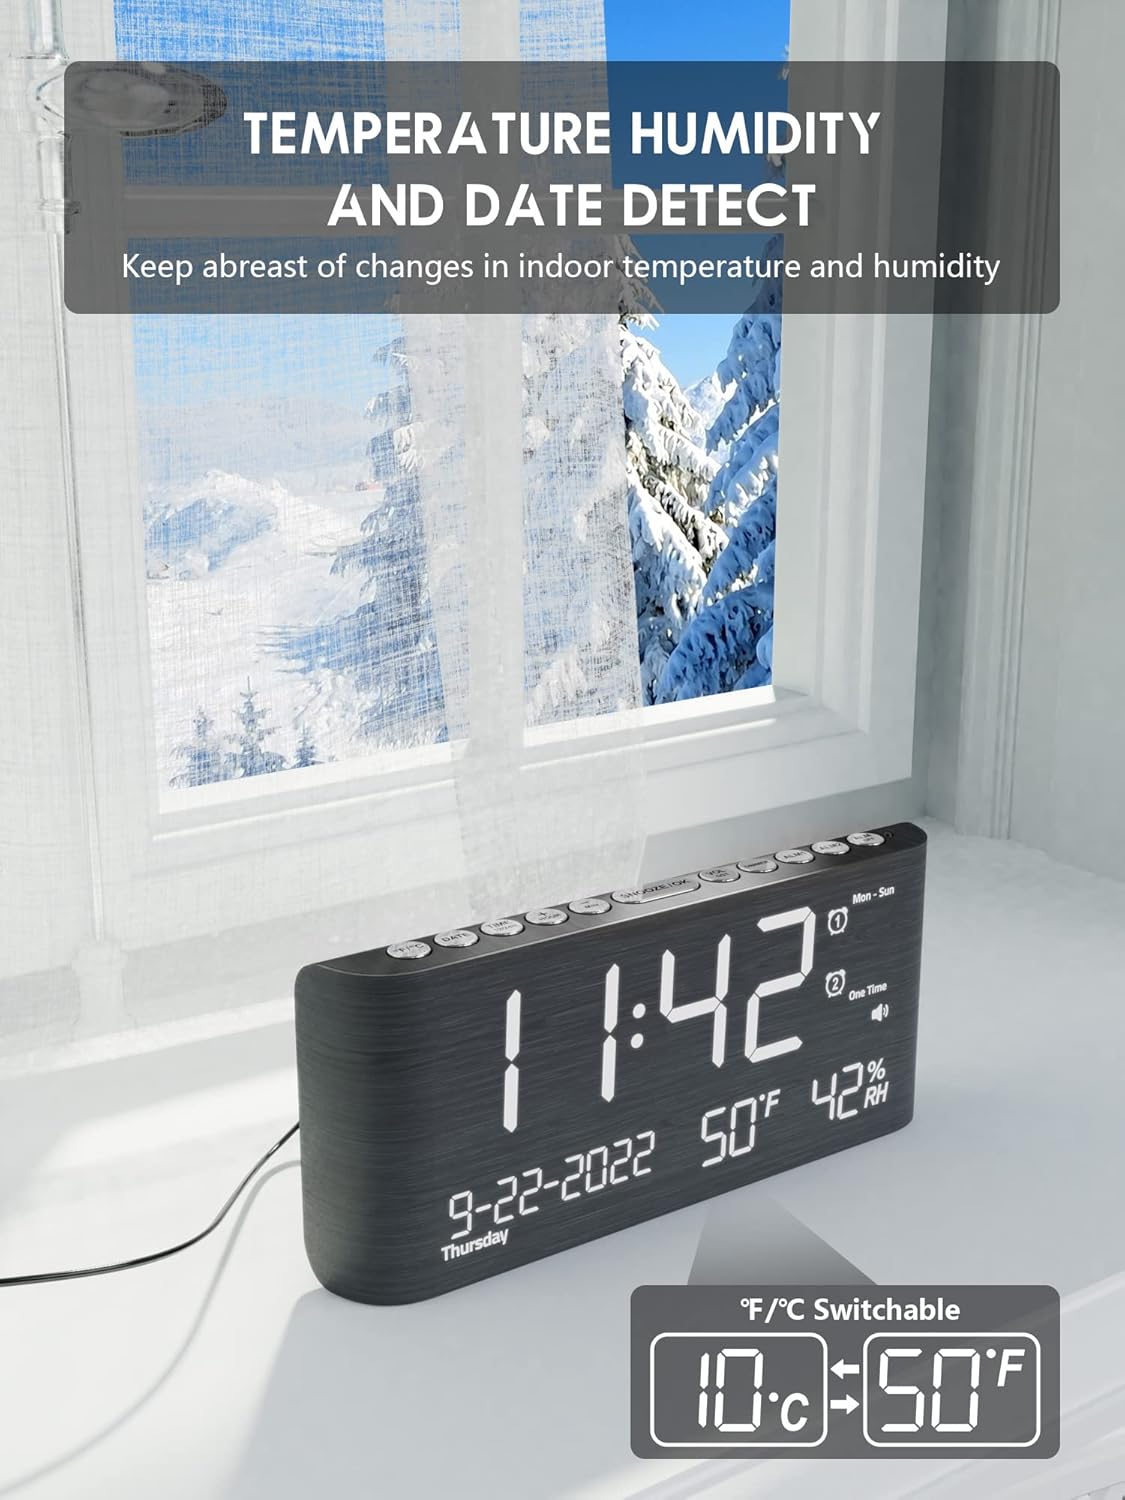
This image emphasizes the clock's built-in temperature and humidity sensors, showing the display with current indoor conditions against a backdrop of an outdoor winter scene, suggesting its utility for monitoring indoor climate.

Este view shows the alarm clock's comprehensive display, including the current time, date, indoor temperature, and humidity. A smartphone is also visible, connected for charging.
8. Horario de verano (DST)
Para activar o desactivar el horario de verano, mantenga presionada la tecla Horario de verano button. The time will adjust by one hour forward or backward, and a DST indicator will appear/disappear on the display.
Mantenimiento
To ensure the longevity and optimal performance of your Roxicosly Digital Wooden Alarm Clock, follow these maintenance guidelines:
- Limpieza: Wipe the clock's surface with a soft, dry cloth. Avoid using abrasive cleaners, solvents, or chemical sprays, as these can damage the finish and electronic components.
- Colocación: Coloque el reloj sobre una superficie estable y plana, lejos de la luz solar directa, calor excesivo, humedad o campos magnéticos fuertes.
- Fuerza: Always use the provided AC adapter. If the clock will not be used for an extended period, disconnect it from the power outlet and remove the backup batteries.
Solución de problemas
Si tiene algún problema con su despertador, consulte los siguientes problemas y soluciones comunes:
- La pantalla está en blanco:
- Asegúrese de que el adaptador de CA esté enchufado de forma segura tanto al reloj como a una toma de corriente que funcione.
- Compruebe si la toma de corriente funciona enchufando otro dispositivo.
- La alarma no suena:
- Verify that the alarm (Alarm 1 or Alarm 2) is activated (its icon should be visible on the display).
- Check the alarm time to ensure it is set correctly (AM/PM).
- Ensure the alarm volume is not set to the lowest level or muted.
- La carga USB no funciona:
- Confirm the clock is connected to AC power, as USB charging does not operate on battery backup.
- Ensure your USB cable is properly connected and not damaged.
- Try charging a different device to rule out an issue with the device or cable.
- La hora y la configuración se restablecen después de apagar el dispositivo.tage:
- Ensure fresh AAA batteries are installed in the battery backup compartment. The battery backup preserves settings during power interruptions.
- Incorrect temperature/humidity reading:
- Ensure the clock is placed in an area with good air circulation, away from direct heat sources or vents.
- Deje pasar un tiempo para que los sensores se estabilicen después de la configuración inicial o la reubicación.
Presupuesto
| Marca | Roxicosly |
| Modelo | Digital Wooden Alarm Clock |
| Tipo de pantalla | Digital LED (8.7 inches) |
| Brillo de la pantalla | 7 Levels (Dimmable) |
| Volumen de alarma | 5 Levels (65dB-120dB) |
| Alarmas | Alarmas duales |
| Duración de la pausa | 9 minutos |
| Puertos de carga | 2 puertos de carga USB |
| Características especiales | Temperature & Humidity Detection, DST Function, 12/24h Format |
| Fuente de poder | Corded Electric (AC Adapter included), Battery Backup (2x AAA, not included) |
| Material | Madera |
| Color | Negro |
Garantía y soporte
This Roxicosly Digital Wooden Alarm Clock comes with a standard manufacturer's warranty. For specific warranty details, please refer to the product packaging or contact your retailer. For technical support, troubleshooting assistance beyond this manual, or inquiries regarding your product, please contact Roxicosly customer service through the retailer's platform or the official brand websitio.
Conserve su recibo de compra como comprobante de compra para cualquier reclamo de garantía.