Introducción
This instruction manual provides detailed guidance for the assembly, operation, and maintenance of your PawHut Bird Cage, model D10-019V01WT. Please read these instructions carefully before assembly and use to ensure safe and proper operation. Keep this manual for future reference.
Instrucciones de seguridad
- Asegúrese de que todas las piezas estén bien fijadas antes de colocar las aves dentro de la jaula.
- Do not allow children to climb on or play with the cage.
- Place the cage on a stable, level surface.
- Inspeccione periódicamente la jaula para detectar cualquier pieza dañada o suelta que pueda dañar a sus aves.
- Mantenga la jaula alejada de la luz solar directa, corrientes de aire y temperaturas extremas.
- Use caution when moving the cage, especially with birds inside. Engage wheel brakes when stationary.
Contenido del paquete
Antes del montaje, verifique que todos los componentes enumerados a continuación estén presentes y no estén dañados.
- Bird Cage Panels (Top, Bottom, Sides, Front, Back)
- Cage Stand Frame
- Storage Shelf for Stand
- 4 Wheels (2 with brakes)
- Bandeja inferior extraíble
- 3 perchas de madera
- 1 Bird Swing
- 4 Plastic Feeders/Water Bowls
- Herrajes de montaje (tornillos, tuercas, etc.)
- Manual de instrucciones
Instrucciones de montaje
Follow these steps carefully to assemble your bird cage. It is recommended to have two people for assembly.
- Assemble the Cage Stand:
Attach the four wheels to the bottom of the stand frame. Ensure the two wheels with brakes are positioned on the same side for easy access. Secure the storage shelf to the lower part of the stand frame.
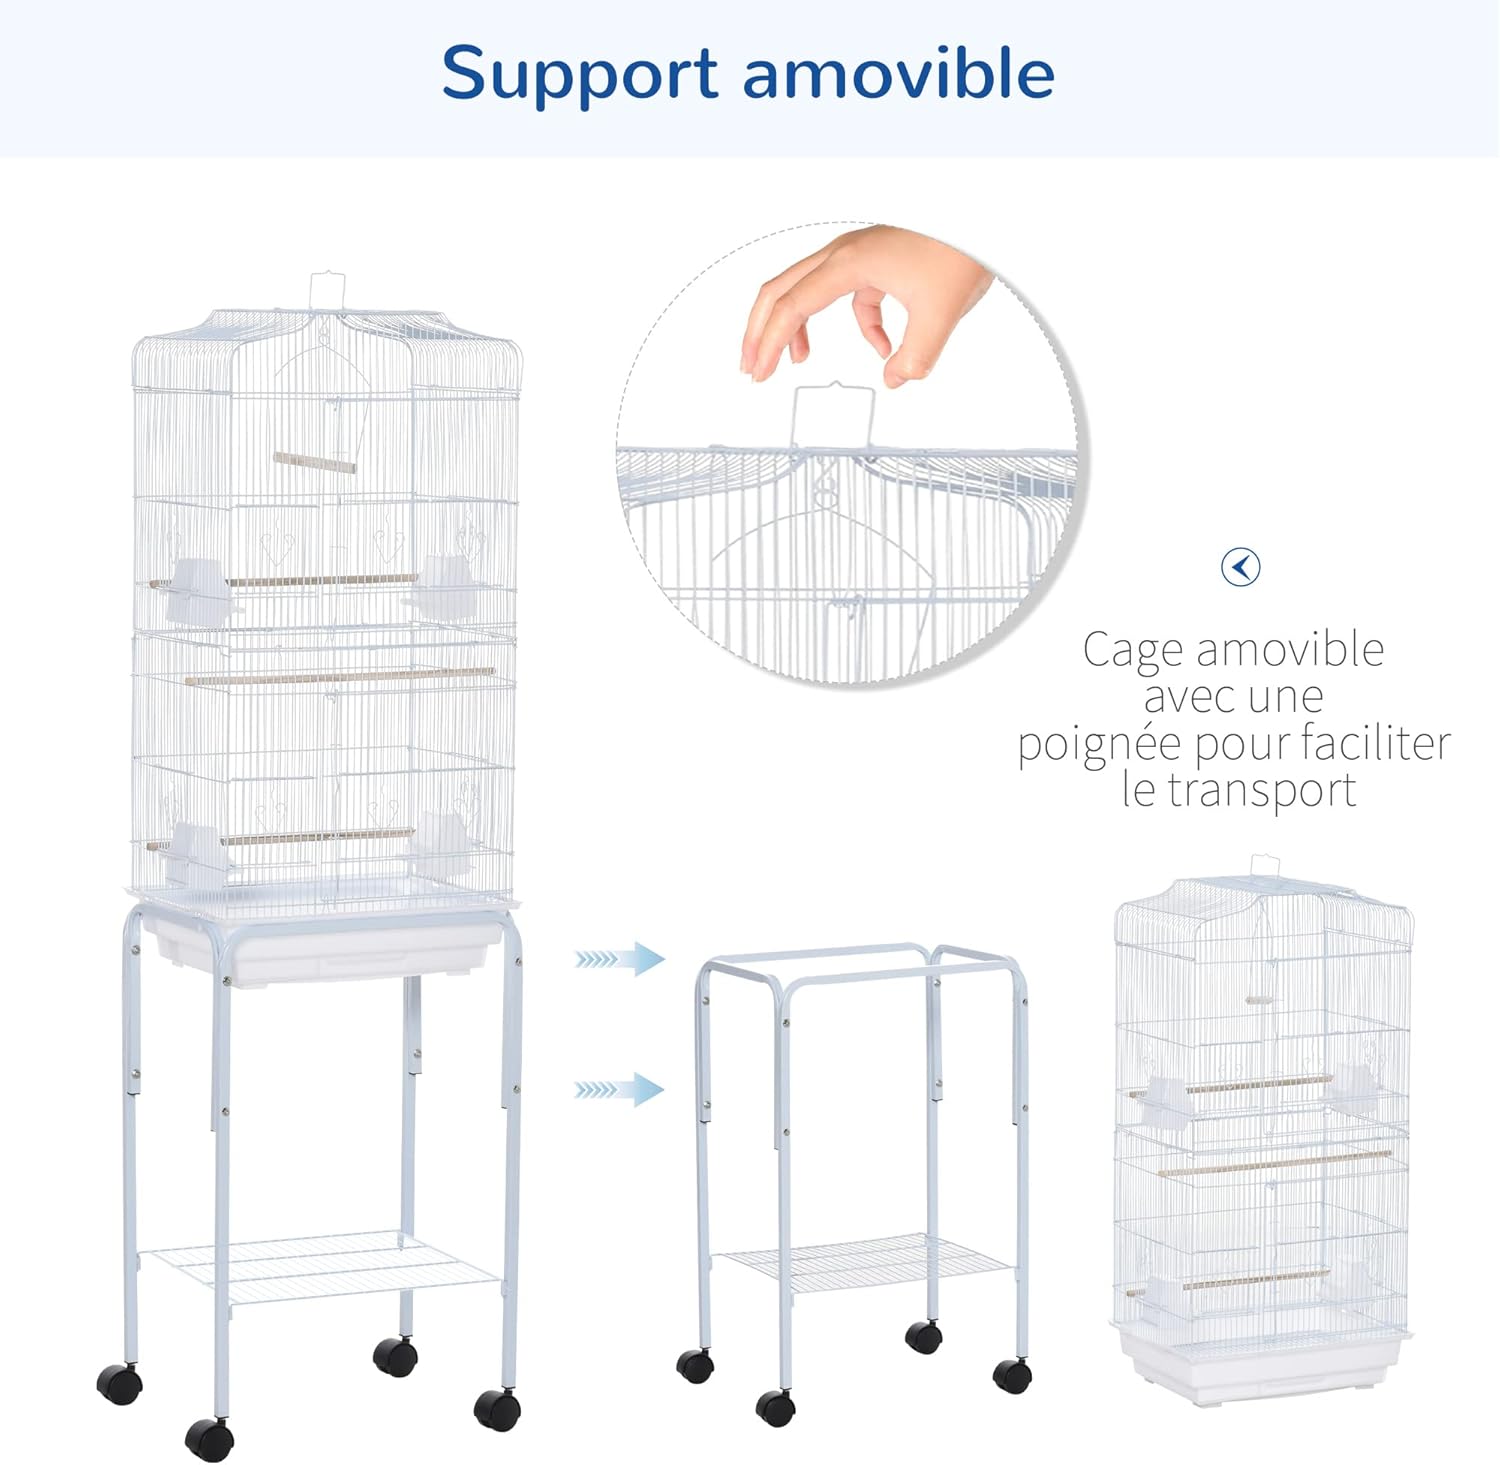
Figure 1: Assembling the mobile stand with wheels and storage shelf. - Ensamblar el cuerpo de la jaula:
Connect the side, front, and back panels of the cage using the provided hardware. Ensure all panels align correctly and are securely fastened. Attach the top panel to complete the main cage structure.

Figure 2: The complete bird cage structure on its stand. - Instalar accesorios internos:
Insert the wooden perches through the designated holes in the cage panels. Hang the bird swing from the top of the cage. Place the plastic feeders/water bowls into the sliding door openings.

Figure 3: Installation of perches, feeders, and other internal accessories. - Inserte la bandeja extraíble:
Slide the removable bottom tray into the designated slot at the base of the cage. This tray collects waste and facilitates cleaning.
- Coloque la jaula en el soporte:
Carefully lift the assembled cage body and place it onto the assembled stand. Ensure it is stable and centered.
Instrucciones de funcionamiento
- Puertas de acceso: The cage features two large front doors for easy access to your birds and for cleaning. Multiple smaller sliding doors are provided for accessing the feeders and water bowls without opening the main doors.

Figure 4: Open doors for bird access and cleaning. - Moviendo la jaula: To move the cage, release the brakes on the two locking wheels. Use the handle located on top of the cage for guidance. Once in the desired location, engage the wheel brakes to secure the cage.
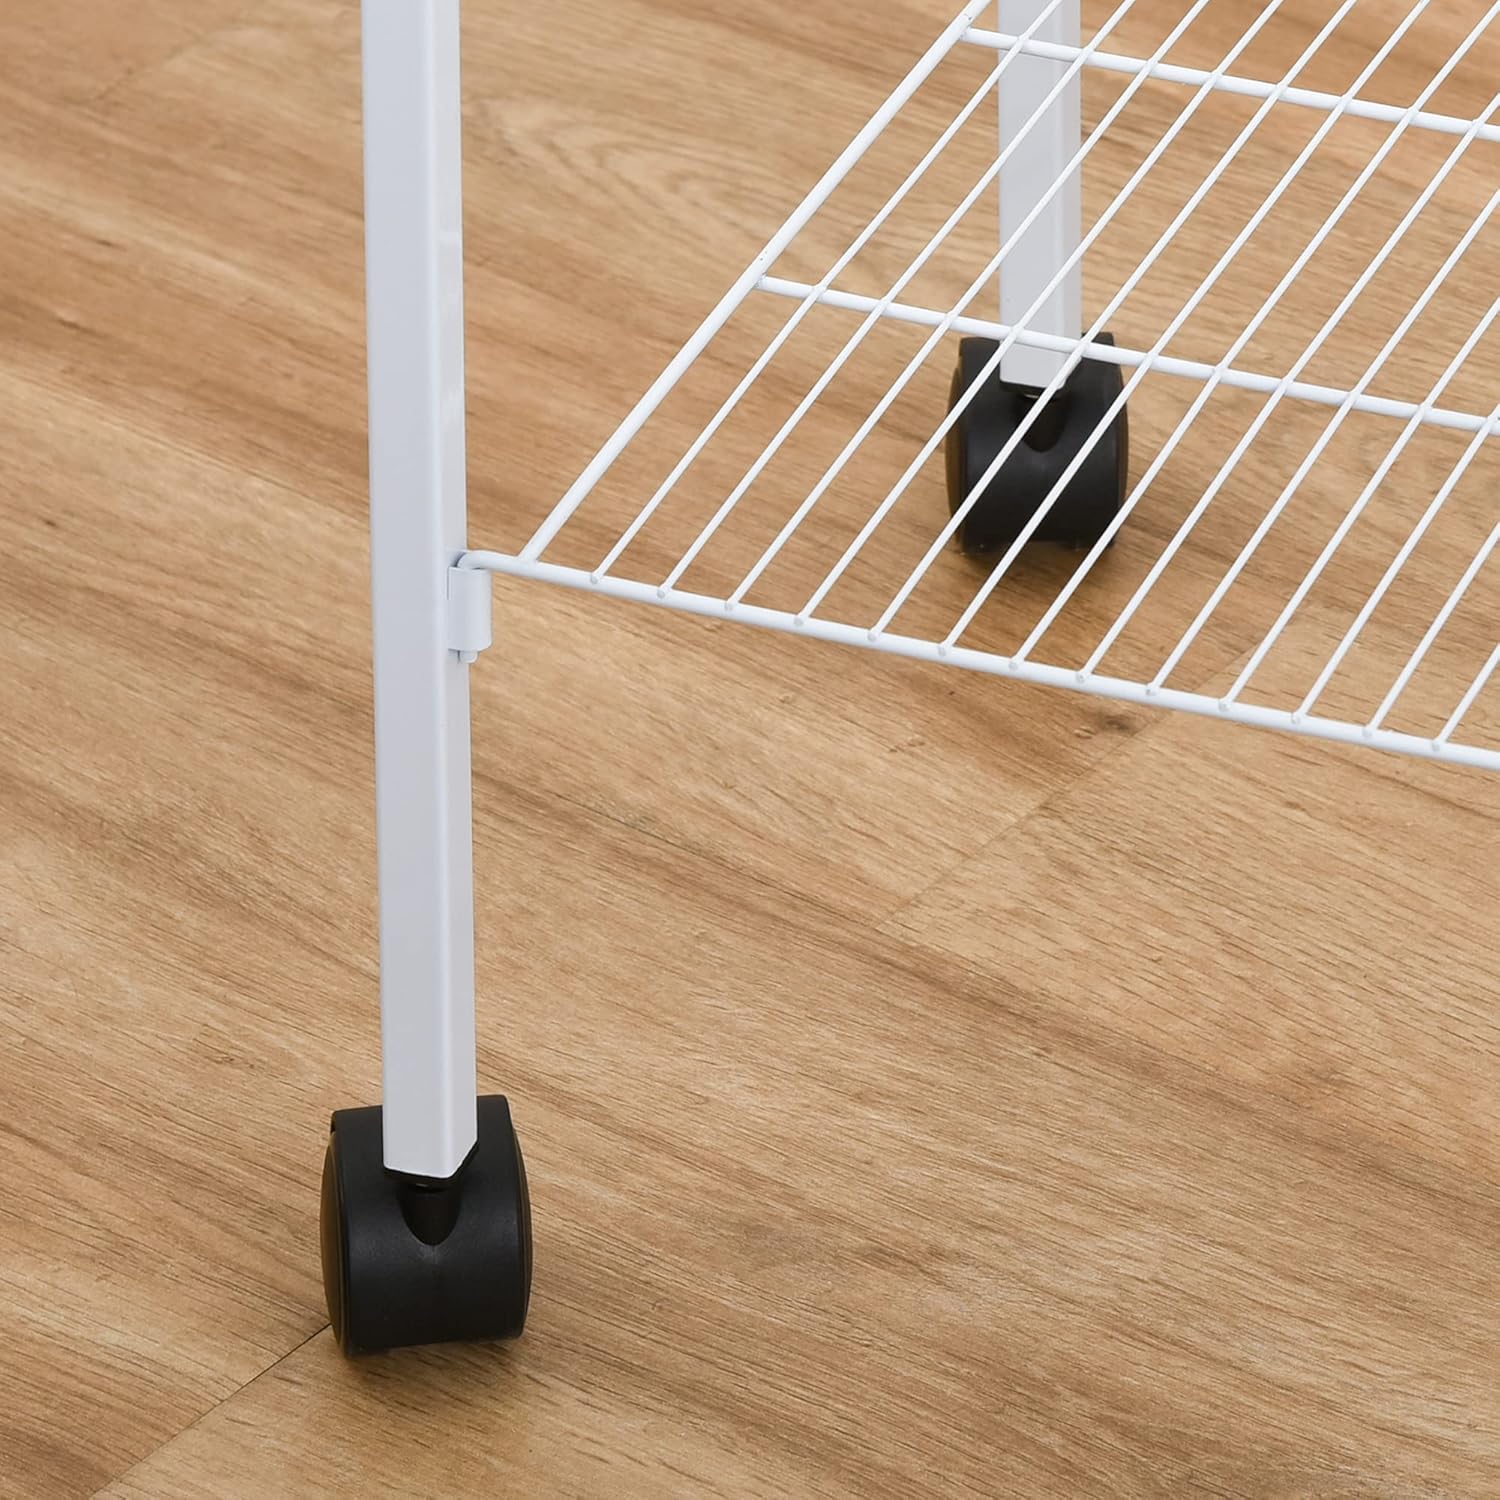
Figure 5: Detail of the cage wheels, including the brake mechanism. - Alimentación y riego: Use the four plastic bowls for food and water. These can be accessed via the small sliding doors to refill without disturbing your birds.
- Perches and Swing: The wooden perches and swing provide resting and play areas for your birds. Ensure they are securely installed.
Mantenimiento y limpieza
- Limpieza diaria: Remove and clean the removable bottom tray daily to maintain hygiene. Wash with mild soap and water, then rinse thoroughly and dry before returning to the cage.
- Limpieza semanal: Clean all perches, feeders, and the swing weekly. Inspect for any wear or damage.
- Limpieza profunda: Periodically, disassemble the cage (if necessary) for a thorough cleaning of all panels and the stand. Use bird-safe cleaning solutions.
- Inspección: Regularly check the cage structure, mesh, doors, and wheels for any signs of damage, rust, or loose connections. Tighten any loose screws.
Solución de problemas
- Problem: Cage feels unstable.
- Solución: Ensure all assembly hardware is tightened. Verify the cage is placed on a flat, level surface. Engage the wheel brakes if the cage is stationary.
- Problema: Las ruedas no giran suavemente.
- Solución: Check for debris caught in the wheels. Ensure the wheel brakes are disengaged. Lubricate wheel axles if necessary.
- Problem: Doors do not close securely.
- Solución: Inspect the door hinges and latches for damage or misalignment. Adjust if possible, or contact customer support if parts are broken.
Presupuesto
| Número de modelo | D10-019V01WT |
| Marca | Hut de patas |
| Dimensiones generales (L x An x Al) | 46.5 cm x 36 cm x 157 cm (18.3" x 14.2" x 61.8") |
| Dimensiones de la jaula (largo x ancho x alto) | 44.5 cm x 33 cm x 92 cm (17.5" x 13" x 36.2") |
| Espaciado de barras | 0.8 cm (8 mm) |
| Material | Acero aleado, plástico |
| Color | Blanco |
| Peso | 7 kg (15.4 libras) |
| Especies recomendadas | Small birds (e.g., Canaries, Parakeets) |
| Características especiales | Removable cage from stand, Mobile with wheels (2 lockable), Storage shelf, Multiple access doors, Removable bottom tray |


Garantía y soporte
Para obtener información sobre la garantía o asistencia técnica, consulte los datos de contacto proporcionados con la documentación de compra o visite el sitio web oficial de PawHut. webSitio. Conserve su comprobante de compra para cualquier reclamación de garantía.