HOVERSTAR LBW19
Manual de usuario del hoverboard eléctrico HOVERSTAR Starship
Modelo: LBW19
1. Introducción
Thank you for choosing the HOVERSTAR Starship Electric Hoverboard. This manual provides essential information for the safe operation, setup, maintenance, and troubleshooting of your new self-balancing scooter. Please read this manual thoroughly before first use to ensure a safe and enjoyable experience.
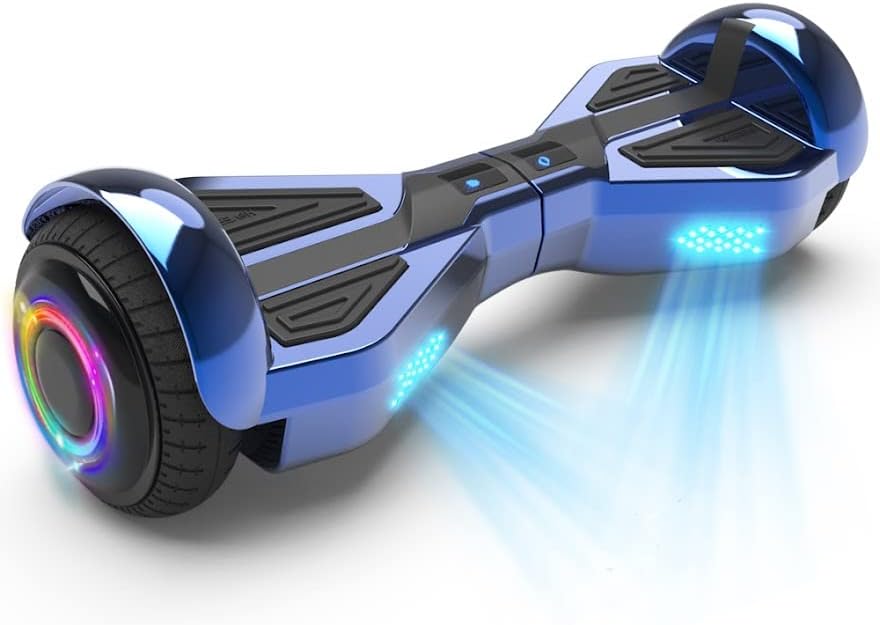
Image: The HOVERSTAR Starship Electric Hoverboard, showcasing its sleek chrome blue finish and illuminated LED wheels.
2. Información de seguridad
WARNING: Always wear a helmet and appropriate safety gear when riding. Adult supervision is recommended for younger riders.
- This hoverboard has passed strict battery testing and is approved by SGS LAB according to UL2272 standards.
- No opere el hoverboard bajo la influencia del alcohol o drogas.
- Always ride within your skill level and be aware of your surroundings.
- Evite conducir sobre superficies irregulares, pendientes pronunciadas o cerca del tráfico.
- El peso máximo admitido es de 75 kg (165 lb). No exceda este límite.
- Rango de temperatura de funcionamiento: 5°C a 40°C (41°F a 104°F).
3. Contenido del paquete
Por favor, marque la casilla correspondiente a los siguientes artículos:
- HOVERSTAR Starship Electric Hoverboard x1
- Cargador x1
- Manual de instrucciones x1 (este documento)
4. Producto terminadoview
Familiarize yourself with the main components of your hoverboard:
- Almohadillas para los pies: Pressure-sensitive pads where you place your feet to control movement.
- Ruedas: 6.5-inch wheels with LED lighting.
- Luces LED: Front and wheel-integrated LED lights for visibility and aesthetics.
- Puerto de carga: Located on the side for connecting the charger.
- Botón de encendido: To turn the hoverboard on and off.
- Bocina Bluetooth: Altavoz integrado para reproducción de audio.
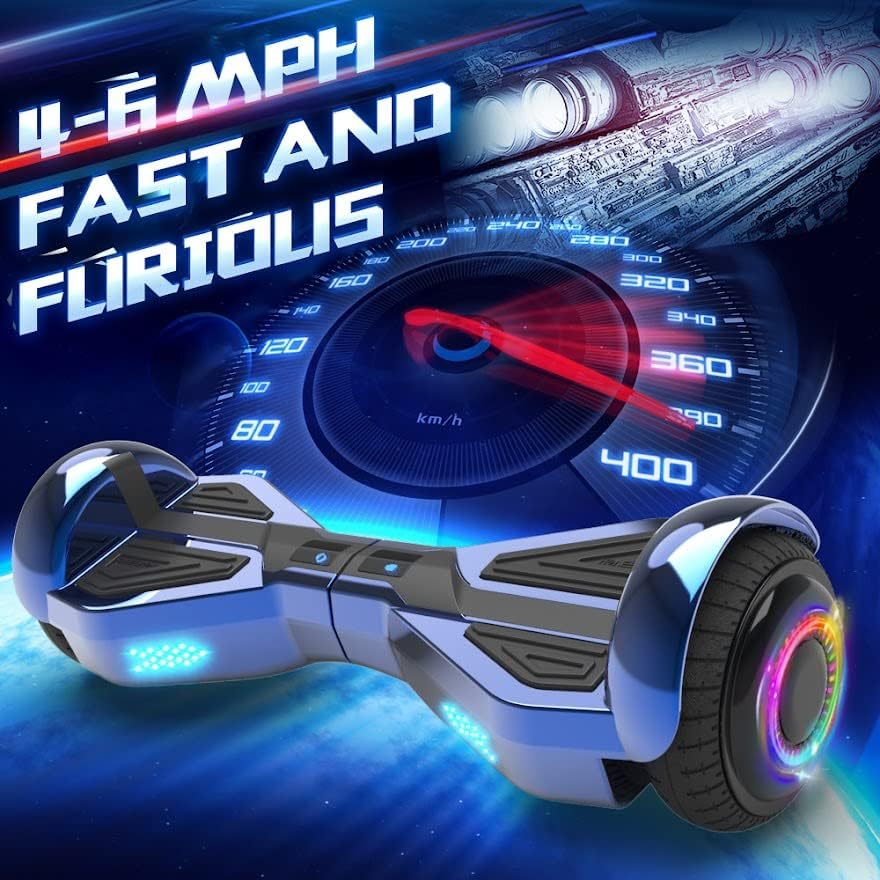
Image: Detail of the hoverboard's 6.5-inch wheel, highlighting the vibrant LED colorful atmosphere lamp and new LED running lights.

Image: The hoverboard from a front view, emphasizing its integrated high-quality wireless Bluetooth speaker.
5. Configuración
5.1 Carga inicial
Before first use, fully charge your hoverboard. The charging time is approximately 2-3 hours.
- Conecte el cargador al puerto de carga del hoverboard.
- Conecte el cargador a una toma de pared estándar.
- La luz indicadora del cargador cambiará (por ejemplo, de rojo a verde) cuando se complete la carga.
- Unplug the charger once charging is complete to prevent overcharging.
5.2 Calibración (si es necesaria)
Si el hoverboard no se equilibra correctamente, es posible que necesite calibración:
- Coloque el hoverboard sobre una superficie plana y nivelada.
- Asegúrese de que el hoverboard esté apagado.
- Mantenga presionado el botón de encendido durante aproximadamente 5 a 10 segundos hasta que las luces indicadoras parpadeen.
- Release the button and power off the hoverboard.
- Power it on again; calibration should be complete.
6. Instrucciones de funcionamiento
6.1 Encendido / Apagado
- To turn on: Press the power button. The indicator lights will illuminate.
- To turn off: Press the power button again. The lights will turn off.
6.2 Montando el Hoverboard
El hoverboard se controla desplazando el peso del cuerpo.
- Montaje: Place one foot firmly on a footpad. Once stable, quickly step up with your other foot.
- Moviéndose hacia adelante/atrás: Lean slightly forward to move forward, and slightly backward to move backward.
- Torneado: To turn left, push your right foot forward slightly. To turn right, push your left foot forward slightly.
- Parada: Regrese a una posición vertical y neutral para detenerse.
- Desmontaje: Step off backward, one foot at a time, ensuring the hoverboard is stable.
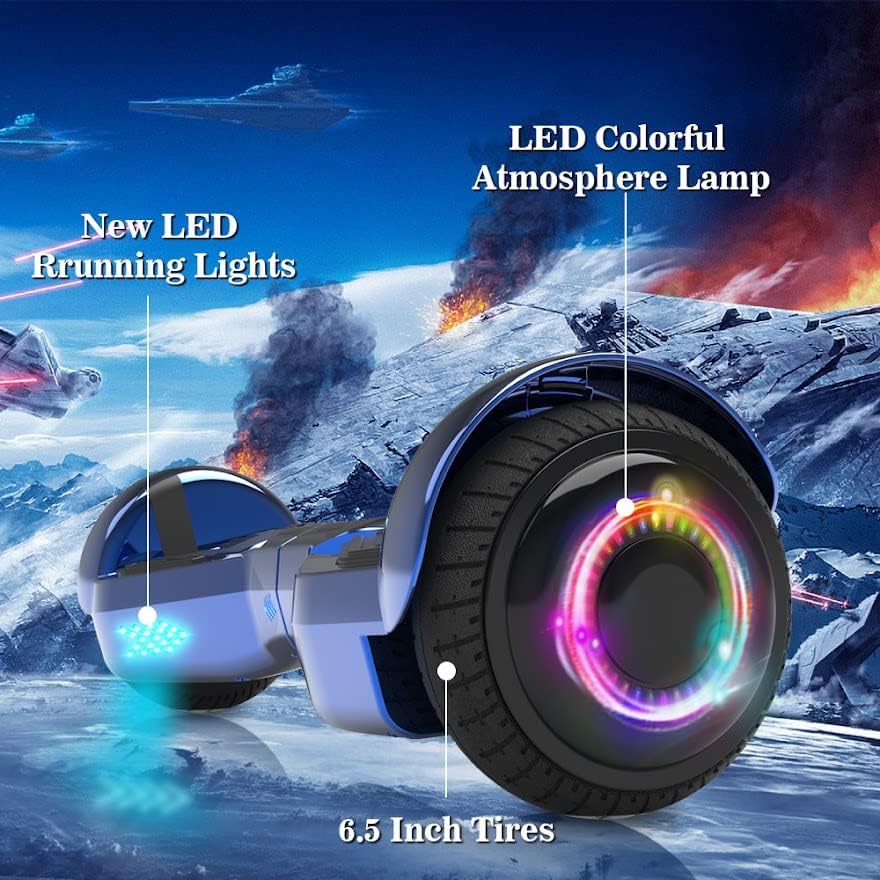
Image: The hoverboard in motion, illustrating its capability to reach speeds of 4-6 MPH.
6.3 Funcionamiento del altavoz Bluetooth
Your hoverboard features a built-in Bluetooth speaker for audio playback.
- Asegúrese de que el hoverboard esté encendido.
- Habilite Bluetooth en su dispositivo móvil.
- Buscar Bluetooth devices and select the hoverboard (usually named 'HOVERSTAR' or similar).
- Once paired, you can play music through the hoverboard's speaker.
7. Mantenimiento
7.1 Limpieza
- Limpiar el hoverboard con publicidadamp paño. No utilice productos químicos agresivos ni limpiadores abrasivos.
- Do not wash the hoverboard with water or submerge it.
7.2 Almacenamiento
- Guarde el hoverboard en un lugar fresco y seco, alejado de la luz solar directa.
- If storing for an extended period, charge the battery to about 50% every 2-3 months to maintain battery health.
- Stored relative humidity: 5%~85%.
8. Solución de problemas
- El hoverboard no se enciende: Ensure the battery is charged. Check the charger connection.
- Hoverboard not balancing: Perform the calibration steps outlined in Section 5.2.
- Bluetooth no se conecta: Ensure Bluetooth is enabled on your device and the hoverboard. Try restarting both devices.
- Ruidos o vibraciones inusuales: Stop riding immediately and contact customer support.
9. Especificaciones
| Característica | Especificación |
|---|---|
| Marca | HOVERESTRELLA |
| Modelo | BPN19 |
| Color | Azul cromo |
| Energía de la batería | DC25.2V / 2AH |
| Tiempo de carga | 2-3 horas |
| Potencia del motor | Dos motores de 200 vatios |
| Velocidad máxima | 6.2 Miles per Hour (approx. 4-6 MPH typical riding) |
| Límite de peso | 45-165 libras (20-75 kg) |
| Tamaño de la rueda | 6.5 pulgadas |
| Ángulo máximo de escalada | 15° |
| Temperatura de funcionamiento | 5 °C a 40 °C (41 °F a 104 °F) |
| Temperatura de carga | 5 °C a 40 °C (41 °F a 104 °F) |
| Dimensiones (L x An x Al) | Aprox. 24 x 8.7 x 8.4 pulgadas |
| Características especiales | Altavoz Bluetooth incorporado, luces LED |
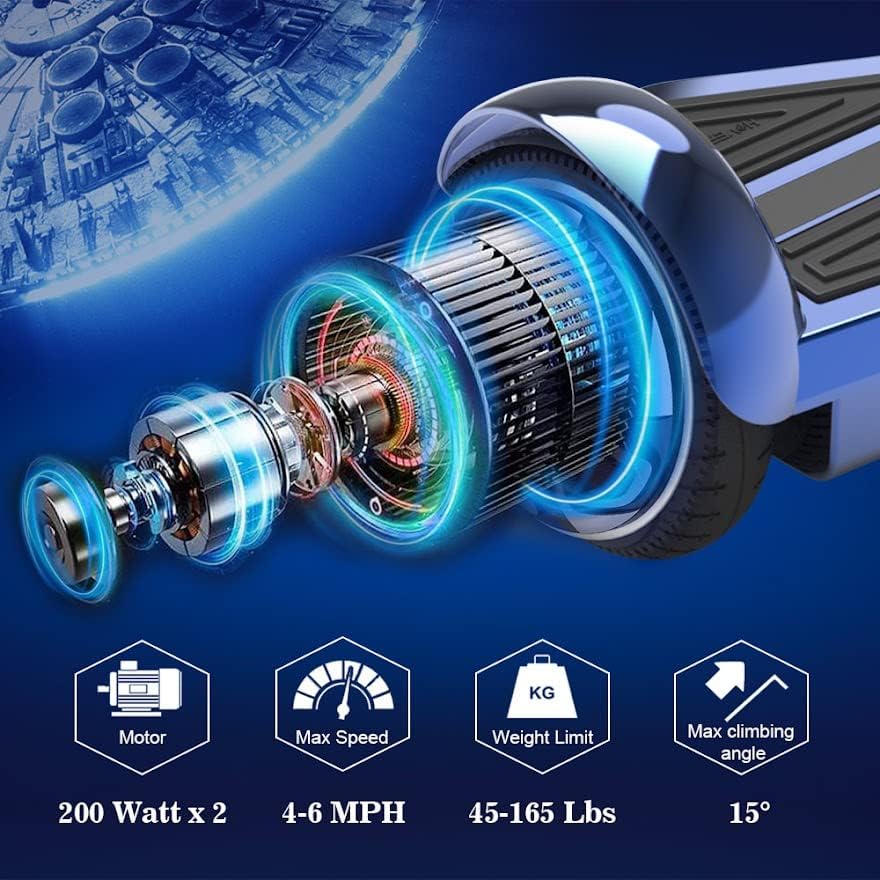
Image: Technical specifications of the hoverboard, including dual 200-watt motors, 4-6 MPH max speed, 45-165 lbs weight limit, and 15° max climbing angle.
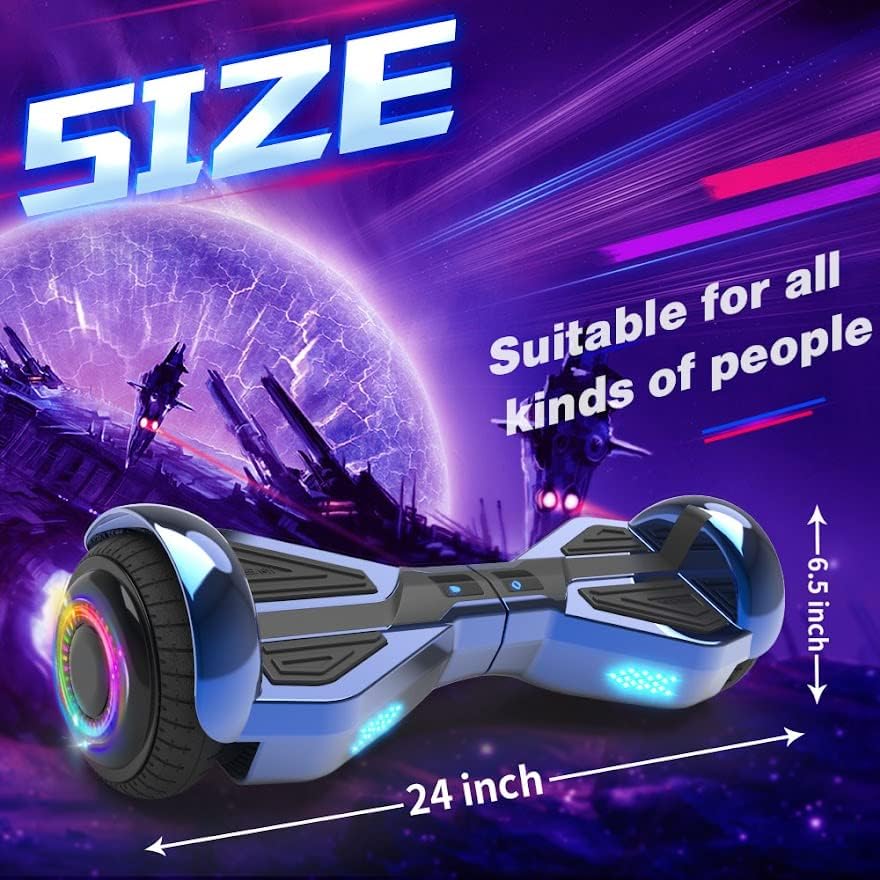
Image: The hoverboard with overlaid dimensions, showing its approximate 24-inch length and 6.5-inch wheel size.
10. Garantía y soporte
Para obtener información sobre la garantía o asistencia técnica, consulte la tarjeta de garantía incluida con el producto o póngase en contacto directamente con el vendedor/fabricante. Conserve el recibo de compra como comprobante.
Manufacturer: YONGKANG JIAHENG INDUSTRY&TRADE CO., LTD
Ask a question about this manual
Ask about setup, troubleshooting, compatibility, parts, safety, or missing instructions. Manuals+ will review the question and use this page’s manual context to help answer it.