1. Introducción
Thank you for choosing the InFocus P120 INL412 Multimedia Projector. This manual provides essential information for the safe and efficient operation of your projector. Please read it thoroughly before using the device and retain it for future reference. The InFocus P120 INL412 is designed for versatile multimedia presentations, offering clear and vibrant images for various applications.
2. Información de seguridad
Para garantizar un funcionamiento seguro y evitar daños al proyector, tenga en cuenta las siguientes precauciones de seguridad:
- No obstruya las aberturas de ventilación. Asegúrese de que haya suficiente espacio alrededor del proyector para una correcta circulación del aire y evitar el sobrecalentamiento.
- Evite mirar directamente a la lente del proyector cuando lamp Está encendido, ya que la luz brillante puede causar daños en los ojos.
- Do not place the projector on an unstable cart, stand, or table. The projector may fall, causing serious injury to a child or adult, and serious damage to the unit.
- Desconecte el cable de alimentación del tomacorriente de pared si el proyector no se utilizará durante un período prolongado.
- Encargue cualquier reparación a personal técnico cualificado. No intente abrir ni reparar el proyector usted mismo.
- Keep the projector away from water or moisture. Do not expose it to rain or immerse it in liquid.
- Use only the power cord supplied with the projector or an authorized replacement.
3. Contenido del paquete
Verifique que todos los elementos enumerados a continuación estén incluidos en el paquete de su proyector:
- InFocus P120 INL412 Multimedia Projector
- Cable de alimentación
- Control remoto con pilas
- Cable VGA
- Manual de usuario (este documento)
- Guía de inicio rápido
4. Producto terminadoview
Familiarize yourself with the main components of your InFocus P120 INL412 projector.
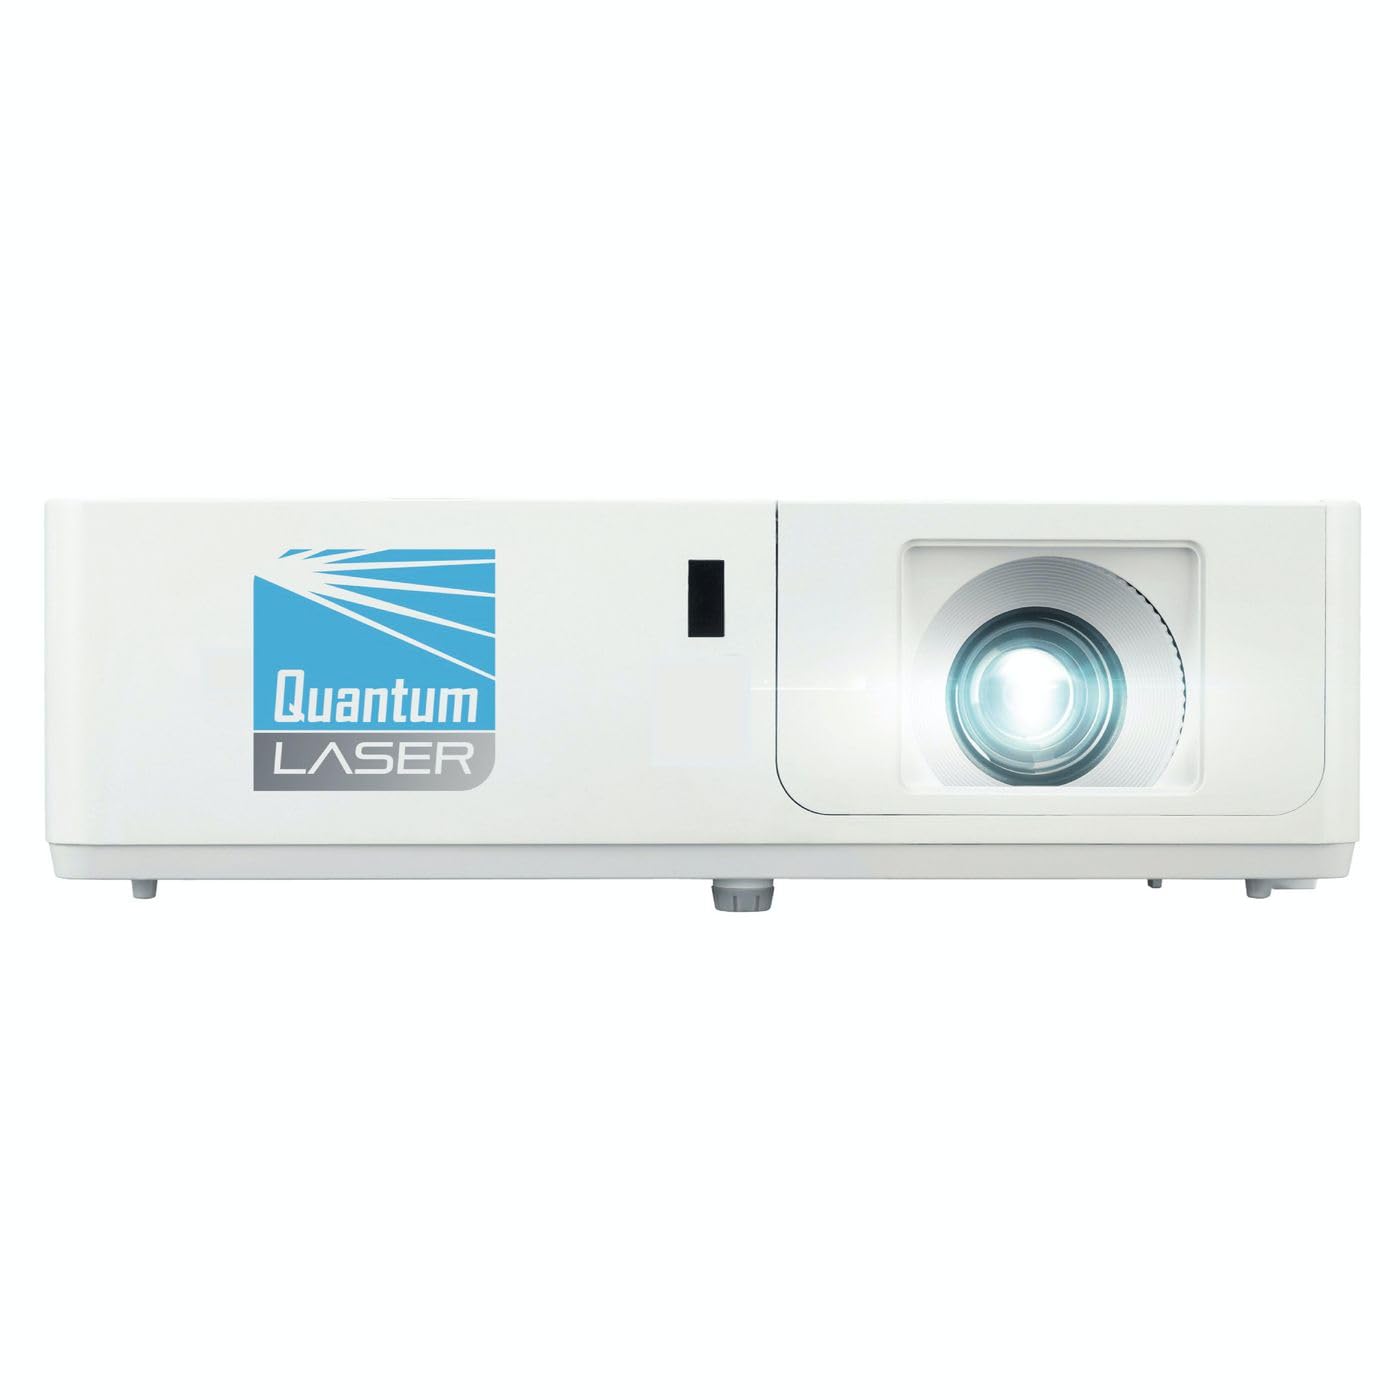
Imagen 1: Frente view of the InFocus P120 INL412 Multimedia Projector, showing the lens and ventilation grilles.
4.1 Panel frontal
- Lente de proyección: Emite la imagen en la pantalla.
- Anillo de enfoque: Ajusta la claridad de la imagen proyectada.
- Anillo de zoom: Ajusta el tamaño de la imagen proyectada.
- Receptor IR: Recibe señales del mando a distancia.
4.2 Panel superior
- Panel de control: Botones de encendido, navegación del menú, selección de fuente y corrección trapezoidal.
- Luces indicadoras: Display the projector's status (e.g., power, lamp, temperature).
4.3 Panel trasero (Conectividad)
- Entrada HDMI: Connects to HDMI-enabled devices (laptops, Blu-ray players).
- Entrada VGA: Se conecta a computadoras con salida VGA.
- Puerto USB: For service or connecting USB devices (if supported by model).
- Entrada/salida de audio: Para conectar fuentes de audio externas o altavoces.
- Entrada de energía: Conecta el cable de alimentación.
5. Configuración
Siga estos pasos para la configuración inicial de su proyector:
- Colocación: Place the projector on a stable, flat surface or mount it securely. Ensure the projector is positioned at an appropriate distance from the screen to achieve the desired image size.
- Conexión de energía: Connect the power cord to the projector's power inlet and then to a grounded electrical outlet.
- Conecte el dispositivo fuente: Connect your source device (e.g., laptop, DVD player) to the projector using an appropriate cable (HDMI, VGA, etc.). Ensure the cable is securely connected to both the source and the projector.
- Encendido: Press the power button on the projector's control panel or the remote control to turn on the projector. The power indicator light will illuminate.
- Ajustar el enfoque y el zoom: Once an image is projected, rotate the focus ring on the lens until the image is sharp and clear. Use the zoom ring to adjust the image size to fit your screen.
- Corrección trapezoidal: If the image appears trapezoidal, use the keystone correction function (either via buttons on the projector/remote or through the on-screen menu) to square the image.
6. Instrucciones de funcionamiento
6.1 Encendido y apagado
- Para encender: Press the power button once. The projector will go through a warm-up sequence.
- Para apagar: Press the power button twice. The first press will prompt a shutdown confirmation; the second press will initiate shutdown. Allow the projector to cool down completely before unplugging.
6.2 Selección de fuente
Press the 'Source' button on the projector or remote control to cycle through available input sources (HDMI, VGA, etc.) until your desired source is displayed.
6.3 Navegación por menús
Press the 'Menu' button to access the on-screen display (OSD) menu. Use the arrow buttons to navigate through options and 'Enter' or 'OK' to select. Use the 'Exit' or 'Menu' button to close the OSD.
- Configuración de imagen: Ajuste el brillo, el contraste, el color, la relación de aspecto y el modo de imagen.
- Configuración de pantalla: Configure keystone, projection mode (front/rear, desktop/ceiling), and resolution.
- Configuración de audio: Controla el volumen y las opciones de salida de audio.
- Configuración del sistema: Manage language, timer, power-saving modes, and factory reset.
7. Mantenimiento
El mantenimiento regular garantiza un rendimiento óptimo y prolonga la vida útil de su proyector.
- Limpieza de lentes: Limpie suavemente la lente del proyector con un paño suave y sin pelusa, especialmente diseñado para superficies ópticas. No utilice limpiadores abrasivos ni aplique demasiada fuerza.
- Limpieza de gabinetes: Use a soft, dry cloth to clean the projector's exterior. For stubborn marks, dampen the cloth slightly with water. Avoid using harsh chemicals.
- Limpieza/reemplazo del filtro de aire: Check the air filter periodically. If your model has a removable filter, clean it with a soft brush or vacuum cleaner. Replace the filter as recommended in the on-screen menu or when visibly dirty to maintain proper ventilation.
- Lamp Reemplazo: El proyector lamp tiene una vida útil finita. Cuando el lamp life indicator appears, or the image brightness significantly decreases, replace the lamp according to the instructions provided in the full service manual or by a qualified technician. Always allow the projector to cool down completely before attempting lamp reemplazo.
8. Solución de problemas
Consulte la siguiente tabla para conocer los problemas más comunes y sus soluciones:
| Problema | Posible causa | Solución |
|---|---|---|
| No se muestra ninguna imagen | Cable de alimentación desconectado, fuente de entrada incorrecta, dispositivo fuente apagado. | Check power connections. Select correct input source. Ensure source device is powered on. |
| La imagen es borrosa | Lente desenfocada, distancia de proyección incorrecta. | Adjust the focus ring on the lens. Reposition the projector closer or further from the screen. |
| La imagen es trapezoidal | Proyector no perpendicular a la pantalla. | Use keystone correction (manual or automatic) to square the image. |
| El proyector se sobrecalienta y se apaga | Ventilación bloqueada, filtro de aire sucio. | Ensure clear space around vents. Clean or replace the air filter. |
| El control remoto no funciona | Dead batteries, obstruction between remote and projector, incorrect angle. | Replace batteries. Ensure clear line of sight to IR receiver. Point remote directly at the projector. |
9. Especificaciones
Key technical specifications for the InFocus P120 INL412 Multimedia Projector:
| Característica | Especificación |
|---|---|
| Número de modelo | P120 INL412 (Item model number: 7296144) |
| Tipo de pantalla | DLP |
| Resolución nativa | 1280 x 800 |
| Resolución máxima de pantalla | 1280 x 800 |
| Tecnología de conectividad | USB (and other standard inputs like HDMI, VGA) |
| Dimensiones del producto | 5.25 x 0.31 x 1.66 pulgadas |
| Peso del artículo | 6.6 libras |
| Fabricante | En foco |
10. Garantía y soporte
The InFocus P120 INL412 Multimedia Projector comes with a standard manufacturer's warranty. Please refer to the warranty card included in your package for specific terms and conditions, including warranty duration and coverage details. For technical support, service, or further inquiries, please visit the official InFocus support websitio o comuníquese con su departamento de servicio al cliente.
Para obtener la información de soporte más actualizada, visite: www.infocus.com/support