Introducción
This manual provides detailed instructions for the safe and efficient operation of your SINGER M1005 Electric Sewing Machine. The M1005 is designed for various sewing projects, offering 4 built-in stitches with 11 options, adjustable thread tension, and a reverse lever for securing seams. Please read this manual thoroughly before using the machine to ensure proper setup and function.
Instrucciones de seguridad importantes
Al utilizar un aparato eléctrico, siempre se deben seguir precauciones básicas de seguridad, incluidas las siguientes:
- Lea todas las instrucciones antes de usar esta máquina de coser.
- Keep these instructions in a convenient place near your machine.
- Always unplug the machine from the electrical outlet immediately after using and before cleaning, removing covers, lubricating, or making any other user servicing adjustments mentioned in the instruction manual.
- No permita que se use como un juguete. Es necesario prestar especial atención cuando este aparato sea utilizado por niños o cerca de ellos.
- Utilice este producto únicamente para el uso previsto, tal como se describe en este manual.
- Nunca opere esta máquina de coser si tiene un cable o enchufe dañado, si no funciona correctamente o si se ha caído o dañado.
- Mantenga los dedos alejados de todas las piezas móviles. Se requiere un cuidado especial alrededor de la aguja de la máquina de coser.
- Utilice siempre la placa de aguja adecuada. Una placa incorrecta puede provocar que la aguja se rompa.
- No tire ni empuje la tela mientras cose. Esto podría desviar la aguja y romperla.
- Apague la máquina de coser cuando realice cualquier ajuste en el área de la aguja, como enhebrar la aguja, cambiar la aguja, enhebrar la bobina o cambiar el prensatelas.
Producto terminadoview
The SINGER M1005 is a compact and user-friendly electric sewing machine designed for ease of use and portability.
Características principales:
- 4 Stitches in 11 Options: Select from various straight stitches, zigzag stitches, blind hem stitch, and multi-stitch zigzag using the Stitch Selector Dial.
- Tensión de hilo ajustable: Allows for fine-tuning stitch quality for different fabrics and threads.
- Bobina de inserción superior: Features a transparent bobbin cover for easy monitoring of thread supply and simple bobbin insertion.
- Free-Arm Design: Facilitates sewing of cylindrical items like trouser hems and sleeve cuffs.
- Palanca de marcha atrás: Conveniently located for securing the beginning and end of seams with reverse stitches.
- Extra High-Presser Foot Lifter: Provides additional clearance for sewing multiple layers or thicker fabrics.
- Diseño portátil: Lightweight for easy transport and storage.
Componentes incluidos:
Your SINGER M1005 sewing machine package includes the following items:
- 1 Máquina de coser
- All-purpose Foot
- Extra Needle
- Finger Guard (pre-installed, removable)
- Bobbins: Class 15 (Transparent)
- Enhebrador de agujas manual
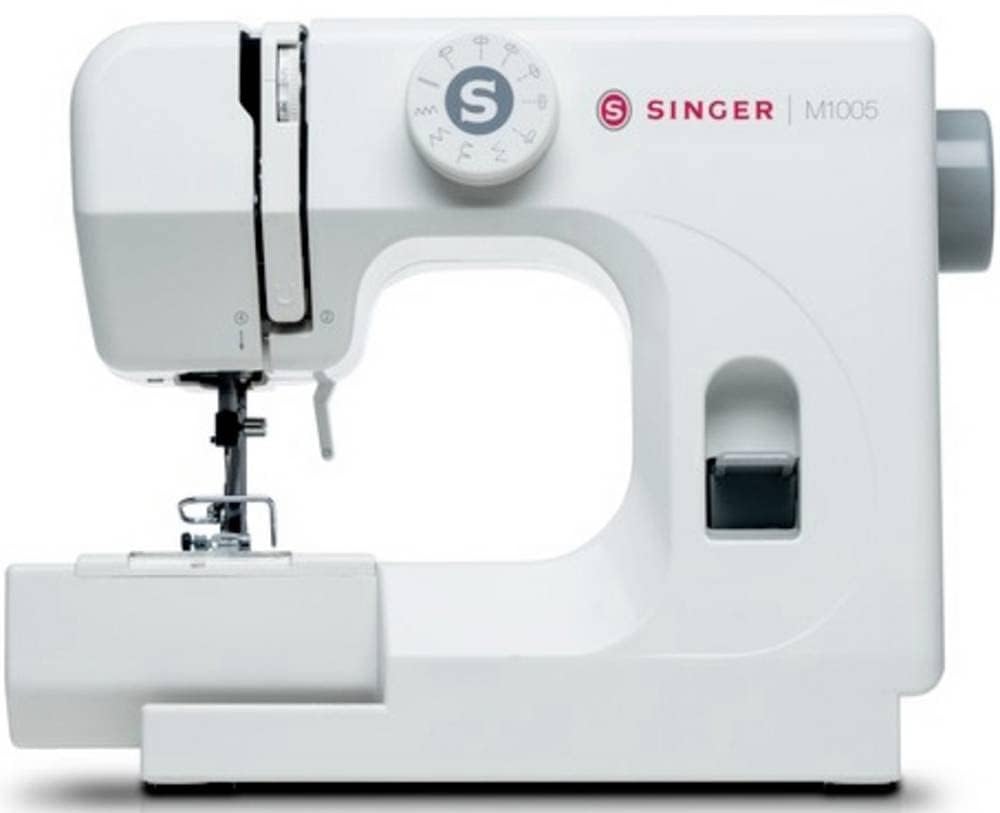
Figura 1: The SINGER M1005 Electric Sewing Machine, showcasing its compact design and ready-to-use setup.
Configuración
1. Conexión de alimentación
- Coloque la máquina sobre una superficie plana y estable.
- Asegúrese de que el interruptor de encendido esté en la posición "APAGADO".
- Conecte el cable de alimentación a la entrada de alimentación de la máquina y luego a una toma de corriente adecuada.
2. Devanado de la bobina
Proper bobbin winding ensures smooth stitching.
- Coloque un carrete de hilo en el portacarrete.
- Guíe el hilo a través de la guía del hilo superior y alrededor del disco tensor del bobinador.
- Inserte el hilo a través del pequeño orificio de la bobina desde adentro hacia afuera.
- Coloque la bobina en el eje del bobinador.
- Empuje el eje de la bobinadora hacia la derecha.
- Turn on the machine and gently press the foot controller (if applicable) or press the start button to begin winding.
- Once the bobbin is full, push the spindle back to the left and cut the thread.
3. Inserting the Top Drop-in Bobbin
The transparent bobbin cover allows for easy monitoring.
- Asegúrese de que la aguja esté en su posición más alta.
- Open the transparent bobbin cover plate.
- Coloque la bobina enrollada en la caja de la bobina con el hilo desenrollándose en sentido antihorario.
- Guíe el hilo hacia el resorte de tensión y luego hacia la ranura de la guía del hilo.
- Pull out approximately 10-15 cm (4-6 inches) of thread.
- Vuelva a colocar la placa de cubierta de la bobina.
4. Enhebrar el hilo superior
Correct upper threading is crucial for proper stitch formation.
- Suba el alzador del prensatelas.
- Coloque un carrete de hilo en el portacarrete.
- Pase el hilo a través de la guía del hilo superior.
- Follow the numbered threading path down the right channel, up the left channel, and through the take-up lever from right to left.
- Continúe guiando el hilo hacia abajo hasta la guía del hilo de la barra de la aguja.
- Enhebre la aguja de adelante hacia atrás.
- Pull approximately 15-20 cm (6-8 inches) of thread through the needle eye.
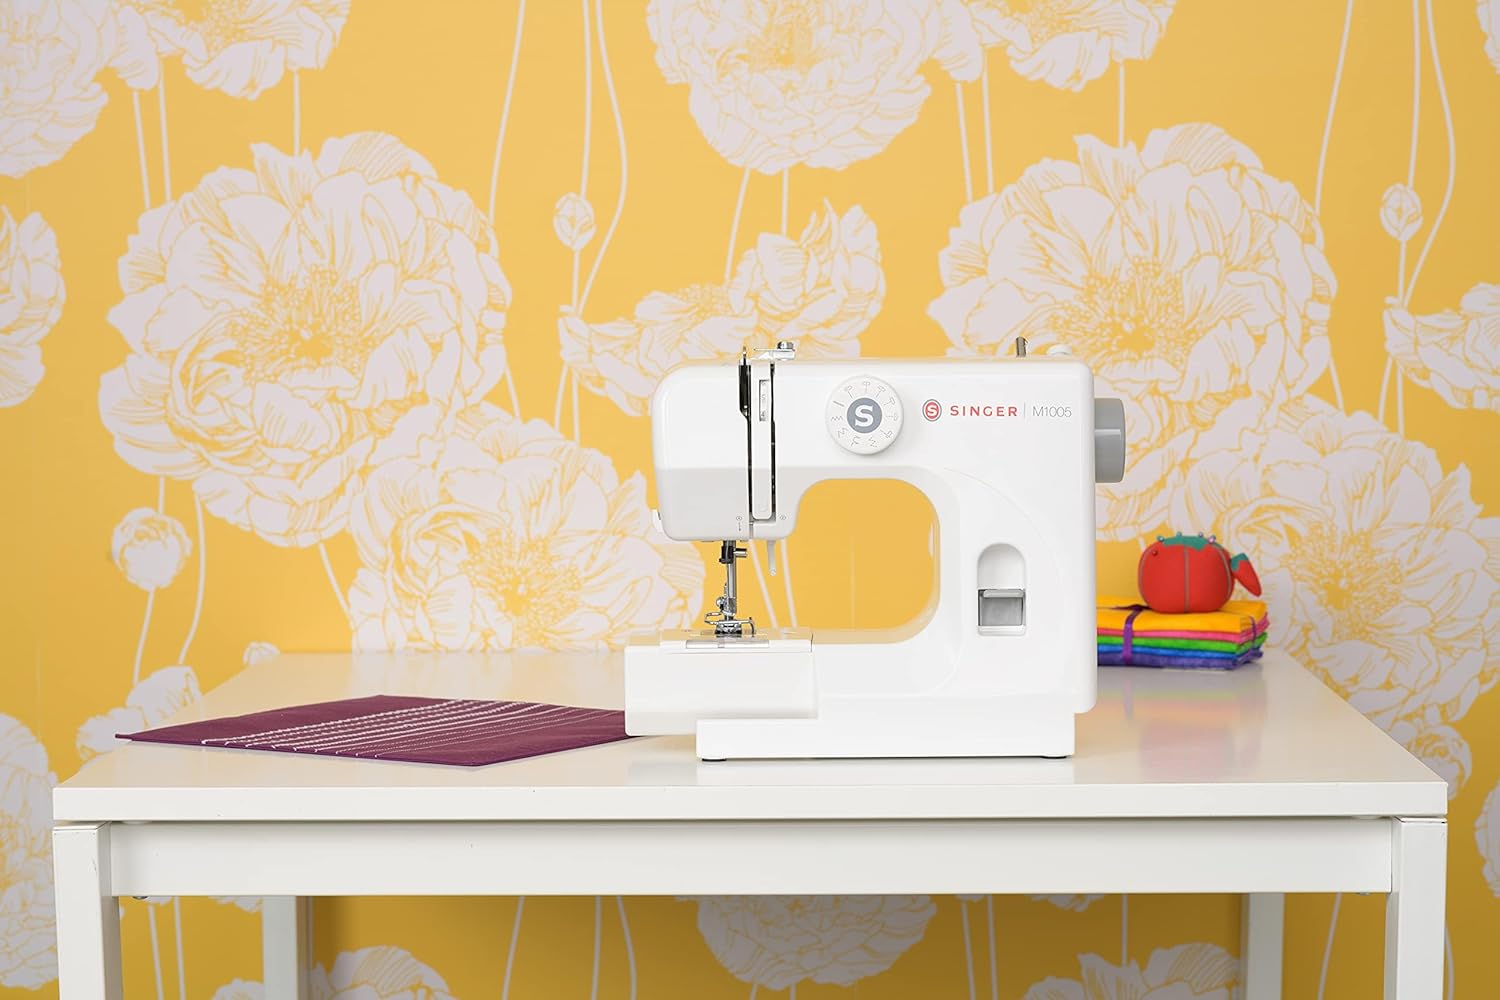
Figura 2: Frente view of the SINGER M1005, highlighting the stitch selector dial and general threading area.
Instrucciones de funcionamiento
1. Seleccionar una puntada
The SINGER M1005 offers 4 core stitch types with 11 different options.
- Girar el Dial selector de puntadas to choose your desired stitch pattern.
- Available stitches include various straight stitches (different lengths/positions), three types of zigzag stitches (different lengths/widths), one blind hem stitch, and one multi-stitch zigzag.
- The optimum stitch width for this machine is 4 mm.
2. Ajuste de la tensión del hilo
Adjust the needle thread tension to achieve balanced stitches.
- The tension dial is usually located on the front of the machine.
- Turn the dial to a higher number for tighter tension, and a lower number for looser tension.
- Test on a scrap piece of fabric to find the ideal setting for your fabric and thread combination.
3. Using the Reverse Lever
The reverse lever is used to secure the beginning and end of seams.
- To sew in reverse, press and hold the Palanca de marcha atrás located on the front of the machine.
- Release the lever to resume forward stitching.
4. Free-Arm Sewing
To utilize the free-arm feature for sewing cuffs, pant hems, or other small circular items:
- Remove the accessory storage compartment (if present) by sliding it off to the left.
- The narrow free arm is now exposed, allowing you to slide fabric around it.
5. Extra High-Presser Foot Lifter
For thicker fabrics or multiple layers, the presser foot can be raised higher than its standard position.
- Lift the presser foot lifter to its highest position.
- For extra clearance, push the lifter up further to engage the extra high position.
Mantenimiento
El mantenimiento regular garantiza la longevidad y el rendimiento óptimo de su máquina de coser. Desenchufe siempre la máquina antes de realizar cualquier mantenimiento.
1. Limpieza de la máquina
- Eliminación de pelusa: Use a small brush to remove lint and dust from the bobbin area and feed dogs.
- Limpieza exterior: Limpie las superficies exteriores con un paño suave, damp tela. No utilice productos químicos agresivos.
2. Reemplazo de aguja
Replace the needle regularly (after 8-10 hours of sewing) or if it becomes bent, dull, or broken.
- Apague la máquina y desenchúfela.
- Afloje la aguja clamp tornillo.
- Retire la aguja vieja.
- Inserte una aguja nueva con el lado plano hacia la parte posterior de la máquina, empujándola hacia arriba hasta el fondo.
- Apriete el cierre de la aguja.amp atornillar de forma segura.
Solución de problemas
Consulte esta sección para obtener soluciones a problemas comunes que pueda encontrar.
| Problema | Posible causa | Solución |
|---|---|---|
| Puntadas saltadas | Aguja incorrecta, aguja doblada, enhebrado incorrecto. | Reemplace la aguja con el tipo/tamaño correcto y vuelva a enhebrar la máquina correctamente. |
| Rotura de hilo | Enhebrado incorrecto, tensión demasiado fuerte, aguja dañada, hilo de mala calidad. | Vuelva a enhebrar la máquina, ajuste la tensión, reemplace la aguja, utilice hilo de buena calidad. |
| Fruncido de tela | Tensión demasiado fuerte, longitud de puntada incorrecta, aguja incorrecta para la tela. | Loosen tension, adjust stitch length, use appropriate needle. |
| Atasco de la máquina | Thread tangled in bobbin area, lint buildup, incorrect bobbin insertion. | Remove bobbin and clean bobbin case, re-insert bobbin correctly. |
| Puntadas desiguales | Tensión incorrecta del hilo, enhebrado inadecuado, aguja desgastada. | Adjust tension, re-thread machine, replace needle. |
Presupuesto
Technical specifications for the SINGER M1005 Electric Sewing Machine.
- Marca: SINGER
- Número de modelo: M1005 (Part Number: 230246102)
- Color: Blanco
- Material: Plástico
- Peso del artículo: 3 kilogramos
- Fuente de energía: Eléctrico con cable
- Opciones de puntada: 4 built-in stitches with 11 options
- Ancho máximo de puntada: 4 milímetros
- Tipo de bobina: Class 15 (Transparent, Top Drop-in)
- Características especiales: Adjustable Thread Tension, Free-Arm Design, Reverse Lever, Extra High-Presser Foot Lifter
Garantía y soporte
For warranty information, service, or technical support, please refer to the warranty card included with your product or contact SINGER customer service directly. Keep your purchase receipt as proof of purchase.
You can typically find contact information for SINGER support on their official websitio o dentro del embalaje del producto.