KitchenAid KFP0918CU
KitchenAid 9-Cup Food Processor Instruction Manual
Modelo: KFP0918CU
Introducción
Thank you for choosing the KitchenAid 9-Cup Food Processor. This manual provides essential information for the safe and efficient operation, maintenance, and care of your appliance. Please read all instructions carefully before first use and retain this manual for future reference.

Image: The KitchenAid 9-Cup Food Processor in Contour Silver, fully assembled with the work bowl and lid in place.
Instrucciones de seguridad importantes
ADVERTENCIA:
- Lea todas las instrucciones antes de operar el procesador de alimentos.
- No sumerja la base del motor en agua u otros líquidos.
- Desenchufe siempre el aparato del tomacorriente antes de ensamblarlo, desmontarlo o limpiarlo.
- Avoid contact with moving parts. Keep hands and utensils away from cutting blades and discs during operation to prevent injury.
- Asegúrese de que la tapa esté bien bloqueada en su lugar antes de operar.
- Do not process hot liquids in the food processor.
- Este aparato no está diseñado para ser utilizado por personas con capacidades físicas, sensoriales o mentales reducidas, o con falta de experiencia y conocimientos, a menos que hayan recibido supervisión o instrucciones sobre el uso del aparato por parte de una persona responsable de su seguridad.
- Es necesaria una estrecha supervisión cuando cualquier aparato sea utilizado por niños o cerca de ellos.
Componentes incluidos
Your KitchenAid 9-Cup Food Processor comes with the following parts:
- (1) 9-cup work bowl
- (1) Lid with feed tube
- (1) Multi-purpose blade
- (1) Reversible medium slicing/shredding disc
- (1) Thick slicing disc
- (1) Food pusher
- (1) Motor base
Configuración y montaje
Before first use, wash all parts except the motor base in warm, soapy water, rinse, and dry thoroughly. Ensure the appliance is unplugged before assembly.
- Coloque la base del motor sobre una superficie limpia, seca y plana.
- Align the work bowl with the motor base and twist clockwise until it locks into place. The handle should be positioned to the right.
- Carefully place the desired blade or disc onto the drive adapter inside the work bowl.
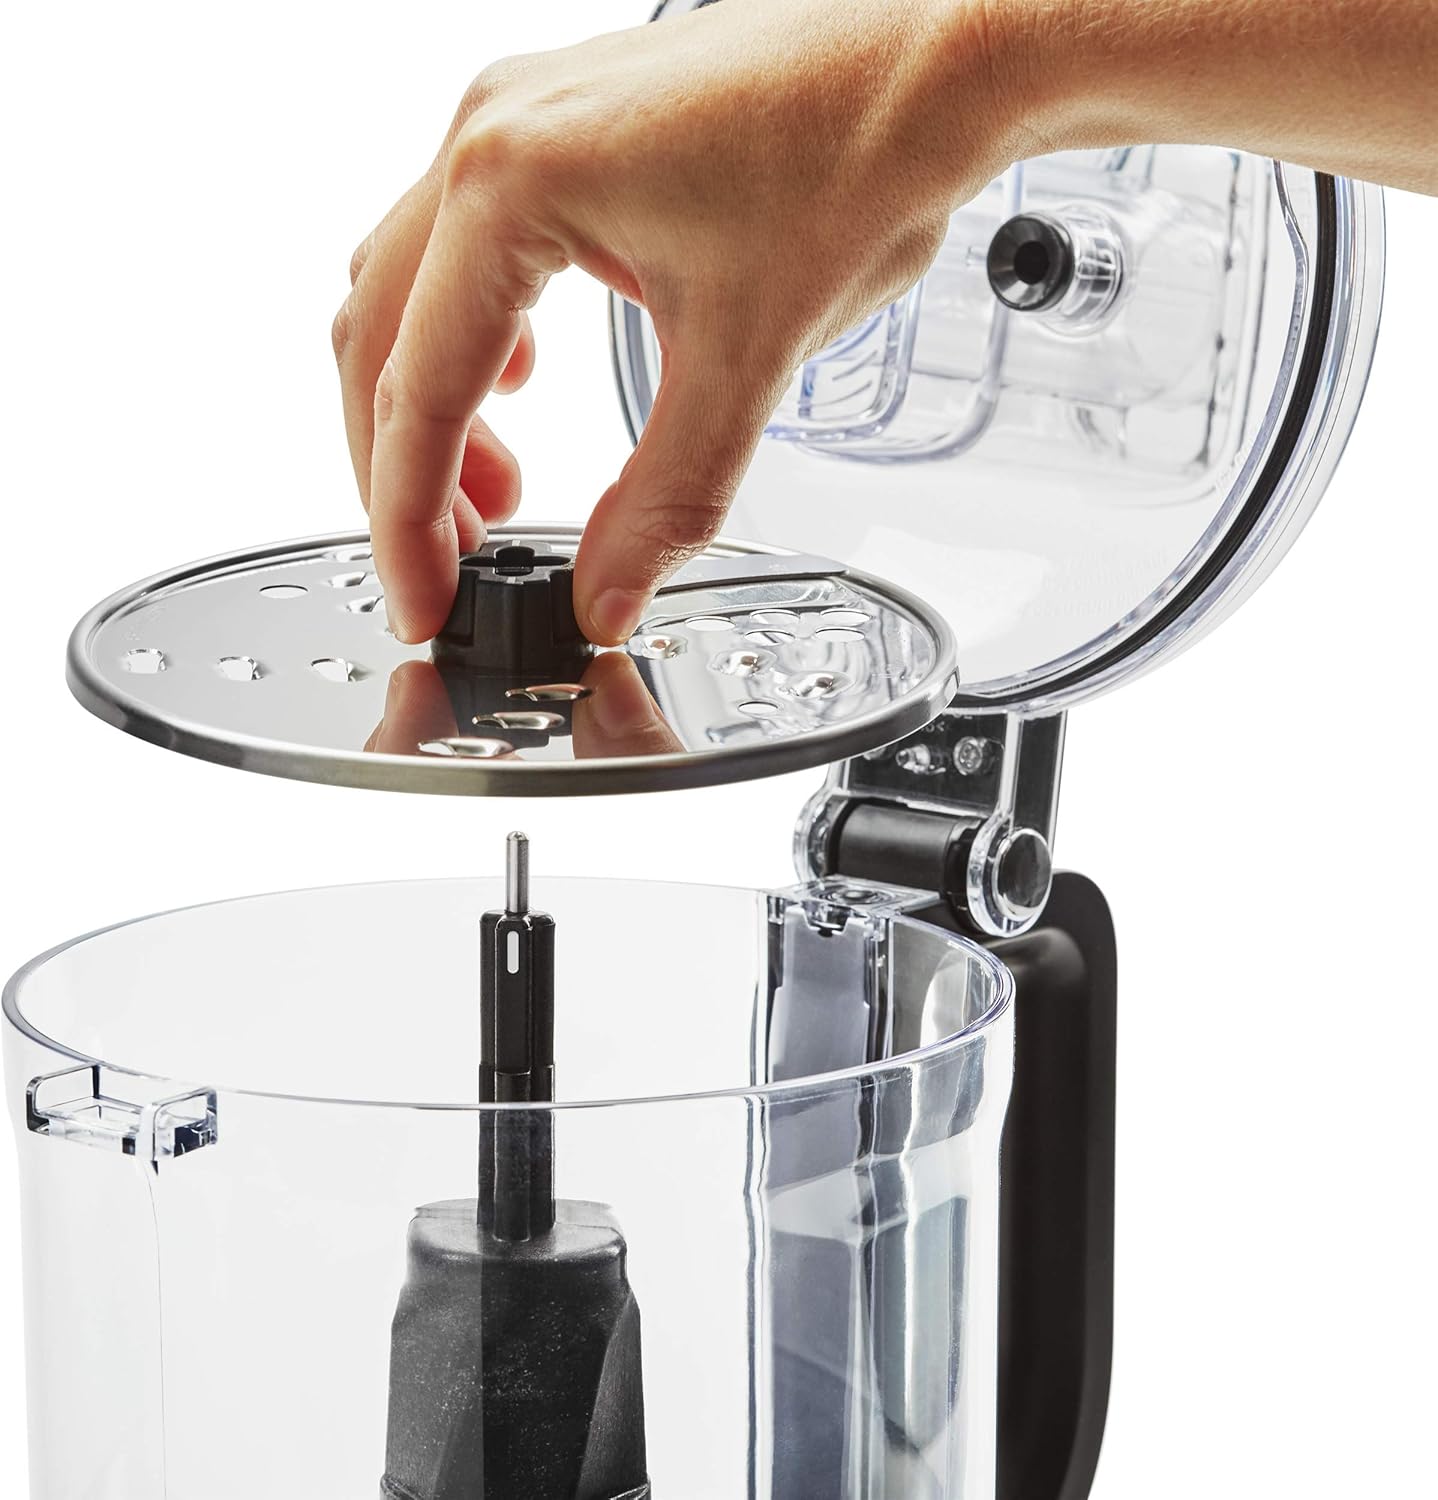
Image: A hand carefully places the slicing disc onto the central shaft within the food processor's work bowl.
- Place the lid onto the work bowl, aligning the lid tab with the handle. Twist the lid clockwise until it locks securely. The food processor will not operate unless the lid is properly locked.
- Insert the food pusher into the feed tube of the lid.
Instrucciones de funcionamiento
The KitchenAid 9-Cup Food Processor features three speed options: Low, High, and Pulse, controlled by easy-press paddles with illuminated LED controls.

Image: Close-up of the KitchenAid Food Processor's base, showing the 'Low', 'High', and 'Off/Pulse' illuminated control buttons.
- Ensure the food processor is properly assembled and the lid is locked.
- Enchufe el cable de alimentación a una toma eléctrica con conexión a tierra.
- Agregue los ingredientes al recipiente de trabajo. Para rebanar o rallar, coloque los ingredientes en el tubo de alimentación.
- Seleccione la velocidad deseada:
- Bajo: For softer ingredients or when more control is desired.
- Alto: For harder ingredients or faster processing.
- Legumbres: Press and hold for short bursts of power. Release to stop. Ideal for chopping, mincing, or when precise control over consistency is needed.
- When processing is complete, press the "Off/Pulse" button to turn off the appliance.
- Unplug the food processor before disassembling and removing ingredients.

Image: The KitchenAid Food Processor on a kitchen counter, actively processing zucchini, with other fresh vegetables nearby.

Image: The KitchenAid Food Processor on a wooden counter, filled with sliced yellow squash and zucchini, surrounded by fresh tomatoes and other ingredients.
Cuidado y limpieza
Proper cleaning ensures the longevity and hygiene of your food processor. All parts, except the motor base, are dishwasher-safe.
- Desenchufe siempre el procesador de alimentos antes de limpiarlo.
- Disassemble all parts: remove the lid, food pusher, blade/disc, and work bowl from the motor base.
- Wash the work bowl, lid, food pusher, and all blades/discs in the dishwasher (top rack recommended) or by hand with warm, soapy water.
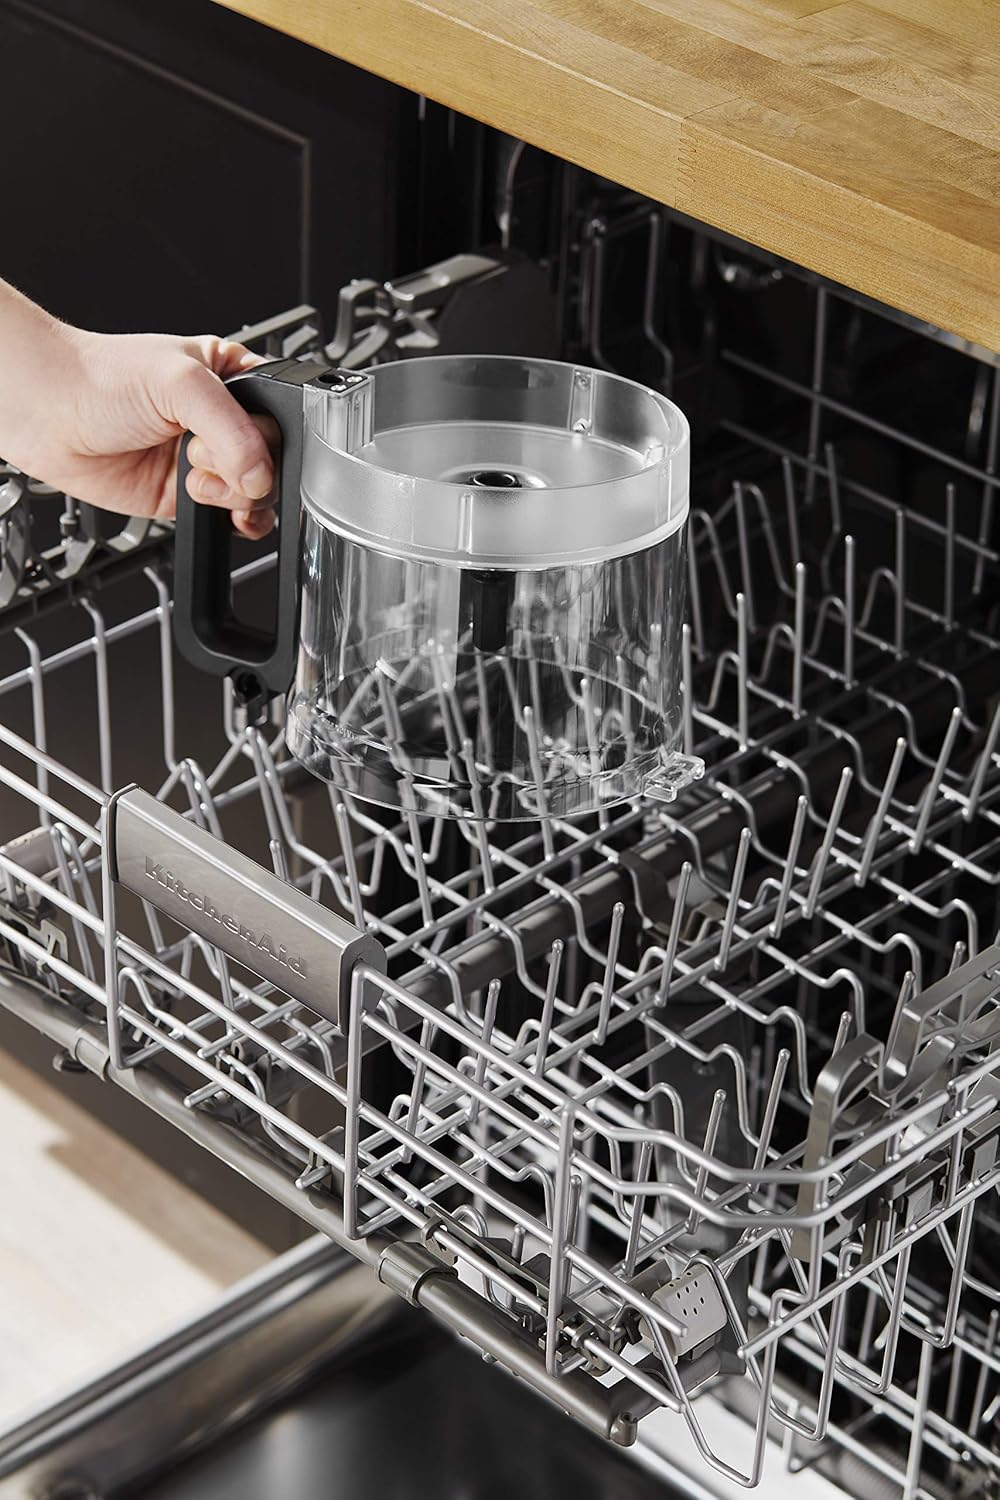
Image: A hand placing the clear work bowl of the food processor into the top rack of a dishwasher for cleaning.
- Use caution when handling blades and discs as they are sharp.
- Limpie la base del motor con un paño húmedo.amp paño. No sumerja la base del motor en agua.
- Seque todas las piezas minuciosamente antes de volver a montarlas o guardarlas.
Solución de problemas
| Problema | Posible causa | Solución |
|---|---|---|
| El procesador de alimentos no se enciende. |
|
|
| El motor se detiene durante el funcionamiento. |
|
|
| Ingredients are not evenly processed. |
|
|
Presupuesto
- Marca: Ayudante de cocina
- Modelo: KFP0918CU
- Capacidad: 9 tazas
- Quétage: 270 vatios
- Número de velocidades: 3 (Bajo, Alto, Pulso)
- Volumentage: 120 voltios
- Material de la hoja: Acero inoxidable
- Cuidado del producto: Dishwasher Safe (work bowl, lid, accessories)
Información de garantía
This KitchenAid 9-Cup Food Processor (Model KFP0918CU) comes with a Garantía limitada de 90 días from the date of purchase. This warranty covers defects in material and workmanship under normal household use. For full terms and conditions, please refer to the warranty card included with your product or visit the official KitchenAid websitio.
Atención al cliente
For further assistance, product registration, or to purchase additional accessories, please contact KitchenAid Customer Service:
- Websitio: www.cocinaid.com
- Teléfono: Refer to your product packaging or the KitchenAid websitio para números de contacto regionales.
When contacting support, please have your model number (KFP0918CU) and serial number (if applicable) ready.
Ask a question about this manual
Ask about setup, troubleshooting, compatibility, parts, safety, or missing instructions. Manuals+ will review the question and use this page’s manual context to help answer it.