1. Introducción
Thank you for choosing the X-Sense Wireless Weather Station. This device provides accurate indoor and outdoor temperature and humidity readings, along with a weather forecast, all displayed on a large, backlit LCD screen. It features an atomic clock for precise timekeeping and supports up to three remote sensors for comprehensive monitoring. Please read this manual thoroughly before use to ensure proper setup and operation.
2. Contenido del paquete
Verifique que todos los componentes estén presentes y en buen estado al abrir el paquete.
- Main Display Unit (LCD Screen)
- Wireless Remote Sensor (Transmitter)
- AA Batteries (2 for main unit, 2 for sensor)
- Herrajes de montaje (tornillos, anclajes de pared)
- Manual de usuario

Figura 2.1: Package contents of the X-Sense Wireless Weather Station.
3. Producto terminadoview
3.1 Unidad de visualización principal
The main display unit features a large, backlit LCD screen that shows indoor and outdoor temperature and humidity, time, date, and weather forecast icons. It can be placed on a tabletop using its integrated stand or mounted on a wall.

Figura 3.1: Main Display Unit with active screen.

Figura 3.2: Large Backlit LCD for easy readability.
3.2 Sensor remoto inalámbrico
The wireless remote sensor measures outdoor temperature and humidity and transmits data to the main unit. It is designed to operate in ultra-low temperatures and has an IPX5 waterproof rating, making it suitable for outdoor placement. The sensor has a wireless range of up to 500 feet (150 meters) in open areas.
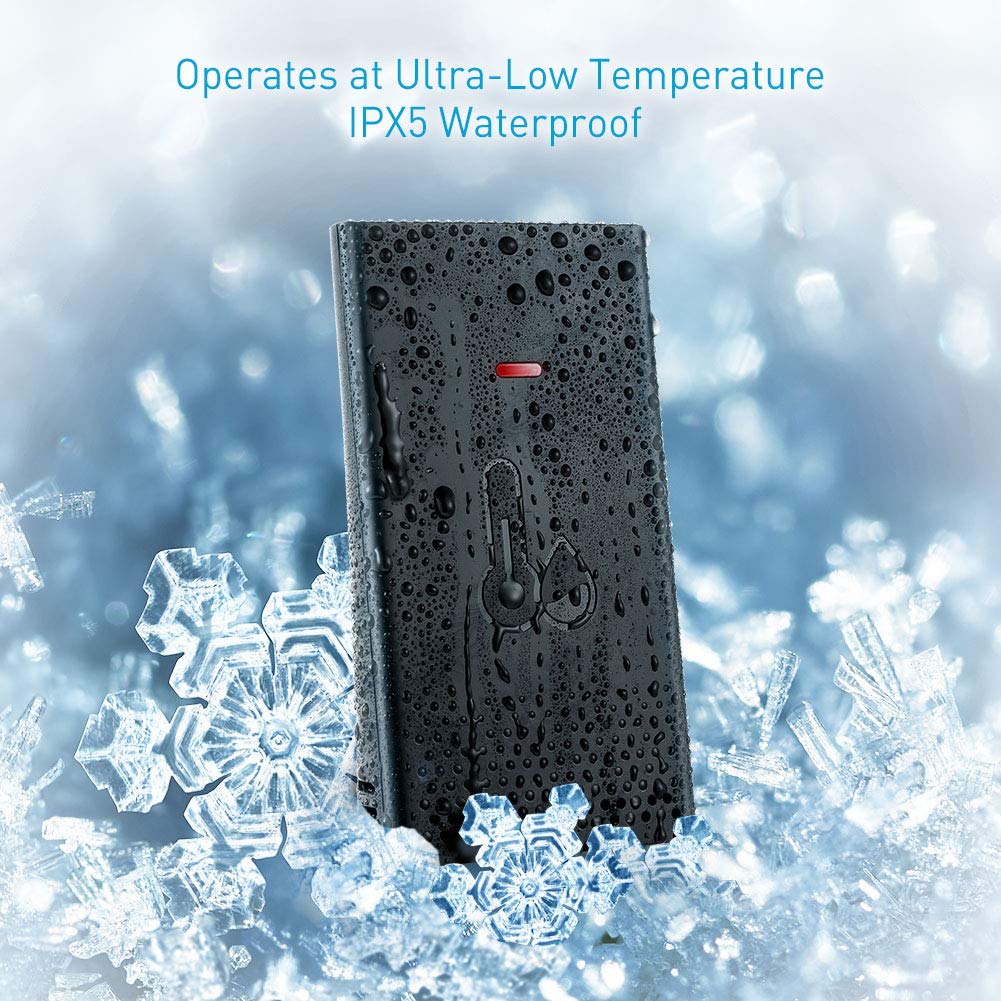
Figura 3.3: Wireless Remote Sensor with IPX5 waterproof rating.

Figura 3.4: Wireless range and multiple sensor placement options.
4. Configuración
4.1 Instalación de la batería
- Unidad de visualización principal: Open the battery compartment on the back of the main unit. Insert 2 AA batteries, ensuring correct polarity (+/-). Close the compartment.
- Sensor remoto inalámbrico: Open the battery compartment on the back of the remote sensor. Insert 2 AA batteries, ensuring correct polarity (+/-). Close the compartment.
The main unit will power on and begin searching for the remote sensor. The sensor's LED indicator may flash during transmission.
4.2 Colocación de sensores
For accurate readings and optimal wireless transmission, consider the following:
- Place the remote sensor in a shaded area, away from direct sunlight and heat sources, to prevent inaccurate temperature readings.
- Ensure the sensor is protected from heavy rain or snow, despite its IPX5 rating, to prolong its lifespan.
- Mount the sensor vertically using the provided screws and wall anchors, or place it on a stable surface.
- Keep the sensor within the 500 ft (150 m) wireless range of the main unit. Obstacles like thick walls, metal structures, or electronic devices can reduce the effective range.
4.3 Emparejamiento del sensor
The main unit should automatically connect to the remote sensor after battery installation. If the outdoor readings are not displayed or appear incorrect:
- Bring the remote sensor close to the main unit.
- Press and hold the "CHANNEL" button on the main unit for a few seconds to initiate a new search for the sensor.
- Press the "TX" button inside the remote sensor's battery compartment to manually send a signal.
- The main unit should display the outdoor temperature and humidity within a few minutes.
5. Instrucciones de funcionamiento
5.1 Ajuste de hora y fecha (reloj atómico)
The X-Sense Weather Station features an atomic clock that automatically synchronizes with the WWVB radio signal for precise timekeeping. This process may take several hours, especially during initial setup or after battery replacement. Ensure the main unit is placed near a window for better signal reception.
- Manual Time Zone Setting: If the atomic clock signal is not received or you are outside the standard reception area, you may need to manually set the time zone. Refer to the detailed instructions in the full user manual for specific button presses to adjust the time zone offset.
- Horario de verano (DST): The unit typically adjusts for DST automatically once the atomic clock signal is received.

Figura 5.1: High accuracy and radio-controlled clock feature.
5.2 Visualización de temperatura y humedad
- The main unit displays both indoor temperature and humidity (labeled "IN") and outdoor temperature and humidity (labeled "OUT" or with a sensor icon).
- Unidades de temperatura de conmutación: Press the "°C/°F" button (usually located on the back or side) to toggle between Celsius and Fahrenheit.
- Múltiples sensores: If you have additional remote sensors (sold separately), press the "CHANNEL" button to cycle through the readings from each connected sensor.
5.3 Pronóstico del tiempo
The weather station provides a forecast for the next 12-24 hours based on changes in atmospheric pressure. The forecast is represented by graphical icons such as sunny, partly cloudy, cloudy, rainy, or snowy. This is a prediction and may not always match actual weather conditions.
5.4 Operación de luz de fondo
The main unit features a backlight for improved visibility in low-light conditions. Press the designated backlight button (often located on the back or top of the unit) to activate it. The backlight typically stays on for a few seconds before turning off automatically to conserve battery power.
6. Mantenimiento
- Limpieza: Limpie la unidad de pantalla y el sensor con un paño suave.amp Paño. No utilice limpiadores abrasivos ni disolventes.
- Reemplazo de batería: Reemplace las pilas de la unidad principal y del sensor remoto cuando aparezca el indicador de batería baja en la pantalla. Siempre reemplace todas las pilas a la vez por otras nuevas del mismo tipo.
- Almacenamiento: Si va a almacenar la unidad durante un período prolongado, retire todas las baterías para evitar fugas.
7. Solución de problemas
| Problema | Posible causa | Solución |
|---|---|---|
| No hay lectura de temperatura/humedad exterior. | Sensor no emparejado, fuera de rango o batería baja. | Ensure batteries are fresh in the sensor. Bring sensor closer to the main unit. Re-pair the sensor (see Section 4.3). |
| Lecturas inexactas en exteriores. | Sensor expuesto a la luz solar directa, fuentes de calor o humedad. | Relocate the sensor to a shaded, protected area. Allow time for readings to stabilize. |
| Atomic clock not setting automatically. | Weak WWVB signal, interference, or incorrect time zone. | Place the main unit near a window. Avoid electronic interference. Manually set the time zone if necessary. Allow up to 24 hours for signal acquisition. |
| La pantalla está tenue o en blanco. | Baterías bajas en la unidad principal. | Reemplace las baterías en la unidad de visualización principal. |
| Backlight difficult to activate. | Button placement on the back. | Familiarize yourself with the button location. This is a design characteristic. |
8. Especificaciones
- Marca: X-Sense
- Modelo: B07PDMC1TF
- Fuente de energía: Battery Powered (2 AA for main unit, 2 AA for sensor)
- Tecnología de conectividad: Inalámbrico
- Alcance inalámbrico: Hasta 500 pies (150 m) al aire libre
- Características especiales: Adjustable Brightness, Humidity Monitor, Atomic Clock
- Tecnología de sensores: Ultrasónico
- Tipo de pantalla: Pantalla LCD
- Color: Negro
- Dimensiones del producto: 5.4 x 5.24 x 1.09 pulgadas (unidad principal)
- Peso del artículo: 1.13 libras
- Clasificación de resistencia al agua (sensor): IPX5
- Primera fecha disponible: 19 de febrero de 2019
9. Garantía y soporte
For warranty information or technical support, please refer to the contact details provided on the X-Sense official webSitio web o la tarjeta de garantía incluida con el producto. Conserve el recibo de compra como comprobante.