Project Source 40804
Manual de usuario
Project Source 2-Pack 13-in W Bronze Flush Mount Light
Modelo: 40804
1. Introducción
Gracias por la compraasing the Project Source 2-Pack 13-inch Bronze Flush Mount Light fixtures. These fixtures are designed to provide ambient lighting with a traditional aesthetic, featuring a durable bronze finish and an elegant alabaster glass shade. They are suitable for various indoor spaces, including bathrooms, bedrooms, kitchens, dining rooms, and living rooms, enhancing the decor while providing reliable illumination.
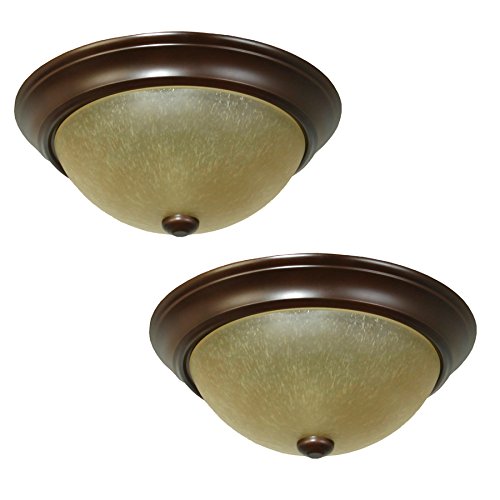
Figura 1: Two Project Source 13-inch Bronze Flush Mount Light fixtures. Each fixture features a round bronze base and a dome-shaped alabaster glass shade, secured by a small finial at the bottom center of the shade.
2. Información importante de seguridad
ADVERTENCIA: Riesgo de descarga eléctrica. Desconecte la alimentación de la caja de fusibles o del disyuntor antes de realizar cualquier instalación o mantenimiento.
- Lea atentamente todas las instrucciones antes de comenzar la instalación.
- Todas las conexiones eléctricas deben cumplir con los códigos y ordenanzas locales o el Código Eléctrico Nacional (NEC). Consulte a un electricista calificado si no está familiarizado con las conexiones eléctricas correctas.
- Use only UL-listed wire connectors for the electrical connections.
- No exceda el máximo de agua.tage specified for this fixture (14 Watts per bulb).
- Use gafas de seguridad y equipo de protección adecuado durante la instalación.
- Asegúrese de que el dispositivo esté correctamente conectado a tierra.
3. Contenido del paquete
Verifique que todos los componentes estén presentes antes de comenzar la instalación:
- 2 x 13-inch Bronze Flush Mount Light Fixtures (with alabaster glass shades)
- Herrajes de montaje (tornillos, tuercas para cables, soporte de montaje)
- Note: Light bulbs are NOT included.
4. Especificaciones
| Característica | Detalle |
|---|---|
| Marca | Fuente del proyecto |
| Número de modelo | 40804 |
| Dimensiones (Ancho x Alto) | 13 pulgadas x 5.36 pulgadas |
| Finalizar | Bronce |
| Material de la sombra | Vidrio de alabastro |
| Número de luces | 2 por accesorio |
| Tipo de base de bombilla | Medium base (E-26) |
| Forma de bombilla recomendada | A15 |
| Potencia máxima de bulbotage | 14 vatios (por bombilla) |
| Listado de seguridad | Listado por UL |
| Compatibilidad de habitaciones | Bathroom, Bedroom, Kitchen, Dining Room, Living Room |
| Tipo de instalación | Montaje empotrado |
| Peso del artículo (paquete) | 7.04 libras |
5. Configuración e instalación
Herramientas necesarias: Phillips head screwdriver, flathead screwdriver, wire strippers, electrical tape, safety glasses.
Pasos previos a la instalación:
- Apague la energía: Locate the circuit breaker or fuse box that supplies power to the light fixture location. Turn off the power completely before proceeding.
- Preparar el área: Clear the work area and ensure you have stable footing if using a ladder.
- Deshacer: Carefully remove the fixture and all components from the packaging.
Pasos de instalación:
- Coloque el soporte de montaje: Fije el soporte de montaje (incluido) a la caja de conexiones eléctricas del techo con los tornillos incluidos. Asegúrese de que esté firmemente fijado.
- Conecte los cables eléctricos:
- Conectar el negro (hot) wire from the ceiling to the negro wire of the fixture using a wire nut.
- Conectar el blanco (neutral) wire from the ceiling to the blanco wire of the fixture using a wire nut.
- Conectar el suelo wire (bare copper or green) from the ceiling to the suelo wire of the fixture (or the ground screw on the mounting bracket) using a wire nut or by wrapping it securely around the screw.
- Secure Fixture to Mounting Bracket: Carefully push the wired fixture up towards the ceiling, aligning the holes in the fixture base with the screws on the mounting bracket. Secure the fixture in place with the decorative nuts or screws provided.
- Instalar bombillas: Insert the recommended A15 shape, E-26 medium base light bulbs (not included) into the sockets. Do not exceed 14 Watts per bulb.
- Coloque la pantalla de vidrio: Carefully place the alabaster glass shade onto the fixture. Secure it in place using the finial or retaining ring provided, tightening it gently until snug. Do not overtighten.
- Restaurar energía: Una vez completada la instalación y todas las conexiones estén seguras, restablezca la energía en el disyuntor.
6. Instrucciones de funcionamiento
Once the Project Source Flush Mount Light fixtures are correctly installed and power is restored, they can be operated using the standard wall switch connected to the circuit. Simply toggle the wall switch to turn the lights on or off.
7. Cuidado y mantenimiento
Regular cleaning will help maintain the appearance and performance of your light fixtures.
- Limpieza del accesorio: Dust the bronze finish regularly with a soft, dry cloth. For more thorough cleaning, wipe the bronze finish with a damp cloth and a mild, non-abrasive soap solution, then dry immediately with a clean, soft cloth to prevent water spots.
- Cleaning the Glass Shade: The alabaster glass shade can be removed for cleaning. Wash it with mild soap and water, then rinse thoroughly and dry completely before reattaching to the fixture.
- Reemplazo de bombilla: Always ensure the power is turned off at the circuit breaker and the bulbs have cooled down before attempting to replace them. Use only bulbs that meet the specified wattage y tipo de base.
- Do not use abrasive cleaners, solvents, or polishes on any part of the fixture, as they may damage the finish or glass.
8. Solución de problemas
Si tiene problemas con su artefacto de iluminación, consulte los siguientes problemas y soluciones comunes:
- La luz no enciende:
- Check that the power supply is on at the circuit breaker.
- Ensure the light bulbs are correctly installed and are not burnt out. Try replacing with a known working bulb.
- Verify that all wire connections (black to black, white to white, ground) are secure and properly connected.
- La luz parpadea:
- Ensure the light bulbs are fully tightened in their sockets.
- Check for any loose wire connections within the fixture or junction box.
- Confirm that the bulbs used are compatible with the fixture and are not exceeding the maximum wattage.
- Glass shade is loose or wobbles:
- Gently tighten the finial or retaining ring that secures the glass shade. Do not overtighten.
If the problem persists after attempting these solutions, please consult a qualified electrician or contact customer support.
9. Garantía y atención al cliente
For detailed warranty information regarding your Project Source 2-Pack 13-in W Bronze Flush Mount Light, please refer to the documentation included with your original purchase. Warranty terms typically cover defects in materials and workmanship for a specified period.
If you require technical assistance, have questions about installation, or need to report a defect, please contact Project Source customer service directly through their official webSitio web o la información de contacto proporcionada en el empaque de su producto. Tenga a mano el número de modelo (40804) y los detalles de compra al contactar con el servicio de asistencia.