Introducción
The Keurig 2.0 K200 Brewer offers versatile brewing options, accommodating both K-Cup and K-Carafe packs. This brewer features 9 brew sizes, strength control, and a 40 oz. water reservoir, providing convenience and quality for your beverage needs. This manual provides essential information for the proper setup, operation, and maintenance of your Keurig K200 Brewer.

Imagen: Frente view of the Keurig 2.0 K200 Brewer in turquoise.
Configuración
- Desembalaje: Retire con cuidado todos los materiales de embalaje de la cafetera.
- Colocación: Coloque la cafetera sobre una superficie estable y nivelada.
- Reserva de agua: Remove the water reservoir from the back of the brewer. Fill it with fresh, filtered water up to the 'MAX' line. Ensure the water filter is properly installed if using one.
- Encendido: Plug the brewer into a grounded outlet. The brewer will automatically power on and begin heating the water.
Video: A demonstration of the Keurig 2.0 K200 Brewer's features, including water reservoir and K-Cup insertion.
Instrucciones de funcionamiento
- Insert K-Cup/K-Carafe: Lift the brewer handle and insert a K-Cup or K-Carafe pack into the brew chamber. Close the handle firmly.
- Seleccione el tamaño de la bebida: Use the touch display to select your desired brew size (e.g., 4 oz, 6 oz, 8 oz, 10 oz, 12 oz for K-Cups; larger sizes for K-Carafe).
- Strength Control: If desired, select the 'Strong' option for a bolder brew.
- Dispensador de agua caliente: The brewer can also dispense hot water without a K-Cup. Select the hot water option on the display.
- Comience a preparar: Place your mug or carafe on the drip tray and press the 'Brew' button. The brewer will begin dispensing your beverage.
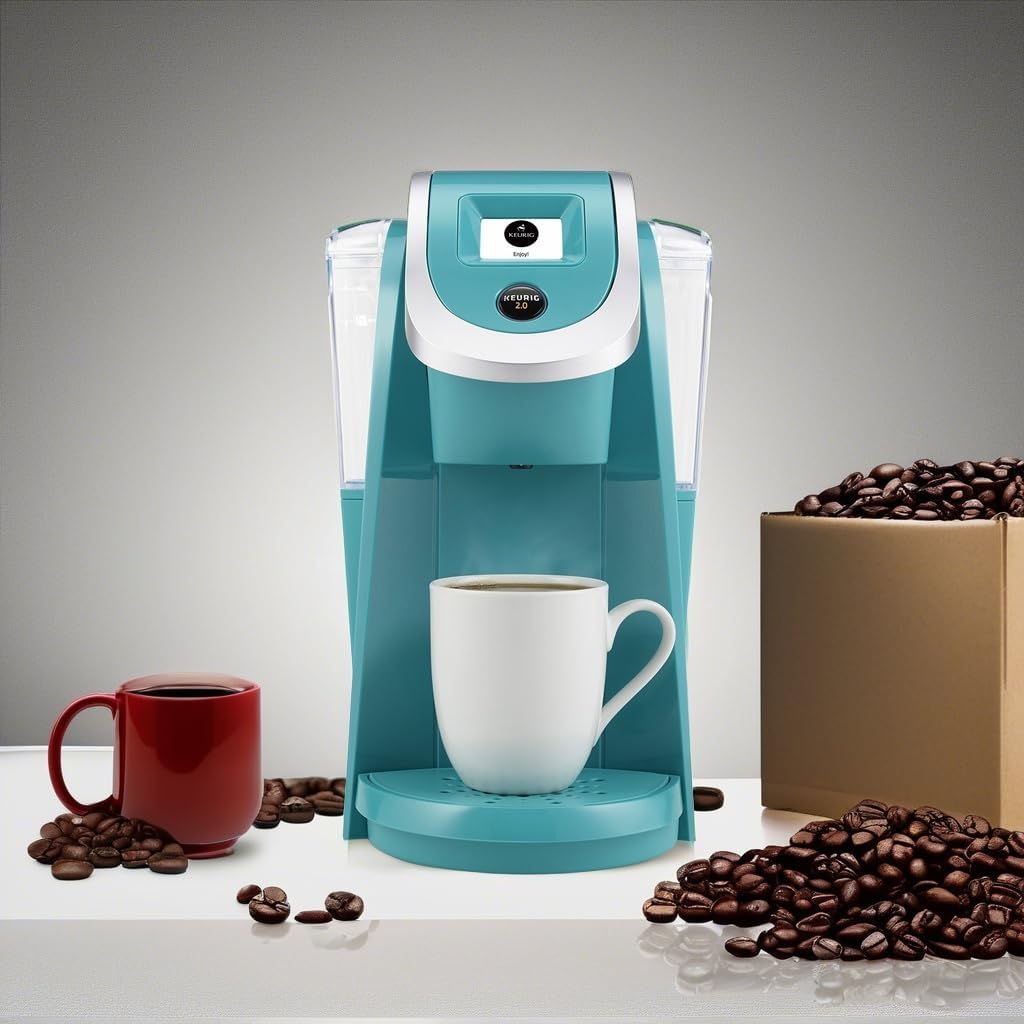
Image: Keurig 2.0 K200 Brewer with a brewed coffee mug and coffee beans.
Mantenimiento
- Limpieza: Regularly clean the drip tray, K-Cup holder, and exterior with a damp cloth. The drip tray is removable for easy cleaning.
- Filtro de agua: Replace the water filter every 2 months or 60 tank refills for optimal taste.
- Descalcificar: Descale your brewer every 3-6 months to remove mineral buildup. Follow the descaling instructions provided in the full user manual or on the Keurig websitio.
Solución de problemas
| Problema | Solución |
|---|---|
| La cafetera no enciende | Ensure the power cord is securely plugged into a grounded outlet. Check the power button. |
| El café está flojo o aguado | Select a smaller brew size or the 'Strong' brew option. Ensure the K-Cup is properly seated. |
| No hay dispensación de agua | Check if the water reservoir is filled above the minimum line. Ensure the reservoir is correctly seated. Descale the brewer if mineral buildup is suspected. |
| Mensaje de error en la pantalla | Refer to the full user manual for specific error code meanings and solutions. Often, resetting the brewer by unplugging it for 30 seconds can resolve minor errors. |
| K-Cup not puncturing | Ensure the K-Cup is placed correctly in the holder and the handle is firmly closed. Some non-Keurig approved K-Cups may have thicker bottoms that prevent proper puncturing. |
Presupuesto
- Marca: Keurig
- Modelo: K200
- Número de modelo del artículo: 117605
- Color: Turquesa
- Dimensiones del producto: 13.7" de profundidad x 15" de ancho x 13.7" de alto
- Peso del artículo: 7.5 libras
- Capacidad del depósito de agua: 40 onzas.
- Tamaños de preparación: 9 (including carafe sizes)
- Característica especial: Water Filter, Strength Control
- Tipo de cafetera: Máquina de café por goteo
- Modo de operación: Completamente automático
- Compatible Coffee Pods: K-Cup 2.0, K-Carafe
- Fuente de energía: Adaptador de CA
- Es apto para lavavajillas: No
Garantía y soporte
Para obtener información sobre la garantía, el registro del producto o más ayuda, visite el sitio web oficial de Keurig. webVisite el sitio web o contacte con el servicio de atención al cliente de Keurig. Conserve su recibo de compra para reclamaciones de garantía.