1. Introducción
This manual provides detailed instructions for the installation, operation, and maintenance of your JVC KDR820BT Wireless Bluetooth Dual USB-CD Receiver. Please read this manual thoroughly before using the unit to ensure proper operation and to prevent damage.
The JVC KDR820BT is designed to provide versatile audio playback and communication features in your vehicle. It includes built-in Bluetooth for hands-free calling and audio streaming, dual USB ports for device connectivity, and CD playback capabilities. The unit also features a customizable display with variable color options.
2. Contenido del paquete
Verifique que todos los elementos estén presentes en el paquete antes de comenzar la instalación:
- JVC KDR820BT Head Unit
- Wireless Remote Control (RM-RK52)
- Adaptador Bluetooth USB
- Micrófono con cable
- Mazo de cables
- Herrajes de montaje
- Manual del propietario (este documento)
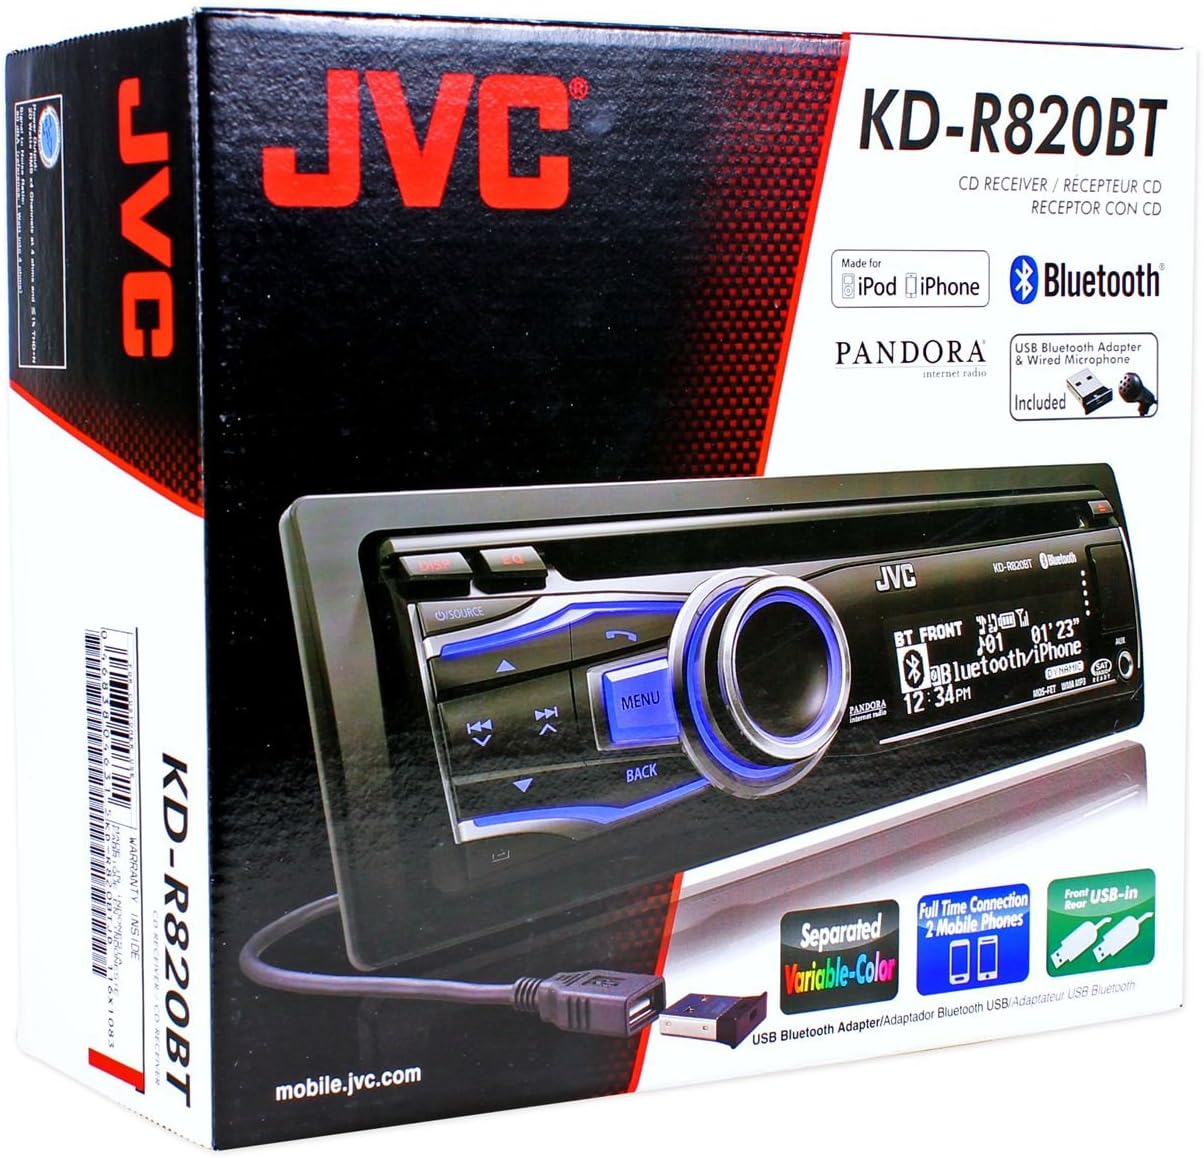
Figure 2.1: JVC KDR820BT Product Packaging. The box illustrates the main unit, remote, USB Bluetooth adapter, and wired microphone.
3. Instalación
Professional installation is recommended. Ensure the vehicle's battery is disconnected before starting installation to prevent electrical damage.
3.1 conexiones de cableado
Connect the wiring harness to the vehicle's electrical system and speakers. Refer to your vehicle's wiring diagram for specific connections.
- Alambre amarillo: Conectar a una fuente de alimentación constante de 12 V.
- Cable rojo: Connect to switched 12V accessory power.
- Cable negro: Conecte a la tierra del chasis del vehículo.
- Cable azul/blanco: Conecte a la antena eléctrica o ampCable de encendido remoto del lificador.
- Cables de altavoz: Conectar a los altavoces del vehículo (garantizar la polaridad correcta).
- RCA Pre-out Jacks: Para conectar dispositivos externos ampificadores (delantero, trasero, subwoofer).
- Entrada de micrófono: Connect the supplied wired microphone for hands-free calling.
- Puertos USB: Front USB for general connectivity, Rear USB for additional devices or the Bluetooth adapter.

Figure 3.1: Rear Panel Connections. This image displays the rear of the receiver with its wiring harness, RCA pre-outs, and antenna input.
3.2 Montaje de la unidad
Install the mounting sleeve into the vehicle's dashboard opening. Secure the unit by sliding it into the sleeve until it locks into place. Attach the trim ring.
3.3 Connecting the Bluetooth Adapter
The supplied USB Bluetooth adapter must be connected to one of the USB ports (front or rear) for Bluetooth functionality. For a cleaner installation, the rear USB port is often preferred.
4. Configuración inicial
After installation, reconnect the vehicle battery. The unit will power on. Follow these steps for initial configuration:
- Encendido inicial: Presione el FUENTE para encender la unidad.
- Configuración del reloj: Access the system menu to set the current time.
- Configuración de audio: Adjust basic audio settings such as bass, treble, balance, and fader.
- Color de la pantalla: Customize the display and button illumination colors using the variable color settings.
5. Instrucciones de funcionamiento

Figura 5.1: Panel frontalview. This image shows the main controls and display of the JVC KDR820BT.

Figure 5.2: Receiver with Remote Control. The image displays the head unit and the included wireless remote control (RM-RK52).
5.1 Controles básicos
- Botón de encendido/fuente: Press to turn on/off or change audio source (FM/AM, CD, USB, Bluetooth Audio, AUX).
- Perilla de volumen: Rotate to adjust volume. Press to mute/pause audio.
- Botón de menú: Access system settings and advanced options.
- Botón Atrás: Return to the previous menu or display.
- Skip/Seek Buttons: Navigate tracks, radio stations, or menu options.
5.2 Funcionamiento de la radio (AM/FM)
- Prensa FUENTE to select FM or AM.
- Utilice el Buscar buttons to find stations automatically.
- Para sintonizar manualmente, mantenga presionado el botón Buscar botones.
- To store a preset, tune to the desired station, then press and hold a preset number button (1-6).
5.3 Reproducción de CD
- Insert a CD into the disc slot. The unit will automatically switch to CD source and begin playback.
- Utilice el Saltar Botones para cambiar de pista.
- Presione el Perilla de volumen para pausar/reproducir.
- Presione el Expulsar Botón para extraer el CD.
5.4 USB Device Playback
- Connect a USB device (flash drive, iPod/iPhone, digital audio player) to either the front or rear USB port.
- Prensa FUENTE para seleccionar USB.
- Utilice el Saltar botones para navegar por las pistas.
- Presione el Menú button to browse folders and files.
5.5 funciones bluetooth
Ensure the USB Bluetooth adapter is connected to the unit.
5.5.1 Emparejamiento de un dispositivo Bluetooth
- Encienda el Bluetooth en su dispositivo móvil.
- On the JVC KDR820BT, select the Bluetooth source.
- Buscar available devices on your mobile phone. Select "JVC unit" (or similar) from the list.
- Enter the PIN code (usually "0000") if prompted.
- Once paired, the Bluetooth indicator on the receiver will illuminate. The unit supports connecting two phones simultaneously.
5.5.2 Llamadas manos libres
- Haciendo una llamada: Use your phone's voice dial feature (if supported) or dial directly from your phone. The audio will transfer to the receiver.
- Responder una llamada: Presione el Teléfono button on the receiver when an incoming call is detected.
- Terminar una llamada: Presione el Teléfono de nuevo para finalizar la llamada.
- Acceso a la guía telefónica: The unit supports Phone Book Access Profile (PBAP) for transferring contacts.
5.5.3 Transmisión de audio por Bluetooth
- Select Bluetooth Audio as the source.
- Play audio from your paired mobile device. The receiver will stream the audio wirelessly.
- Utilice el Saltar buttons on the receiver to control playback (play/pause, skip track).
- The unit supports Pandora Internet Radio control from an iPhone.
5.6 Configuración de sonido
- 3-Band Parametric iEQ: Access the sound menu to adjust the equalizer settings for customized audio output.
- MOS-FET 50W x 4 Ampmás duradero: Provides powerful audio output.
- TI/Burr-Brown 24-bit DAC: Ensures high-quality digital-to-analog audio conversion.
5.7 Configuración de pantalla
- Separated Variable Color: Customize the illumination color of the keys and LCD panel from over 30,000 choices. Access this setting through the system menu.
- Control de brillo: Adjust display brightness for day and night viewEn.
6. Mantenimiento
- Limpieza de la unidad: Utilice un paño suave y seco para limpiar el panel frontal. Para la suciedad difícil, dampEnjuague el paño con agua. Evite limpiadores abrasivos o disolventes.
- Cuidado del reproductor de CD: Keep the disc slot free of dust and debris. Use only clean, scratch-free CDs.
- Eliminación de la placa frontal: The detachable faceplate can be removed for security. Store it in a protective case.
7. Solución de problemas
Review the following common issues and solutions before seeking service.
| Problema | Posible causa / solución |
|---|---|
| Sin poder | Revise las conexiones del cableado de alimentación y tierra. Asegúrese de que el encendido del vehículo esté activado. Revise los fusibles del vehículo. |
| Sin sonido | Check speaker wiring. Ensure volume is not muted or too low. Verify the power antenna/remote wire is connected if using an external ampmás duradero. |
| Bluetooth echo during calls | Adjust microphone gain settings. Reposition the microphone away from reflective surfaces (e.g., windshield). Reduce the receiver's volume during calls. |
| No se puede emparejar el dispositivo Bluetooth | Ensure the USB Bluetooth adapter is securely connected. Make sure Bluetooth is enabled on your mobile device and the receiver is in pairing mode. Delete previous pairings from your phone and try again. |
| Unit loses settings after power off | The yellow constant 12V power wire may not be connected correctly or is losing power. This can also occur if the vehicle battery is disconnected. |
| Display text is truncated or difficult to read | The display has limited character space. Some long names may be truncated. There is no option to increase scroll speed for folder/file nombres. |
| Buttons or rotary knob are unresponsive | Ensure the faceplate is securely attached. Clean around the buttons to remove any debris. If the issue persists, it may indicate a hardware malfunction. |
8. Especificaciones
| Característica | Especificación |
|---|---|
| Número de modelo | KDR820BT |
| Potencia de salida | MOS-FET 50W x 4 (20W RMS x 4) |
| Convertidor CA | TI/Burr-Brown 24-bit |
| Igualada | 3-Band Parametric iEQ |
| Conectividad | Bluetooth, Dual USB (Front & Rear), AUX Input |
| Funciones de Bluetooth | Hands-Free Call, Audio Streaming, Phone Book Access Profile, Text Message Receipt Notification, Connects 2 Phones |
| Reproducción de medios | CD, MP3, WMA, WAV |
| Tipo de pantalla | LCD with Separated Variable Color |
| Preamp Volumentage | 2 voltios |
| Tamaño del chasis | DIN completo |
| Dimensiones (An x Al x Pr) | 7.19 x 2.06 x 6.25 pulgadas (aproximadamente) |
| Peso | 4 libras (aproximadamente) |
| Servicios de Internet compatibles | Pandora Internet Radio |
| Método de control | Remote Control, Android (via USB) |
9. Garantía y soporte
JVC products are manufactured to high-quality standards. For specific warranty information, please refer to the warranty card included with your product or visit the official JVC webSitio. Conserve su recibo de compra como comprobante para reclamaciones de garantía.
For technical support, service, or inquiries regarding your JVC KDR820BT receiver, please contact JVC customer service or visit their official support channels. Contact information can typically be found on the JVC websitio o en el embalaje del producto.