
Introducción
The OXO Good Grips Chef's Digital Leave-In Thermometer is designed to assist in cooking roasts, fish, and poultry to precise temperatures. This device features a clear digital display that functions as both a thermometer and a 24-hour timer. Its angled design allows for optimal viewing on your countertop, and the stainless steel housing ensures durability. The thermometer includes a probe that can be inserted into food, with a narrow cable designed to pass through an oven door, allowing continuous temperature monitoring without opening the oven.
This manual provides detailed instructions for the proper setup, operation, and care of your thermometer to ensure accurate and reliable performance.
Configuración
1. Instalación de la batería
El termómetro funciona con dos pilas AAA (incluidas). Para instalarlo:
- Localice el compartimiento de la batería en la parte posterior de la unidad.
- Abra la tapa del compartimento.
- Inserte dos pilas AAA, asegurándose de la polaridad correcta (+/-).
- Cierre bien la tapa del compartimento de la batería.
2. Conexión de la sonda
Connect the stainless steel probe to the thermometer unit. The probe cable plugs into the designated port on the side of the main unit.

Image: The OXO Digital Leave-In Thermometer display unit with its stainless steel probe connected via a cable. The display shows a temperature reading and settings.
Instrucciones de funcionamiento
1. Encendido y apagado
Press the power button (usually marked with an 'On/Off' symbol or a circle with a line) to turn the thermometer on or off.
2. Temperatura de ajuste
The thermometer offers pre-set USDA and chef-recommended temperatures for various types of meat, poultry, and fish, as well as a manual setting option.
- Presione el Temperatura button (often indicated by a thermometer icon) to cycle through meat types (e.g., Beef, Chicken, Fish, Ground Meat, Ham, Turkey).
- Una vez seleccionado el tipo de carne, utilice el Arriba/Abajo arrows to choose the desired doneness level (e.g., Rare, Medium, Well Done) or to adjust the target temperature manually.
- Presione el OK Botón para confirmar su selección.
3. Uso del temporizador
The unit also functions as a 24-hour timer.
- Presione el Minutero button (often indicated by an hourglass icon) to switch to timer mode.
- Utilice el Arriba/Abajo arrows to set the desired time.
- Prensa OK to start the timer. Press again to pause/resume, and hold to reset.
4. Colocación de la sonda
Insert the probe into the thickest part of the meat, avoiding bone. Ensure the probe tip is fully embedded in the center of the meat for an accurate reading.

Image: The OXO Digital Leave-In Thermometer display unit positioned on a countertop next to an oven. Its probe is inserted into a large roasted turkey, with the cable extending from the oven to the unit.
Route the narrow cable through the oven door. The cable is designed to withstand oven temperatures, allowing the main unit to remain outside the oven for easy monitoring.

Imagen: Un primer plano view of the OXO Digital Leave-In Thermometer's probe inserted into a turkey roasting inside an oven. The thermometer's cable is visible, leading out of the oven door to the main unit.
5. Alertas de temperatura
The thermometer will signal when the desired temperature is reached. An additional 10-degree warning alert will sound before the target temperature, allowing you to anticipate completion and prevent overcooking.
Vídeo oficial del producto
Video: An official product video demonstrating the features and use of the OXO Chef's Digital Leave-In Thermometer. It shows how to set temperatures, use the timer, and store the probe and cord.
Mantenimiento
Limpieza
The thermometer probe is oven safe and designed for easy cleaning. The main unit is lavar únicamente a mano. Do not immerse the main unit in water.
- Limpie la unidad principal con publicidad.amp paño.
- Hand wash the probe and cable with warm, soapy water. Rinse thoroughly and dry completely before storing.
Almacenamiento
For compact storage, the thermometer probe fits easily into the display unit, and the cord wraps neatly around the base.
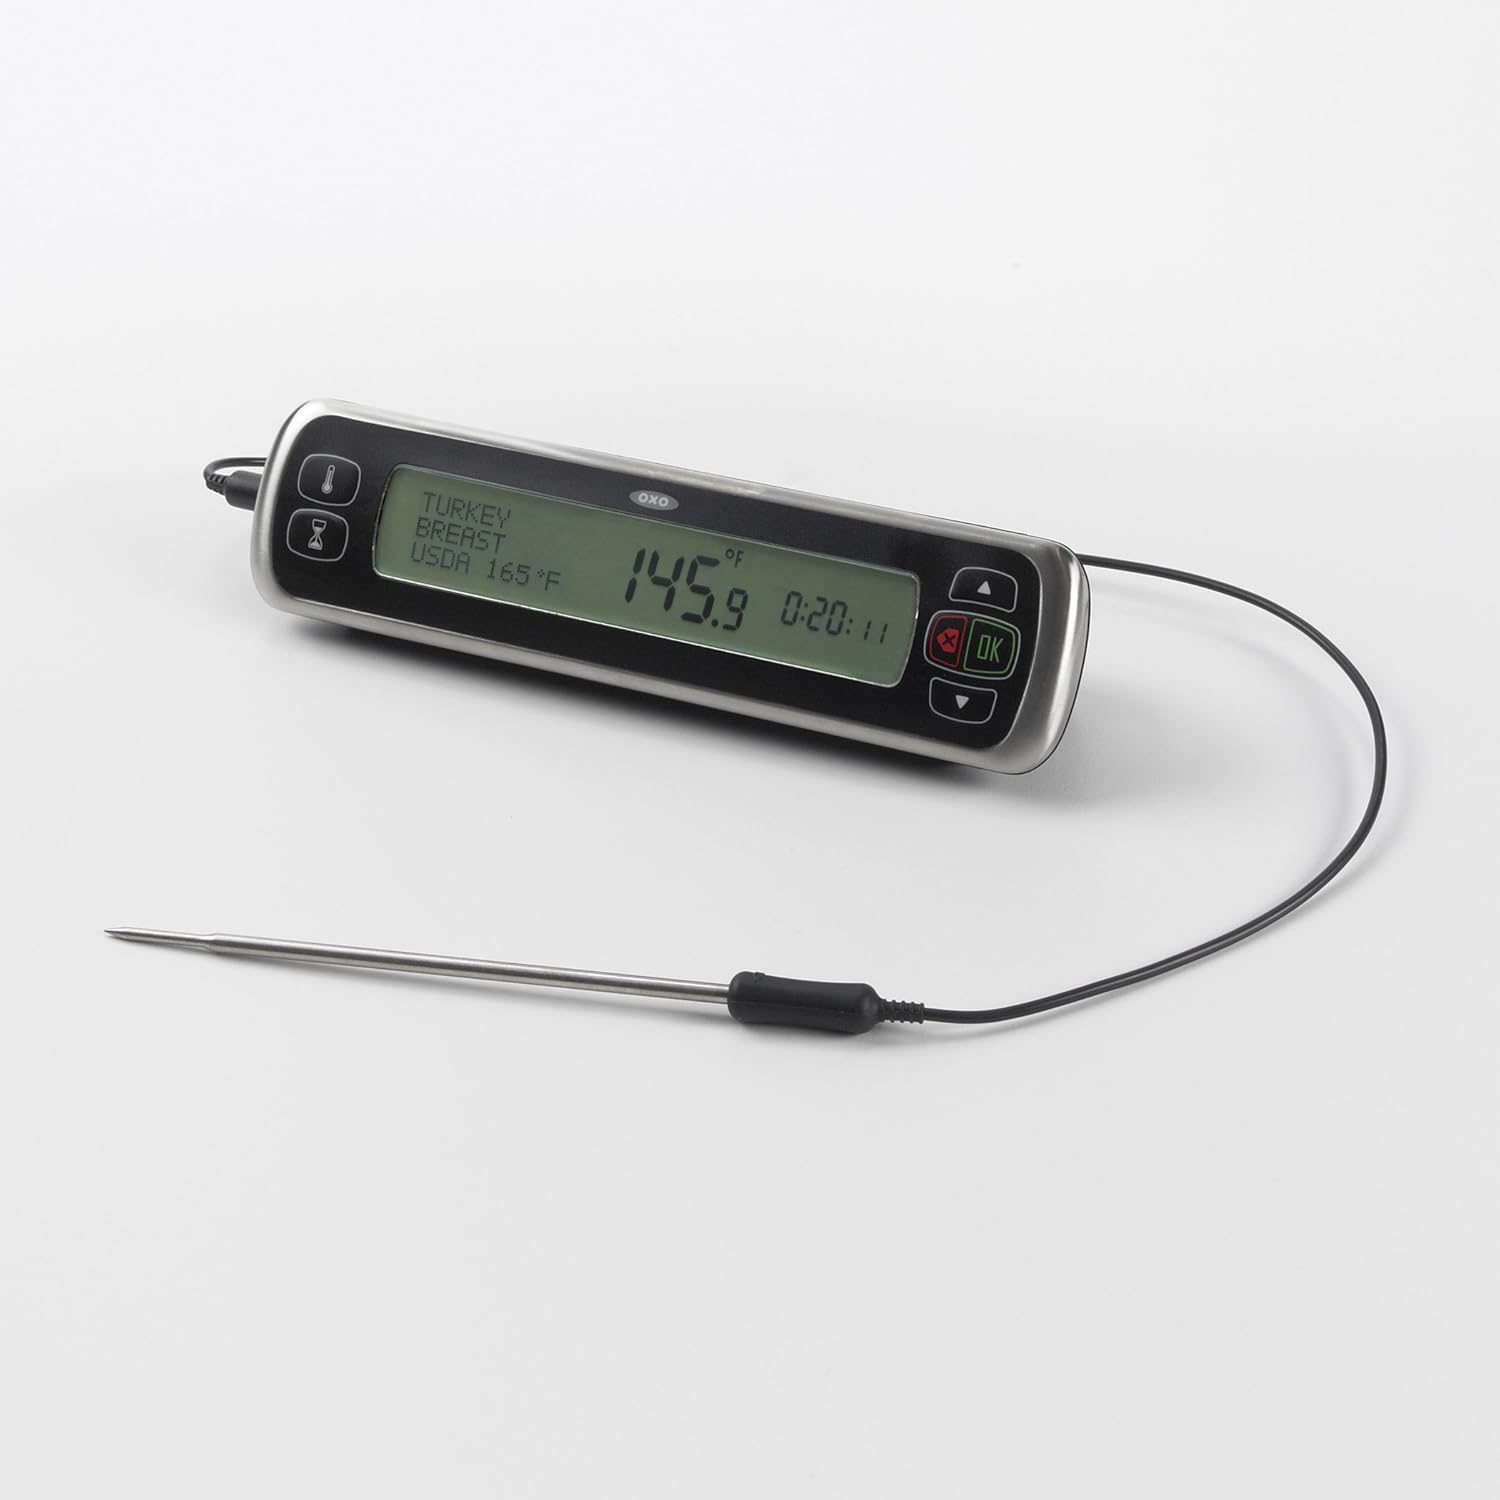
Image: The OXO Digital Leave-In Thermometer showing how the probe and its cable can be neatly stored by wrapping the cord around the base and inserting the probe into a designated slot on the unit.
Solución de problemas
- Display shows 'LO' or no reading: This typically indicates low battery power. Replace the two AAA batteries with fresh ones.
- Lecturas de temperatura inexactas: Ensure the probe is inserted correctly into the thickest part of the meat, avoiding bone. Verify that the probe cable is securely connected to the main unit. If issues persist, the probe may need replacement.
- Alert volume is too low: Some users have noted that the alert volume may be subtle. Ensure you are within reasonable proximity to the unit to hear the alert. There is no adjustable volume setting.
- La unidad no se enciende: Check battery installation and ensure batteries are fresh. If the unit still does not power on, contact customer support.
Presupuesto
| Marca | OXO |
| Nombre del modelo | Chef's Precision Digital Leave-In Thermometer |
| Número de modelo | 1158800 |
| Tipo de pantalla | Digital |
| Tecnología de conectividad | Cableado |
| Material exterior | Stainless Steel (Probe), Plastic (Case) |
| Fuente de poder | Funciona con pilas (se requieren 2 pilas AAA) |
| Instrucciones de cuidado del producto | Hand Wash Only (Main Unit), Oven Safe (Probe) |
| Peso del artículo | 0.5 libras |
| Longitud del artículo | 7.75 pulgadas |
| Upper Temperature Range | 212 grados Fahrenheit |
Garantía y soporte
Información de garantía
OXO ofrece una garantía de satisfacción. Si por alguna razón no está satisfecho con un producto OXO, puede devolverlo para obtener un reemplazo o un reembolso.
Atención al cliente
For further assistance, product inquiries, or to claim your warranty, please visit the official OXO website or contact their customer service department. Refer to the product packaging or the OXO webSitio para obtener la información de contacto más actualizada.