1. Introducción
The Sigma SD14 is a 14-megapixel Digital Single-Lens Reflex (DSLR) camera designed for advanced photographers. It features the Foveon X3 direct-image sensor, which captures full RGB color information at each pixel layer, aiming for high-definition images with rich gradation. This manual provides essential information for setting up, operating, and maintaining your SD14 camera.
Key features include a 2.5-inch LCD monitor, a durable shutter mechanism rated for over 100,000 cycles, a 5-point autofocus system, and continuous shooting capabilities. The camera supports both RAW and JPEG image recording formats and includes Sigma Photo Pro 3.0 software for RAW image processing.

Figura 1.1: Frente view of the Sigma SD14 Digital SLR Camera, showing the lens mount and body design.
2. ¿Qué hay en la caja?
Verify that all the following items are included in your Sigma SD14 package:
- Sigma SD14 Digital SLR Camera Body
- Lithium-ion Power Battery BP-21
- Battery Charger BC-21
- Cable USB
- Cable de Video
- Correa para el cuello
- Eye Cap
- Tapa del cuerpo
- Tapa del ocular
- SIGMA Photo Pro 3.0 CD-ROM
- SD14 Instruction Manual (this document)
3. Configuración
3.1. Carga e instalación de la batería
- Insert the Lithium-ion Battery BP-21 into the Battery Charger BC-21.
- Conecte el cargador a una toma de corriente. El indicador de carga se iluminará.
- Charging typically takes approximately 120 minutes for a full charge.
- Una vez completamente cargada, retire la batería del cargador.
- Open the battery compartment cover on the camera body.
- Insert the charged battery into the compartment, ensuring correct orientation.
- Cierre bien la tapa del compartimento de la batería.
A fully charged BP-21 battery can capture approximately 500 images.
3.2. Insertar una tarjeta de memoria
The SD14 uses CompactFlash (CF) Type I/II cards. Ensure the card is formatted in the camera before first use.
- Open the CF card slot cover on the side of the camera.
- Insert the CF card with the correct orientation until it clicks into place.
- Close the CF card slot cover securely.
3.3. Colocación de una lente
The Sigma SD14 uses the Sigma SA Bayonet mount. Only Sigma SA mount lenses are directly compatible.
- Retire la tapa del cuerpo de la cámara y la tapa de la lente trasera de la lente.
- Align the red index mark on the lens with the red index mark on the camera body's lens mount.
- Coloque la lente girándola en el sentido de las agujas del reloj hasta que encaje en su lugar con un clic.
- Para quitar la lente, presione el botón de liberación de la lente en el cuerpo de la cámara y gire la lente en sentido antihorario.
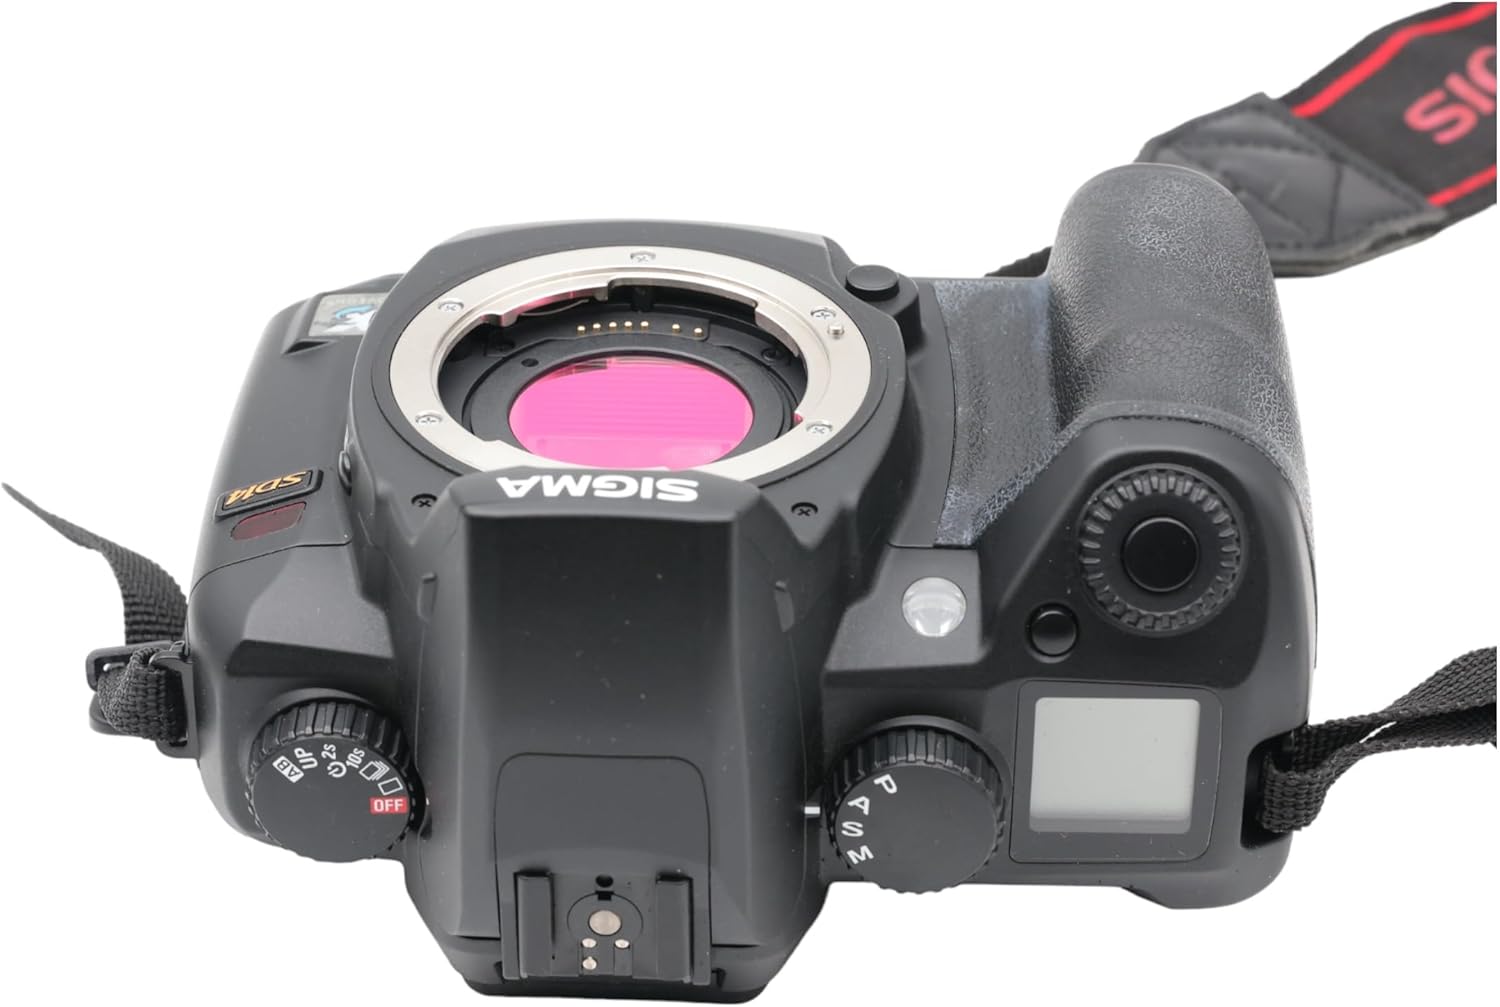
Figura 3.1: Arriba view of the Sigma SD14, illustrating the lens mount and mode dials.
4. Operación
4.1. Encendido / apagado
Rotate the power switch to the ON position to turn on the camera. Rotate it to OFF to power down.
4.2. Controles básicos y pantalla
The SD14 features a 2.5-inch LCD monitor for reviewing images and navigating menus, and a pentaprism viewfinder for composing shots. The top LCD panel displays key settings such as resolution, metering mode, battery status, and remaining shots.

Figura 4.1: Posterior view of the Sigma SD14, showing the LCD monitor, viewBuscador y botones de control.
Key buttons include MENU, ISO, WB (White Balance), and a 4-way controller with an OK button for navigation. The INFO button displays shutter speed, aperture, and other settings on the LCD.
4.3. Enfoque
The camera utilizes a 5-point autofocus (AF) system (center, left, right, up, and down). The center AF point features a cross-type sensor for enhanced precision. AF point selection can be automatic or manual.
4.4. Modos de medición
The SD14 offers three metering modes:
- 8-segment Evaluative Metering: Analyzes the entire scene for balanced exposure.
- Center Area Metering: Prioritizes the central area of the frame.
- Center Weighted Average Metering: Measures the entire frame but gives more weight to the central area.
Exposure compensation and auto bracketing functions are available for fine-tuning exposure.
4.5. Grabación de imágenes
The camera supports both RAW (X3F) and JPEG formats. JPEG recording offers four sizes (Super High, High, Medium, Low) and three quality settings (Fine, Normal, Basic).
- Super High (4608 x 3072 pixels): Suitable for A3 or larger prints.
- High (2640 x 1760 pixels): Suitable for A4 prints.
- Medium (1776 x 1184 pixels): Suitable for regular size prints.
- Low (1296 x 864 pixels): Adecuado para web páginas y correo electrónico.
4.6. Disparo continuo
The SD14 can shoot continuously at 3 frames per second. The number of frames captured in a burst depends on the resolution setting:
- Alto: 6 cuadros
- Medio: 12 cuadros
- Bajo: 24 cuadros
These figures apply to both RAW and JPEG modes.
4.7. Flash incorporado
The built-in flash has a guide number of 11 (ISO 100) and covers a 17mm lens angle (28mm equivalent on 35mm format). It supports S-TTL automatic flash metering and can synchronize with shutter speeds up to 1/180 second.
4.8. Mirror Lock-up
Activate the mirror lock-up mechanism to prevent camera shake caused by mirror movement during exposure. This is particularly useful for macro photography, long telephoto shots, or scientific applications. For best results, use with a remote controller or cable release (sold separately).
4.9. Sigma Photo Pro 3.0 Software
The included Sigma Photo Pro 3.0 software is a RAW image developer. It allows for quick conversion of RAW data and offers three adjustment modes: X3F Mode (original settings), Auto Adjustment Mode, and Custom Mode for manual adjustments (exposure, contrast, shadow, highlight, saturation, sharpness, fill-light). The software supports 8-bit TIFF, 16-bit TIFF, and JPEG file formats, and sRGB, Apple RGB, Adobe RGB, and ColorMatch RGB color spaces.
5. Mantenimiento
5.1. Image Sensor Dust Protector
The SD14 features a dust protector positioned in front of the image sensor. This design prevents dust from adhering directly to the sensor, minimizing its impact on image quality. If dust accumulates on the protector, it will be out of focus and generally not visible in images.
5.2. Limpieza del cuerpo y la lente de la cámara
- Utilice un paño suave y sin pelusa para limpiar el cuerpo de la cámara. Para la suciedad difícil, limpie ligeramenteampen el paño con agua o una solución de limpieza suave.
- For lenses, use a lens brush to remove loose dust, then a lens cleaning solution and a microfiber cloth. Avoid touching the lens surface with your fingers.
- Never use organic solvents like paint thinner or benzene to clean the camera or lens.
5.3. Cuidado de la batería
- Guarde las baterías en un lugar fresco y seco cuando no las utilice.
- Evite descargar completamente la batería con frecuencia para prolongar su vida útil.
- Si la cámara no se utilizará durante un período prolongado, retire la batería.
6. Solución de problemas
| Problema | Posible causa | Solución |
|---|---|---|
| La cámara no se enciende. | La batería está agotada o insertada incorrectamente. | Cargue la batería completamente y asegúrese de que esté insertada correctamente. |
| Las imágenes están borrosas. | Enfoque incorrecto, movimiento de la cámara o lente sucia. | Asegúrese de enfocar correctamente. Use una velocidad de obturación más rápida o un trípode. Limpie la lente. |
| Las imágenes son demasiado oscuras o demasiado brillantes. | Incorrect exposure settings or metering mode. | Adjust exposure compensation. Select an appropriate metering mode for the scene. |
| Color blotching in underexposed areas. | Characteristic of the Foveon sensor when severely underexposed. | Aim to slightly overexpose images (e.g., +.7 EV) to retain shadow detail and avoid this effect. |
| No se pueden grabar imágenes. | La tarjeta de memoria está llena, bloqueada o no está insertada correctamente. | Insert an empty card, unlock the card, or reinsert it correctly. Format the card if necessary (this will erase all data). |
| La cámara se congela o no responde. | Fallo temporal del software. | Retire y vuelva a insertar la batería para reiniciar la cámara. |
For more detailed troubleshooting or error codes, please refer to the comprehensive instruction manual included with your camera or visit the Sigma support websitio.
7. Especificaciones
| Característica | Detalle |
|---|---|
| Nombre del modelo | SD14 |
| Resolución del sensor fotográfico | 14 MP (Foveon X3 direct-image sensor) |
| Tamaño del fotosensor | APS-C |
| Montajes compatibles | Sigma SA Bayonet |
| Apoyado File Formatos | JPEG, RAW (X3F), TIFF |
| Tamaño de pantalla | 2.5 Inches (150,000 pixels) |
| Viewdescubridor | Optical Pentaprism (98% coverage, 0.9x magnification) |
| Puntos de enfoque automático | 5-point (Phase Detection) |
| Velocidad de disparo continuo | 3 cuadros por segundo |
| Velocidad máxima de obturación | 1/4000 segundos |
| Velocidad mínima de obturación | 30 segundos |
| Rango ISO ampliado | 100 - 1600 |
| Modos de medición | 8-segment Evaluative, Center Area, Center Weighted Average |
| Built-in Flash Guide Number | 11 (ISO 100) |
| Medios de almacenamiento | Compact Flash (CF) Type I/II |
| Fuente de poder | Lithium-ion Battery BP-21 |
| Conectividad | USB, Video Out |
| Peso del artículo | 1.65 libras (aproximadamente 748 g) |
| Número de modelo | C23900 |
| Código Postal | 085126924416 |
7.1. Accesorios opcionales (se venden por separado)
- Sigma Lenses (over 40 compatible models)
- Flashguns: EF-500 DG SUPER, EF-500 DG ST, EM-140 DG
- Power Grip PG-21
- Cable Release CR-21
- Remote Controller RS-31
- AC Adapter SAC-21
8. Garantía y soporte
8.1. Información de garantía
For detailed warranty terms and conditions, please refer to the warranty card included with your product or visit the official Sigma webSitio. La cobertura de la garantía generalmente incluye defectos de materiales y mano de obra durante un período específico a partir de la fecha de compra.
8.2. Atención al cliente
If you encounter any issues or have questions not covered in this manual, please contact Sigma customer support. Contact information can usually be found on the official Sigma websitio o en la documentación de la garantía.
Recursos en línea: Visit the official Sigma website for product registration, firmware updates, FAQs, and additional support resources.