1. Produktüberschreitungview
The ORDRO Z36 is a versatile 4K camcorder designed for capturing high-quality video and still images. It features 4K Ultra HD video recording and 64 MP photo capabilities, complemented by an 18x digital zoom for capturing distant subjects. The camcorder includes an integrated LED fill light for improved visibility in low-light conditions and an IR night vision mode for recording in complete darkness. Its 3.0-inch IPS flip screen rotates 270° for flexible viewing and self-recording. For convenience, a wireless remote control is included, along with a mini tripod for stable shots. The Z36 supports various creative modes such as time-lapse, slow motion, and continuous shooting, making it suitable for a range of recording needs.
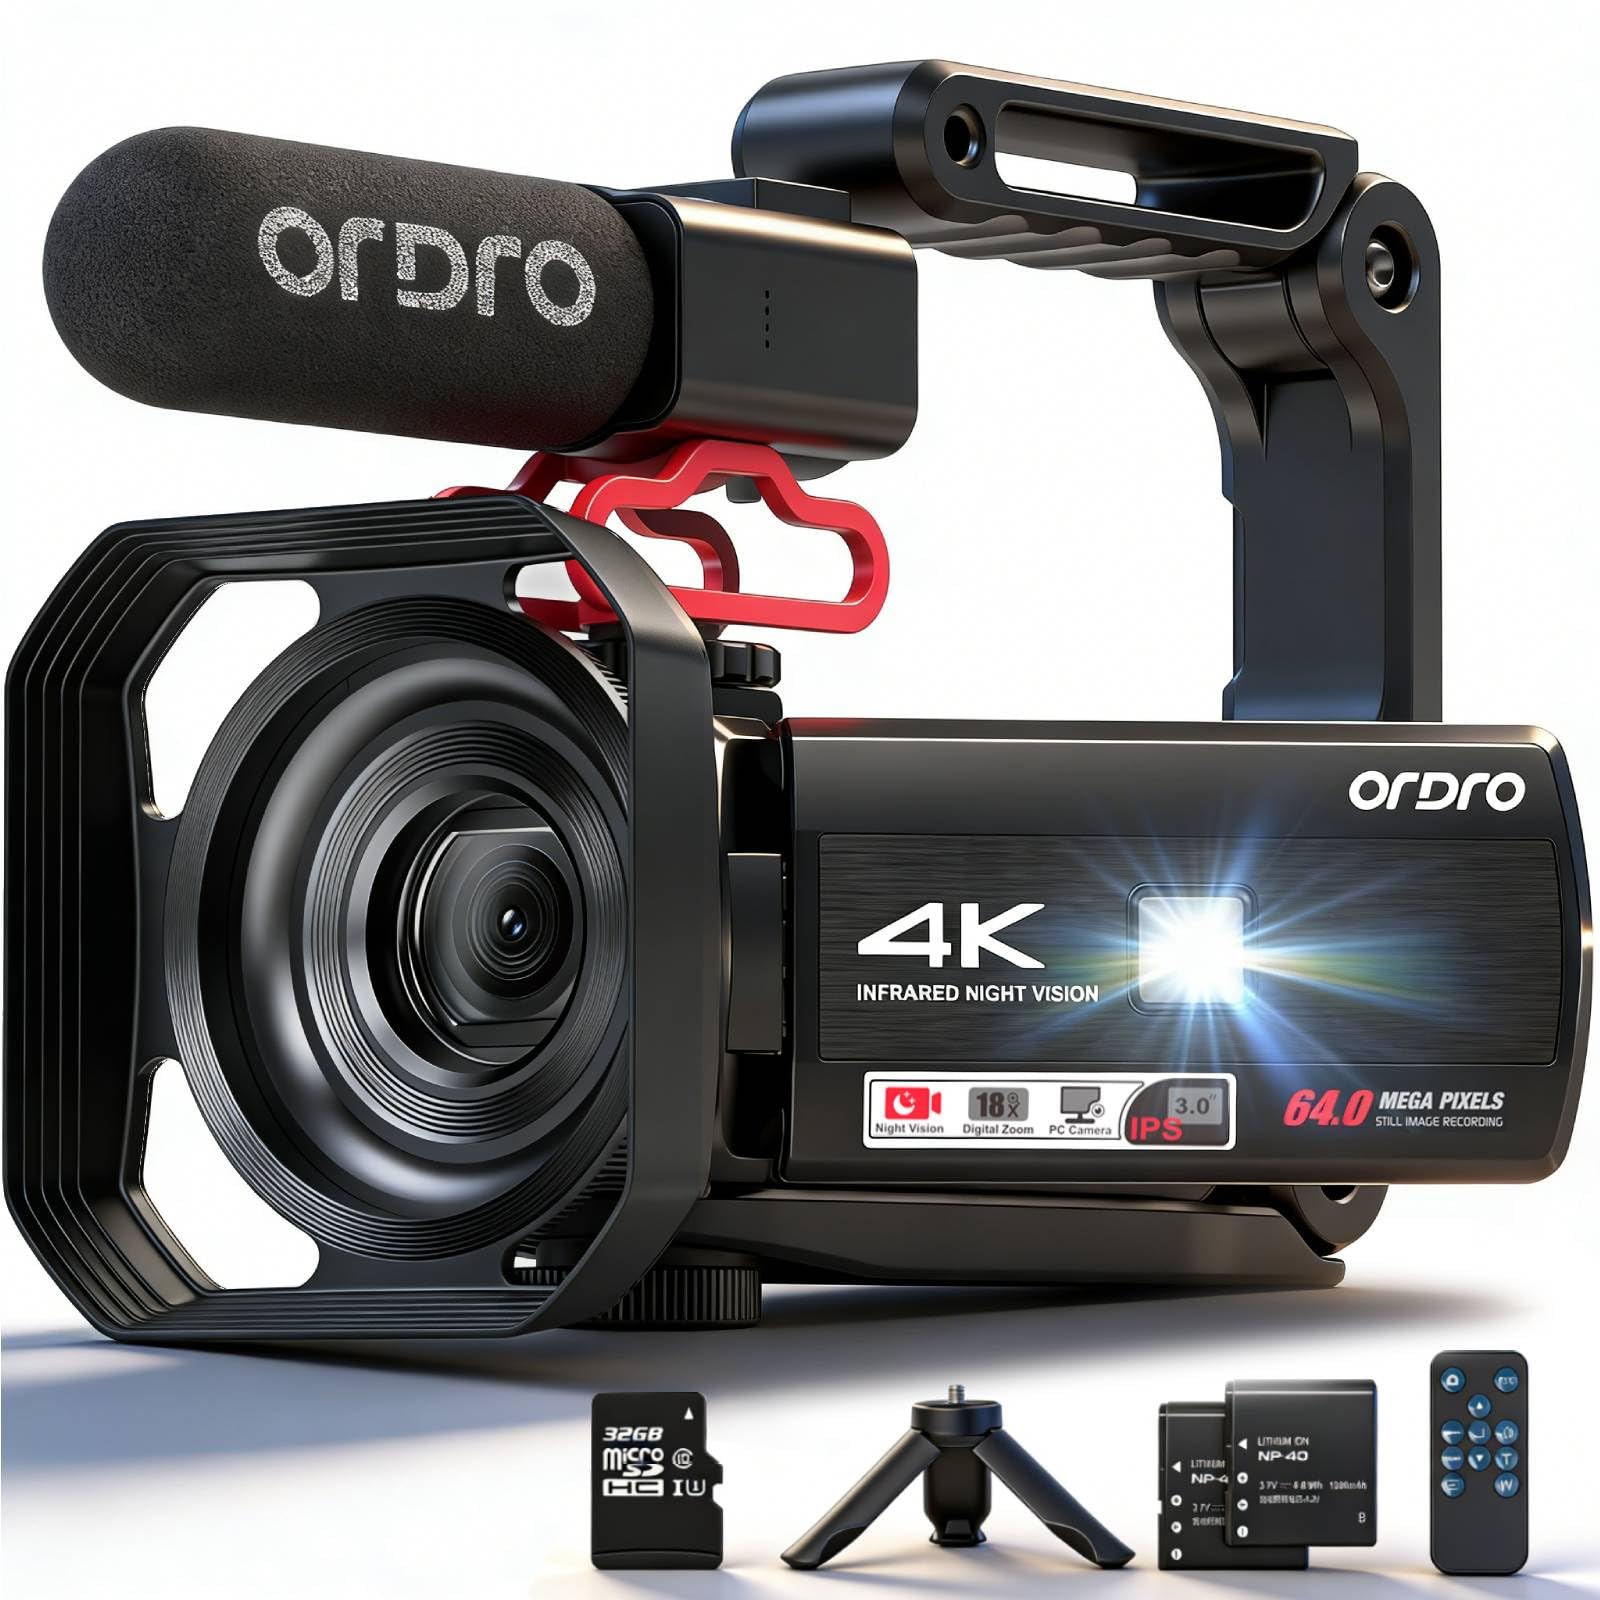
Image 1.1: The ORDRO Z36 4K Camcorder, showcasing its compact design and the 3.0-inch IPS flip screen in an extended position.
2. Einrichtung
2.1 Auspacken und Packungsinhalt
Packen Sie alle Komponenten vorsichtig aus. Stellen Sie sicher, dass folgende Teile vorhanden sind:
- ORDRO Z36 4K Camcorder
- Wiederaufladbarer Akku
- USB-Kabel
- Drahtlose Fernbedienung
- Mini-Stativ
- Benutzerhandbuch (dieses Dokument)
- Power Adapter (may be included separately)
2.2 Einlegen und Laden der Batterie
- Suchen Sie das Batteriefach an der Unterseite oder Seite des Camcorders.
- Öffnen Sie die Fachabdeckung.
- Setzen Sie den Akku ein und achten Sie darauf, dass die Kontakte richtig ausgerichtet sind.
- Schließen Sie den Batteriefachdeckel fest.
- Connect the camcorder to a power source using the provided USB cable and power adapter. The charging indicator light will illuminate.
- Allow the battery to charge fully before first use. The indicator light will change or turn off when charging is complete.
2.3 Installation der Speicherkarte
A memory card (SD card, not included) is required to store videos and photos. The camcorder supports up to 128GB SD cards (Class 10 or higher recommended).
- Locate the SD card slot, usually on the side of the camcorder.
- Öffnen Sie die Steckplatzabdeckung.
- Setzen Sie die SD-Karte so ein, dass die Metallkontakte in die richtige Richtung zeigen (siehe Abbildung neben dem Steckplatz). Drücken Sie sie hinein, bis sie einrastet.
- Schließen Sie die Steckplatzabdeckung.
- Wichtig: Format the memory card in the camcorder's menu before first use to ensure compatibility and optimal performance.
2.4 Erstes Einschalten und Einstellungen
- Halten Sie die Leistung Drücken Sie die Taste, bis der Bildschirm aufleuchtet.
- Upon first power-on, you may be prompted to set the language, date, and time. Use the navigation buttons to select options and confirm.
- Adjust other basic settings as desired through the camcorder's menu system.
3. Bedienungsanleitung
3.1 Grundlegende Bedienelemente
Familiarize yourself with the main buttons:
- Netzschalter: Turns the camcorder on/off.
- Aufnahme-/Auslösertaste: Startet/stoppt die Videoaufnahme oder macht ein Foto.
- Zoomhebel (W/T): Adjusts digital zoom (Wide/Telephoto).
- Menü-Schaltfläche: Accesses the camcorder's settings menu.
- Navigationstasten: Dient zur Navigation in Menüs und zur Auswahl von Optionen.
- Modus-Taste: Wechselt zwischen Video-, Foto- und Wiedergabemodus.
3.2 Video aufnehmen
- Ensure the camcorder is in video recording mode (check the icon on the screen).
- Mit dem 3.0-Zoll-Klappbildschirm können Sie Ihr Bild optimal gestalten.
- Drücken Sie die Record/Shutter button once to start recording. A red indicator or recording timer will appear on the screen.
- Drücken Sie die Record/Shutter erneut, um die Aufnahme zu stoppen.
- To adjust video resolution (e.g., 4K), access the video settings in the menu.
3.3 Fotos aufnehmen
- Switch the camcorder to photo mode using the Modus Taste.
- Setzen Sie Ihr Motiv in Szene.
- Drücken Sie die Record/Shutter button to capture a 64 MP still image.
3.4 Digitalzoom
Verwenden Sie die Zoomhebel (W for wide, T for telephoto) to adjust the 18x digital zoom. Move the lever towards 'T' to zoom in and towards 'W' to zoom out.
3.5 IR Night Vision and LED Fill Light
- IR Nachtsicht: Activate this mode via the menu for recording in extremely low light or complete darkness. The image will appear monochrome.
- LED-Fülllicht: For additional illumination in dim environments, activate the built-in LED light. This can usually be toggled on/off via a dedicated button or menu option.
3.6 3.0-inch IPS Flip Screen
The screen can be rotated up to 270° to allow for various shooting angles, including self-recording (vlogging). Gently pull the screen out from the side and rotate it to your desired position.
3.7 drahtlose Fernbedienung
The included remote control allows for convenient operation from a distance. Ensure the remote's battery is installed and point it towards the camcorder's IR receiver. Functions typically include record start/stop, zoom, and mode selection.
3.8 Besondere Aufnahmefunktionen
- Zeitraffer: Capture a series of images over time and combine them into a sped-up video. Set the interval and duration in the menu.
- Zeitlupe: Record video at a higher frame rate to play back in slow motion. Select this option in video settings.
- Dauerfeuer: Take multiple photos in quick succession. Useful for capturing fast-moving subjects.
3.9 Wiedergabe und File Überweisen
- Wiedergabe: Wechseln Sie mit dem Modus button. Use navigation buttons to browse and play back recorded videos or view Fotos.
- Anschließen an einen Computer: Connect the camcorder to your computer using the USB cable. The camcorder will appear as a removable disk, allowing you to transfer files direkt.
4. Wartung
4.1 Reinigung des Camcorders
- Linse: Use a soft, lint-free cloth specifically designed for optical lenses. For stubborn smudges, use a small amount of lens cleaning solution. Avoid touching the lens with your fingers.
- Bildschirm: Wipe the screen gently with a soft, dry microfiber cloth. Do not use abrasive cleaners.
- Körper: Benutzen Sie ein weiches, leichtamp cloth to clean the camcorder body. Avoid excessive moisture.
4.2 Batteriepflege
- Laden Sie den Akku vor dem ersten Gebrauch und immer dann vollständig auf, wenn die Akkuanzeige schwach ist.
- Vermeiden Sie es, den Akku häufig vollständig zu entladen, da dies seine Lebensdauer verkürzen kann.
- If storing the camcorder for an extended period, remove the battery and store it in a cool, dry place with approximately 50% charge.
4.3 Speicherung
Store the camcorder in a dry, dust-free environment away from direct sunlight and extreme temperatures. Use a protective case when transporting the device.
4.4 Firmware-Updates
Überprüfen Sie regelmäßig die offiziellen ORDRO-Websites. website for any available firmware updates. Firmware updates can improve performance, add new features, or fix bugs. Follow the instructions provided on the webGehen Sie beim Aktualisieren der Website sorgfältig vor.
5. Fehlerbehebung
| Problem | Mögliche Ursache | Lösung |
|---|---|---|
| Der Camcorder lässt sich nicht einschalten. | Die Batterie ist leer oder nicht richtig eingesetzt. | Charge the battery fully. Reinsert the battery, ensuring correct orientation. |
| Videoaufnahmen/Fotos können nicht aufgenommen werden. | Memory card is full, not inserted, or corrupted. Incorrect mode selected. | Insert a memory card. Format the card (backup data first). Switch to video or photo mode. |
| Schlechte Bild-/Videoqualität. | Die Linse ist verschmutzt. Unzureichende Beleuchtung. Falsche Einstellungen. | Clean the lens. Use LED fill light or IR night vision as appropriate. Adjust resolution settings. |
| Der Camcorder friert ein oder reagiert nicht mehr. | Softwarefehler. | Remove and reinsert the battery to perform a hard reset. If issue persists, check for firmware updates. |
| Fernbedienung funktioniert nicht. | Remote battery drained. Obstruction between remote and camcorder. | Replace the remote control battery. Ensure a clear line of sight to the camcorder's IR receiver. |
Wenn das Problem nach dem Ausprobieren dieser Lösungen weiterhin besteht, wenden Sie sich bitte an den Kundensupport.
6. Spezifikationen
- Marke: ORDRO
- Modell: Z36
- Videoauflösung: 4K Ultra HD
- Fotoauflösung: 64 Megapixel
- Digitalzoom: 18x
- Bildschirm: 3.0-inch IPS Flip Screen (270° rotation)
- Sensortechnologie: CMOS
- Besondere Merkmale: IR Night Vision, LED Fill Light, Time-lapse, Slow Motion, Continuous Shooting
- Konnektivität: USB
- Videoaufnahmeformat: MP4
- Batterie: 1 D type rechargeable battery (included)
- Mindestbrennweite: 1 Millimeter
- Maximale Brennweite: 999 Millimeter
7. Garantie und Support
The ORDRO Z36 Camcorder comes with a standard manufacturer's warranty. Please refer to the warranty card included in your package for specific terms and conditions, including the warranty period and coverage details.
For technical support, service, or inquiries regarding your product, please visit the official ORDRO webSie können die Website besuchen oder sich an den Kundendienst wenden. Die Kontaktdaten finden Sie in der Regel auf der Website des Herstellers. webWebsite oder in der Produktverpackung.
Notiz: Bewahren Sie Ihren Kaufbeleg als Kaufnachweis für Garantieansprüche auf.