Einführung
The Rapoo M308 is a versatile multi-mode wireless mouse designed for efficiency and comfort. It features an ambidextrous design, allowing comfortable use for both right-handed and left-handed individuals. With its dual connectivity options, Bluetooth 5.0 and 2.4 GHz wireless, you can seamlessly connect to up to three devices and switch between them with ease. The mouse is engineered for long-lasting performance, offering a battery life of up to 12 months.
Packungsinhalt
- Rapoo M308 Multi-mode Wireless Mouse
- USB-Empfänger (in der Maus verstaut)
- 2 AA-Batterien
- Kurzanleitung (dieses Handbuch)
Produkt überview
Familiarize yourself with the components of your Rapoo M308 mouse.
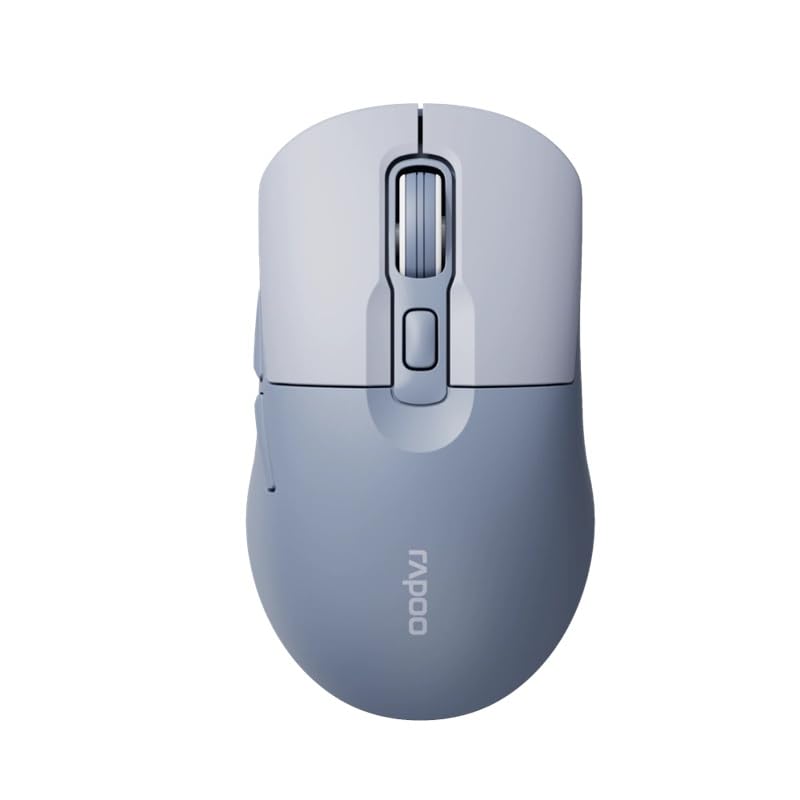
Image: The Rapoo M308 Multi-mode Wireless Mouse in blue, showcasing its ergonomic, ambidextrous design with a scroll wheel and multiple buttons.
- Linke Taste: Standardmäßige Linksklick-Funktion.
- Rechter Knopf: Standardmäßige Rechtsklick-Funktion.
- Scrollrad: Für Scroll- und Mittelklickfunktionen.
- DPI-Taste: Passt die Cursorempfindlichkeit (DPI) an.
- Mode Switch Button/Indicator: Switches between connected devices (2.4G, Bluetooth 1, Bluetooth 2) and indicates current mode.
- Seitentasten: Forward/Backward navigation (programmable).
- Batteriefach: Located on the underside, holds 2 AA batteries.
- USB-Empfängersteckplatz: Located inside the battery compartment for storage.
Aufstellen
1. Einlegen der Batterie
- Öffnen Sie die Batteriefachabdeckung an der Unterseite der Maus.
- Legen Sie die beiden AA-Batterien ein und achten Sie dabei auf die richtige Polarität (+/-).
- Schließen Sie den Batteriefachdeckel.
2. Verbindung über 2.4-GHz-Funk
- Remove the USB receiver from its storage slot inside the battery compartment.
- Stecken Sie den USB-Empfänger in einen freien USB-Port Ihres Computers.
- Turn on the mouse. The mouse should automatically connect to your computer. The mode indicator light will show a steady green light for a few seconds.
3. Verbindung über Bluetooth
The M308 mouse supports two Bluetooth connections (BT1 and BT2).
- Schalten Sie die Maus ein.
- Press the mode switch button to select either Bluetooth 1 (blue light flashes slowly) or Bluetooth 2 (blue light flashes slowly).
- Press and hold the mode switch button for 3 seconds until the blue light starts flashing rapidly. This indicates the mouse is in pairing mode.
- Öffnen Sie auf Ihrem Computer oder Gerät die Bluetooth-Einstellungen und suchen Sie nach neuen Geräten.
- Select "Rapoo M308" from the list of available devices to pair.
- Once paired, the blue light will become steady for a few seconds and then turn off.
Bedienungsanleitung
Umschalten zwischen Geräten
The Rapoo M308 allows you to connect to up to three devices (one 2.4G wireless and two Bluetooth devices) and switch between them.
- Briefly press the mode switch button to cycle through the connected devices: 2.4G (green light), Bluetooth 1 (blue light), Bluetooth 2 (blue light).
- The indicator light will briefly illuminate in the corresponding color to confirm the selected mode.
DPI-Anpassung
Press the DPI button (usually located behind the scroll wheel) to cycle through different DPI settings. This changes the cursor speed and sensitivity. The indicator light may flash to show the current DPI level (e.g., one flash for low DPI, two for medium, etc.).
Wartung
- Reinigung: Reinigen Sie die Maus mit einem weichen, trockenen Tuch. Bei hartnäckigem Schmutz kann ein leicht feuchtes Tuch hilfreich sein.amp Ein Tuch kann verwendet werden, achten Sie aber darauf, dass keine Feuchtigkeit in das Gerät eindringt.
- Batteriewechsel: When the mouse performance degrades or the indicator light signals low battery, replace the two AA batteries following the installation steps.
- Lagerung: Schalten Sie die Maus bei längerer Nichtbenutzung aus, um die Batterielebensdauer zu verlängern. Bewahren Sie den USB-Empfänger in der Maus auf, um ihn nicht zu verlieren.
Fehlerbehebung
- Maus reagiert nicht:
- Prüfen Sie, ob die Maus eingeschaltet ist.
- Stellen Sie sicher, dass die Batterien korrekt eingesetzt und nicht entladen sind. Tauschen Sie sie gegebenenfalls aus.
- Stellen Sie bei einer 2.4-GHz-Verbindung sicher, dass der USB-Empfänger fest an einen funktionierenden USB-Anschluss angeschlossen ist. Versuchen Sie es gegebenenfalls mit einem anderen USB-Anschluss.
- For Bluetooth connection, ensure the mouse is in the correct Bluetooth mode (BT1 or BT2) and successfully paired with your device. Re-pair if needed.
- Die Cursorbewegung ist unregelmäßig oder langsam:
- Reinigen Sie den optischen Sensor an der Unterseite der Maus.
- Stellen Sie sicher, dass Sie die Maus auf einer geeigneten Oberfläche verwenden (nicht reflektierend, nicht transparent).
- Passen Sie die DPI-Einstellung mit der DPI-Taste an.
- Wechsel zwischen Geräten nicht möglich:
- Ensure all devices are properly connected (2.4G receiver plugged in, Bluetooth devices paired).
- Briefly press the mode switch button to cycle through modes. A long press will initiate Bluetooth pairing mode.
Technische Daten
| Markenname | Rapoo |
| Modell | M308 |
| Konnektivitätstechnologie | Bluetooth 5.0, 2.4-GHz-Funkfrequenz |
| Besondere Merkmale | Leicht |
| Bewegungserkennung | Optisch |
| Anzahl der Tasten | 4 |
| Handausrichtung | Beidhändig |
| Empfohlene Verwendung | Büro |
| Kompatible Geräte | Personalcomputer, Laptop |
| Artikelgewicht | 50 Gramm |
| Betriebssystem | Linux, Mac, Windows |
| Akkulaufzeit | 12 Monate |
| Anzahl Batterien | 2 AA (im Lieferumfang enthalten) |
| Stromquelle | Batteriebetrieben |
| Mindestens erforderliches Betriebssystem | Mac OS 14 Sonoma, Windows 11 |
| Material | Plastik |
| Ursprungsland | China |
| Im Lieferumfang enthaltene Komponenten | Maus |
Garantie und Support
The Rapoo M308 Multi-mode Wireless Mouse comes with a 2 Jahr Garantie Diese Garantie gilt ab Kaufdatum und deckt Herstellungsfehler sowie Funktionsstörungen bei normalem Gebrauch ab.
For technical support, warranty claims, or further assistance, please refer to the contact information provided on the Rapoo official website or your local distributor's support channels. Please retain your proof of purchase for warranty validation.