1. Produktüberschreitungview
The GALAX PRO 2.0Amp DC-20V Lithium-ion Battery Pack is designed to provide reliable power for compatible GALAX PRO 20V Max cordless power tools. This battery features a 2.0 Ah capacity and a 3-LED fuel gauge to indicate the charge status.
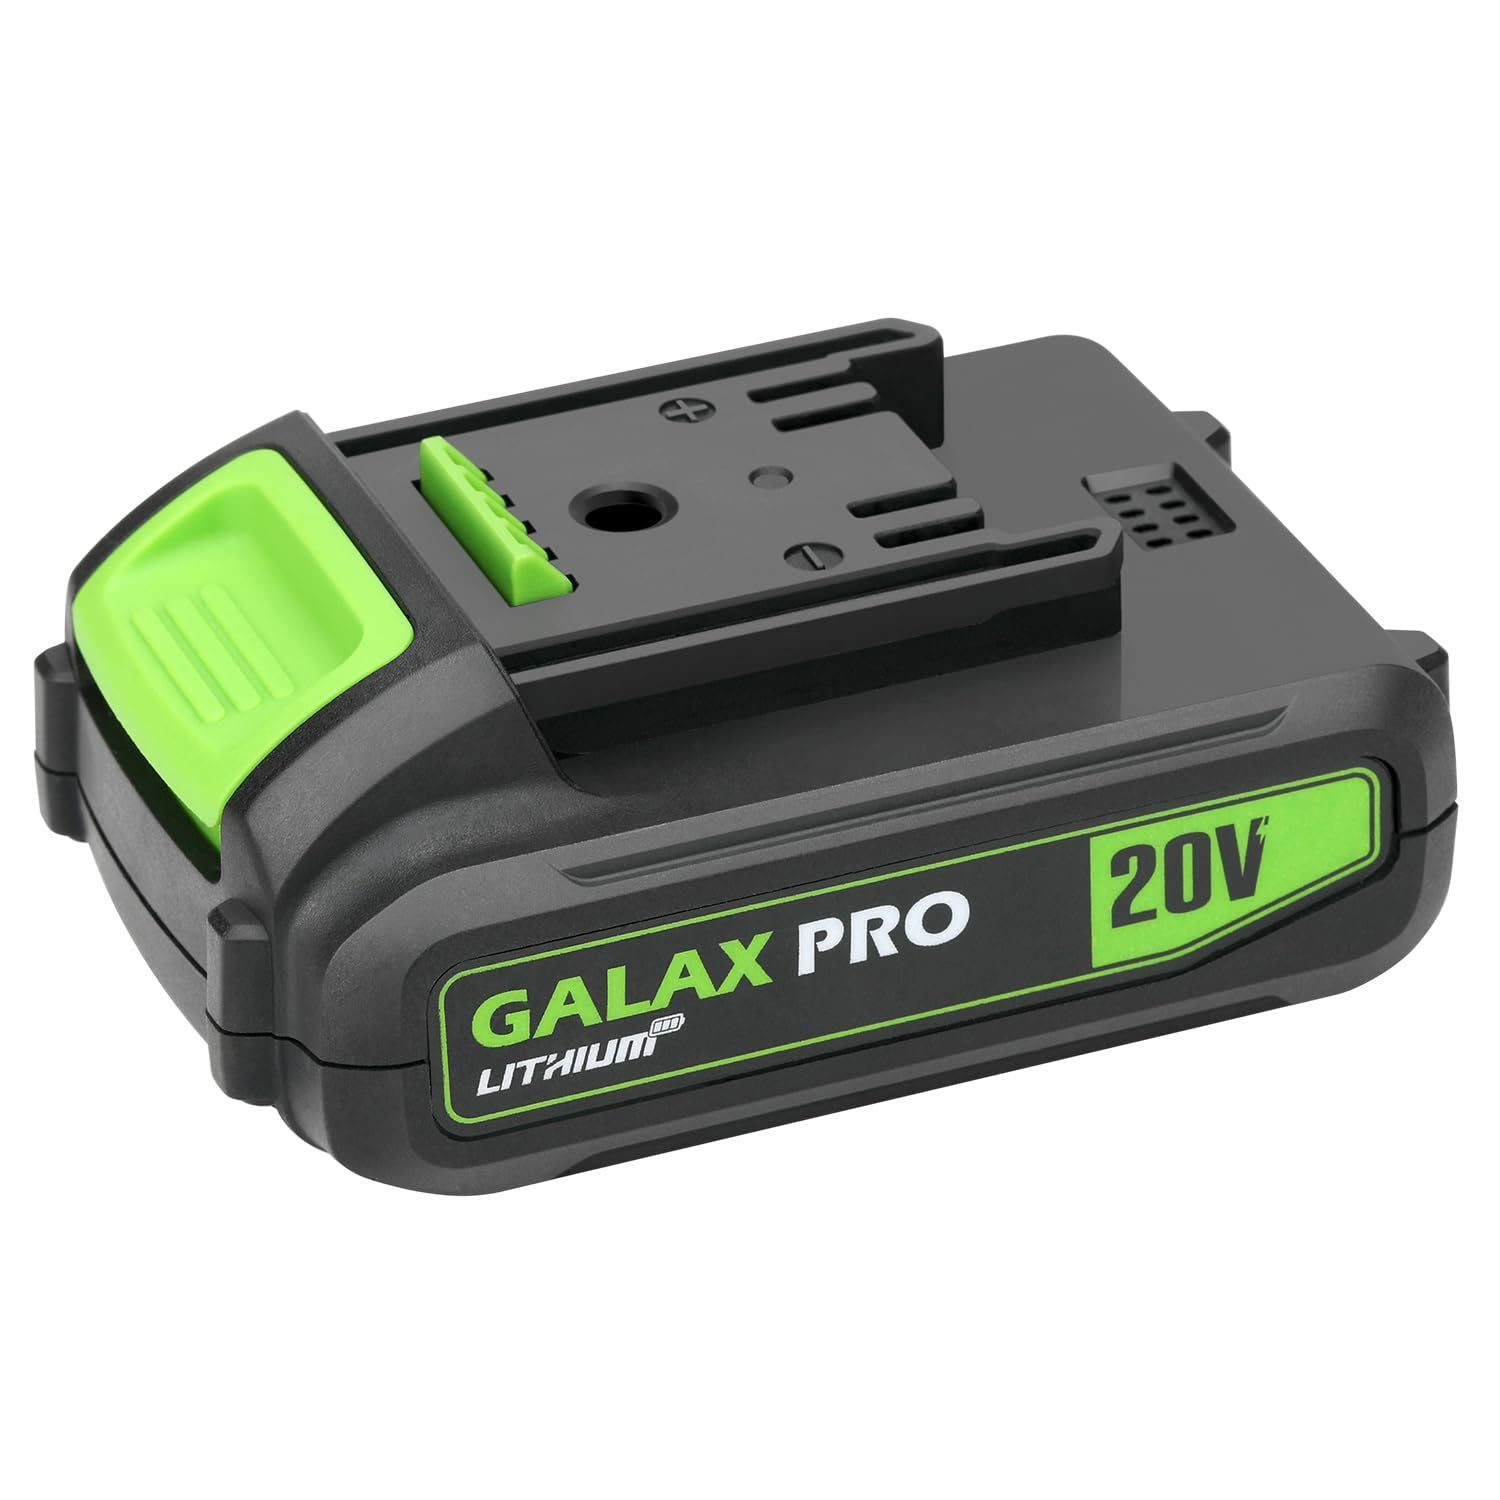
Image 1.1: The GALAX PRO 2.0Amp DC-20V Lithium-ion Battery Pack. This image shows the black and green battery pack with 'GALAX PRO LITHIUM' and '20V' branding clearly visible on its side. The top features the connection interface for power tools.
2. Wichtige Sicherheitshinweise
Read and understand all safety warnings and instructions before using this battery pack. Failure to follow the warnings and instructions may result in electric shock, fire, and/or serious injury.
- Laden: Only use the battery pack with GALAX PRO 20V compatible chargers. Using any other charger may create a risk of fire.
- Lagerung: Store the battery pack indoors in a cool, dry place, away from moisture and direct sunlight. Do not store where temperatures may exceed 122°F (50°C).
- Handhabung: Do not short-circuit the battery terminals. Do not immerse the battery pack in water or other liquids. Do not open, disassemble, or attempt to repair the battery pack.
- Entsorgung: Dispose of battery packs responsibly according to local regulations. Do not dispose of in household waste or by incineration.
- Schaden: Do not use a damaged or modified battery pack. Damaged batteries may exhibit unpredictable behavior resulting in fire, explosion, or risk of injury.
3. Einrichtung und Erstgebrauch
3.1 Erstaufladung
The battery pack is shipped with a low charge to prevent power loss during transport. It is recommended to fully charge the battery pack before its first use to ensure optimal performance and lifespan.
3.2 Ladevorgang
- Stellen Sie sicher, dass der Akku vor dem Laden sauber und trocken ist.
- Insert the battery pack into a compatible GALAX PRO 20V battery charger. Ensure it clicks securely into place.
- Stecken Sie das Ladegerät in eine normale Steckdose.
- Monitor the charger's indicator lights (refer to your charger's manual for specific light patterns) to confirm charging has begun.
- Sobald der Akku vollständig aufgeladen ist, entnehmen Sie ihn aus dem Ladegerät.
Notiz: This battery pack is only suitable for GALAX PRO tools and chargers.
4. Betrieb des Akkus
4.1 Attaching to a Power Tool
- Align the battery pack with the battery port on your GALAX PRO 20V cordless power tool.
- Slide the battery pack firmly into the tool until it clicks into place. Ensure it is securely latched to prevent accidental detachment during operation.
4.2 Removing from a Power Tool
- Suchen Sie den/die Batterieentriegelungsknopf(e) am Elektrowerkzeug.
- Press and hold the release button(s) while sliding the battery pack out of the tool.
4.3 Checking Charge Status
The battery pack features a 3-LED fuel gauge. Press the small button next to the LEDs to activate the indicator:
- 3 LEDs leuchten: Noch ca. 67-100% Ladung.
- 2 LEDs leuchten: Noch ca. 34-66% Ladung.
- 1 LED leuchtet: Der Akku verfügt noch über ca. 1–33 % Ladung. Bitte bald wieder aufladen.
- No LEDs lit: Battery is fully discharged or faulty.
5. Wartung
Proper maintenance ensures the longevity and performance of your battery pack.
- Reinigung: Keep the battery pack's terminals and housing clean and free of debris. Use a dry cloth to wipe surfaces. Do not use solvents or harsh chemicals.
- Lagerung: For long-term storage, store the battery pack in a cool, dry place, ideally with a partial charge (around 50%). Avoid storing in extreme temperatures (below 32°F / 0°C or above 104°F / 40°C).
- Ladezyklen: Avoid completely draining the battery before recharging, as this can reduce its overall lifespan. Recharge when the power level is low.
- Inspektion: Regularly inspect the battery pack for any signs of damage, such as cracks, swelling, or corrosion on the terminals. Do not use a damaged battery pack.
6. Fehlerbehebung
If you encounter issues with your battery pack, refer to the following common problems and solutions:
| Problem | Mögliche Ursache | Lösung |
|---|---|---|
| Akku wird nicht geladen | Not properly seated in charger; Charger not plugged in; Faulty charger; Battery too hot/cold; Damaged battery. | Ensure battery is fully inserted; Check charger connection and power outlet; Try a different charger (if available); Allow battery to reach room temperature; Discontinue use if damaged. |
| Akku versorgt Werkzeug nicht mit Strom | Battery not fully charged; Not properly seated in tool; Tool malfunction; Damaged battery. | Charge battery fully; Ensure battery is securely latched; Test with another battery (if available) or tool; Discontinue use if damaged. |
| Reduzierte Laufzeit | Battery not fully charged; Battery nearing end of lifespan; Operating in extreme temperatures. | Ensure full charge; Battery may need replacement; Operate within recommended temperature range. |
If troubleshooting steps do not resolve the issue, contact GALAX PRO customer support.
7. Spezifikationen
- Akku-Typ: Lithium-Ionen
- Bandtage: 20 V
- Kapazität: 2.0 Ah
- Gewicht: 14.9 Unzen (ca. 0.42 kg)
- Abmessungen (L x B x H): 4.84 x 3.19 x 2.48 Zoll (ungefähr 12.3 x 8.1 x 6.3 cm)
- Tankanzeige: 3-LED-Anzeige
- Kompatibilität: GALAX PRO 20V Max cordless power tools and chargers
8. Garantie und Support
For warranty information or technical support, please refer to the warranty card included with your product or visit the official GALAX PRO website. You may also contact GALAX PRO customer service directly for assistance with product inquiries, troubleshooting, or replacement parts.
Kontaktinformationen: Please refer to your product packaging or the GALAX PRO official webDie aktuellsten Kontaktdaten finden Sie auf der Website.