1. Wichtige Sicherheitshinweise
Please read this manual carefully before installation and use. Keep this manual for future reference.
- Ensure your desk can support the combined weight of the mount and all monitors.
- Do not exceed the maximum weight capacity: 44 lbs (20 kg) for the center bracket and 22 lbs (10 kg) per side arm.
- Verify your monitors are VESA compatible (75x75mm or 100x100mm).
- Tighten all screws firmly but do not overtighten to avoid stripping threads.
- Perform a stability check after installation and before placing monitors.
- Halten Sie Kinder und Haustiere während der Installation fern.
2. Packungsinhalt
Vor Beginn der Installation prüfen Sie, ob alle Komponenten vorhanden sind:
- Hauptpol
- Schreibtisch Clamp Montage
- Komponenten der Ösenbasis
- Center Monitor Bracket
- Side Arm Assemblies (2)
- VESA-Platten (3)
- Kabelmanagement-Clips
- Hardware-Set (Schrauben, Unterlegscheiben, Inbusschlüssel)
- Bedienungsanleitung
3. Spezifikationen
| Modellnummer | YLPTMS03-LX |
| Material | Stahl |
| Farbe | Schwarz |
| VESA-Kompatibilität | 75x75mm, 100x100mm |
| Center Monitor Size | Up to 49 inches (Ultrawide) |
| Side Monitor Size | Up to 32 inches (Standard) |
| Center Monitor Weight Capacity | Bis zu 44 kg (20 Pfund) |
| Side Arm Weight Capacity | Bis zu 10 kg pro Arm |
| Schreibtisch Clamp Dicke | 0.4" bis 3.15" (10-85 mm) |
| Dicke der Ösenbasis | 0.4" bis 1.57" (10-45 mm) |
| Durchmesser der Tüllenöffnung | 0.4" bis 2.36" (10-60 mm) |
| Polhöhe | 32 Zoll (ca. 81.4 cm) |
The mount supports a versatile triple monitor setup, accommodating one ultrawide monitor up to 49 inches in the center and two standard monitors up to 32 inches on the sides. All monitors must be compatible with VESA 75x75mm or 100x100mm mounting patterns.
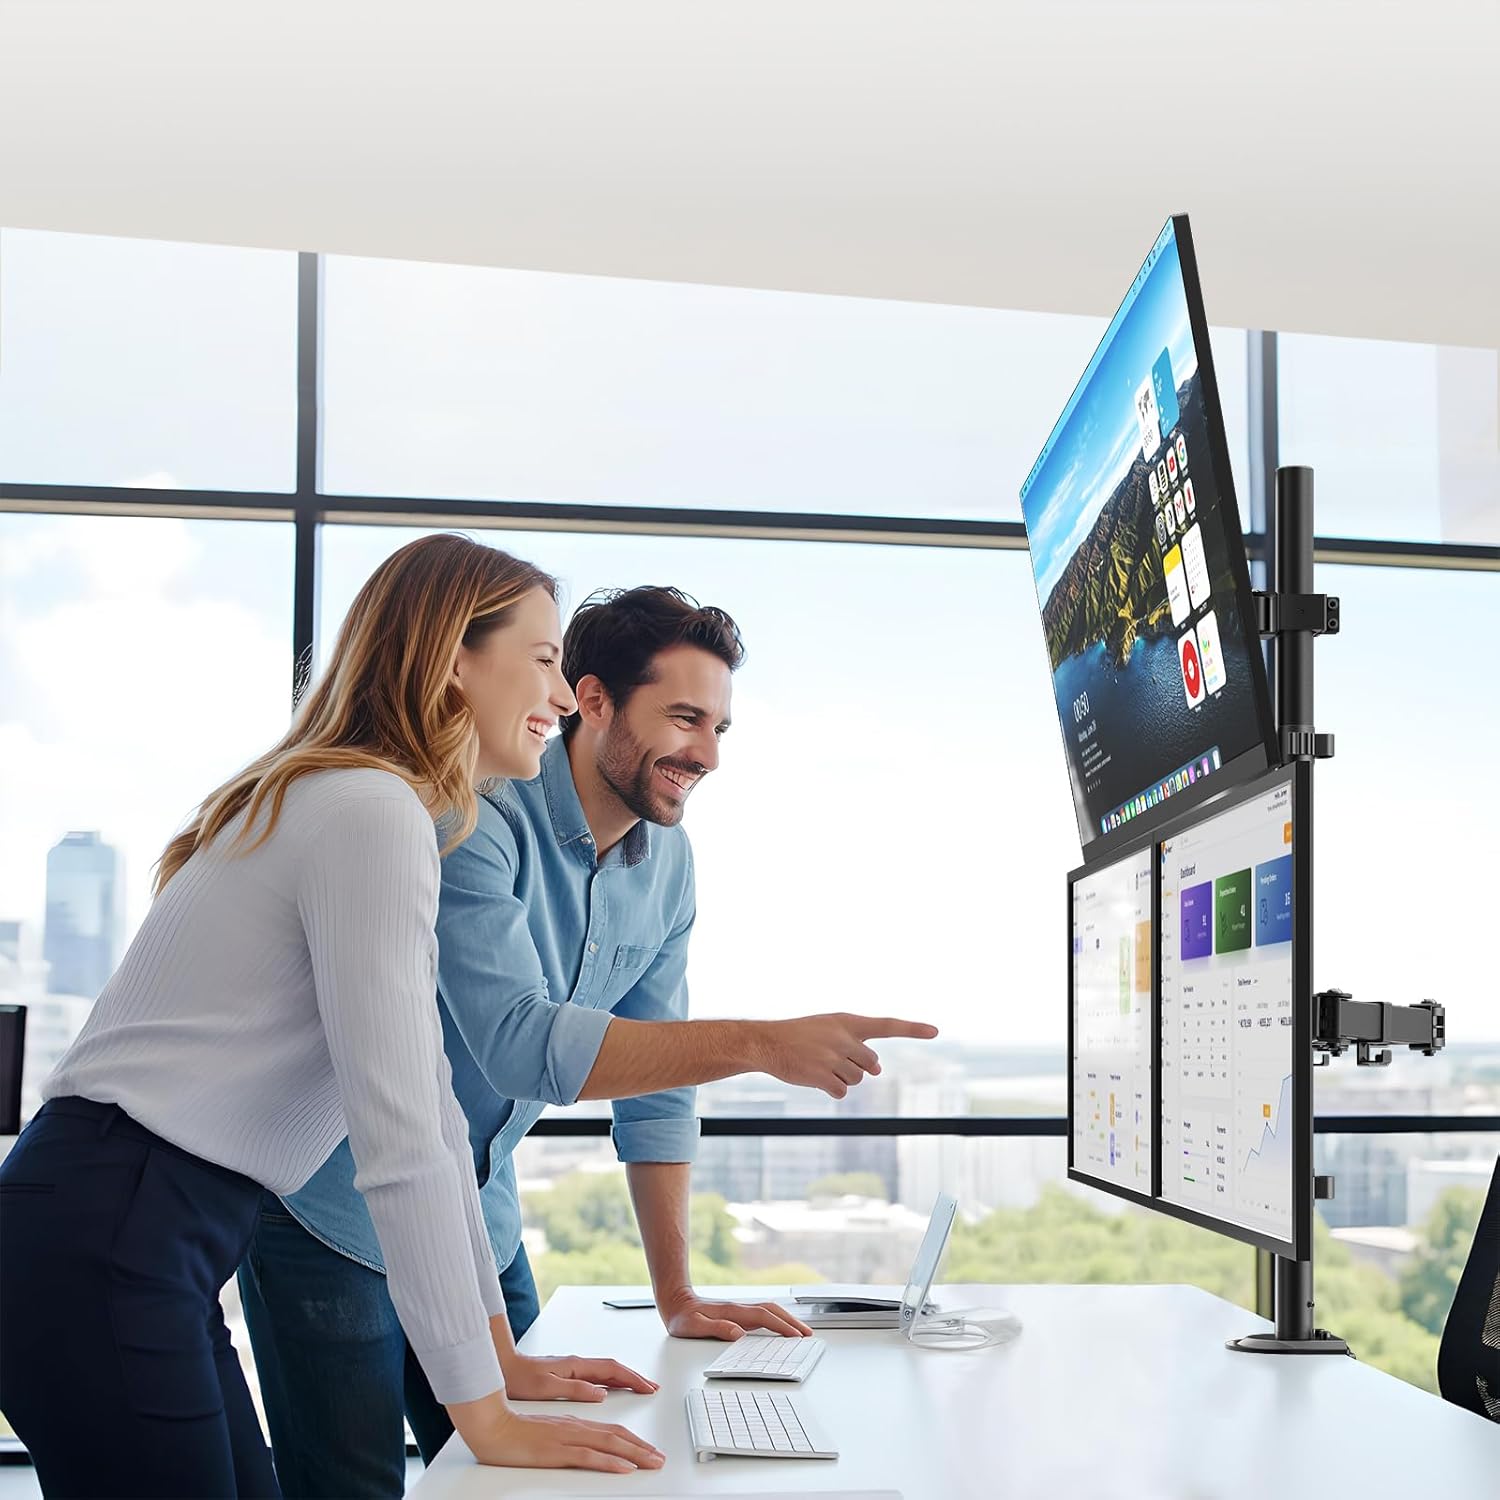
Image: Detailed measurements and weight capacities for the monitor mount, including pole height, arm length, and maximum monitor sizes for center and side brackets.
4. Einrichtung und Installation
4.1 Choose Your Mounting Option: Clamp oder Öse
The PUTORSEN Triple Monitor Mount offers two installation methods to suit your desk type.

Image: Visual guide demonstrating the clamp mount for desk edges and the grommet mount for desks with existing holes, along with their respective thickness requirements.
4.1.1 Clamp Montage der Halterung
- Befestigen Sie die Schreibtischklamp Montage am unteren Ende des Hauptmastes.
- Positionieren Sie dieamp on the edge of your desk and tighten the knob until secure. Ensure the clamp fits desks between 0.4" and 3.15" thick.
4.1.2 Montage der Tüllenbefestigung
- Den Schreibtisch zerlegenamp and use the grommet base components.
- Insert the main pole through the grommet hole in your desk (hole diameter 0.4" to 2.36").
- Secure the base from underneath the desk using the provided plate and nut. Ensure the grommet base fits desks between 0.4" and 1.57" thick.
4.2 Attaching Monitor Brackets and Arms
- Slide the center monitor bracket onto the main pole and secure it at your desired height.
- Attach the two side arm assemblies to the main pole below the center bracket.
- Attach the VESA plates to the back of each monitor using the appropriate screws from the hardware kit. The VESA plates are detachable for easier monitor attachment.

Image: This image highlights the detachable VESA plate design, which simplifies the process of attaching monitors to the mount, and also shows the micro-height adjustment mechanism.
- Carefully slide the monitors (with VESA plates attached) onto their respective brackets on the mount. Ensure they click securely into place.
- Tighten any safety screws on the VESA plates to prevent accidental detachment.

Image: A rear perspective of the triple monitor setup, illustrating how monitors are mounted and how cables can be routed through the integrated cable management system for a tidy workspace.
5. Bedienungsanleitung (Einstellungen)
The PUTORSEN Triple Monitor Mount offers extensive adjustability for optimal viewKomfort und Produktivität steigern.

Image: This diagram illustrates the range of motion for the monitor arms, including tilt (+50° to -20° for center, +45° to -45° for side arms), swivel (+25° to -25° for center, 180° for side arms), and 360° rotation for side monitors.
5.1 Höhenverstellung
- Loosen the collar on the main pole to slide the monitor brackets up or down.
- Position your monitors along the 32-inch pole for perfect eye-level alignment.
- Tighten the collar firmly once the desired height is achieved.
5.2 Neigungseinstellung
- Center Monitor: Adjust tilt from +50° to -20°. Loosen the tilt screw on the center bracket, adjust the monitor angle, and retighten.
- Side Monitors: Adjust tilt from +45° to -45°. Loosen the tilt screw on each side arm, adjust the monitor angle, and retighten.
5.3 Schwenkverstellung
- Center Monitor: Swivel from +25° to -25°.
- Side Monitors: Swivel up to 180° at the arm joints.
5.4 Rotation Adjustment
- Side arms offer 360° rotation, allowing for portrait or landscape orientation of your monitors.
5.5 Kabelmanagement
Utilize the integrated cable management clips along the arms and pole to keep your cables organized and your workspace tidy.

Image: This image details the robust construction of the mount's joints and the practical cable management clips designed to keep wires neat and out of sight.
6. Wartung
- Überprüfen Sie regelmäßig alle Schrauben und Verbindungen, um sicherzustellen, dass sie fest und sicher sitzen.
- Reinigen Sie die Halterung mit einem weichen, fusselfreien Tuch.amp Mit einem Tuch abwischen. Vermeiden Sie scheuernde Reiniger oder Lösungsmittel.
- Periodically check the monitor arms for smooth movement. If movement becomes stiff, apply a small amount of silicone-based lubricant to the joints.
7. Fehlerbehebung
- Durchhängender Monitor: Ensure all tilt and height adjustment screws are fully tightened. Verify that the monitor weight does not exceed the arm's capacity.
- Instabilität der Halterung: Recheck the desk clamp or grommet base for tightness. Ensure the desk surface is stable and flat.
- Anpassungsschwierigkeiten: Loosen the relevant adjustment screws slightly before attempting to reposition the monitor. Retighten once adjusted.
- Monitore nicht waagerecht: Use the micro-height adjustment feature (if available on your specific arm section) or slightly adjust the height of individual VESA plates before fully tightening.
8. Garantie und Support
For warranty information or technical support, please refer to the product packaging or contact PUTORSEN customer service directly. Keep your purchase receipt as proof of purchase.
Kontaktinformationen finden sich üblicherweise auf der Website des Herstellers. webWebsite oder über Ihren Händler.