1. Einleitung
This manual provides detailed instructions for the installation and operation of the Generic Canbus Box VW-RZ-08. This device is designed to facilitate the integration of aftermarket Android car radio multimedia systems with various Volkswagen vehicle models, ensuring proper communication and functionality between the new head unit and the vehicle's existing electronic systems.
2. Produktüberschreitungview
The Canbus Box VW-RZ-08 acts as an interface, translating signals between your Volkswagen vehicle's Canbus system and an aftermarket Android car radio. It ensures that functions such as steering wheel controls, ignition power, and reverse gear detection are correctly transmitted to the new head unit.

Bild 1: Vorderseite view of the Canbus Box VW-RZ-08. This image shows the compact black box with a label indicating its model number and compatibility.
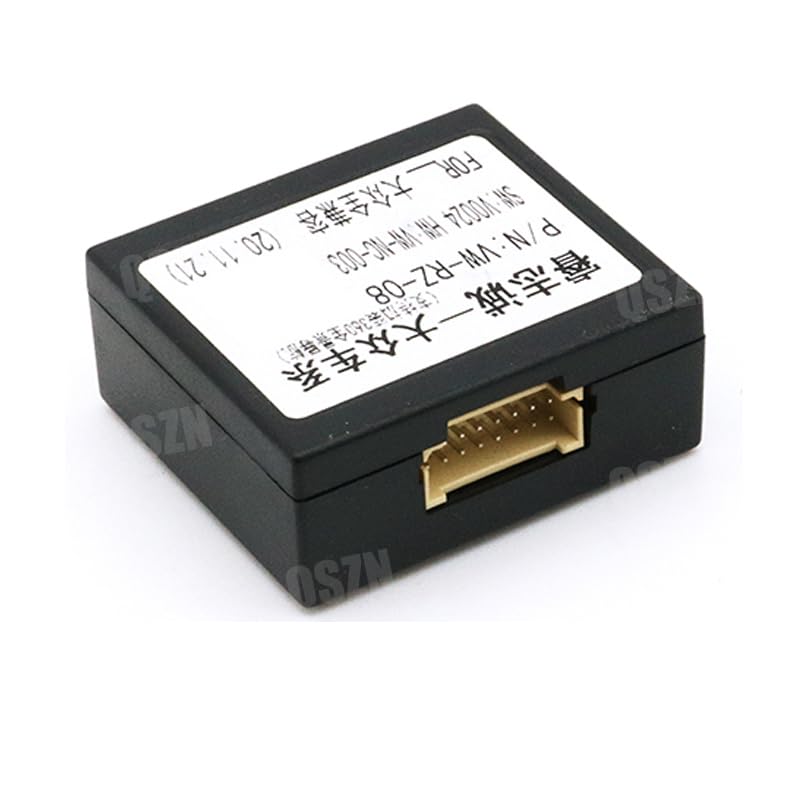
Abbildung 2: Unterseite view of the Canbus Box VW-RZ-08, showing the multi-pin connector port for the wiring harness.
3. Kompatibilität
This Canbus Box and accompanying cable set are compatible with various Volkswagen models. Please verify your vehicle's model and year against the list below:
- For VW Golf Seven: 2013-present
- For VW Lamando: 2014-present
- For VW Passat: 2017-present
- For VW Lavida: 2018-present
- For VW Touran L: 2015-present
- Also compatible with Volkswagen Golf 5/6, Polo, Jetta, and Tiguan models.
4. Packungsinhalt
Das Paket umfasst typischerweise folgende Komponenten:
- 1x Canbus Box VW-RZ-08
- 1x 16-PIN Wiring Harness Power Cable

Image 3: The Canbus Box VW-RZ-08 shown with the included 16-PIN wiring harness, illustrating the complete set.
5. Installationsanleitung
Installation of the Canbus Box and wiring harness requires careful attention to connections. It is recommended that installation be performed by a qualified professional if you are unfamiliar with car audio wiring.
5.1 Sicherheitsvorkehrungen
- Vor Beginn jeglicher elektrischer Arbeiten muss die Fahrzeugbatterie abgeklemmt werden.
- Stellen Sie sicher, dass alle Verbindungen sicher sind, um Kurzschlüsse zu vermeiden.
- Refer to your vehicle's specific wiring diagrams if available.
5.2 Verbindungsschritte
- Remove the existing car radio: Carefully remove the factory car radio from the dashboard.
- Connect the Canbus Box: Plug the multi-pin connector from the wiring harness into the corresponding port on the Canbus Box.
- Connect the wiring harness to the vehicle: Connect the vehicle-specific end of the 16-PIN wiring harness to the car's factory wiring harness. Ensure a snug fit.
- Connect to the aftermarket radio: Connect the other end of the wiring harness (typically ISO connectors or bare wires) to your aftermarket Android car radio according to its installation instructions. Match wire colors and functions carefully (e.g., power, ground, speakers, Canbus data lines).
- Testfunktionalität: Before fully reassembling the dashboard, reconnect the vehicle battery and test the basic functions of the new radio, including power on/off, audio, and steering wheel controls.
- Secure and reassemble: Once confirmed working, secure the Canbus Box and excess wiring, then reassemble the dashboard components.
Video 1: This video demonstrates the general connection process for an aftermarket stereo wire harness, which is similar to connecting the provided 16-PIN harness. It shows how to identify and connect various wires.
Video 2: This video provides another example of connecting an ISO wire harness for car radios, offering visual guidance on the wiring process.
6. Schaltplan (siehe oben)view
The 16-PIN wiring harness connects the Canbus Box to both the vehicle's electrical system and the aftermarket head unit. Each wire is color-coded and serves a specific function. While a detailed diagram is typically provided with the aftermarket radio, common connections include:
- Power (Yellow/Red): Constant 12V and Switched 12V (Ignition).
- Masse (Schwarz): Vehicle chassis ground.
- Speaker Wires (Various colors, often twisted pairs): For front left, front right, rear left, and rear right speakers.
- Canbus Data (Twisted pair, e.g., Orange/Brown): For data communication between the vehicle and the radio.
- Accessory Wires (e.g., Blue/White): Für amplifier remote turn-on, antenna power.
- Reverse Signal (e.g., Purple/White): For backup camera activation.
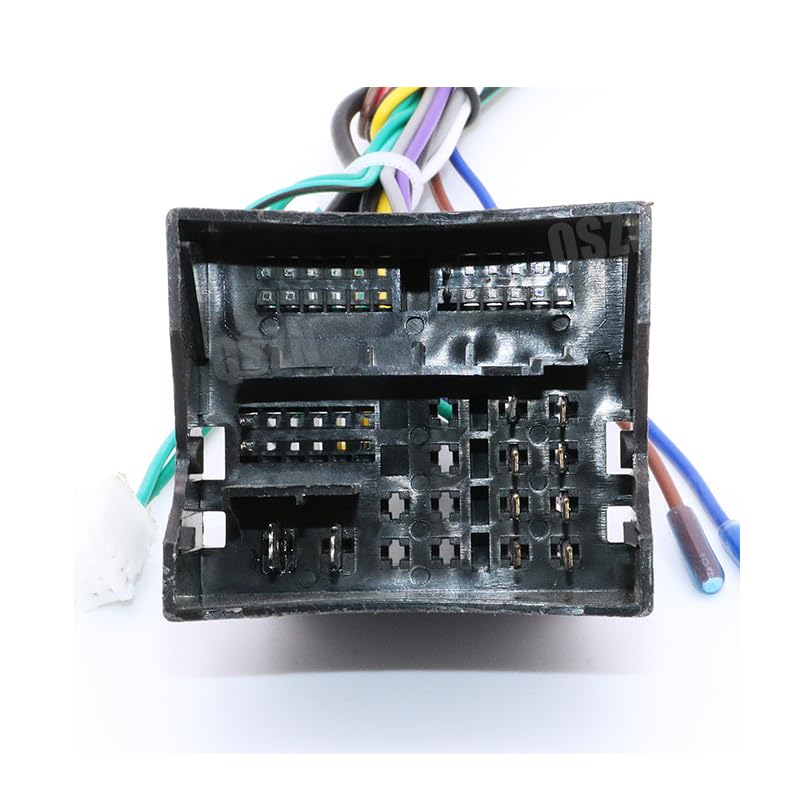
Bild 4: Nahaufnahme view of the 16-PIN wiring harness, showing the individual color-coded wires and their connections.
7. Spezifikationen
| Besonderheit | Detail |
|---|---|
| Modell | VW-RZ-08 |
| Artikelgewicht | 0.1 kg |
| Bandtage | 12 V |
| Herkunft | Festlandchina |
| Artikeltyp | Kabel, Adapter & Steckdosen |
| Hersteller | HUNTAN |
8. Fehlerbehebung
Sollten nach der Installation Probleme auftreten, beachten Sie bitte die folgenden Schritte zur Fehlerbehebung:
- Kein Strom für das Radio:
- Check all power connections (constant 12V, switched 12V, ground).
- Prüfen Sie, ob die Fahrzeugsicherungen intakt sind.
- Ensure the Canbus Box is correctly connected and receiving power.
- Lenkradbedienelemente funktionieren nicht:
- Confirm the Canbus Box is properly connected to the vehicle's Canbus lines.
- Check the aftermarket radio's settings for steering wheel control configuration.
- Ensure the radio supports Canbus integration for steering wheel controls.
- Kein Ton:
- Prüfen Sie, ob alle Lautsprecherkabel korrekt angeschlossen und nicht kurzgeschlossen sind.
- Check the radio's audio settings and volume levels.
- Wenn ein externer amplifier is used, ensure its remote turn-on wire is connected.
- Intermittierende Funktionalität:
- Prüfen Sie alle Verbindungen auf Lockerung oder Korrosion.
- Sorgen Sie für eine ordnungsgemäße Erdung.
9. Garantie und Support
For warranty information or technical support, please refer to the seller's contact details or the product listing where this item was purchased. Keep your proof of purchase for any warranty claims.