1. Einleitung
Welcome to the user manual for your United 6V Medium 3-Wheel Electric Ride-On for Kids, Model 6689-BRJ. This manual provides essential information for the safe assembly, operation, maintenance, and troubleshooting of your new ride-on toy. Please read it thoroughly before use and retain it for future reference.
This electric ride-on is designed for young explorers aged 2 to 6 years. It features a 6V battery, a single rear motor for reliable performance, integrated front lights, and various sound and light effects to enhance the riding experience. The directional control button allows for easy forward and backward movement, complemented by a comfortable seat.
2. Sicherheitshinweise
WARNUNG: Adult supervision is required at all times. This product is not a protective device. Always ensure the child wears appropriate safety gear, including a helmet, knee pads, and elbow pads, when operating the ride-on.
- Keep the ride-on away from open flames or direct heat sources.
- Do not operate the ride-on near streets, cars, steep inclines, swimming pools, or other bodies of water.
- Nur auf ebenen, trockenen Oberflächen verwenden. Sand, losen Schmutz oder Kies vermeiden.
- Ensure the child's weight does not exceed the maximum recommended limit.
- Es darf nicht mehr als ein Fahrer gleichzeitig zugelassen werden.
- Always ensure the battery is charged according to the instructions to prevent overheating or damage.
- Regularly inspect the ride-on for any loose parts, damage, or wear before each use.
3. Packungsinhalt
Überprüfen Sie, ob alle Komponenten im Paket vorhanden sind:
- 1 x United 6V Medium 3-Wheel Electric Ride-On for Kids (Model 6689-BRJ, Blue)
- 1 x 6V Battery (pre-installed or separate)
- 1 x Ladegerät
- 1 x Benutzerhandbuch (dieses Dokument)
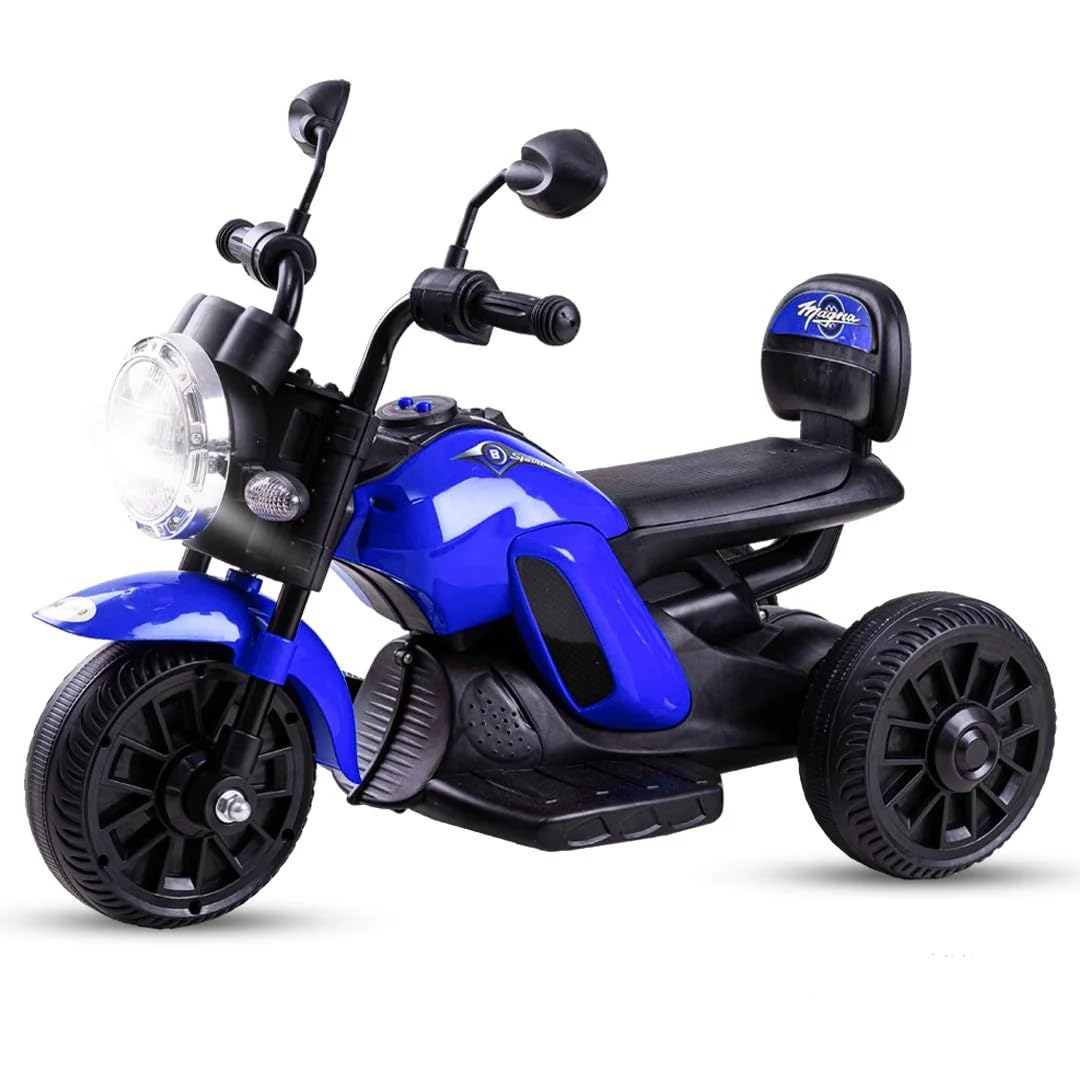
Image: The United 6V Medium 3-Wheel Electric Ride-On for Kids, Model 6689-BRJ, in blue color. This image shows the complete product as it appears after assembly, highlighting its three-wheel design, handlebars, seat, and overall structure.
4. Einrichtung und Erstladung
4.1. Montage (falls erforderlich)
The United 6V Electric Ride-On Model 6689-BRJ typically requires minimal assembly. Please refer to the diagrams in the separate assembly guide (if provided) for detailed steps. Ensure all connections are secure before proceeding.
4.2. Battery Connection and Initial Charge
- Suchen Sie das Batteriefach, das sich normalerweise unter dem Sitz befindet.
- Connect the battery terminals (red to red, black to black) if not already connected.
- Before first use, fully charge the 6V battery for 8-12 hours. Do not overcharge.
- Connect the charger to the charging port on the ride-on and then plug the charger into a standard wall outlet.
- Die Ladeanzeige leuchtet während des Ladevorgangs normalerweise rot und wechselt auf Grün, wenn der Akku vollständig geladen ist.
- Trennen Sie das Ladegerät, sobald der Ladevorgang abgeschlossen ist.
Notiz: Always use the charger provided with the product. Using an incompatible charger may damage the battery or the ride-on.
5. Bedienungsanleitung
5.1. Starting the Ride-On
- Stellen Sie sicher, dass der Akku vollständig geladen ist.
- Locate the power switch, usually on the dashboard or near the seat. Turn it to the "ON" position.
5.2. Driving Forward and Backward
The ride-on is equipped with a directional control button, typically located on the handlebars or dashboard.
- Press the button forward to move the ride-on forward.
- Press the button backward to move the ride-on in reverse.
- Release the button to stop the ride-on.
5.3. Lenkung
Use the handlebars to steer the ride-on left or right. Ensure the child has a firm grip on the handlebars during operation.
5.4. Licht und Ton
The ride-on features integrated front lights and various sound effects. These can usually be activated by dedicated buttons on the dashboard or handlebars.
6. Wartung
6.1. Batteriepflege
- Laden Sie den Akku nach jeder Benutzung auf, auch wenn es sich nur um eine kurze Benutzung handelt.
- Lassen Sie den Akku nicht vollständig entladen.
- If storing the ride-on for an extended period, charge the battery fully once a month to prolong its lifespan.
- Lagern Sie die Batterie an einem kühlen, trockenen Ort.
6.2. Reinigung
Wipe the ride-on with a soft, damp Verwenden Sie ein Tuch. Scheuermittel oder Lösungsmittel sind nicht geeignet. Vermeiden Sie es, Wasser direkt auf elektrische Bauteile zu sprühen.
6.3. Allgemeine Inspektion
Überprüfen Sie regelmäßig Folgendes:
- Alle Schrauben und Befestigungselemente sind fest angezogen.
- Die Räder sind fest montiert und unbeschädigt.
- Electrical connections are secure.
- The body of the ride-on for cracks or damage.
7. Fehlerbehebung
| Problem | Mögliche Ursache | Lösung |
|---|---|---|
| Ride-on does not move. | Der Akku ist schwach oder nicht geladen. Netzschalter ist ausgeschaltet. Batterieanschluss locker. | Laden Sie den Akku vollständig auf. Schalten Sie den Netzschalter auf „EIN“. Überprüfen und sichern Sie die Batterieanschlüsse. |
| Ride-on moves slowly. | Niedrige Batterieladung. Overloaded (too much weight). Betrieb auf ungeeignetem Untergrund. | Laden Sie den Akku auf. Stellen Sie sicher, dass das Gewicht des Fahrers innerhalb der zulässigen Grenzen liegt. Use on flat, hard surfaces. |
| Licht oder Ton funktionieren nicht. | Schwache Batterie. Lose Verkabelung. Beschädigtes Bauteil. | Laden Sie den Akku auf. Auf lose Kabel prüfen (nur für Erwachsene). Contact customer support if component is damaged. |
If troubleshooting steps do not resolve the issue, please contact United customer support.
8. Spezifikationen
| Besonderheit | Detail |
|---|---|
| Marke | Vereinigt |
| Modellnummer | 6689-BRJ |
| Farbe | Blau |
| Material | Plastik |
| Stromquelle | Batterie |
| Akku-Typ | 6V |
| Produktabmessungen (L x B x H) | 54 x 32 x 27.5 cm |
| Artikelgewicht | 6 kg |
| Minimum Manufacturer Age | 24 Monate (2 Jahre) |
| Maximum Manufacturer Age | 72 Monate (6 Jahre) |
| Montage erforderlich | No (Minimal setup may be needed) |
9. Garantie und Support
Specific warranty information is not provided in this manual. Please refer to the product packaging or contact United customer service for details regarding warranty coverage and support.
For further assistance or inquiries, please visit the official United webBesuchen Sie die Website oder kontaktieren Sie deren Kundendienst.