1. Einleitung
This manual provides detailed instructions for the installation, operation, and maintenance of your Gsycle Programmable Smart Thermostat. Please read this manual thoroughly before installation and use to ensure proper function and safety. Keep this manual for future reference.
2. Sicherheitshinweise
- Die Installation muss von einem qualifizierten Elektriker durchgeführt werden.
- Vor der Installation oder Wartung des Thermostats muss immer die Stromzufuhr am Sicherungsautomaten unterbrochen werden.
- Stellen Sie sicher, dass alle Verkabelungen den örtlichen Elektrovorschriften und -bestimmungen entsprechen.
- Do not install in locations with excessive vibration, direct sunlight, or extreme temperature fluctuations.
- This thermostat is designed for AC95-240V electric heating systems. Do not use with other voltage Systeme oder Heizarten.
3. Packungsinhalt
Überprüfen Sie, ob alle Artikel im Paket vorhanden sind:
- 1 x Gsycle Programmable Smart Thermostat
- 2 x Befestigungsschrauben
- 1 x Bedienungsanleitung (dieses Dokument)
4. Produktüberschreitungview
The Gsycle Smart Thermostat features a sleek, round design with a 13mm recessed panel for seamless integration into your home. It includes an LED display for clear temperature readings and capacitive touch keys for intuitive control.
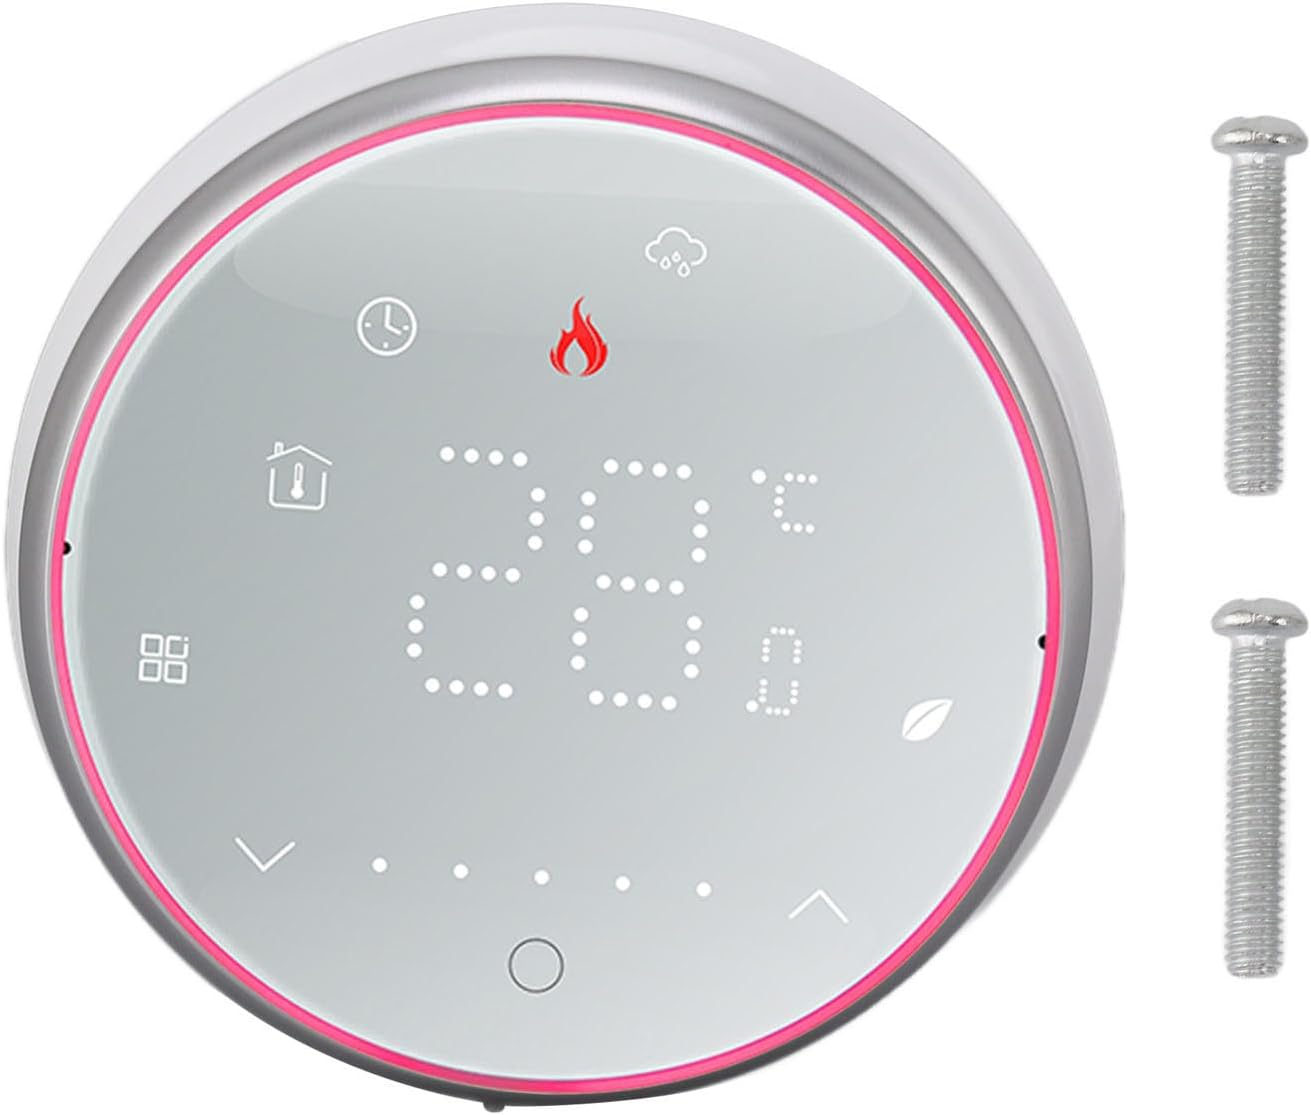
Abbildung 4.1: Front view of the Gsycle Smart Thermostat, showcasing its LED display and the included mounting screws.

Abbildung 4.2: The thermostat's LED display showing different icons for mode, time, and temperature settings, indicating its versatile interface.

Abbildung 4.3: Seitenprofifile of the thermostat, illustrating its 13mm recessed panel design, thermal hole for accurate temperature sensing, and durable PC ABS shell construction.
5. Einrichtung und Installation
Follow these steps for proper installation of your thermostat. Ensure power is OFF before proceeding.
5.1 Montage
- Wählen Sie einen geeigneten Platz an einer Innenwand, fern von direkter Sonneneinstrahlung, Zugluft oder Wärmequellen.
- The thermostat is designed to fit standard 86x86mm or European-style concealed boxes.
- Carefully separate the front panel from the back plate.
- Mount the back plate to the wall box using the provided screws. Ensure it is level.
5.2 Verkabelung
Connect the electrical wires to the terminals on the back plate according to your heating system's wiring diagram. This thermostat is for electric heating systems (AC95-240V, 16A). Consult a qualified electrician if you are unsure about wiring connections.
5.3 Endmontage
- Once wiring is complete and secure, carefully reattach the front panel to the mounted back plate.
- Schalten Sie die Stromversorgung am Sicherungsautomaten wieder ein. Die Anzeige des Thermostats sollte aufleuchten.

Abbildung 5.1: The Gsycle Smart Thermostat seamlessly installed on a wall, demonstrating its recessed design in a typical home environment.
6. Bedienungsanleitung
Your Gsycle Smart Thermostat offers intuitive control and programmable features for optimal comfort and energy efficiency.
6.1 Grundlegende Bedienung
- Ein-/Ausschalten: Press the power icon (usually a circle with a line) to turn the thermostat on or off.
- Temperatureinstellung: Use the up and down arrow icons on the display to set your desired temperature. The current room temperature and set temperature will be displayed.
- Modusauswahl: Press the mode icon (e.g., flame for heating) to cycle through available operating modes.
6.2 programmierbare Einstellungen
The thermostat supports 5+1+1 day programming (5 weekdays, Saturday, Sunday) with 6 programmable time slots per day. This allows you to customize temperature settings to match your schedule and save energy.
- Access the programming menu by pressing and holding the menu/settings icon (refer to display icons).
- Navigate through the days and time slots using the arrow keys.
- Set the desired temperature for each time slot.
- Confirm settings to save. The thermostat will automatically follow the programmed schedule.
6.3 Schutz bei Stromausfall
The thermostat is equipped with a power failure protection function. All your settings, including programmed schedules, are safely stored in memory and will be retained even during a power outage. No need to reconfigure after power is restored.
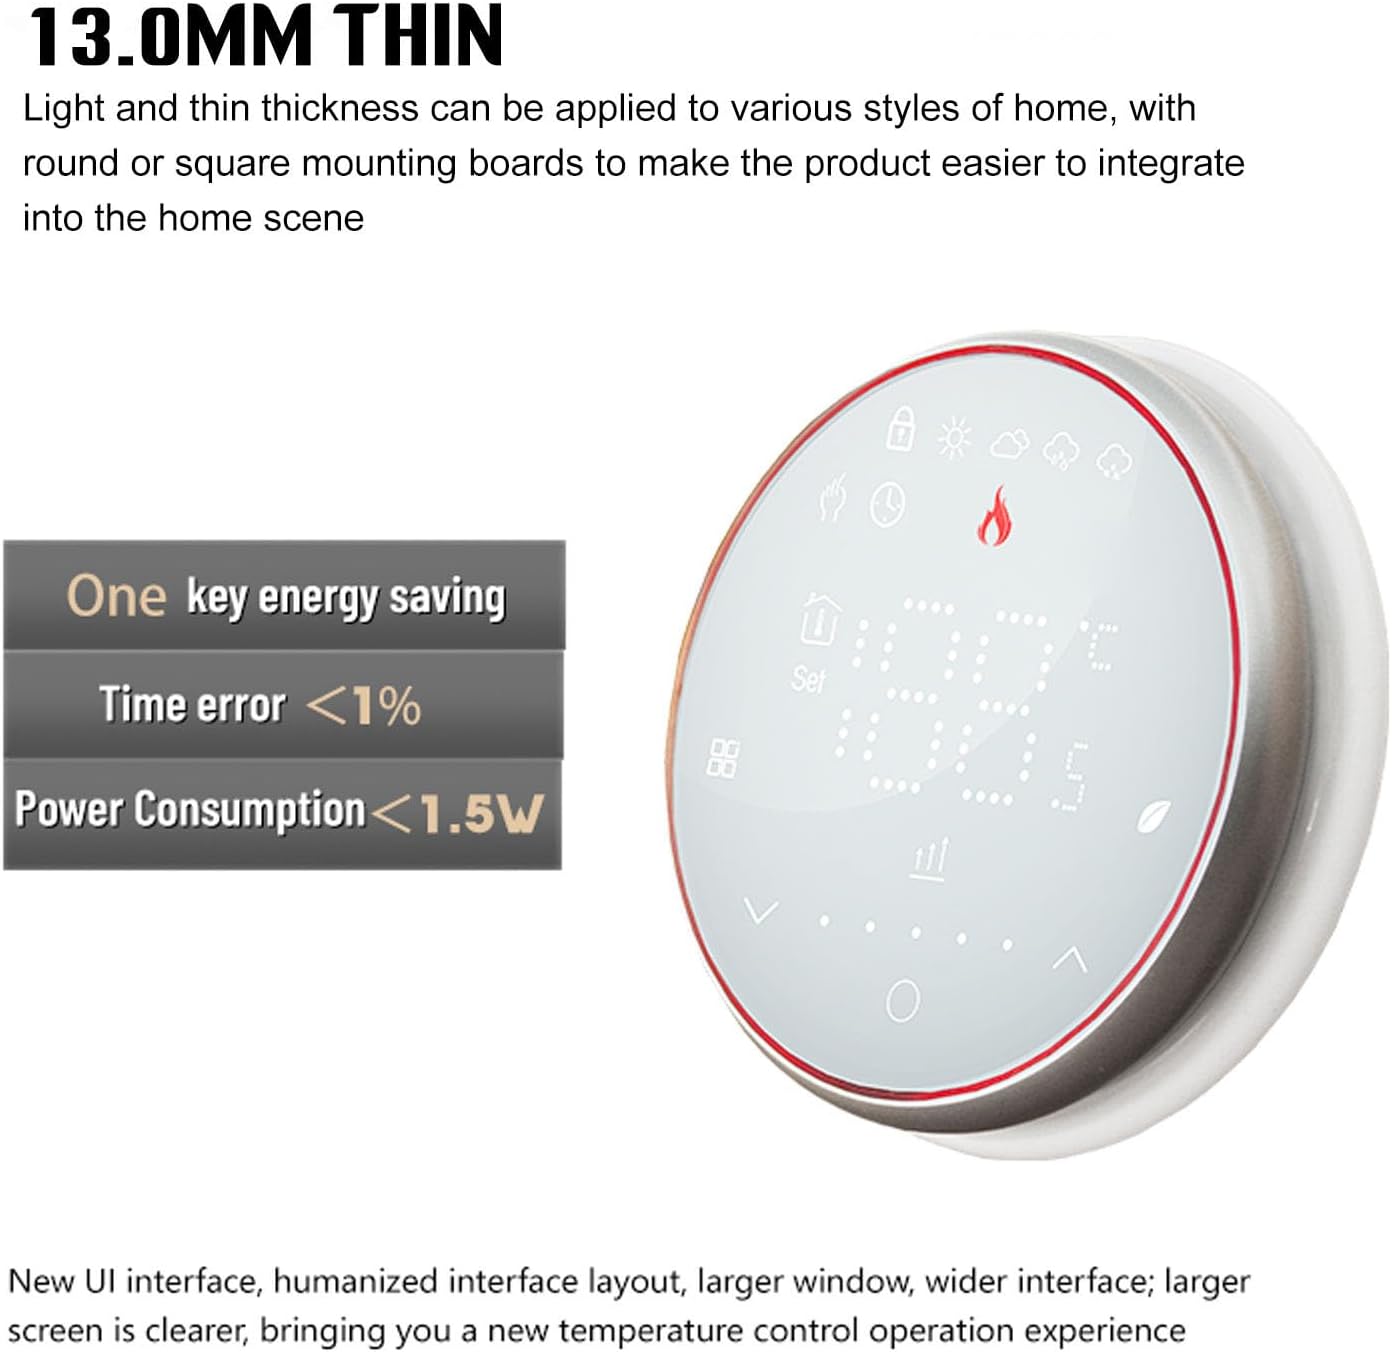
Abbildung 6.1: The thermostat's design emphasizes its 13.0mm thin profile and energy-saving capabilities, including a time error of less than 1% and power consumption below 1.5W.
7. Wartung
To ensure optimal performance and longevity of your Gsycle Smart Thermostat, follow these simple maintenance guidelines:
- Reinigung: Gently wipe the display and outer casing with a soft, dry cloth. Do not use abrasive cleaners, solvents, or chemical sprays, as these can damage the surface or internal components.
- Sensorbereich: Ensure the thermal hole (refer to Figure 4.3) is free from dust or obstructions to maintain accurate temperature readings.
- Auswirkungen vermeiden: Protect the thermostat from physical impact or dropping, which can damage the sensitive electronics.
8. Fehlerbehebung
Sollten Sie Probleme mit Ihrem Thermostat haben, beachten Sie bitte die folgenden häufigen Probleme und Lösungen:
| Problem | Mögliche Ursache | Lösung |
|---|---|---|
| Thermostatanzeige ist leer | Kein Strom, falsche Verkabelung | Prüfen Sie den Sicherungsautomaten. Stellen Sie sicher, dass die Kabelverbindungen fest und korrekt sind. |
| Falsche Temperaturanzeige | Sensor obstructed, thermostat location | Ensure the thermal hole is clear. Relocate thermostat if exposed to drafts or direct heat. |
| Heizungsanlage reagiert nicht | Wiring issue, system fault | Check wiring to the heating system. Consult a qualified technician if the heating system itself is faulty. |
| Programmierbarer Zeitplan funktioniert nicht | Settings not saved, manual override | Ensure programmed settings were saved. Check if the thermostat is in manual mode; switch to auto/program mode. |
Sollte das Problem nach Anwendung dieser Lösungsansätze weiterhin bestehen, wenden Sie sich bitte an den Kundendienst.
9. Spezifikationen
| Besonderheit | Spezifikation |
|---|---|
| Modell | Gsycle8gzshgdwa1-12 |
| Bandtage Reichweite | Wechselstrom 95-240 V |
| Aktuell | 16 A |
| Sensor | NTC3950, 10K |
| Temperaturfehler | ±1 Degree Celsius |
| Temperaturregelbereich | 5-35 Grad Celsius |
| Raumtemperaturbereich | 5-99 Grad Celsius |
| Temperaturbereich anzeigen | 5-99 Grad Celsius |
| Normal Working Environment Temperature | 0-45 Grad Celsius |
| Normal Working Environment Humidity | 5 – 95 % relative Luftfeuchtigkeit (keine Kondensation) |
| Lagertemperatur | -10-45 Grad Celsius |
| Energieaufnahme | <1.5 W |
| Zeitfehler | <1 % |
| Mounting Insert Box | 86x86mm or Regular European Style Concealed Box |
| Konnektor | 2 x 1.5 mm² oder 1 x 2.5 mm² |
| Schutzgrad | IP20 |
| Schlüsseltyp | Kapazitive Touch-Tasten |
| Material | PC, ABS |
| Gewicht | Ca. 200 g |
| Plattendicke | 13mm (recessed) |
10. Garantie und Support
Gsycle products are manufactured to high-quality standards. For warranty information or technical support, please refer to the contact details provided with your purchase documentation or visit the official Gsycle website. Please have your model number (Gsycle8gzshgdwa1-12) ready when contacting support.