T300
Generic T300 LED Mini Projector User Manual
Modell: T300
1. Einleitung
Vielen Dank für Ihren Einkauf.asing the Generic T300 LED Mini Projector. This compact and portable projector is designed for home theater use, offering a clear viewing experience with its short-focus optical lens and diffuse reflection imaging technology, which helps reduce eye strain. This manual provides essential information for setting up, operating, maintaining, and troubleshooting your projector.
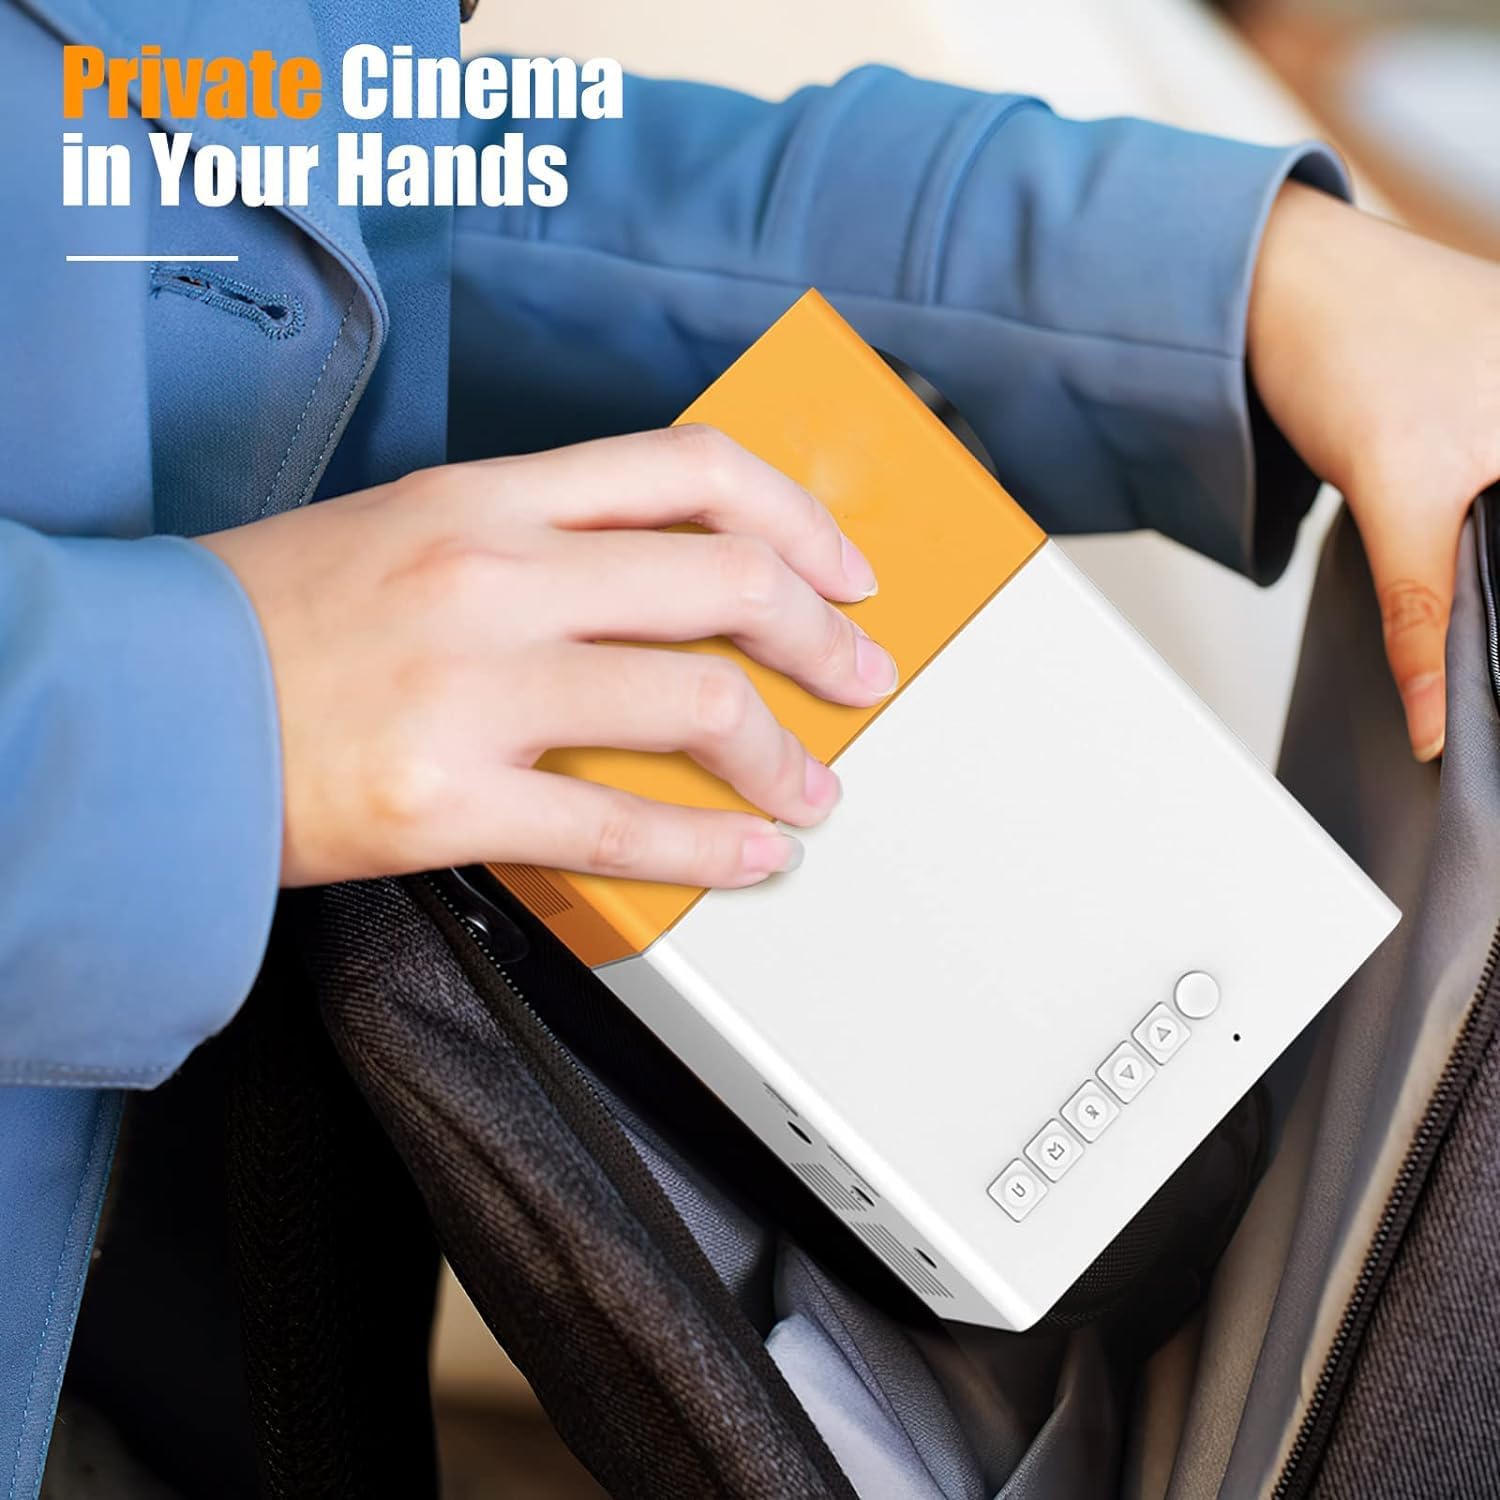
Abbildung 1.1: The T300 Mini Projector's compact size allows for easy portability, fitting conveniently into a bag.
2. Packungsinhalt
Bitte überprüfen Sie nach dem Auspacken den Packungsinhalt, um sicherzustellen, dass alle Artikel vorhanden sind:
- 1x T300 Projector
- 1x Netzteil (EU-Stecker)
- 1x Fernbedienung
- 1x AV-Kabel
- 1x Benutzerhandbuch (dieses Dokument)
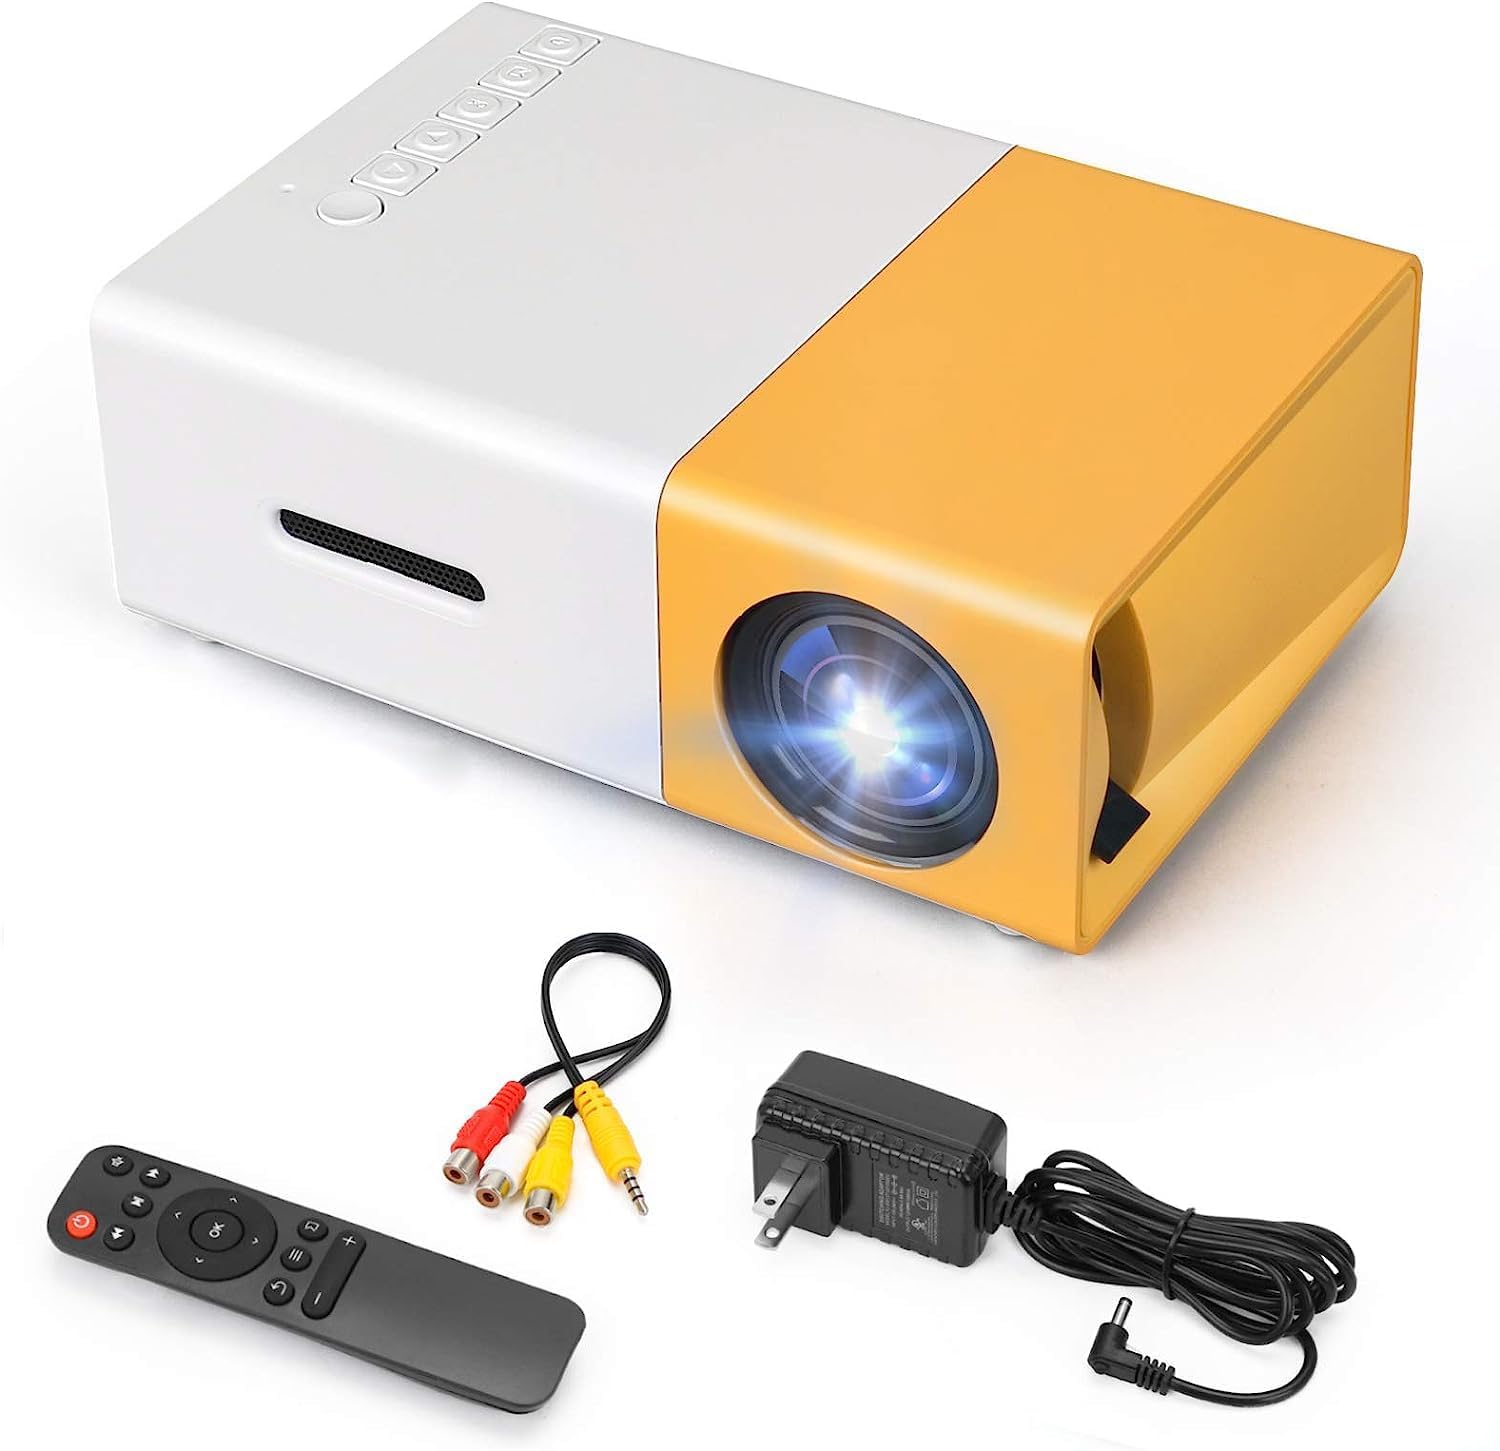
Abbildung 2.1: The T300 Mini Projector and its included accessories.
3. Produktüberschreitungview
Familiarize yourself with the various ports and controls on your T300 Mini Projector:

Abbildung 3.1: Vorne und hinten views of the T300 Mini Projector, detailing its input/output ports and control buttons.
3.1. Ports und Schnittstellen
- HDMI-Eingang: Connect to laptops, TV boxes, gaming consoles, and other HDMI-enabled devices.
- USB Eingang: Zum direkten Abspielen von Medien von USB-Laufwerken.
- Micro-SD-Kartensteckplatz: Zum direkten Abspielen von Medien von Micro-SD-Karten.
- AV-Eingang: Verbinden Sie ältere Geräte mit dem mitgelieferten AV-Kabel.
- Micro USB (5V/2A): Power input option, compatible with power banks or car chargers.
- Kopfhöreranschluss: Zum Anschluss externer Kopfhörer oder Lautsprecher.
- Gleichstromeingang: Main power input using the provided power adapter.
3.2. Bedienelemente
- Stromschalter: Zum Ein- und Ausschalten des Projektors.
- Navigation Buttons (Left, Right, OK): Zur Menünavigation und -auswahl.
- Eingabetaste: Zur Auswahl der Eingangsquelle.
- Zurück-Taste: Um in Menüs zurückzugehen.
4. Einrichtung
4.1. Stromanschluss
- Connect the provided power adapter to the DC Power Input port on the projector.
- Stecken Sie das Netzteil in eine Wandsteckdose.
- Alternatively, for portable use, connect a 5V/2A power bank or car charger to the Micro USB (5V/2A) port.
4.2. Geräteverbindung
The T300 projector supports various input sources:
- HDMI: Connect your laptop, TV box, gaming console (PS4/PS3), or other HDMI devices using an HDMI cable (not included).
- USB: Stecken Sie einen USB-Stick in den USB-Anschluss, um Medien abzuspielen. files direkt.
- Micro SD Karte: Insert a Micro SD card into the Micro SD card slot to play media files.
- EIN V: Use the included AV cable to connect to devices with AV output (e.g., DVD players).

Abbildung 4.1: Multimedia connectivity options for the T300 Mini Projector.
4.3. Placement and Focus
- Stellen Sie den Projektor auf eine stabile, ebene Fläche.
- Position the projector at a distance between 2 to 5 meters from the projection surface to achieve an optimal image size of 60 to 150 inches.
- Adjust the focus ring on the projector lens until the image appears clear and sharp. The short-focus optical lens allows focusing at a distance of 50cm.
5. Bedienungsanleitung
5.1. Ein-/Ausschalten
Press the Power Switch on the projector or the power button on the remote control to turn the projector on or off.
5.2. Eingangsquelle auswählen
After powering on, use the 'Input' button on the projector or the remote control to cycle through available input sources (HDMI, USB, TF Card, AV) until your desired source is displayed.
5.3. Multimedia-Wiedergabe
The projector supports multi-format video, audio, picture, and e-book playback. Navigate through your media files using the navigation buttons on the projector or remote control and press 'OK' to select.
5.4. Audioausgang
The projector has a built-in miniature speaker. For enhanced audio, connect external speakers or headphones to the Earphone Slot.

Abbildung 5.1: Versatile applications of the T300 Mini Projector for entertainment.
6. Wartung
6.1. Reinigung der Linse
Verwenden Sie ein weiches, fusselfreies Tuch oder Linsenreinigungspapier, um die Projektorlinse vorsichtig abzuwischen. Vermeiden Sie die Verwendung von scheuernden Materialien oder aggressiven Chemikalien, die die Linse zerkratzen könnten.
6.2. Belüftung
Um eine Überhitzung zu vermeiden, stellen Sie sicher, dass die Lüftungsöffnungen des Projektors während des Betriebs nicht blockiert sind. Bewahren Sie den Projektor in einem gut belüfteten Raum auf.
6.3. Speicherung
When not in use, store the projector in a cool, dry place, away from direct sunlight and excessive dust. It is recommended to use the original packaging or a protective case.
6.4. Lamp Leben
Die LED lamp in your T300 projector has an estimated life of 20,000 hours, providing long-term use without frequent lamp Ersatz.
7. Fehlerbehebung
Sollten Sie Probleme mit Ihrem Projektor haben, beachten Sie bitte die folgenden häufig auftretenden Probleme und Lösungen:
- Kein Bild angezeigt:
- Vergewissern Sie sich, dass der Projektor eingeschaltet und das Netzteil fest angeschlossen ist.
- Verify the input source is correctly selected (HDMI, USB, AV, etc.).
- Überprüfen Sie das Verbindungskabel zwischen dem Projektor und dem Quellgerät.
- Das Bild ist unscharf:
- Stellen Sie den Fokusring am Projektorobjektiv so ein, dass das Bild scharf ist.
- Stellen Sie sicher, dass der Projektionsabstand im empfohlenen Bereich (2-5 Meter) liegt.
- Kein Ton:
- Überprüfen Sie die Lautstärkeeinstellungen sowohl am Projektor als auch am Quellgerät.
- If using external speakers/headphones, ensure they are properly connected to the Earphone Slot.
- Überprüfen Sie die Audioausgabeeinstellungen Ihres Quellgeräts.
- Fernbedienung funktioniert nicht:
- Stellen Sie sicher, dass sich keine Hindernisse zwischen der Fernbedienung und dem Infrarotempfänger des Projektors befinden.
- Tauschen Sie gegebenenfalls die Batterien in der Fernbedienung aus.
8. Spezifikationen
| Besonderheit | Spezifikation |
|---|---|
| Modell | T300 |
| Support-Lösung | 1920 x 1080 (Full HD) |
| Native Auflösung | 1920 x 1080 |
| Anzeigetyp | LCD, DLP |
| Schnittstellen | HDMI, USB, TF Card Slot, AV, Micro USB (5V-2A) |
| Eingebauter Lautsprecher | Ja |
| Lamp Leben | 20,000 Stunden |
| Produktgröße | 114 x 87 x 50 mm |
| Empfohlene Verwendung | Heimkino |
| Besonderheit | Tragbar |
| Maximale Bildgröße | 150 Zoll |
| Minimale Bildgröße | 60 Zoll |
| Maximale Projektionsentfernung | 5 Meter |
| Minimale Projektionsentfernung | 2 Meter |
| Leistungsaufnahme | 5 V/2 A |
9. Garantie und Support
9.1. Garantieinformationen
Dieses Produkt wird normalerweise mit einem 10-tägiges Umtauschrecht from the date of purchase. Please refer to your retailer's specific warranty terms and conditions for detailed information. The LED lamp is designed for a long life of 20,000 hours, which is not typically covered by short-term replacement policies.
9.2. Kundendienst
For technical assistance, troubleshooting beyond this manual, or warranty claims, please contact your original retailer or the manufacturer, SHUBH LABH ENTERPRISES. Keep your purchase receipt or proof of purchase handy when contacting support.
Ask a question about this manual
Ask about setup, troubleshooting, compatibility, parts, safety, or missing instructions. Manuals+ will review the question and use this page’s manual context to help answer it.