Einführung
This manual provides detailed instructions for the proper setup, operation, and maintenance of your QUANSHENG UV-5R Plus Tri-Band Ham Radio. Please read this manual thoroughly before using the device to ensure safe and optimal performance.
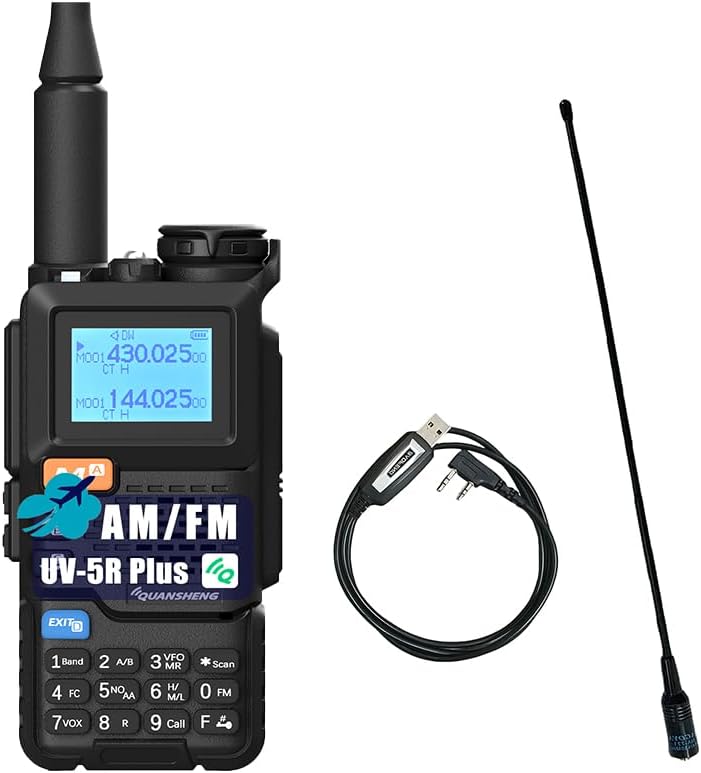
Image: The QUANSHENG UV-5R Plus radio, its included antenna, and a programming cable. This image provides an overview der Hauptkomponenten.
Packungsinhalt
Bitte überprüfen Sie, ob alle unten aufgeführten Artikel in Ihrem Paket enthalten sind:
- QUANSHENG UV-5R PLUS Radio Unit
- High-Gain-Antenne
- 2200mAh Lithium-Ionen-Akku
- Desk Dock Charger
- Gürtelclip
- Hand String (Lanyard)
- Benutzerhandbuch (dieses Dokument)
- 771 Antenne
- Programmierkabel

Image: A visual representation of the standard package contents, including the radio, battery, antennas, charger, and accessories.
Produkt überview
Familiarize yourself with the components and controls of your UV-5R Plus radio.

Image: A detailed diagram labeling the various parts of the QUANSHENG UV-5R Plus radio, including the antenna, indicator, jack light, power/volume switch, LCD screen, menu key, up/down keys, speaker, exit key, microphone, keypad, transmitting key, side keys, programming jacks, and Type-C charging port.
- Antenne: Zum Senden und Empfangen von Signalen.
- Indikator: LED light for status indications.
- Jack Light: Illumination for the jack area.
- Ein-/Ausschalter/Lautstärkeregler: Zum Ein-/Ausschalten und zur Lautstärkeregelung drehen.
- LCD Bildschirm: Zeigt Frequenz-, Kanal- und Statusinformationen an.
- Menü (Bestätigungstaste): Greift auf Menüauswahlen zu und bestätigt diese.
- Pfeiltaste nach oben: Navigiert in Menüs nach oben oder erhöht Frequenz/Kanal.
- Lautsprecher: Gibt Audio aus.
- Abwärtstaste: Navigiert in Menüs nach unten oder verringert Frequenz/Kanal.
- Taste „Beenden“: Verlässt Menüs oder Funktionen.
- Mikrofon: Zur Spracheingabe während der Übertragung.
- Tastenfeld: Numerische und Funktionstasten zur Eingabe und Steuerung.
- Sendeschlüssel (PTT): Drücken zum Senden, loslassen zum Empfangen.
- Seitentaste 1: Programmierbare Funktionstaste.
- Seitentaste 2: Programmierbare Funktionstaste.
- Microphone Programming Jacks: For connecting external microphone or programming cable.
- Ladeanschluss Typ C: Zum direkten Laden über USB-C.
Aufstellen
1. Einbau und Aufladen der Batterie
The UV-5R Plus uses a 2200mAh Li-ion battery. Ensure the battery is fully charged before first use.
- Installation: Align the battery pack with the grooves on the back of the radio and slide it upwards until it clicks into place. To remove, press the release latch and slide the battery downwards.
- Charging via Desk Dock: Place the radio (with battery installed) into the charging cradle. Ensure the charging contacts align. The indicator light on the dock will show charging status.
- Laden über USB-C: Connect a USB-C cable to the Type-C charging port on the side of the radio and to a compatible USB power source (e.g., USB wall adapter, computer, power bank, car charger). The radio supports direct USB-C charging.

Image: The QUANSHENG UV-5R Plus radio alongside its high-capacity battery, emphasizing its long standby time capability.

Image: The QUANSHENG UV-5R Plus radio demonstrating various Type-C charging methods, including USB charging, computer charging, power bank charging, and car charger use. It also shows the Type-C interface cable.
2. Antennenbefestigung
Screw the desired antenna (High Gain or 771 Antenna) clockwise onto the antenna connector on top of the radio until it is finger-tight. Do not overtighten.
3. Programmierkabelanschluss
To program the radio via computer, connect the programming cable to the microphone/programming jacks on the side of the radio and to your computer's USB port. Refer to specific programming software instructions for detailed steps.
Bedienungsanleitung
1. Ein-/Ausschalten und Lautstärkeregelung
- Einschalten: Rotate the Power/Volume switch (04) clockwise until a click is heard.
- Ausschalten: Rotate the Power/Volume switch (04) counter-clockwise until a click is heard.
- Lautstärkeregelung: Continue rotating the Power/Volume switch (04) clockwise to increase volume, or counter-clockwise to decrease volume.
2. Channel Mode and Frequency Mode
The radio operates in two main modes: Channel Mode (Memory Mode) and Frequency Mode (VFO Mode).
- Umschalten der Modi: Drücken Sie die F + 3 button on the keypad to toggle between Channel Mode and Frequency Mode.
- Kanalmodus: Allows selection of pre-programmed memory channels (up to 200). Use the Up/Down keys (07, 09) to navigate through channels.
- Frequenzmodus (VFO): Allows direct frequency input and tuning. Use the keypad to enter frequencies or the Up/Down keys (07, 09) to step through frequencies.

Image: The QUANSHENG UV-5R Plus radio's display showing channel information, illustrating its capability to store up to 200 memory channels for convenient use.
3. Tri-Band Operation (VHF/UHF/Air Band)
The UV-5R Plus supports VHF and UHF dual-band transmission and reception, and Air Band receiving. The LCD screen displays both A and B bands simultaneously. Use the A/B key (2 on keypad) to switch the active band for transmission.

Image: The QUANSHENG UV-5R Plus radio's display showing active frequencies, with an overlay indicating its broad frequency range capabilities for 136-174MHz, 350-390MHz, 400-470MHz, and FM: 76.000-108.000MHz.
4. NOAA-Wettervorhersage
The radio can receive 10 USA NOAA weather forecast channels. Access this feature through the menu or a dedicated function key (if programmed).
5. UKW-Radio
To listen to FM broadcast radio, activate the FM radio function. The radio supports 16 FM radio channels. Use the keypad or Up/Down keys to tune to desired FM frequencies (76-108MHz).
6. Kopieren der drahtlosen Frequenz
The UV-5R Plus features wireless frequency replication, allowing it to copy frequencies from other compatible radios, including Quansheng UV-K6/UV-K5/UV-K5(8) models. Consult the menu for the "Wireless Copy" function.

Image: Two QUANSHENG UV-5R Plus radios, one transmitting and the other receiving, illustrating the one-touch frequency copy feature for quick and easy replication of frequencies between devices.
7. Notfallalarm
The radio includes an auto/manual emergency alert feature. This can be activated to send out an alert signal in emergency situations. Refer to the menu for configuration and activation details.
8. VOX (Sprachgesteuerte Übertragung)
VOX allows hands-free transmission. When enabled, the radio will automatically transmit when it detects your voice. Adjust VOX sensitivity in the menu to prevent accidental transmissions or missed voice activation.
9. Weitere Funktionen
- Crossband-Kommunikation: Allows communication between different frequency bands.
- 10-Gruppen-Scrambler: Verschlüsselt Sprachübertragungen zum Schutz der Privatsphäre.
- Frequenz-/DCS-/CTCSS-Scan: Scans for active signals or specific tones.
- Digital Signal CTCC/DCS: For advanced tone squelch functions.
- DTMF- und 1750-Hz-Ton: For repeater access and other signaling.
- Built-in High Light Torch: Activates the LED flashlight for illumination.
Wartung
1. Reinigung
Reinigen Sie die Außenseite des Radios mit einem weichen, fusselfreien Tuch.amp Mit einem Tuch abwischen. Keine scharfen Chemikalien oder Scheuermittel verwenden. Sicherstellen, dass Ladeanschluss und Batteriekontakte frei von Staub und Schmutz sind.
2. Batteriepflege
- Vermeiden Sie es, den Lithium-Ionen-Akku häufig vollständig zu entladen.
- Bewahren Sie die Batterie an einem kühlen, trockenen Ort auf, wenn sie längere Zeit nicht benutzt wird.
- Setzen Sie den Akku keinen extremen Temperaturen aus.
3. Speicherung
When storing the radio for a long time, remove the battery and store both in a dry, temperature-controlled environment. Protect the radio from dust and moisture.
Fehlerbehebung
Sollten Sie Probleme mit Ihrem Funkgerät haben, beachten Sie bitte die folgenden häufig auftretenden Probleme und Lösungen:
| Problem | Mögliche Ursache/Lösung |
|---|---|
| Das Radio lässt sich nicht einschalten. | Battery is not installed correctly or is discharged. Ensure battery is properly seated and charged. |
| Senden und Empfangen nicht möglich. | Antenna not attached, incorrect frequency/channel selected, or squelch level too high. Check antenna connection, verify frequency/channel, and adjust squelch. |
| Schlechte Audioqualität. | Low battery, antenna issue, or interference. Charge battery, check antenna, move to a different location. |
| Das Radio lädt nicht. | Charger not connected properly, faulty cable/adapter, or dirty battery contacts. Ensure connections are secure, try a different cable/adapter, clean contacts. |
| Tastatur reagiert nicht. | Keypad lock may be active. Refer to the manual for keypad lock/unlock procedure. |
Wenn das Problem weiterhin besteht, wenden Sie sich an den Kundendienst.
Technische Daten
Detailed technical specifications for the QUANSHENG UV-5R Plus radio:
| Besonderheit | Spezifikation |
|---|---|
| Modellnummer | UV-5R Plus |
| Anzahl der Kanäle | 200 |
| Frequenzstabilität | ±1 ppm |
| Arbeitstemperatur | -20°C bis +60°C |
| Antennenimpedanz | 50 Ω |
| Modulationsart (FM) | 11KOF3E (12.5KHz), 16K0F3E (25KHz) |
| NOAA-Kanäle | 10 |
| Batteriekapazität | 2200mAh Li-Ionen-Akku (im Lieferumfang enthalten) |
| Audioenergie | ≥0.5 W |
| Sendeleistung | ≤ 5 W |
| Emissionsstrom | ≤1.5A |
| Maximale Frequenzabweichung | ≤5 kHz (25 kHz), ≤2.5 kHz (12.5 kHz) |
| Modulationsverzerrung | ≤ 5 % |
| Streuleistung | ≤7.5uW |
| Leistung benachbarter Kanäle | 70 dB (25 kHz), 60 dB (12.5 kHz) |
| Frequency Range (Transmit/Receive) | VHF: 136-174MHz, UHF: 350-390MHz, 400-470MHz |
| Frequency Range (Receive Only) | Air Band, FM Broadcast: 76.000-108.000MHz |
| Bandtage | 7.4 Volt (DC) |
| Wasserbeständigkeit | Nicht wasserfest |
| Abmessungen (Funkgerät) | Approx. 11.5cm (H) x 5.5cm (W) x 3.9cm (D) (excluding antenna) |
| Gewicht (Funkgerät) | Approx. 487g / 17.17 ounces (with battery and antenna) |

Image: A diagram illustrating the physical dimensions of the QUANSHENG UV-5R Plus radio, showing its height (28cm/11.02inch including antenna), body height (11.5cm/4.53inch), width (5.5cm/2.17inch), and depth (3.9cm/1.54inch).
Garantieinformationen
A 3-month warranty is provided exclusively through "Shiqun Electronics Co., Ltd". Please retain your proof of purchase for warranty claims.
Unterstützung
For further assistance, technical support, or warranty inquiries, please contact the seller or manufacturer directly. Refer to your purchase documentation for specific contact information.