1. Einleitung
The FOLAI USB Rechargeable Engraving Pen is a versatile and portable tool designed for precision engraving, carving, polishing, and drilling on a wide range of materials. Its compact design and adjustable speed settings make it ideal for DIY enthusiasts, crafters, and professionals working on jewelry, wood, metal, plastic, glass, stone, and more.

Image: The FOLAI USB Rechargeable Engraving Pen shown with its various grinding bits, USB charging cable, and an example of engraving on glass.
2. Sicherheitshinweise
- Always wear appropriate personal protective equipment, including eye protection, when operating the engraving pen.
- Sorgen Sie für einen gut beleuchteten und belüfteten Arbeitsbereich.
- Keep hands and fingers clear of the rotating bit during operation.
- Do not touch the bit immediately after use, as it may be hot.
- Um einen Stromschlag zu vermeiden, halten Sie das Gerät von Wasser und anderen Flüssigkeiten fern.
- Store the engraving pen and accessories out of reach of children.
- Use only the provided or recommended accessories and power sources.
3. Packungsinhalt
Überprüfen Sie, ob alle Artikel in Ihrem Paket vorhanden sind:
- 1 x Engraving pen
- 2 x Diamond tip bits
- 1 x USB adjustment cable
- 1 x Box of sanding tools (various grinding bits)

Image: A visual representation of the engraving pen, USB cable, diamond tip bits, and a box containing various sanding tools included in the package.
4. Produktüberschreitungview und Funktionen
The FOLAI Engraving Pen is engineered for precision and ease of use, featuring:
- USB wiederaufladbar: Conveniently powered via USB, allowing for wireless operation for up to 30 minutes on a full charge.
- Einstellbare Geschwindigkeit: Equipped with a high-quality motor offering 3-speed adjustments from 5000 RPM to 25000 RPM, suitable for various materials and tasks.
- Vielseitige Bits: Comes with a variety of grinding bits for engraving, grinding, polishing, etching, drilling, and cutting.
- Tragbares Design: Leicht und kompakt, sodass es einfach zu transportieren und überall zu verwenden ist.
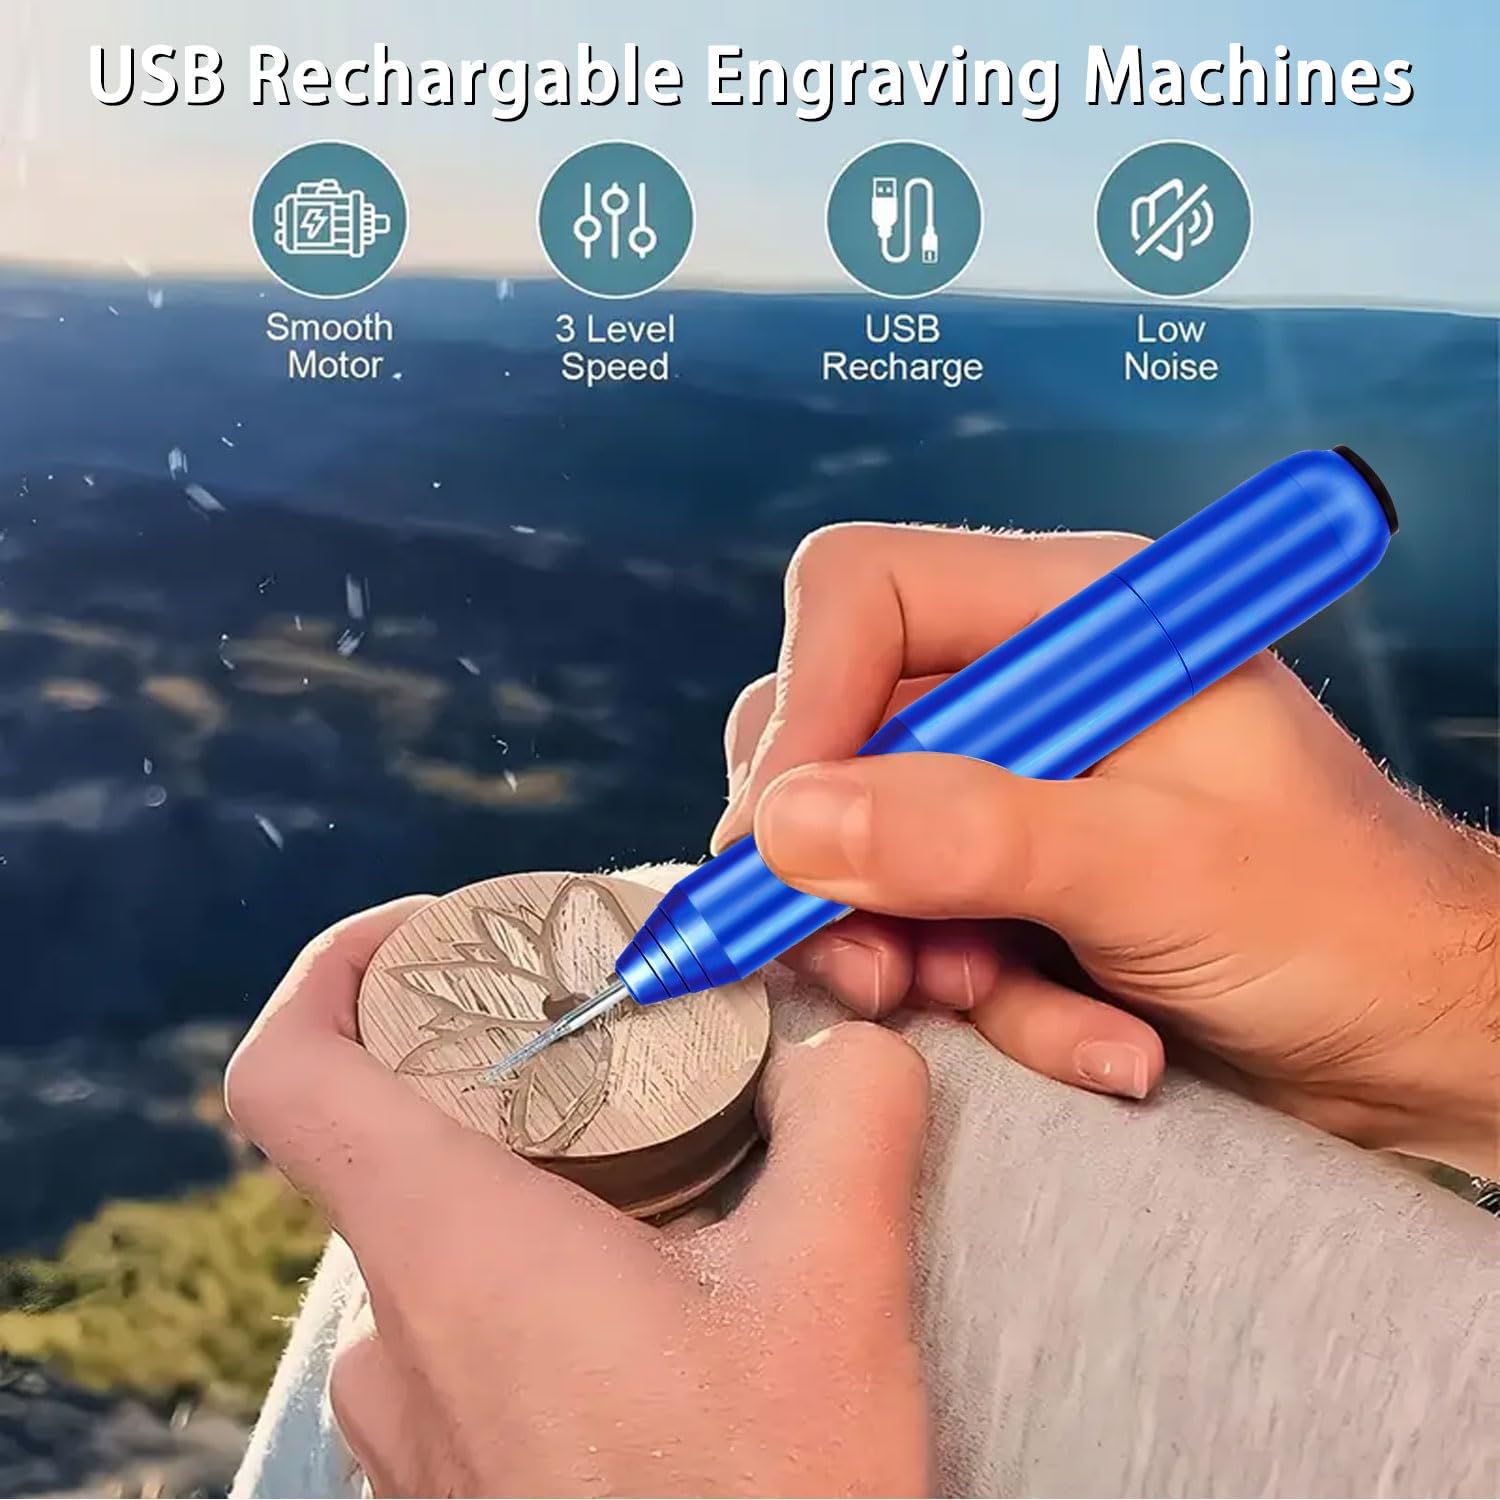
Image: An illustration highlighting key features: Smooth Motor, 3 Level Speed, USB Recharge, and Low Noise, with the engraving pen in use on wood.
5. Einrichtung
5.1 Aufladen des Geräts
Before first use, fully charge the engraving pen. Connect the USB adjustment cable to the charging port on the pen and plug the USB-A end into a compatible power source (e.g., power bank, USB wall adapter, computer USB port). The device is fully charged when the charging indicator light changes or turns off (refer to specific model indicator behavior if available).
5.2 Installing Engraving Bits
- Stellen Sie sicher, dass der Gravierstift ausgeschaltet ist.
- Unscrew the collet nut at the tip of the pen.
- Select the desired grinding or engraving bit.
- Insert the shank of the bit fully into the collet.
- Tighten the collet nut securely to hold the bit in place. Do not overtighten.

Image: A six-step visual guide demonstrating how to insert a drill bit, connect the adapter to a power bank, control speed, select forward/off/reverse direction, and begin carving.
6. Bedienung
6.1 Powering On and Adjusting Speed
- After installing the bit, ensure the pen is charged or connected to a power source.
- Locate the speed control switch on the USB cable. Slide the switch to select your desired speed setting (5000 RPM, 15000 RPM, or 25000 RPM).
- For delicate tasks like nail polishing, use the lowest speed. For harder materials like metal, use higher speeds.
6.2 Auswahl der Drehrichtung
The USB adjustment cable also features a FORWARD/OFF/REVERSE button. Select the appropriate rotation direction based on your engraving needs. For most engraving tasks, the forward direction is standard.
6.3 Engraving Techniques and Materials
Hold the engraving pen like a regular pen. Apply light, consistent pressure. Practice on scrap materials before working on your final piece. The pen is suitable for:
- Schmuck: Engrave names, dates, or designs on metal pendants and rings.
- Holz: Carve intricate patterns or personalize wooden crafts.
- Plastik: Customize plastic items or create detailed models.
- Glas: Etch designs on glassware, mirrors, or windows.
- Stein: Carve small details on soft stones or pebbles.
- Manicure: Use for nail polishing with appropriate bits and low speed.

Image: A collage showing the engraving pen being used for nail polishing, jade engraving, wood chiseling, and crystal carving, demonstrating its versatility.

Image: A grid displaying various materials the engraving pen can be used on, including Jade, Beeswax, Wood, Metal, Porcelain, and Motherboard.
7. Wartung
7.1 Reinigung
After each use, disconnect the power and gently wipe the body of the engraving pen with a soft, dry cloth. Use a small brush to remove any dust or debris from the collet area and bits. Do not use abrasive cleaners or immerse the device in water.
7.2 Bit Care and Replacement
Inspect bits regularly for wear or damage. Dull or damaged bits can affect performance and potentially damage your material. Replace bits as needed. Store bits in their designated box to prevent loss and damage.
7.3 Speicherung
Store the engraving pen and its accessories in a cool, dry place, away from direct sunlight and extreme temperatures. Ensure the device is fully charged before long-term storage to maintain battery health.
8. Fehlerbehebung
| Problem | Mögliche Ursache | Lösung |
|---|---|---|
| Der Stift lässt sich nicht einschalten. | Low battery; Not connected to power; Faulty cable/power source; Switch in OFF position. | Charge the pen; Ensure USB cable is securely connected to a working power source; Check if the ON/OFF switch on the cable is in the ON position. |
| Pen only works when plugged in. | Battery not holding charge; Insufficient charging. | Ensure the pen is fully charged before attempting wireless use. If the issue persists after full charge, the internal battery may require service. Contact customer support. |
| Bit is loose or wobbles. | Collet nut not tightened; Incorrect bit size. | Ensure the collet nut is securely tightened. Verify that the bit shank matches the collet size. |
| Reduced engraving performance. | Dull or worn bit; Incorrect speed setting for material; Excessive pressure. | Replace the bit; Adjust to a higher speed setting for harder materials; Apply lighter, consistent pressure. |
| Überhitzung. | Prolonged continuous use; Blocked ventilation. | Allow the device to cool down during extended use. Ensure no debris is blocking any ventilation points. |
9. Spezifikationen
| Besonderheit | Spezifikation |
|---|---|
| Marke | FOLAI |
| Modellnummer | L-102 |
| Stromquelle | Wiederaufladbarer Akku (USB) |
| Bandtage | 5 Volt (DC) |
| Maximale Drehzahl | 25000 U/min |
| Minimale Drehzahl | 5000 U/min |
| Geschwindigkeitsanpassung | 3 Ebenen |
| Farbe | Blau |
| Material | Diamond (bits) |
| Artikelgewicht | 4.6 Unzen |
| Produktabmessungen (L x B x H) | 6.3 x 3.94 x 0.79 Zoll |
| Im Lieferumfang enthaltene Komponenten | Engraving pen, 2 Diamond tip bits, USB adjustment cable, Box of sanding tools |
10. Garantie und Support
For warranty information, technical support, or any inquiries regarding your FOLAI USB Rechargeable Engraving Pen, please contact the manufacturer directly through their official webBitte wenden Sie sich an die Website oder den Händler, bei dem Sie das Produkt gekauft haben. Bewahren Sie Ihren Kaufbeleg für Garantieansprüche auf.