1. Einleitung
Welcome to your new Lindby Josefin LED Floor Lamp. This manual provides essential information for the safe installation, operation, and maintenance of your lampBitte lesen Sie diese Anweisungen vor Gebrauch sorgfältig durch und bewahren Sie sie zum späteren Nachschlagen auf.
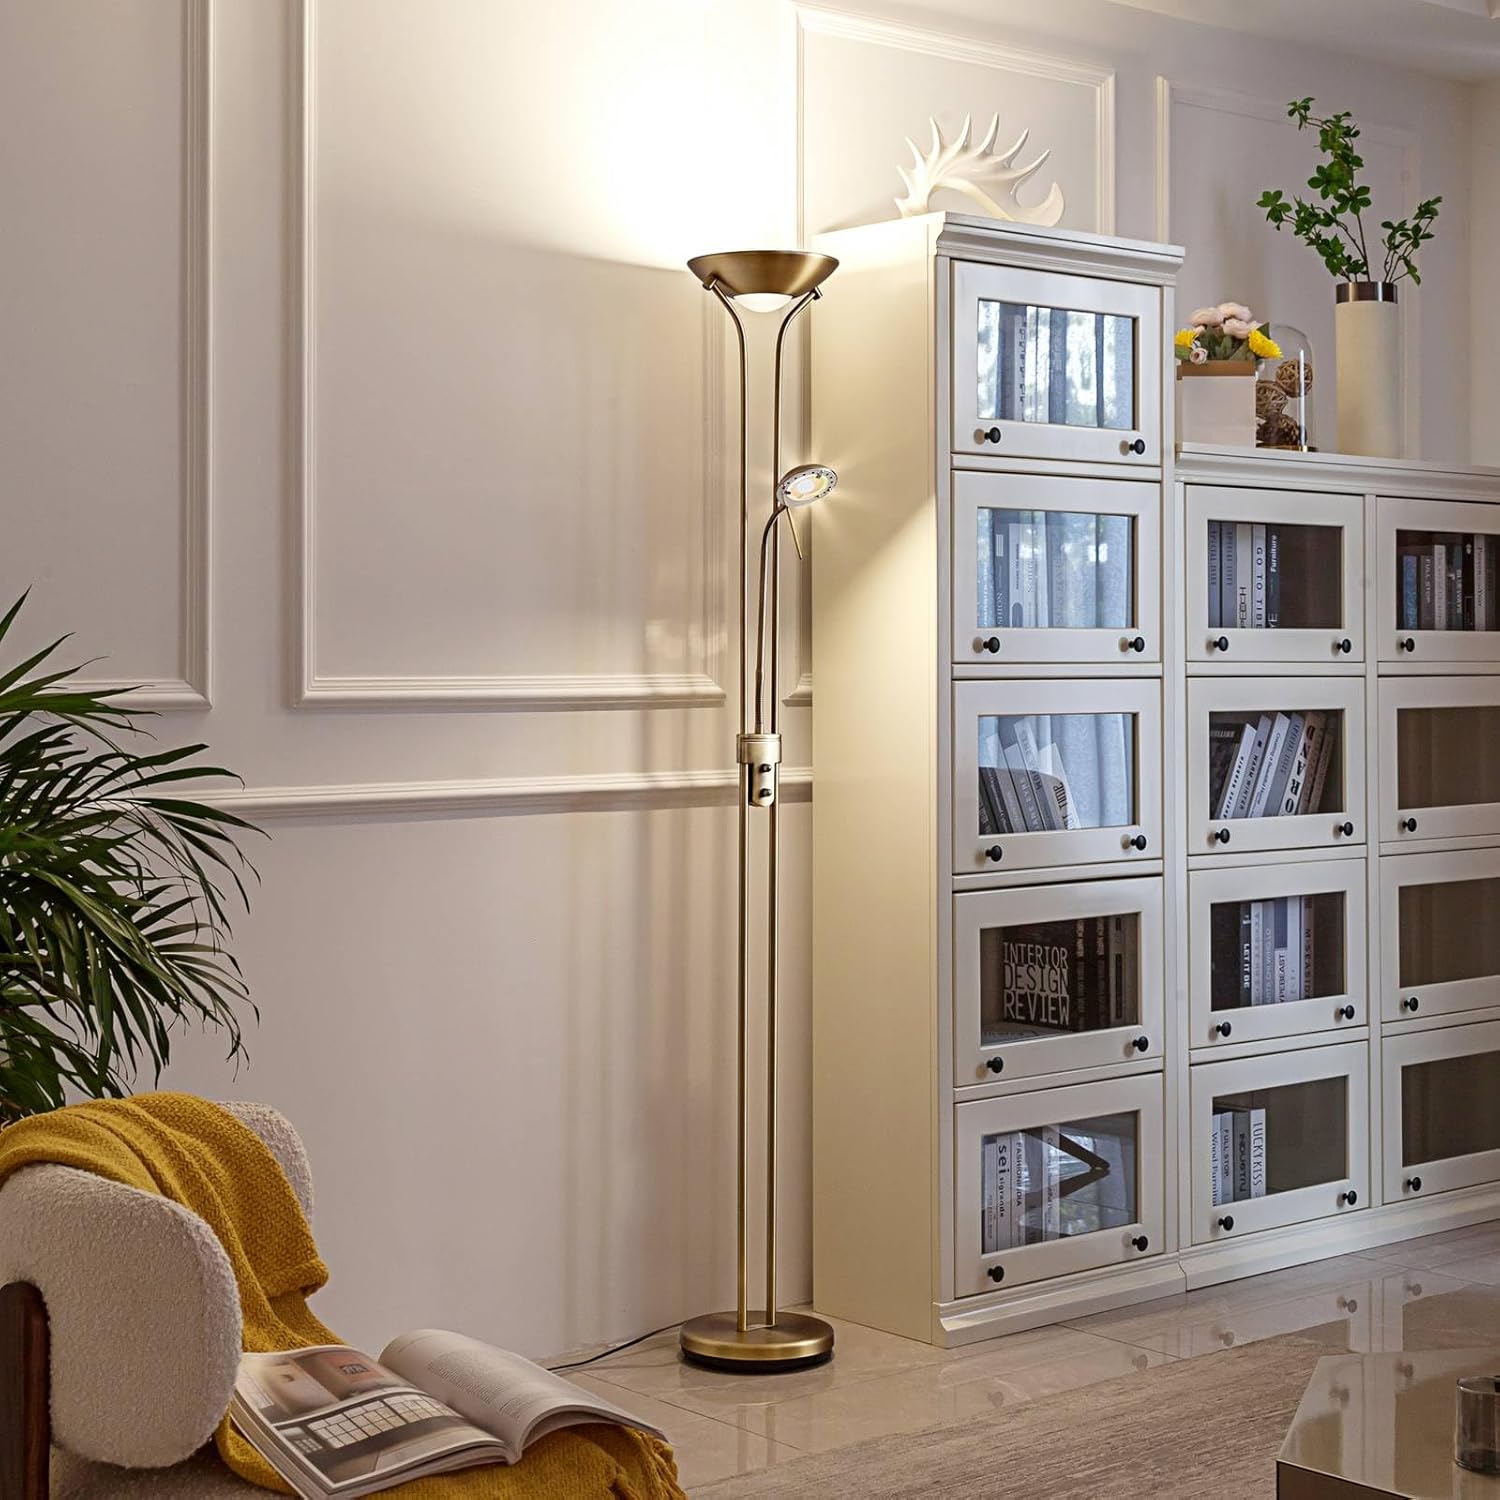
Image 1.1: The Lindby Josefin LED Floor Lamp Beleuchtung eines modernen Wohnraums.
2. Wichtige Sicherheitshinweise
Um einen sicheren Betrieb zu gewährleisten und Schäden zu vermeiden, beachten Sie bitte die folgenden Sicherheitsrichtlinien:
- Trennen Sie immer die lamp Vor der Reinigung oder Durchführung von Wartungsarbeiten vom Stromnetz trennen.
- Dieses lamp is designed for indoor use only (IP20). Do not expose it to moisture or extreme temperatures.
- Stellen Sie sicher, dass die lamp wird auf einer stabilen, ebenen Fläche platziert, um ein Umkippen zu verhindern.
- Versuchen Sie nicht, das Gerät zu verändern oder zu reparieren.amp Wenden Sie sich an qualifiziertes Fachpersonal.
- Verpackungsmaterialien, insbesondere Plastiktüten, sollten von Kindern ferngehalten werden.
- The integrated LED light sources are not user-replaceable. Do not attempt to remove or replace them.
3. Packungsinhalt
Carefully unpack the box and ensure all components are present and undamaged. The package should contain:
- Lindby Josefin LED Floor Lamp (unassembled sections)
- Integrated LED light sources (uplighter and reading lamp)
- Bedienungsanleitung
4. Aufbau und Montage
Follow these steps to assemble your Lindby Josefin LED Floor Lamp:
- Nehmen Sie alle Teile vorsichtig aus der Verpackung. Legen Sie sie auf eine weiche, saubere Oberfläche, um Kratzer zu vermeiden.
- Attach the base to the lowest pole section. Ensure it is securely fastened by rotating clockwise until tight.
- Connect the remaining pole sections by screwing them together. Be careful not to cross-thread the connections. Ensure the internal wiring is not pinched during assembly.
- Once all pole sections are assembled, ensure the lamp steht aufrecht und stabil.
- Stecken Sie das Netzkabel in eine geeignete Steckdose (230 V).

Image 4.1: The robust base of the Lindby Josefin LED Floor Lamp, um Stabilität zu gewährleisten.
5. Bedienungsanleitung
The Lindby Josefin LED Floor Lamp features an uplighter and a flexible reading lamp, both with separate controls and dimming functionality.
- Main Uplighter Control: Suchen Sie den Drehschalter am lamp's pole. Rotate it clockwise to turn on the uplighter and increase brightness. Rotate counter-clockwise to dim the light and turn it off.
- Lesen Lamp Kontrolle: Below the main uplighter control, there is a separate switch for the reading lamp. Use this switch to turn the reading lamp on or off. The reading lamp also has its own dimming function, typically controlled by rotating its switch.
- Einstellen der Lesegeschwindigkeitamp: Die Lektüre lamp is mounted on a flexible arm, allowing you to adjust its position and direct the light as needed.

Image 5.1: The dual rotary switches for independent control of the uplighter and reading lamp.
6. Wartung
Regelmäßige Wartung gewährleistet die Langlebigkeit und optimale Leistung Ihres Geräts.amp.
- Reinigung: Ziehen Sie vor der Reinigung immer den Netzsteckeramp from the power outlet. Use a soft, dry cloth to wipe the lamp's surface. Do not use abrasive cleaners, solvents, or liquids, as these can damage the finish.
- Lichtquelle: The Lindby Josefin LED Floor Lamp features integrated LED light sources. These LEDs are designed for a long lifespan and are not user-replaceable. Do not attempt to open the lamp heads or replace the LEDs.
7. Fehlerbehebung
Sollten Sie Probleme mit Ihrem l habenampBeachten Sie die folgenden häufigen Probleme und Lösungen:
| Problem | Mögliche Ursache | Lösung |
|---|---|---|
| Lamp geht nicht an. | Keine Stromversorgung. Lamp nicht richtig eingesteckt. Schalter ist aus. | Prüfen Sie, ob das Netzkabel fest in einer funktionierenden Steckdose eingesteckt ist. Ensure the wall switch (if any) is on. Drehen Sie das lamp's switch to the 'on' position. |
| Das Licht ist entweder zu schwach oder zu hell. | Die Dimmereinstellung ist falsch. | Adjust the rotary dimmer switch to achieve the desired brightness level. Remember the uplighter and reading lamp have separate dimmers. |
| Lesen lamp funktioniert nicht. | Lesen lamp Schalter ist aus. | Ensure the reading lamp's dedicated switch is turned on. |
| Lamp flackert. | Instabile Stromversorgung. Wackelkontakt. | Versuchen Sie, das l anzuschließenamp in eine andere Steckdose stecken. Ensure all assembled sections are tightly screwed. If flickering persists, discontinue use and contact support. |
Sollten diese Lösungsansätze das Problem nicht beheben, wenden Sie sich bitte an den Kundendienst.
8. Spezifikationen
Detailed technical specifications for the Lindby Josefin LED Floor Lamp:
| Besonderheit | Detail |
|---|---|
| Modellnummer | 10017423 |
| Marke | Lindby |
| Hersteller | Lampenwelt |
| Abmessungen (H x B x T) | 180 cm x 25.4 cm x 25.4 cm |
| Basisdurchmesser | 25.4 cm |
| Gewicht | 6 kg |
| Material | Metall |
| Farbe | Bronze, Frosted White |
| Lichtquellentyp | Integrated LED (2 lamps) |
| Gesamt Wattage | 17 W (Uplighter) + 5 W (Reading Lamp) |
| Lichtstrom | 2510 Lumen |
| Bandtage | 230 V |
| Schutzklasse | IP20 (für Innenräume geeignet) |
| Besondere Merkmale | Dimmer, Reading Light, Energy-saving |
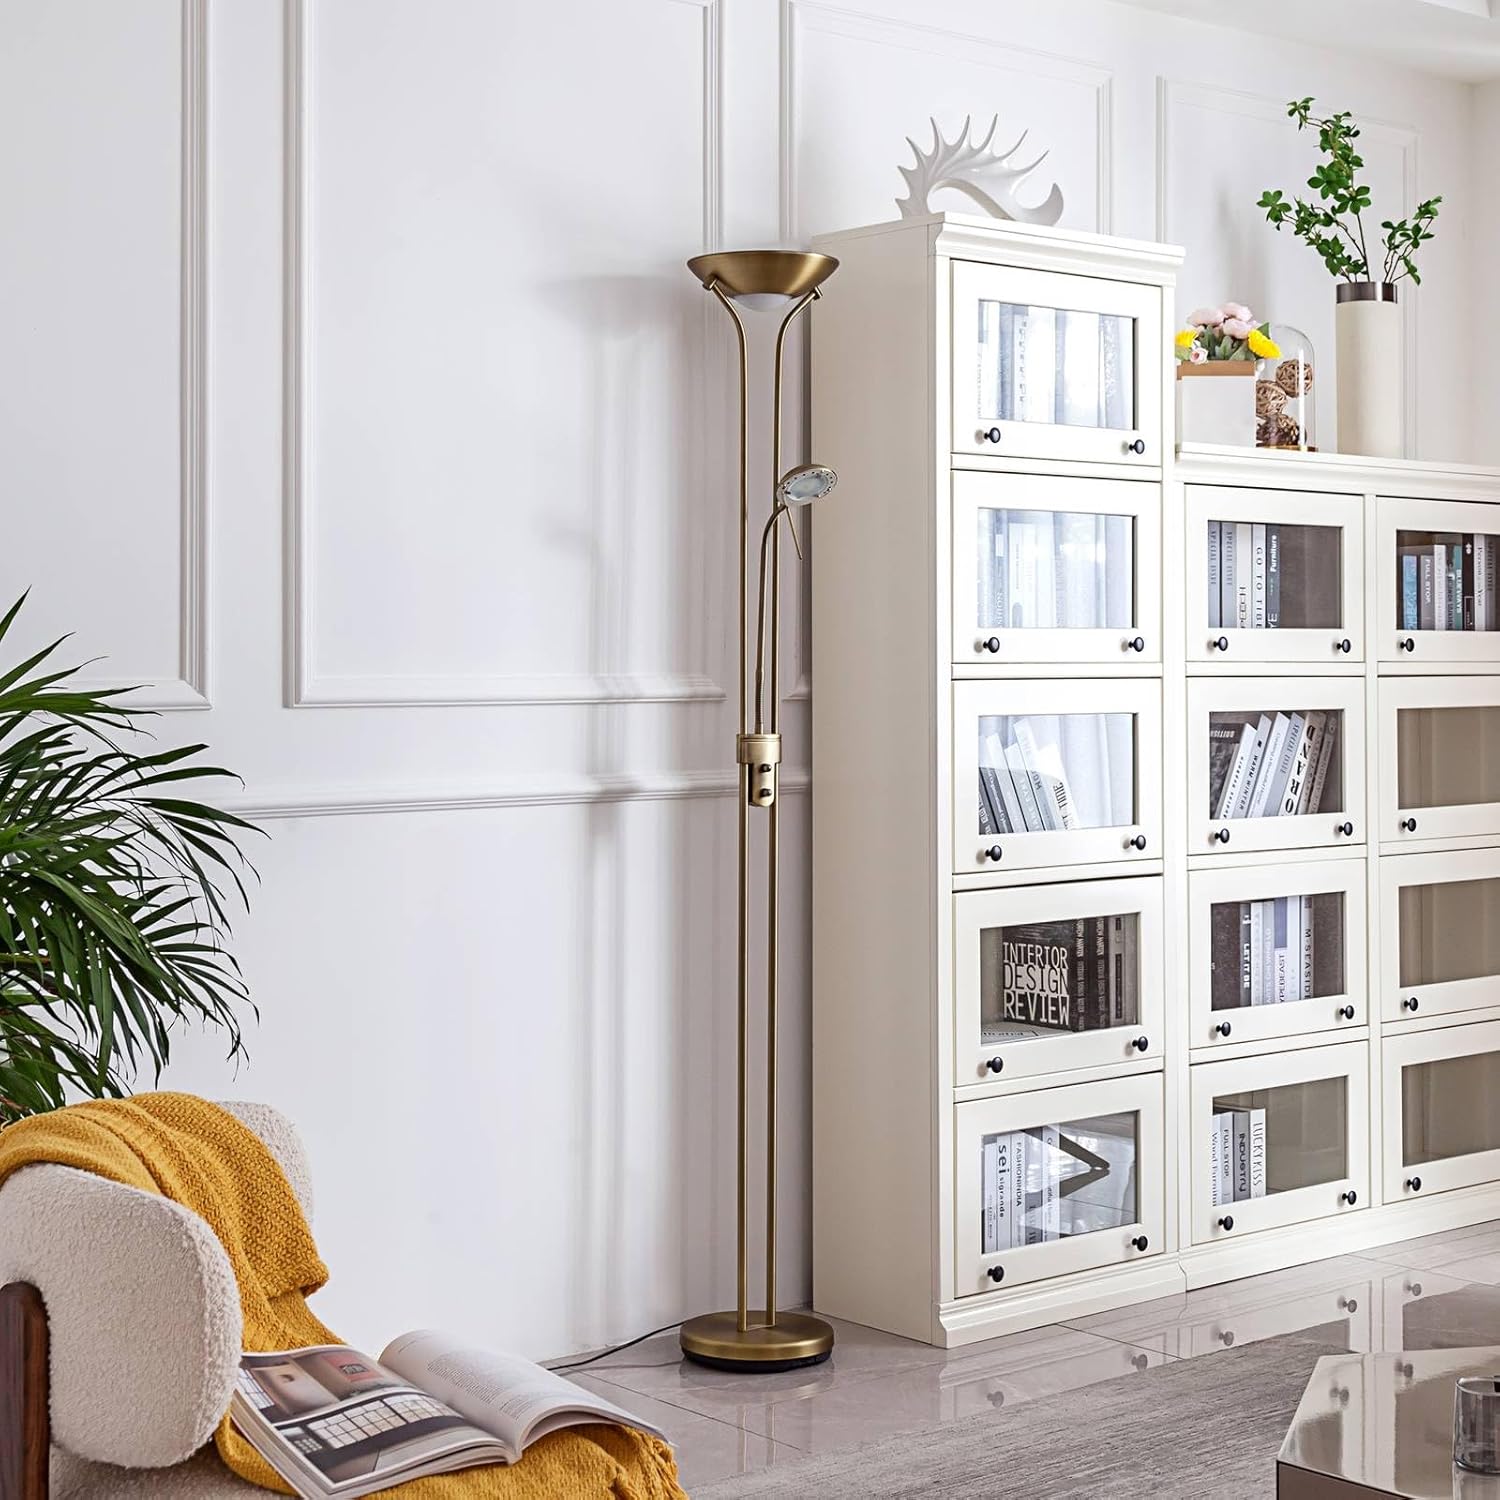
Image 8.1: Dimensional drawing of the Lindby Josefin LED Floor Lamp, mit Angabe von Höhe und Basisdurchmesser.
9. Garantie und Support
Your Lindby Josefin LED Floor Lamp is covered by a manufacturer's warranty. Please refer to the warranty card included in your package or visit the official Lindby webAuf der Webseite finden Sie die detaillierten Garantiebedingungen.
For technical support, troubleshooting assistance beyond this manual, or to inquire about replacement parts (if applicable), please contact your retailer or the manufacturer directly. Have your model number (10017423) and purchase date ready when contacting support.