Einführung
This manual provides detailed instructions for the safe and effective use of your pxton PX-8S-01 two-way radio. Please read this manual thoroughly before operating the device to ensure optimal performance and longevity.
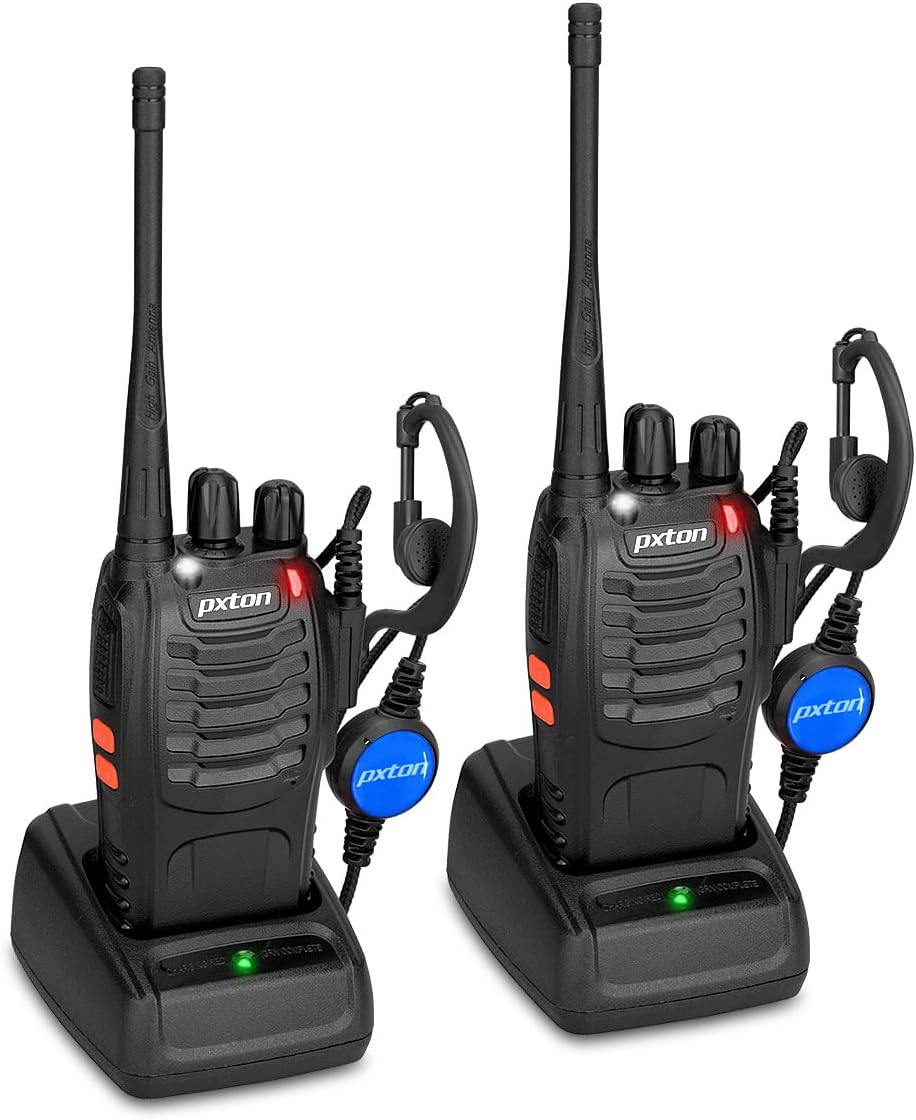
Image: Two pxton PX-8S-01 two-way radios with charging bases and earpieces.
Packungsinhalt
Überprüfen Sie, ob alle Artikel in Ihrem Paket vorhanden sind:
- pxton PX-8S-01 Two-Way Radio (2 units)
- Lithium-Ion Battery (2 units)
- USB Charger (2 units)
- Upgraded Earpiece (2 units)
- Gürtelclip (2 Stück)
- Wrist Strap (2 units)
- Antenne (2 Stück)
- Benutzerhandbuch (1 Stück)

Image: Contents of the pxton PX-8S-01 package.
Produkt überview
Familiarize yourself with the components of your pxton PX-8S-01 two-way radio:

Image: Labeled diagram of the pxton PX-8S-01 two-way radio components.
- Integrierte hochempfindliche Antenne: Zum Senden und Empfangen von Signalen.
- Kanalschalter: Rotary knob to select one of the 16 available channels.
- Netzschalter/Lautstärkeregler: Rotary knob to turn the radio on/off and adjust the volume.
- Taschenlampe: Eingebaute LED-Leuchte zur Beleuchtung.
- LED-Anzeige: Zeigt den Funkstatus an (z. B. Senden, Empfangen, Laden).
- PTT-Taste (Push-to-Talk): Zum Senden gedrückt halten, zum Empfangen loslassen.
- MONI Button (Monitor): Drücken Sie diese Taste, um die Rauschsperre vorübergehend zu deaktivieren und auf schwache Signale zu achten.
- Taschenlampentaste: Aktiviert die eingebaute Taschenlampe.
- SP/MIC-Buchsen: Ports for connecting external audio accessories like earpieces or speaker microphones.
- Clear Speaker: Ausgänge empfangenes Audio.
- Eingebautes Mikrofon: Nimmt Ihre Stimme zur Übertragung auf.
Aufstellen
1. Einlegen der Batterie
- Stellen Sie sicher, dass das Radio ausgeschaltet ist.
- Richten Sie den Akku an den Rillen auf der Rückseite des Radios aus.
- Schieben Sie den Akku nach oben, bis er einrastet.
- Zum Entnehmen drücken Sie die Entriegelungstaste (falls vorhanden) und schieben die Batterie nach unten.
2. Laden des Akkus
- Schließen Sie das USB-Ladegerät an eine Stromquelle an.
- Place the radio with the battery installed into the charging cradle.
- Die LED-Anzeige am Ladegerät zeigt den Ladestatus an (z. B. rot für Ladevorgang, grün für vollständig geladen).
- A full charge from 0 capacity typically takes 3-4 hours.
3. Anbringen von Zubehör
- Antenne: Schrauben Sie die Antenne im Uhrzeigersinn auf den Anschluss oben am Radio, bis sie handfest sitzt. Nicht zu fest anziehen.
- Gürtelschnalle: Befestigen Sie den Gürtelclip mit den mitgelieferten Schrauben an dem dafür vorgesehenen Schlitz auf der Rückseite des Funkgeräts.
- Hörmuschel: Insert the earpiece plug into the SP/MIC jacks on the side of the radio. Ensure it is fully inserted for proper connection.
Bedienungsanleitung
1. Ein-/Ausschalten und Lautstärkeregelung
- To power on the radio, rotate the Power Switch/Volume Control knob clockwise. You will hear a "click" and a voice prompt indicating the current channel.
- Durch Drehen des Knopfes im Uhrzeigersinn wird die Lautstärke erhöht, durch Drehen gegen den Uhrzeigersinn verringert sie sich.
- To power off, rotate the knob counter-clockwise until you hear a "click."
2. Kanalauswahl
- Rotate the Channel Switch knob to select one of the 16 available channels.
- The radio will announce the selected channel number.
- Stellen Sie sicher, dass alle Funkgeräte in Ihrer Gruppe auf denselben Kommunikationskanal eingestellt sind.
3. Senden und Empfangen
- Zum Senden die Taste gedrückt halten PTT (Push-to-Talk) button. Speak clearly into the microphone. The LED indicator will illuminate red.
- Release the PTT button to stop transmitting and return to receive mode. The LED indicator will turn green when receiving a signal.
4. VOX-Funktion (Sprachgesteuerte Vermittlungsstelle)
The VOX function allows hands-free operation. When activated, the radio will automatically transmit when it detects your voice, without needing to press the PTT button.
- VOX settings are typically programmed via software. Refer to advanced programming instructions if available.
- When using VOX, ensure the microphone is positioned correctly to pick up your voice effectively.
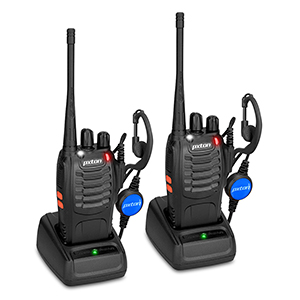
Image: VOX/Handfree function icon.
5. Taschenlampenfunktion
- Drücken Sie die entsprechende Taschenlampentaste um die eingebaute LED-Taschenlampe ein- oder auszuschalten.
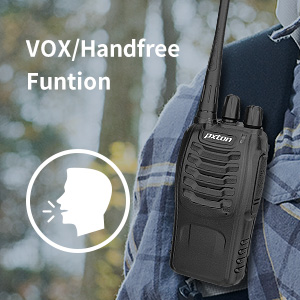
Image: Flashlight function icon.
6. Scan-Funktion
The scan function allows the radio to automatically scan through channels to find active transmissions.
- To activate the scan function, typically this is done via a programmed side key or by selecting a specific channel. Refer to your radio's programming guide for details.
- When scanning, the radio will stop on an active channel until the transmission ends, then resume scanning.
7. Notfallalarm
The radio features an emergency alarm function for critical situations.
- To activate the emergency alarm, press the designated Emergency Alarm button (if programmed) or a specific key combination. This will typically emit a loud siren sound and/or transmit an alert signal.

Image: Emergency Alarm function icon.
8. Rauschsperreneinstellung
Squelch suppresses background noise when no signal is being received. The PX-8S-01 has an adjustable squelch feature.
- Squelch levels are typically set via programming software. A higher squelch level requires a stronger signal to open the receiver, reducing static but potentially missing weak signals.
- The MONI button can be used to temporarily override the squelch and listen to all signals, including weak ones or background noise.
Image: Squelch adjustment icon.
9. Datenschutzbestimmungen (CTCSS/DCS)
The radio supports 165 privacy codes (50 CTCSS / 210 DCS) per programmable channel to help filter out unwanted conversations.
- When a CTCSS/DCS code is set, you will only hear transmissions from other radios using the same channel and the same CTCSS/DCS code.
- Similarly, other radios will only hear your transmissions if they are on the same channel and using the same code.
- These codes are typically programmed using specialized software.
Image: CTCSS/DCS privacy codes icon.
Wartung
- Reinigung: Verwenden Sie ein weiches,amp Verwenden Sie ein Tuch, um das Äußere des Radios zu reinigen. Verwenden Sie keine scharfen Chemikalien oder Lösungsmittel.
- Batteriepflege:
- Vermeiden Sie ein Überladen oder vollständiges Entladen des Akkus.
- Bewahren Sie Batterien an einem kühlen, trockenen Ort auf, wenn Sie sie nicht verwenden.
- Wenn das Radio längere Zeit nicht benutzt wird, entfernen Sie die Batterie.
- Lagerung: Lagern Sie das Radio an einem trockenen, staubfreien Ort, fern von extremen Temperaturen.
- Antenne: Die Antenne darf nicht gebogen oder verändert werden, da dies die Leistung beeinträchtigen kann.
Fehlerbehebung
| Problem | Mögliche Ursache | Lösung |
|---|---|---|
| Das Radio lässt sich nicht einschalten. | Die Batterie ist leer oder nicht richtig eingesetzt. | Laden Sie den Akku auf. Stellen Sie sicher, dass der Akku fest eingesetzt ist. |
| Senden und Empfangen nicht möglich. | Incorrect channel selected. Battery low. Radio out of range. | Verify both radios are on the same channel. Charge battery. Move closer to the other radio. |
| Schlechte Audioqualität oder Rauschen. | Weak signal. Squelch level too low/high. Interference. | Move to an area with fewer obstructions. Adjust squelch level (if programmable). Check for sources of interference. |
| Kurze Kommunikationsreichweite. | Hindernisse (Gebäude, Gelände). Niedriger Akkustand. | Begeben Sie sich in einen offenen Bereich. Stellen Sie sicher, dass der Akku vollständig geladen ist. |
| Earpiece not working. | Earpiece not fully inserted. Faulty earpiece. | Ensure earpiece plug is fully inserted into the SP/MIC jack. Try a different earpiece if available. |
Technische Daten
- Modell: PX-8S-01
- FCC-ID: 2AX68PX-888S
- Anzahl der Kanäle: 16
- Frequenzbereich: UHF
- Maximale Sprechreichweite: Up to 5 miles (unobstructed)
- Datenschutzcodes: 165 (50 CTCSS / 210 DCS)
- Akku-Typ: Lithium-Ionen (im Lieferumfang enthalten)
- Batterie Voltage: 3.7 Volt (DC)
- Akkulaufzeit: 8-96 hours standby, 8-12 hours continuous use (actual time varies with usage)
- Ladezeit: 3-4 hours (from 0 capacity)
- Wasserbeständigkeit: Wasserfest
- Produktabmessungen: 1.1"T x 1.89"B x 8.34"H
- Artikelgewicht: 1.34 pounds (for the pair)
- Besondere Merkmale: Rechargeable, VOX, TOT, Emergency Alarm, Battery Low Alert, Flashlight, Scan Function

Image: Size comparison of the pxton PX-8S-01 radio.
Sicherheitshinweise
Your pxton PX-8S-01 walkie-talkie has been granted FCC transmission and reception certification and authorization (FCC ID: 2AX68PX-888S). This device is intended for use only within the frequency points authorized by the FCC certification range.
Bitte beachten Sie die folgenden Sicherheitshinweise:
- Das Funkgerät darf nicht in explosionsgefährdeten Bereichen (z. B. brennbaren Gasen, Staubpartikeln, Metallpulvern) betrieben werden.
- Do not modify the radio or its accessories. Unauthorized modifications can void your warranty and violate FCC regulations.
- Bewahren Sie das Radio und sein Zubehör außerhalb der Reichweite von Kindern auf.
- Use only pxton-approved batteries and chargers. Using unapproved accessories can cause damage or injury.
- Avoid exposing the radio to extreme temperatures, direct sunlight, or moisture for prolonged periods.
- If the radio emits smoke or an unusual odor, immediately turn off the power and remove the battery. Contact customer support.
Garantie und Support
pxton provides lifetime customer service for its walkie-talkies. If you encounter any questions or issues with your PX-8S-01 radio, please contact pxton customer support through the platform where you purchased the product. Our professional team is available to assist you with troubleshooting and support.
For further assistance, please refer to the official pxton webWebsite oder wenden Sie sich direkt an den Kundendienst.