1. Einleitung
Thank you for choosing the HoneyGuaridan Automatic Pet Feeder. This device is designed to provide scheduled and portion-controlled meals for your pets, ensuring they maintain healthy eating habits. It features a versatile design that can accommodate one or two pets, a large 7-liter food capacity, and a reliable dual power supply system.
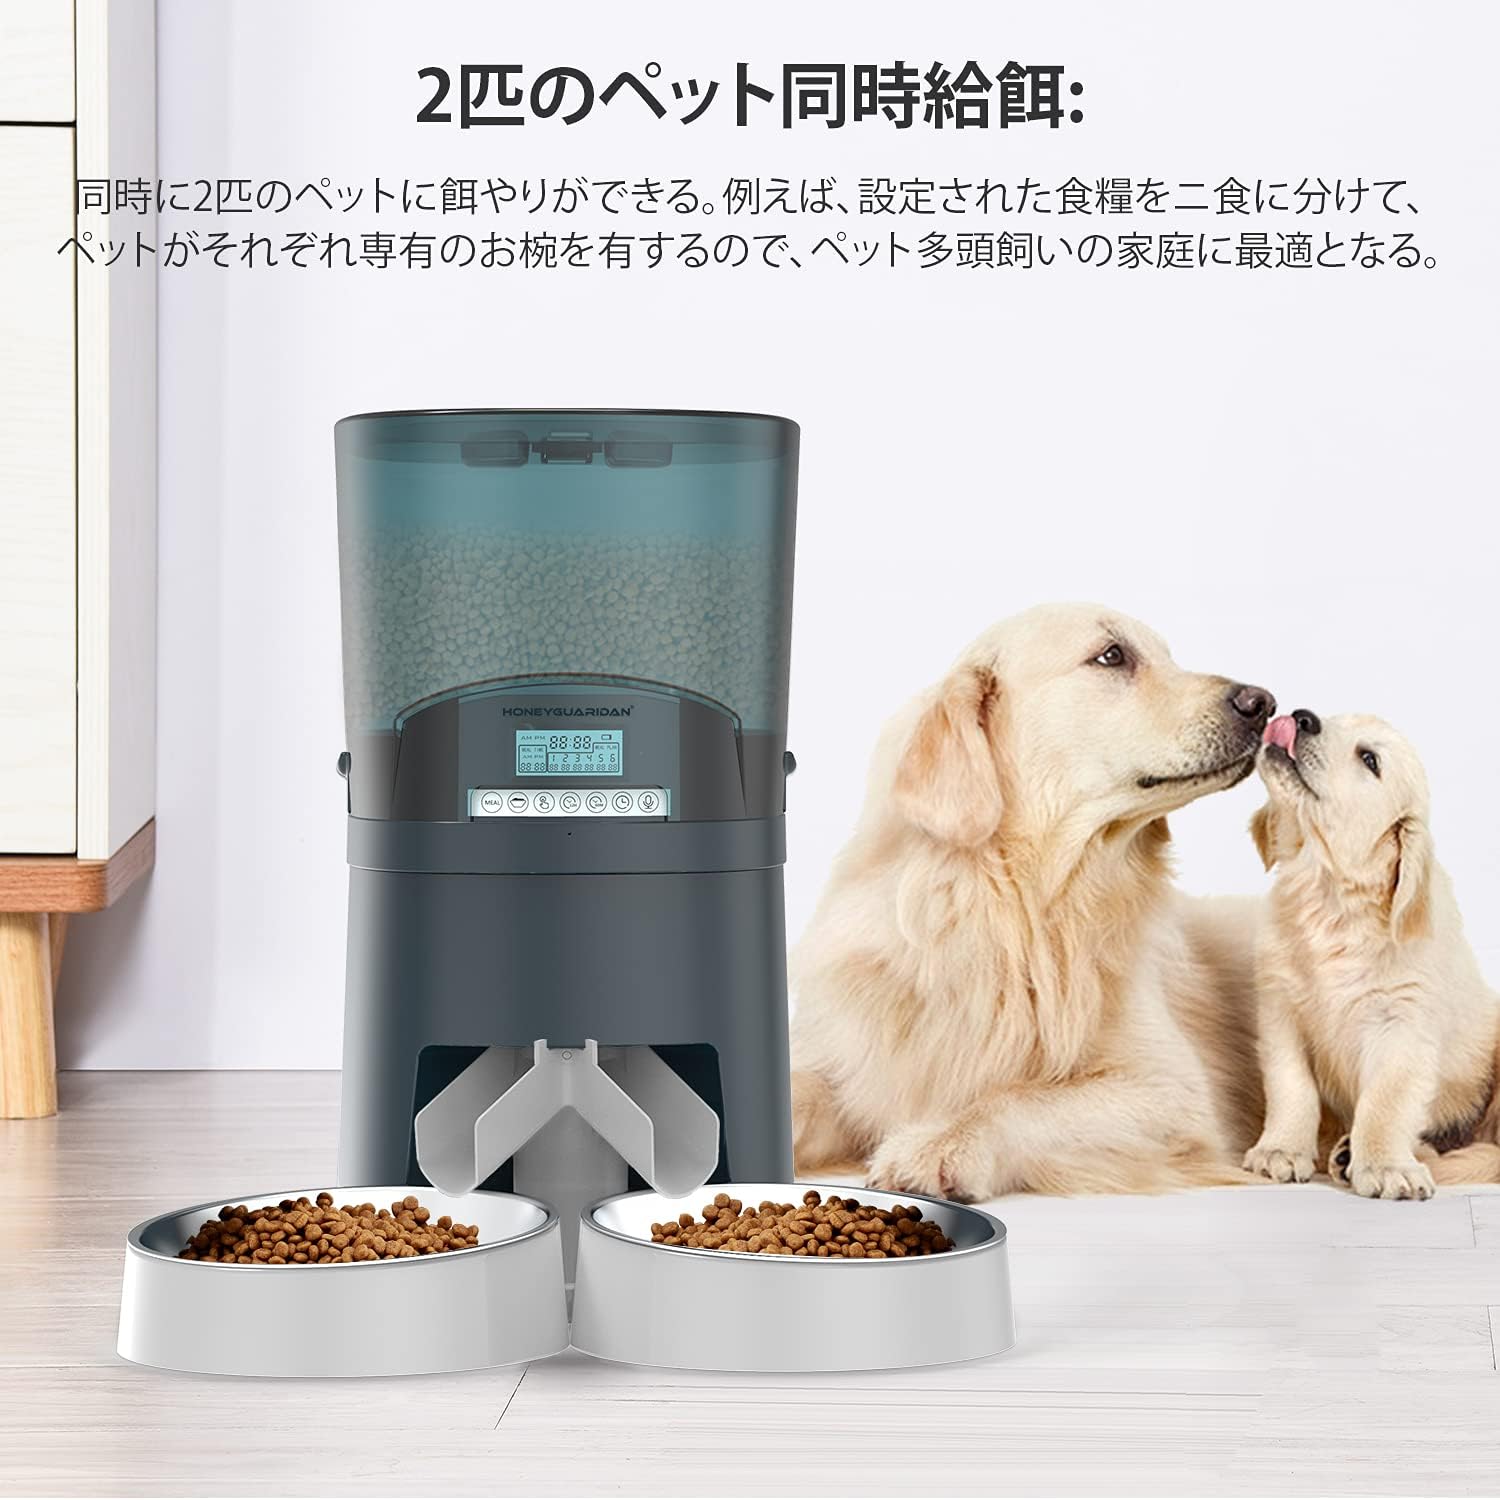
Image: The HoneyGuaridan A68D feeder in a dual-bowl configuration, with two golden retriever puppies nearby, illustrating its use for multiple pets.
2. Sicherheitshinweise
- Lesen Sie alle Anweisungen sorgfältig durch, bevor Sie den Futterautomaten in Betrieb nehmen.
- Halten Sie den Futterspender von Kindern und Haustieren fern, wenn er nicht benutzt wird oder während der Montage.
- Use only dry pet food with a particle size between 0.5cm and 1.8cm to prevent clogging.
- Do not immerse the main unit in water. Only removable parts are washable.
- Ensure the power adapter cable is not damaged and is placed where pets cannot chew on it.
- If using batteries, ensure they are inserted correctly and replaced when low to avoid interruptions.
3. Packungsinhalt
Überprüfen Sie, ob alle Komponenten im Paket vorhanden sind:
- Hauptverteilereinheit
- Food Container (7L)
- Deckel
- Food Splitter (for dual-bowl feeding)
- Stainless Steel Bowls (x2)
- Bowl Holders (x2)
- Netzteil
- Bedienungsanleitung

Bild: Eine explodierte view showing all individual components of the HoneyGuaridan A68D automatic pet feeder, including the main unit, food container, lid, splitter, bowls, and power adapter.
4. Produktüberschreitungview & Hauptmerkmale
The HoneyGuaridan A68D feeder is designed with several features for convenience and reliability:
- Transparent Food Hopper: Allows easy monitoring of food levels.
- Infrarotsensor: Detects food blockages and triggers motor reversal to prevent clogging.
- Benutzerfreundliches Bedienfeld: Intuitive buttons and display for programming.
- Verschließbarer Deckel: Helps maintain food freshness and prevents pets from accessing food prematurely.
- Removable Stainless Steel Bowls: Leicht zu reinigen und hygienisch.
- Duale Stromversorgung: Operates via AC adapter or D-cell batteries for backup.

Bild: Eine detaillierte view of the feeder highlighting the transparent food container, the control panel, the infrared sensor at the food outlet, and the locking mechanism on the lid.
5. Einrichtung
5.1 Montage
- Stellen Sie die Hauptzuführungseinheit auf eine ebene, stabile Oberfläche.
- Insert the food container onto the main unit, ensuring it is securely seated.
- Attach the lid to the food container.
- Decide on single or dual bowl configuration (see section 5.2).
- Place the stainless steel bowls into their respective holders and attach them to the feeder's base.
5.2 Bowl Configuration (Single/Dual)
The feeder can be configured for one or two pets:
- For Dual-Pet Feeding: Attach the food splitter to the food outlet before placing the two bowl holders and stainless steel bowls.
- For Single-Pet Feeding: Do not attach the food splitter. Use only one bowl holder and stainless steel bowl, centered under the food outlet.
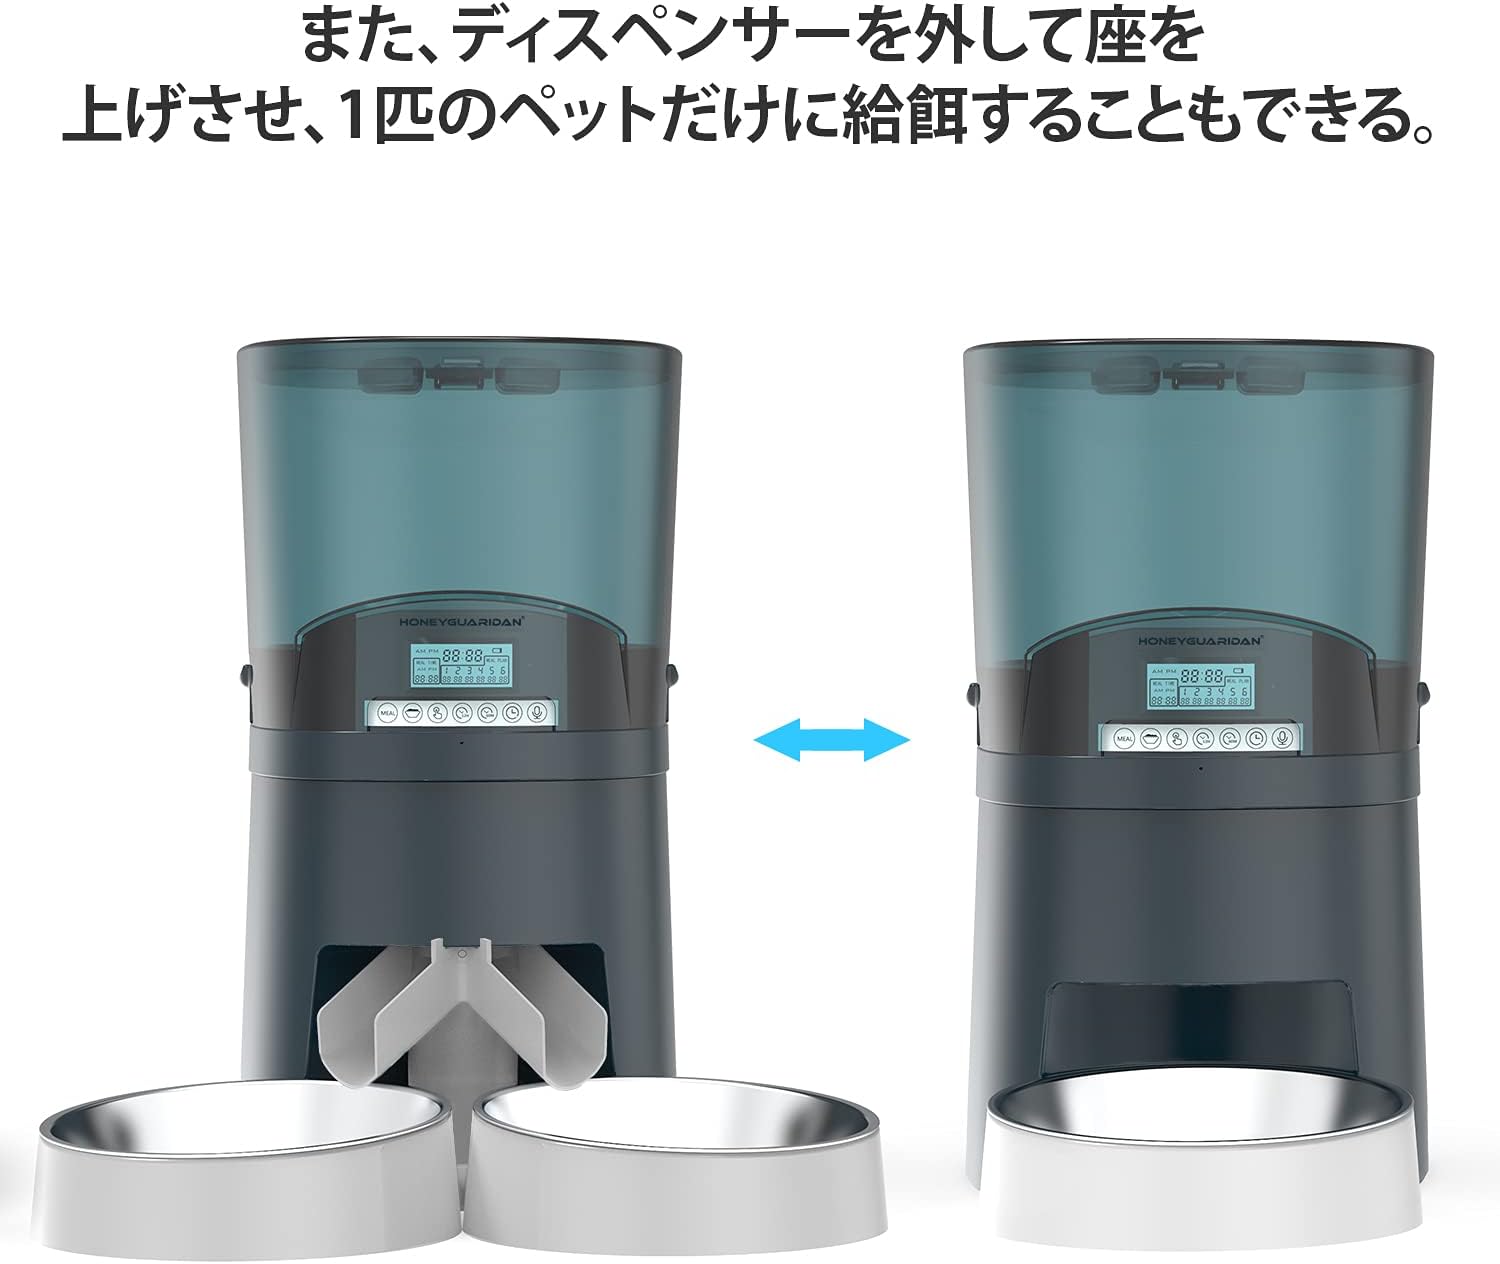
Image: The feeder shown in two configurations: on the left, with a splitter for two bowls; on the right, without a splitter for a single bowl, demonstrating its versatility.
5.3 Netzteil
The feeder can be powered by an AC adapter or D-cell batteries:
- Netzteil: Plug the adapter into the power port on the back of the feeder and into a wall outlet.
- Batterie-Backup: Für Machttages or portable use, insert 4 D-cell batteries (not included) into the battery compartment at the bottom of the unit. Ensure correct polarity.

Image: A close-up of the battery compartment located at the bottom of the feeder, showing slots for four D-cell batteries and the power adapter connection.
5.4 Lebensmittelbeladung
Open the lid and pour dry pet food into the transparent hopper. Ensure the food level is below the maximum fill line. Close the lid securely to maintain freshness.
6. Bedienungsanleitung
6.1 Einstellen der aktuellen Uhrzeit
Refer to the control panel and use the designated buttons (usually 'SET' and arrow keys) to set the current time. Confirm the setting to save.
6.2 Programming Meal Schedules
The feeder allows up to 6 meals per day. For each meal:
- Enter programming mode (usually by pressing 'SET' or 'PROGRAM').
- Select the meal number (1-6).
- Set the desired feeding time using the arrow keys.
- Set the portion size (1-48 units, approximately 12g per unit).
- Repeat for all desired meals. Exit programming mode to save.
6.3 Manuelle Fütterung
Press the 'MANUAL' button to dispense a single portion of food instantly. This is useful for extra treats or to test the feeder.
6.4 Sprachaufzeichnung
Record a short voice message (e.g., "Time to eat!") that will play at each scheduled mealtime to call your pets. Refer to the manual for specific recording steps.

Image: A golden retriever dog looking towards the feeder, with a speech bubble indicating a recorded voice message, demonstrating the voice recording feature.
6.5 Bedienfeldsperre
To prevent accidental changes by pets or children, activate the control panel lock function. Refer to the manual for instructions on how to enable and disable this feature.
7. Wartung
7.1 Reinigung
Regular cleaning ensures hygiene and proper operation:
- Vor der Reinigung den Netzadapter abziehen und die Batterien entnehmen.
- Remove the food container, lid, food splitter, and stainless steel bowls. These parts are washable with soap and water. Rinse thoroughly and dry completely before reassembly.
- Wischen Sie die Hauptzuführungseinheit mit einem Tuch ab.amp Stoff. Tauchen Sie es nicht in Wasser.
- Ensure all parts are completely dry before adding food and reconnecting power.
8. Fehlerbehebung
- Futterautomat gibt kein Futter aus: Check if the food hopper is empty. Ensure food particle size is within 0.5cm-1.8cm. Check for blockages at the food outlet; the infrared sensor should trigger a motor reversal to clear minor clogs.
- Feeder not powering on: Verify the AC adapter is securely plugged in. If using batteries, ensure they are correctly inserted and not depleted.
- Einstellungen werden nicht gespeichert: Ensure you exit the programming mode correctly after making changes. The feeder is designed to retain settings even during power source changes.
- Food dispensing unevenly (dual bowls): Ensure the food splitter is correctly installed and not obstructed.
9. Spezifikationen
| Besonderheit | Detail |
|---|---|
| Marke | Honig-Guardian |
| Modellnummer | A68D |
| Kapazität | 7 Liter (ca. 4.5 kg Trockenfutter) |
| Zielspezies | Dogs, Cats (all breeds and sizes) |
| Betriebsmodus | Automatisch, Manuell |
| Mahlzeiten pro Tag | Bis zu 6 |
| Portionsgröße | 1-48 units (approx. 12g per unit) |
| Stromversorgung | AC Adapter, 4 x D-cell batteries (not included) |
| Farbe | Blue (7L model) |
| ASIN | B08SWC3YM2 |
10. Garantie und Support
For warranty information and customer support, please refer to the product packaging or contact HoneyGuaridan directly through their official webDie Website oder der Händler, bei dem das Produkt gekauft wurde, ist für Sie bestimmt. Bewahren Sie Ihren Kaufbeleg für Garantieansprüche auf.