Cecotec 05606
Cecotec Big Dry 4000 Expert Dehumidifier User Manual
Modell: 05606
1. Einleitung
Vielen Dank für Ihren Einkauf.asing the Cecotec Big Dry 4000 Expert Dehumidifier. This manual provides important information for the proper use, maintenance, and troubleshooting of your appliance. Please read it thoroughly before operation and keep it for future reference.
Sicherheitshinweise
- Stellen Sie den Luftentfeuchter immer auf eine ebene, stabile Oberfläche.
- Sorgen Sie für ausreichende Belüftung rund um das Gerät. Blockieren Sie keine Lufteinlässe oder -auslässe.
- Das Gerät darf nicht in der Nähe von Wasser oder in übermäßig feuchten Umgebungen betrieben werden.
- Ziehen Sie den Stecker aus der Steckdose, bevor Sie das Gerät reinigen oder Wartungsarbeiten durchführen.
- Außerhalb der Reichweite von Kindern und Haustieren aufbewahren.
- Stecken Sie keine Gegenstände in die Lüftungsöffnungen.
- Verwenden Sie nur das angegebene Netzteil.
2. Produktkomponenten
Familiarize yourself with the main parts of your Cecotec Big Dry 4000 Expert Dehumidifier.

Abbildung 2.1: Front view of the Cecotec Big Dry 4000 Expert Dehumidifier. This image shows the overall design of the dehumidifier, highlighting its compact and modern appearance with the Cecotec logo visible.

Abbildung 2.2: Seite view of the dehumidifier with the removable water tank. The image clearly indicates the location and design of the 2.5-liter water collection tank, which slides out for easy emptying.

Abbildung 2.3: Close-up of the top control panel. This view displays the LED screen showing humidity and temperature, along with touch controls for Timer, Setting, and Power functions.

Abbildung 2.4: Spitze view showing the air outlet. This image illustrates the dehumidifier's top grille where dry air is expelled, with visual cues of air circulation.
Schlüsselkomponenten:
- Bedienfeld: LED display for humidity and temperature, touch buttons for various functions.
- Lufteinlass/-auslass: Befindet sich zur Luftzirkulation an der Rückseite und Oberseite.
- Wassertank: Abnehmbarer 2.5-Liter-Tank zum Auffangen von Kondenswasser.
- Räder: Für einfache Portabilität.
- Luftfilter: Located at the air inlet, requires regular cleaning.
3. Einrichtung
- Auspacken: Nehmen Sie den Luftentfeuchter vorsichtig aus der Verpackung. Bewahren Sie das Verpackungsmaterial für die spätere Lagerung oder den Transport auf.
- Platzierung:
- Place the unit on a firm, level surface in the area where dehumidification is desired.
- Stellen Sie sicher, dass rund um das Gerät ein freier Raum von mindestens 20 cm (8 Zoll) für eine ordnungsgemäße Luftzirkulation vorhanden ist.
- Vermeiden Sie es, das Gerät in der Nähe von Wärmequellen, direkter Sonneneinstrahlung oder in staubigen Bereichen aufzustellen.
- Stromanschluss: Stecken Sie das Netzkabel in eine geerdete Steckdose. Stellen Sie sicher, dass die Lautstärketage entspricht den Spezifikationen des Geräts.
- Erstprüfung: Before first use, ensure the water tank is correctly inserted and empty.
4. Bedienungsanleitung
Ein-/Ausschalten
- Drücken Sie die Leistung button (refer to Figure 2.3 for button location) on the control panel to turn the unit ON or OFF. The LED display will illuminate when the unit is on.
Einstellung der gewünschten Luftfeuchtigkeit
- Drücken Sie die Einstellung button (refer to Figure 2.3 for button location) repeatedly to cycle through desired humidity levels (e.g., 40%, 50%, 60%, 70%, 80% or continuous operation). The display will show the selected humidity.
- Das Gerät arbeitet automatisch, um die eingestellte Luftfeuchtigkeit aufrechtzuerhalten.
Timerfunktion
- Drücken Sie die Timer button (refer to Figure 2.3 for button location) to set the operating time (e.g., 1-24 hours). The unit will automatically turn off after the set time.
- To cancel the timer, press the Timer button until "00" or "OFF" is displayed.
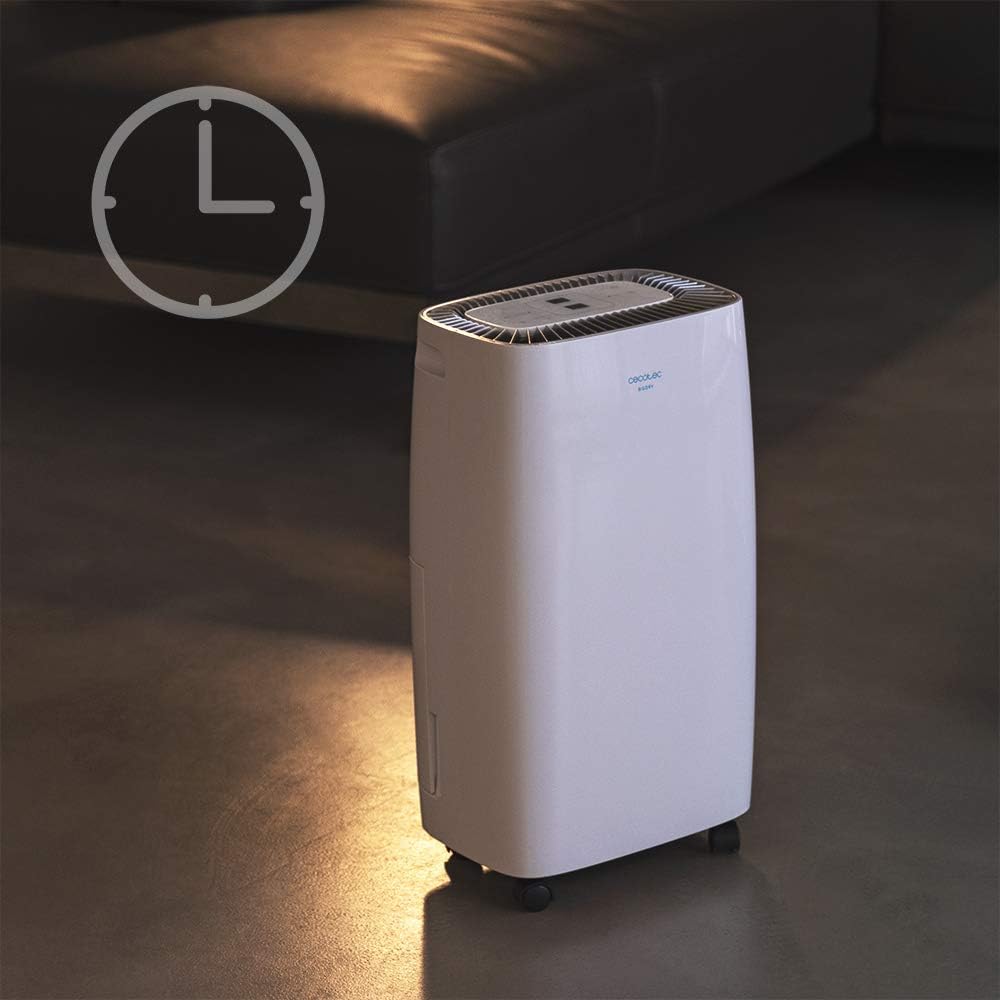
Abbildung 4.1: Dehumidifier operating with the timer function. This image visually represents the timer feature, showing the unit in a room setting with a clock icon overlay, indicating scheduled operation.
Lüftergeschwindigkeit
- The unit features 2 fan speeds. Refer to the control panel for specific fan speed adjustment options, usually indicated by fan blade icons or "High/Low" indicators.
Automatic Shut-off and Full Tank Indicator
- The dehumidifier will automatically shut off when the water tank is full to prevent overflow.
- A "FULL" indicator light (often red) on the control panel will illuminate, and the unit may beep to alert you.

Abbildung 4.2: Control panel showing the "FULL" indicator light. This close-up highlights the illuminated red light next to the "FULL" icon, signaling that the water tank needs to be emptied.
5. Wartung
Entleeren des Wassertanks
- When the "FULL" indicator light illuminates, gently pull out the water tank from the side of the unit.
- Bringen Sie den Tank vorsichtig zu einem Waschbecken oder Abfluss und leeren Sie das gesammelte Wasser aus.
- Rinse the tank with clean water periodically to prevent mold or mildew growth.
- Schieben Sie den leeren Tank zurück in das Gerät, bis er einrastet. Das Gerät nimmt den Betrieb wieder auf.
Reinigen des Luftfilters
Der Luftfilter sollte je nach Nutzung und Luftqualität alle zwei Wochen oder auch häufiger gereinigt werden.
- Schalten Sie den Luftentfeuchter aus und ziehen Sie den Netzstecker.
- Locate the air filter (usually on the back or side, behind a removable grille).
- Entfernen Sie den Filter.
- Clean the filter using a vacuum cleaner to remove dust. For heavy dirt, wash it gently with warm, soapy water.
- Lassen Sie den Filter vollständig an der Luft trocknen, bevor Sie ihn wieder einsetzen. Verwenden Sie keinen Trockner oder direkte Hitze.
- Reinsert the dry filter and close the grille.
Allgemeine Reinigung
- Wischen Sie die Außenseite des Geräts mit einem weichen,amp Tuch. Keine Scheuer- oder Lösungsmittel verwenden.
- Achten Sie darauf, dass kein Wasser in die elektrischen Bauteile eindringt.
6. Fehlerbehebung
| Problem | Mögliche Ursache | Lösung |
|---|---|---|
| Gerät lässt sich nicht einschalten. | Kein Strom; Netzkabel locker; Wassertank voll oder falsch eingesetzt. | Check power connection; ensure tank is empty and properly seated. |
| Der Luftentfeuchter sammelt kein Wasser. | Room humidity too low; temperature too low; air filter clogged; unit too small for space. | Check room conditions; clean air filter; ensure unit is appropriately sized for the area. |
| Das Gerät ist laut. | Gerät steht nicht auf ebener Fläche; Luftfilter verstopft; internes Bauteilproblem. | Place on a level surface; clean air filter. If noise persists, contact support. |
| "FULL" indicator light is on, but tank is not full. | Float switch stuck or sensor malfunction. | Remove and reinsert tank; check float switch for obstructions. |
7. Spezifikationen
| Besonderheit | Spezifikation |
|---|---|
| Marke | Cecotec |
| Modellname | Big Dry 4000 Expert (Model Number: 05606) |
| Entfeuchtungskapazität | 10 Liter pro Tag |
| Fassungsvermögen des Wassertanks | 2.5 Liter |
| Empfohlene Bodenfläche | Up to 40 Square Meters (105 m³/h coverage) |
| Produktabmessungen (T x B x H) | 20.87"T x 9.06"B x 12.2"H |
| Artikelgewicht | 21.7 Pfund |
| Wastage | 4000 Watt (Note: This value is from product specifications. Actual operational wattage for dehumidifiers is typically lower.) |
| Kältemittelgas | R290 |
| Besondere Merkmale | Removable Tank, 24h Timer, LED Display, Auto Power Off, Silent Operation |
8. Garantie und Support
Informationen zur Garantie, zum technischen Support oder zu Serviceanfragen finden Sie auf der Ihrem Produkt beiliegenden Garantiekarte oder auf der offiziellen Cecotec-Website. webBewahren Sie Ihren Kaufbeleg als Kaufnachweis für Garantieansprüche auf.
Cecotec Official WebWebsite: www.cecotec.com
Ask a question about this manual
Ask about setup, troubleshooting, compatibility, parts, safety, or missing instructions. Manuals+ will review the question and use this page’s manual context to help answer it.