1. Produktüberschreitungview
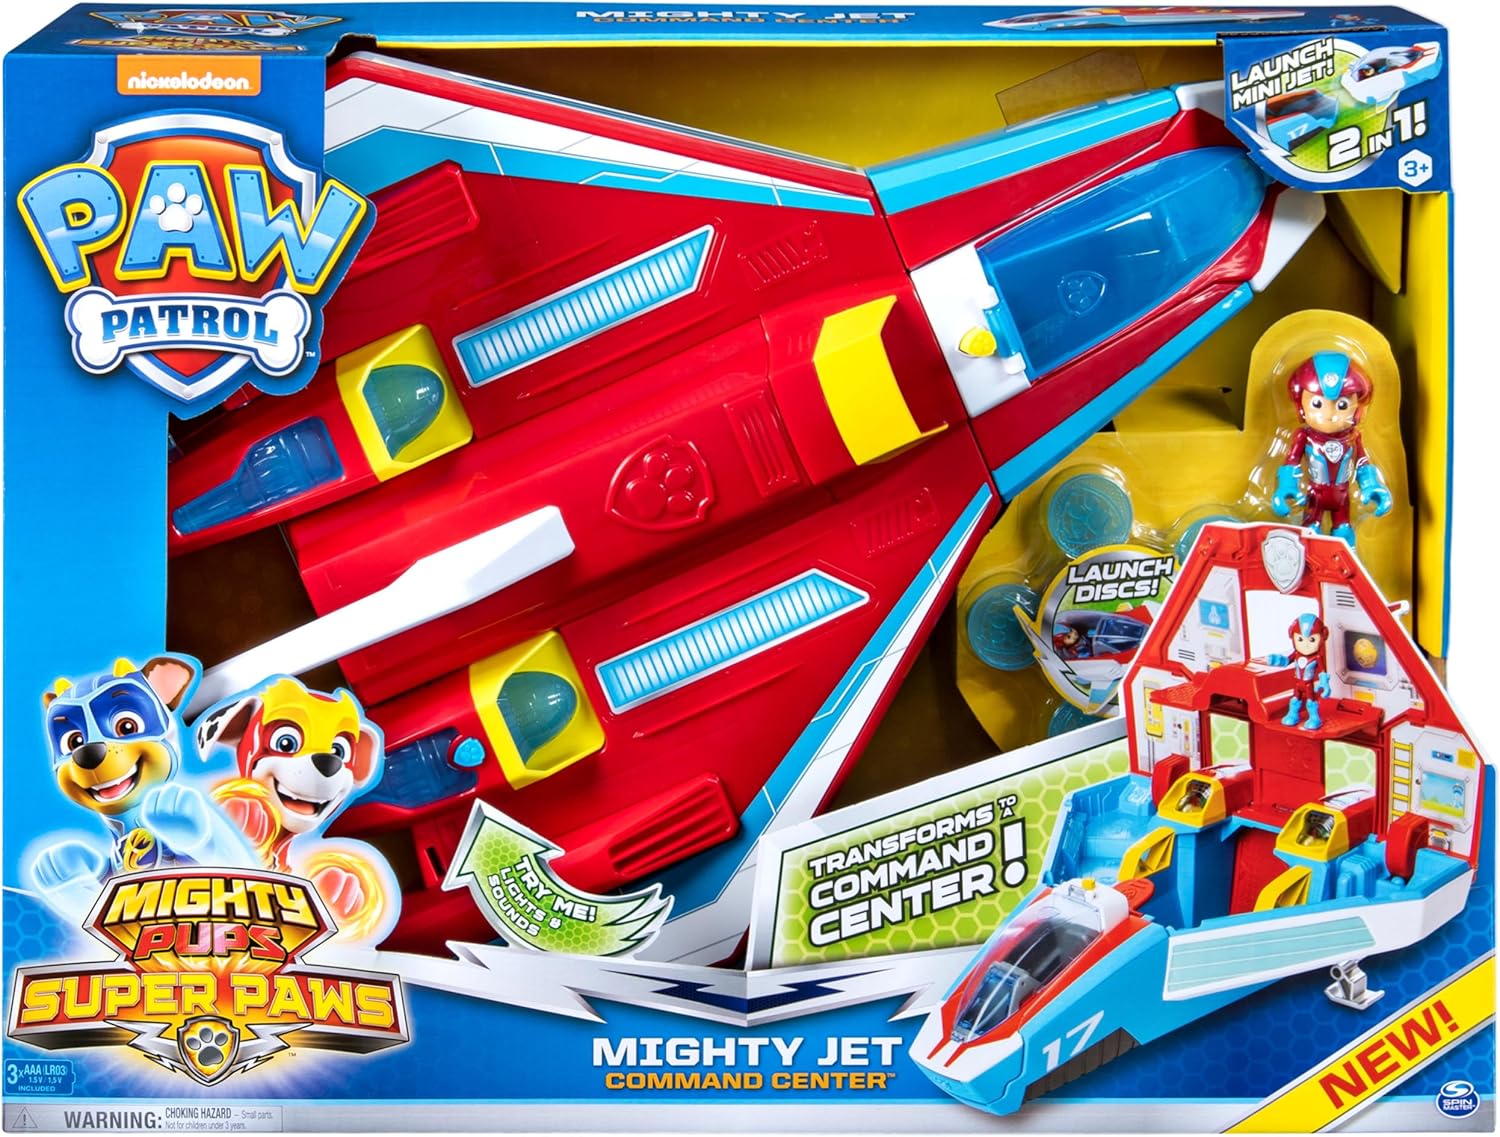
The PAW Patrol Super PAWs Mighty Jet Command Center is a versatile 2-in-1 deluxe vehicle designed for imaginative play. It transforms from a jet into a mobile command center, offering multiple play configurations. This set includes an exclusive Mighty Ryder figure and features lights, sounds, and disc-launching capabilities for engaging rescue missions.
2. Lieferumfang
- 1 x Mighty Jet/Playset
- 1 x Mini Jet
- 1 x Mighty Ryder Figure
- 5 x Launcher Discs
- 1 x Aufkleberbogen
- 1 x Instruction Sheet (this document)
3. Einrichtung
3.1 Einlegen der Batterie
The Mighty Jet Command Center requires 3 AAA batteries for its lights and sounds features. These batteries are included with the product. To install or replace batteries:
- Locate the battery compartment on the underside of the jet.
- Mit einem Kreuzschlitzschraubendreher (nicht im Lieferumfang enthalten) die Abdeckung des Batteriefachs abschrauben.
- Legen Sie 3 neue AAA-Batterien ein und achten Sie dabei auf die richtige Polarität (+/-).
- Bringen Sie die Abdeckung wieder an und befestigen Sie sie mit der Schraube.
3.2 Applying Stickers
Refer to the included sticker sheet and the product packaging for guidance on applying decorative stickers to the Mighty Jet and Command Center. Ensure surfaces are clean and dry before application for best adhesion.
4. Bedienungsanleitung
4.1 Transforming from Jet to Command Center
To transform the Mighty Jet into the mobile command headquarters:
- Ensure the mini jet is detached from the front.
- Lift the handle located on the top-rear section of the jet. This action will cause the jet to open up, revealing the command center interior.
- The command center provides space for Mighty Pups figures (sold separately) and one Deluxe Mighty Vehicle (sold separately).
To revert to jet mode, simply fold the command center back into its original jet configuration.
4.2 Mini Jet and Ryder Figure
The exclusive Mighty Ryder figure can be placed into the cockpit of the mini jet. The mini jet detaches from the main command center for separate play. To launch Ryder and his mini jet from the command center, press the designated button.
4.3 Disc Launcher and Lights & Sounds
Load the 5 included discs into the disc launcher. Press the button on the front of the jet (or Ryder’s mini jet) to launch the discs. To activate the real lights and sounds, press the button located on the Mighty Jet’s engine.
4.4 Cargo Pit for Land Rescues
For land-based rescue missions, a cargo pit is located at the back of the jet. Load a pup into a vehicle (sold separately) and release it from this cargo pit.
5. Produktbilder


6. Offizielle Produktvideos
7. Spezifikationen
- Produktabmessungen: 22 x 8 x 16 Zoll
- Artikelgewicht: 6.6 Pfund
- Artikelmodellnummer: 6053097
- Vom Hersteller empfohlenes Alter: 36 Monate – 9 Jahre
- Batterien: 3 AAA-Batterien erforderlich (im Lieferumfang enthalten)
- Hersteller: Spin-Meister
8. Wartung
8.1 Reinigung
To clean the Mighty Jet Command Center, wipe surfaces with a damp cloth. Do not immerse the toy in water. Avoid using harsh chemicals or abrasive cleaners, as these may damage the product's finish or electronic components.
8.2 Speicherung
Bewahren Sie das Spielzeug bei Nichtgebrauch an einem kühlen, trockenen Ort ohne direkte Sonneneinstrahlung auf. Bei längerer Lagerung empfiehlt es sich, die Batterien zu entfernen, um ein Auslaufen zu verhindern.
9. Fehlerbehebung
9.1 Licht und Ton funktionieren nicht
- Prüfen Sie, ob die Batterien korrekt und mit der richtigen Polarität eingelegt sind.
- Ersetzen Sie die Batterien durch neue AAA-Batterien.
- Stellen Sie sicher, dass sich der Netzschalter (falls vorhanden) in der Position „EIN“ befindet.
9.2 Transformation Mechanism Sticking
- Ensure no small objects are obstructing the moving parts of the jet.
- Apply gentle, even pressure when transforming the toy. Avoid forcing the mechanism.
10. Garantie und Support
Informationen zur Garantie oder zum Produktsupport finden Sie auf der offiziellen Website des Herstellers. webBesuchen Sie die Website oder kontaktieren Sie den Kundendienst. Bewahren Sie Ihren Kaufbeleg für eventuelle Garantieansprüche auf.