
1. Introduction
This manual provides essential instructions for the proper installation, operation, and maintenance of your SellEton Non-NTEP 48" x 48" Floor Scale with Pit-Frame and SL-7515-C Indicator. Please read this manual thoroughly before using the product to ensure safe and efficient operation. Retain this manual for future reference.
2. Product Overview
The SellEton floor scale system is designed for industrial and warehouse environments, offering accurate weighing capabilities for various applications. It includes a robust floor scale, a pit-frame for flush or in-ground installation, and a versatile SL-7515-C digital indicator.
2.1 Floor Scale and Pit-Frame
The floor scale features welded steel construction with a tread plate surface for durability. The accompanying pit-frame allows for the scale to be installed flush with the floor surface or in-ground, providing protection and a level structure. The scale's feet are swivel and adjustable for precise leveling.

Image: SellEton 48x48 inch floor scale with pit-frame, showing the black tread plate surface and yellow frame.
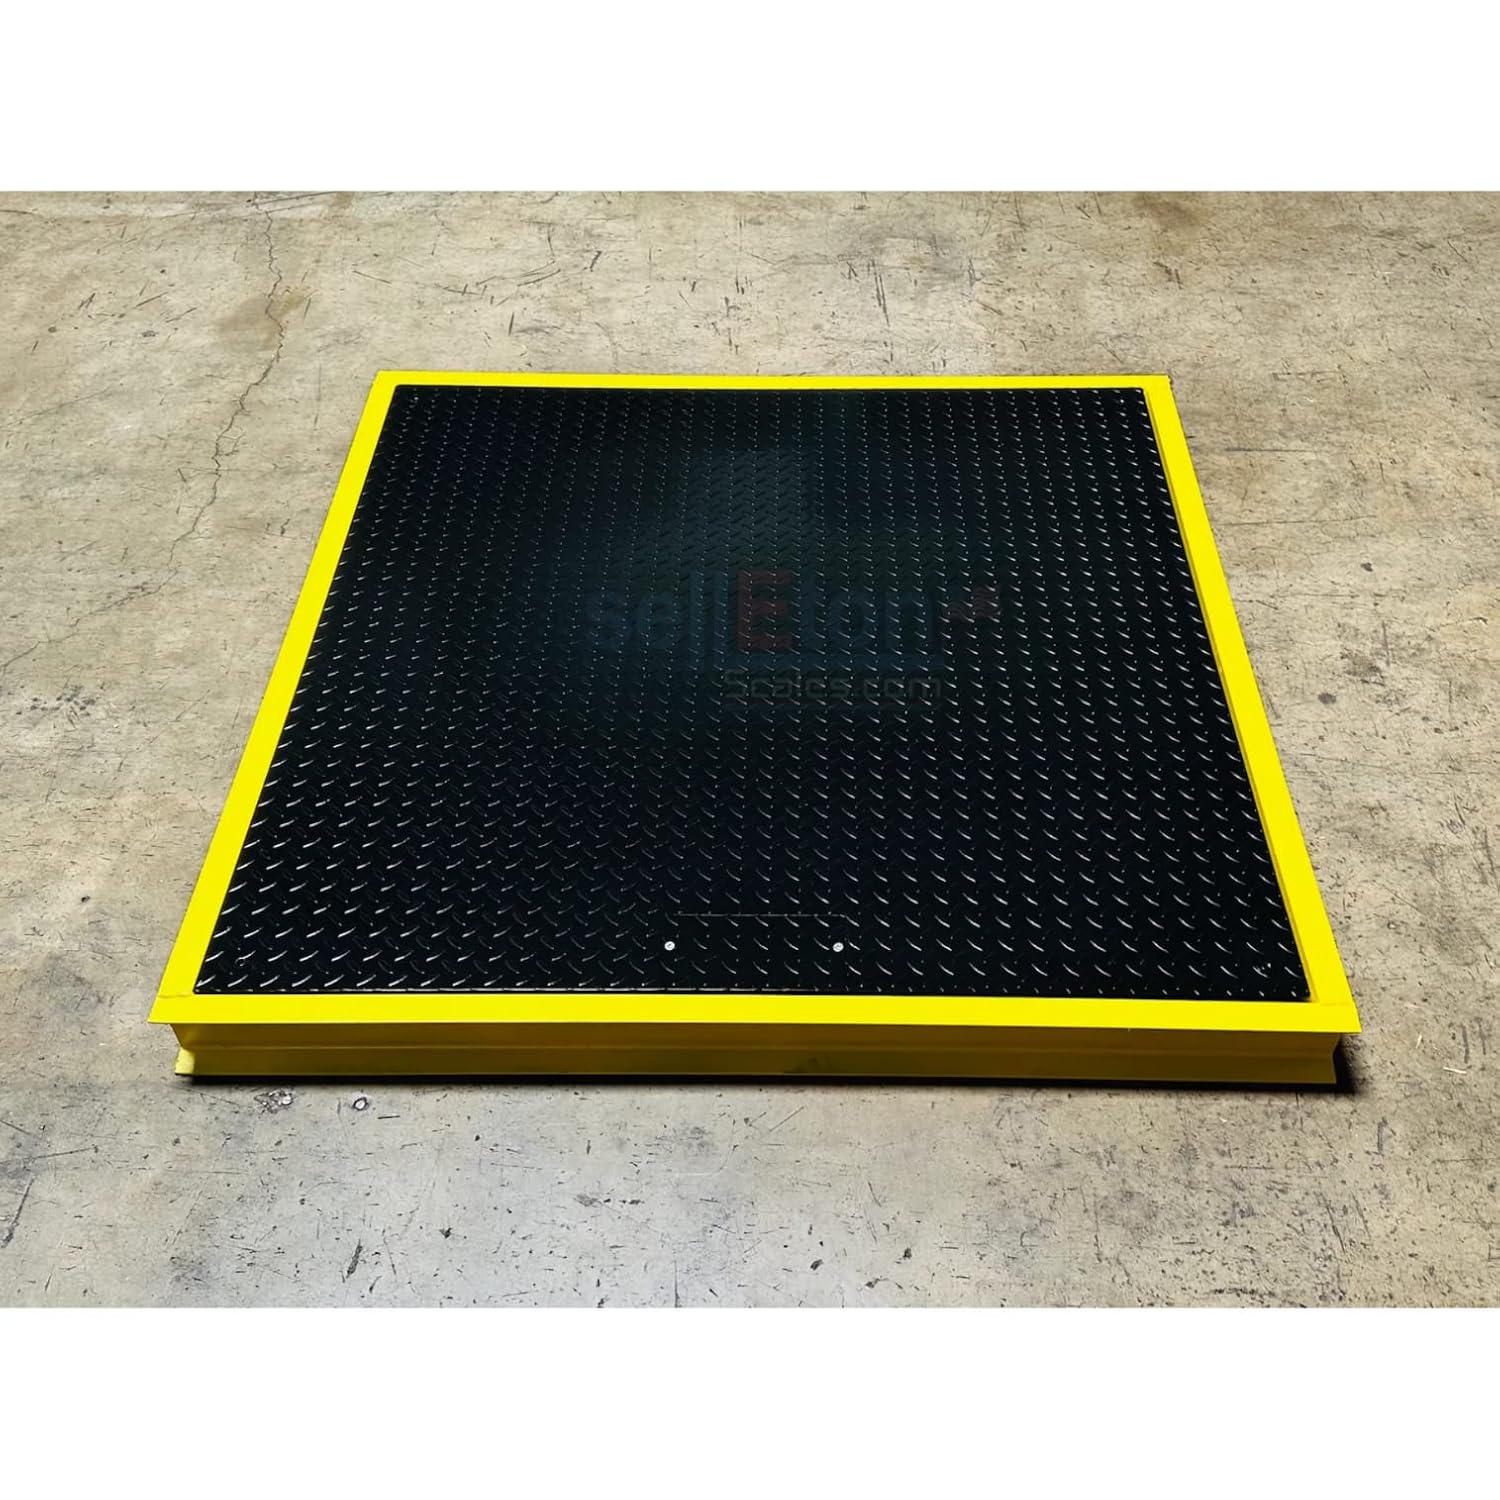
Image: Angled view of the SellEton 48x48 inch floor scale, highlighting the robust construction and yellow pit-frame.
2.2 SL-7515-C Indicator
The SL-7515-C indicator is equipped with a 6-digit, 0.7-inch tall LCD display with a backlight for clear visibility. It offers essential weighing functions and unit conversions, housed in a splash-proof design suitable for industrial use. A stainless steel wall mount bracket is included.

Image: Front view of the SL-7515-C indicator, displaying the LCD screen and control buttons (ON/OFF, HOLD, ZERO, UNIT/PRINT).

Image: Rear view of the SL-7515-C indicator, showing the DC Power input, RS232 port, and Load Cell connection.

Image: The load cell cable, used to connect the floor scale to the SL-7515-C indicator.
3. Setup Instructions
Follow these steps to properly set up your SellEton floor scale system.
- Unpacking: Carefully unpack all components and verify that all parts are present: floor scale, pit-frame, SL-7515-C indicator, load cell cable, and wall mount bracket.
- Pit-Frame Installation:
- For flush-mount installation, ensure the chosen location is level and can support the scale's weight and maximum load. Position the pit-frame in the desired location.
- For in-ground installation, prepare a pit of appropriate dimensions to accommodate the pit-frame and scale, ensuring proper drainage if necessary. Install the pit-frame securely.
- Floor Scale Placement: Carefully place the floor scale into the pit-frame. Ensure it sits evenly within the frame.
- Leveling: Adjust the swivel feet on the floor scale to ensure it is perfectly level. Use a spirit level for accuracy. Proper leveling is crucial for accurate measurements.
- Indicator Mounting: Mount the SL-7515-C indicator using the provided stainless steel wall mount bracket in a convenient and protected location.
- Connecting the Indicator: Connect the load cell cable from the floor scale to the "Load Cell" port on the back of the SL-7515-C indicator. Ensure the connection is secure.
- Power Connection: Connect the power adapter to the "DC Power" input on the indicator and then to a suitable power outlet.
4. Operating Instructions
Familiarize yourself with the basic functions of the SL-7515-C indicator for accurate weighing.
4.1 Basic Weighing
- Power On: Press the ON/OFF button to turn on the indicator. The display will show a self-test sequence and then settle at zero.
- Placing Items: Carefully place the item to be weighed onto the center of the floor scale. The weight will be displayed on the LCD screen.
- Power Off: Press the ON/OFF button again to turn off the indicator.
4.2 Tare Function
The Tare function allows you to subtract the weight of a container or packaging, displaying only the net weight of the contents.
- Place the empty container on the scale.
- Press the ZERO button. The display will return to zero, and the tare weight will be stored.
- Place the items to be weighed into the container. The display will show the net weight of the items.
- To clear the tare, remove the container from the scale and press the ZERO button again.
4.3 Unit Conversion
The indicator supports weighing in pounds (lb), ounces (oz), and kilograms (kg).
- Press the UNIT/PRINT button to cycle through the available weight units (lb, oz, kg). The selected unit will be displayed on the screen.
4.4 Hold Function
The Hold function allows you to freeze the displayed weight, even if the load on the scale changes.
- With a stable weight on the scale, press the HOLD button. The displayed weight will be held.
- Press the HOLD button again to release the held weight and return to live weighing.
4.5 Factory Reset Demonstration
This video demonstrates the factory reset procedure for the SL-7515-C indicator. A factory reset can be useful for resolving certain operational issues or returning the indicator to its default settings.
Video: Demonstration of the factory reset process for the SellEton SL-7515-C indicator.
5. Maintenance
Regular maintenance ensures the longevity and accuracy of your floor scale system.
- Cleaning: Clean the scale platform and indicator regularly with a damp cloth and mild detergent. Avoid abrasive cleaners or solvents. Ensure no liquids enter the indicator.
- Inspection: Periodically inspect the load cell cable for any signs of damage or wear. Check the scale feet for stability and ensure they are properly adjusted.
- Environment: While the indicator is splash-proof, avoid exposing the entire system to excessive moisture or extreme temperatures.
- Calibration: For optimal accuracy, periodic calibration by a qualified technician is recommended, especially after relocation or significant environmental changes.
6. Troubleshooting
Refer to the following table for common issues and their solutions.
| Problem | Possible Cause | Solution |
|---|---|---|
| No display on indicator | No power, faulty power adapter, loose connection | Check power cable, ensure outlet is functional, verify power adapter is working, check DC power connection on indicator. |
| Inaccurate readings | Scale not level, damaged load cell cable, foreign object under scale, need for calibration | Ensure scale is level, inspect load cell cable, clear any obstructions, consider professional calibration. |
| Display shows "OVERLOAD" | Weight exceeds maximum capacity | Remove excess weight immediately. Do not exceed the scale's maximum capacity of 1000 lbs. |
| Indicator not responding to buttons | Software glitch, button malfunction | Try turning the indicator off and on. If the issue persists, a factory reset (refer to Section 4.5) might be necessary. If still unresponsive, contact support. |
7. Specifications
- Model: SL-700 Series Floor Scale, SL-7515-C Indicator
- Capacity: 1,000 lbs (453.6 kg)
- Accuracy: 0.2 lb (0.1 kg)
- Platform Dimensions: 48 inches x 48 inches (4' x 4')
- Material: Carbon Steel (Floor Scale and Pit-Frame)
- Indicator Display: 6-digit, 0.7" tall LCD with backlight
- Indicator Functions: Gross/Tare/Zero, Unit (lb/oz/kg), Hold
- Connectivity: RS232 port (on indicator)
- Power: AC adapter (included)
8. Warranty and Support
Your SellEton floor scale comes with a 5-year warranty covering manufacturing defects. The SL-7515-C indicator is covered by its standard manufacturer's warranty.
For technical support, warranty claims, or service inquiries, please contact SellEton customer service. Refer to your purchase documentation or the SellEton website for current contact information.
Customer satisfaction is a priority for SellEton. Do not hesitate to reach out with any questions or concerns regarding your product.