1. Produktüberschreitungview
The Dynasty Hardware 4000 Series Commercial Hydraulic Door Closer is designed for reliable self-closing operation on interior and lightweight exterior doors. It features adjustable closing and latching speeds, making it suitable for various applications including offices, schools, and light commercial settings. This closer is built to handle doors weighing between 120 and 187 lbs.
Merkmale:
- Heavy-duty commercial performance for doors weighing 120 to 187 lbs.
- Dual independent valves for precise control over closing and latching speeds.
- Non-handed design supports regular arm, top-jamb, or parallel arm mounting.
- Compact dimensions (9.75" L × 1.75" W × 2.875" D) for a low-profile Aussehen.
- Includes all necessary fasteners for wood, metal, or fiberglass doors.
- UL and ADA compliant.
Im Lieferumfang enthalten:
- Door Closer Body
- Closer Main Arm & Forearm Assembly
- Closer Arm Nut
- 1" Machine Screws (x4)
- 5/8" Machine Screws (x4)
- 1 3/8" Self-Tapping Sheet Metal Screws (x8)
- Plastic Pinion Cap
- Allen Wrench (for adjustment)
- Installationshandbuch
- Montagevorlage
- Parallel Arm Bracket with Screw & Washer (not required for Regular Arm Install)
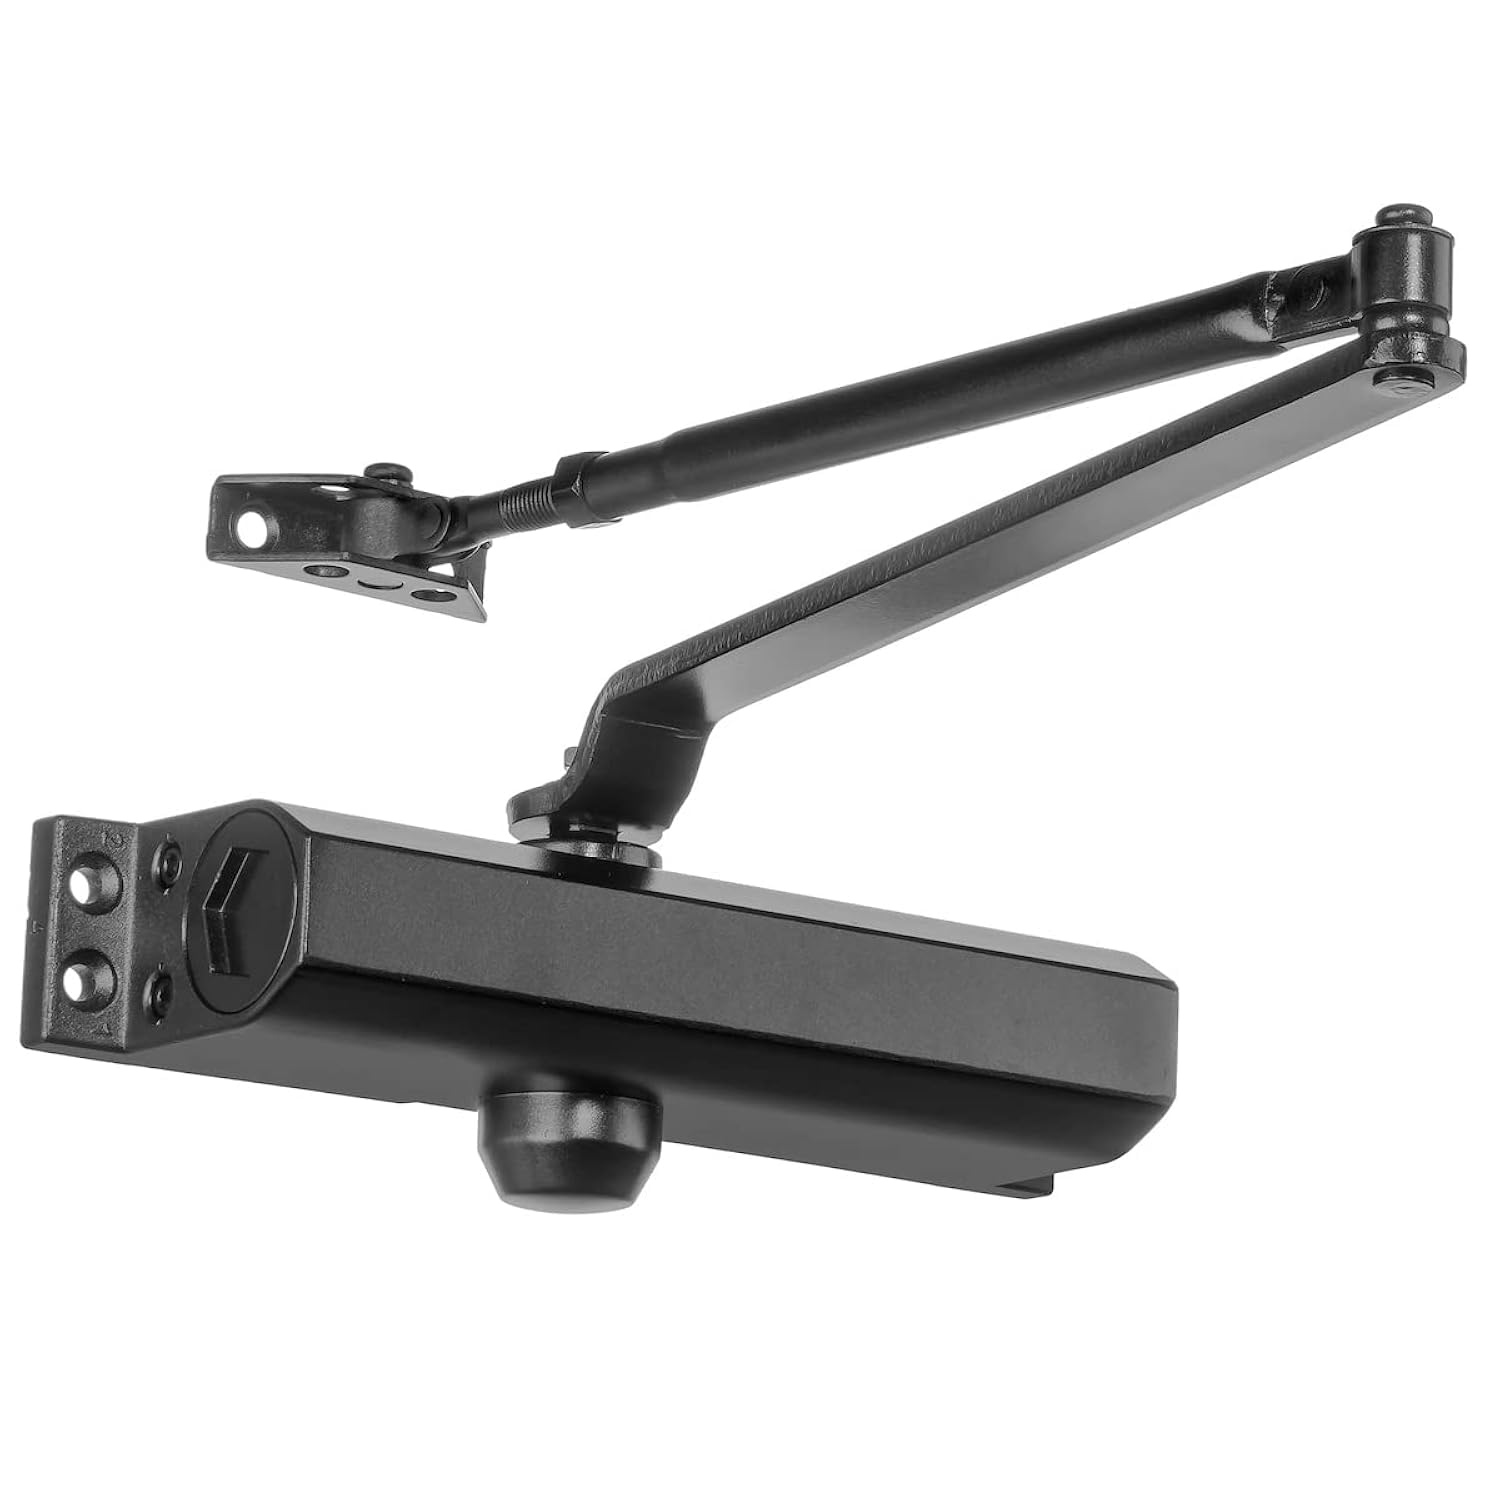
Image: All components included with the Dynasty Hardware 4000 Series Door Closer.
Video: Heavy-Duty Door Closer You Can Trust. This short video demonstrates the smooth closing action of the door closer.
2. Sicherheitshinweise
- Tragen Sie während der Installation stets geeignete persönliche Schutzausrüstung, einschließlich einer Schutzbrille.
- Ensure the door is properly supported and secured before beginning installation to prevent accidental movement.
- Do not over-tighten screws, as this can damage the door or closer components.
- Never completely close or remove the adjusting valves, or turn them more than one-quarter turn at a time, as this can cause hydraulic fluid leakage or damage.
- Keep hands and fingers clear of moving parts during operation and adjustment.
- Consult local building and fire codes to ensure compliance with all applicable regulations.
3. Benötigtes Werkzeug (nicht im Lieferumfang enthalten)
- Bandmaß
- Bleistift
- Schutzbrillen
- Phillips Schraubendreher
- Crescent Wrench (or Adjustable Wrench)
- Drill with a 3/16" Drill Bit (for self-tapping screws)
- Number 7 Drill Bit and a 1/4-20 Tap (for machine screws on metal doors)
4. Installation
4.1 Determine Door Handing
To determine if your door is right-handed or left-handed, stand on the "push side" of the door. If the hinges are on your right, it is a right-hand door. If the hinges are on your left, it is a left-hand door.
4.2 Montagemöglichkeiten
The Dynasty Hardware 4000 Series Door Closer supports three mounting types:
- Normaler Arm: Closer installs on the pull/hinge side of the door.
- Top Jamb: Closer installs on the top frame of the door.
- Parallel Arm: Closer installs on the push/stop side of the door.

Image: Diagram illustrating Regular Arm, Top Jamb, and Parallel Arm mounting options.
4.3 Parallel Arm Installation
This section details the installation process for the parallel arm configuration, where the closer is mounted on the push/stop side of the door.
- Determine Opening Degree: Select the desired degree of door opening (0-120° or 120-180°). Refer to the mounting template for specific dimensions (A and B) based on your chosen opening degree and door handing.
- Prepare Mounting Template: Fold the provided mounting template according to your desired opening degree and door handing. Attach the template to the door, ensuring the frame line aligns with the bottom surface of the door frame stop.
- Löcher markieren und bohren: Using a pencil, mark the locations for the four closer mounting screws on the door and the four parallel arm screws on the door frame header. Carefully drill all eight holes. Ensure not to drill too deep; check your door thickness as required.
- Mount Door Closer Body: Mount the door closer body to the door using the provided screws. Ensure the speed adjusting valves are positioned away from the hinge side of the door. Do not over-tighten.
- Install Parallel Arm Bracket: Install the parallel arm bracket to the door frame header using the provided screws. Do not over-tighten.
- Assemble Main Arm and Forearm: Remove the arm shoe from the forearm and discard it. Separate the main arm from the forearm assembly.
- Attach Main Arm: Using a crescent wrench on the square shaft at the bottom of the closer, rotate the shaft approximately 45° toward the hinge edge of the door. Place the main arm on the top shaft of the closer at the proper index mark. If done properly, the main arm will be pressing against the face of the door. Install and tighten the main arm screw with the lock washer securely to the top shaft.
- Connect Forearm: Install the rod end of the forearm to the parallel arm bracket using the provided screw and washer assembly.
- Adjust Forearm Length: Fully close the door and adjust the length of the adjustable forearm so that when you reattach the forearm to the main arm, the main arm is parallel to the face of the door.
- Install Pinion End Cap: Snap the round plastic cap onto the bottom pinion shaft of the door closer.
Video: Dynasty 4000 Series Door Closer Parallel Arm Installation Guide. This video provides a visual walkthrough of the parallel arm installation process.
4.4 Regular Arm Installation
This section details the installation process for the regular arm configuration, where the closer is mounted on the pull/hinge side of the door.
- Determine Opening Degree: Select the desired degree of door opening (0-120° or 120-180°). Refer to the mounting template for specific dimensions (A) based on your chosen opening degree and door handing.
- Prepare Mounting Template: Fold the provided mounting template according to your desired opening degree and door handing. Attach the template to the door, ensuring the frame line aligns with the bottom edge of the door frame face.
- Löcher markieren und bohren: Using a pencil, mark the locations for the four closer mounting screws on the door and the two arm screws on the door frame. Carefully drill all six holes. Ensure not to drill too deep; check your door thickness as required.
- Remove Main Arm from Forearm: Remove the main arm from the forearm assembly by removing the screw using a Phillips screwdriver.
- Install Forearm Shoe Assembly: Install the forearm shoe assembly to the door frame using the provided screws. Do not over-tighten.
- Mount Door Closer Body: Mount the door closer body to the door using the provided screws. Ensure the speed adjusting valve is positioned towards the hinge side of the door. Do not over-tighten.
- Attach Main Arm: Install the main arm to the top pinion shaft perpendicular to the door and secure tightly with the provided closer arm screw washer assembly.
- Adjust Forearm Length: Adjust the length of the forearm so that it is perpendicular to the door frame when assembled to pre-load the main arm. The door closer will not operate properly if you do not pre-load the closer arm.
- Install Pinion End Cap: Snap the round plastic cap onto the bottom pinion shaft of the door closer.
Video: Dynasty 4000 Series Door Closer Regular Arm Installation Guide. This video provides a visual walkthrough of the regular arm installation process.
5. Adjustment (Operating)
Once the door closer is installed, carefully open and close the door to ensure it operates properly. You can adjust the closing and latching speeds using the valves located on the end of the door closer.
- Closing Speed Adjustment Valve (marked '1'): Adjusts the closing speed from 180° to 10°.
- Latching Speed Adjustment Valve (marked '2'): Adjusts the closing speed for the last 10° of travel.
Use the provided Allen wrench to make adjustments:
- Turning the valves im Uhrzeigersinn Wille langsam the closing speed.
- Turning the valves gegen den uhrzeigersinn Wille Zunahme the closing speed.
Wichtig: Please take care not to completely close the valves or turn the adjusting screw more than one-quarter turn at a time. Never remove the adjusting valves.
It is recommended that the closer be adjusted so that the door will close from a 90° position to fully closed in 4 to 6 seconds.

Image: Diagram showing the location of the Latch Valve and Sweep Valve for speed adjustment.
6. Wartung
The Dynasty Hardware 4000 Series Door Closer is designed for durability and minimal maintenance. However, regular checks can ensure optimal performance and longevity:
- Regelmäßige Inspektion: Periodically inspect the door closer and its mounting screws for any signs of loosening, wear, or damage. Tighten any loose screws immediately.
- Reinigung: Clean the exterior of the door closer with a soft, damp Mit einem Tuch abwischen. Vermeiden Sie die Verwendung von scheuernden Reinigern oder Lösungsmitteln, die die Oberfläche beschädigen könnten.
- Schmierung: The internal hydraulic mechanism is factory-sealed and does not require lubrication. Do not attempt to open the closer body.
- Flüssigkeitsverluste: If you notice any hydraulic fluid leaks, contact customer support immediately. Do not attempt to repair the unit yourself.
7. Fehlerbehebung
If you encounter issues with your door closer, refer to the following common troubleshooting tips:
- Door Closes Too Fast/Slow: Adjust the closing and latching speed valves as described in the "Adjustment" section. Make small, incremental turns (no more than 1/4 turn at a time).
- Door Does Not Latch: Increase the latching speed by turning the latching valve (marked '2') counter-clockwise in small increments. Ensure the door and frame are free of obstructions.
- Door Does Not Close Fully: Ensure the forearm is properly pre-loaded and perpendicular to the door frame when the door is closed. Check for any obstructions or binding in the door hinges or frame.
- Geräusche während des Betriebs: Check all mounting screws for tightness. Ensure the arms are properly aligned and secured. If noise persists, inspect for any signs of wear or damage.
- Hydraulikflüssigkeitsverlust: If hydraulic fluid is leaking from the closer body, the unit is damaged and requires replacement. Contact customer support.
If these steps do not resolve the issue, please contact Dynasty Hardware customer support for further assistance.
8. Spezifikationen
| Besonderheit | Detail |
|---|---|
| Empfohlene Verwendung | Residential and light commercial door closing |
| Spezifikation erfüllt | ADA, ANSI, UL |
| Hersteller | DYNASTY HARDWARE |
| Teilenummer | DYN-4000-DURO |
| Artikelgewicht | 5.81 Pfund |
| Technische Daten | 9.8 x 3 x 2.8 Zoll |
| Artikelmodellnummer | DYN-4000-DURO |
| Beenden | Duronotic / Bronze |
| Artikelpaket Menge | 1 |
| Montagetyp | Non-Handed for Regular Arm, Top-Jamb or Parallel Arm Installation |
| Material | Aluminum, Metal, Wood |
| Marke | Dynasty Hardware |
| Farbe | Duronotic/Brown |
| Außenverkleidung | Bronze |
| Installationstyp | Einschraubbar |

Image: Diagram showing screw hole locations for the Dynasty Hardware 4000 Series Door Closer.

Image: Illustration of the Dynasty Hardware 4000 Series Door Closer, highlighting its size and suitability for doors between 143-187 lbs.
9. Garantie und Support
For warranty information and customer support, please refer to the official Dynasty Hardware webBesuchen Sie die Website oder kontaktieren Sie direkt den Kundenservice. Bewahren Sie Ihren Kaufbeleg für Garantieansprüche auf.
Rückgaberecht: 30-day refund/replacement policy (as per Amazon listing).
Hersteller: DYNASTY HARDWARE
Verkäufer: Home Hardware Central
Für weitere Produktinformationen oder Unterstützung besuchen Sie bitte die Dynasty Hardware Store on Amazon.