1. Einführung und Endeview
The Micro Kickboard Mini 3in1 Deluxe is a versatile 3-stage ride-on scooter designed to adapt to a child's developmental stages from 12 months to 5 years. It transitions from a ride-on with a seat to a stand-on scooter with an O-bar, and finally to a traditional T-bar scooter, supporting balance and coordination development.
This manual provides essential information for the safe assembly, operation, and maintenance of your Micro Kickboard Mini 3in1 Deluxe scooter.
2. Sicherheitshinweise
WARNUNG:
- Nicht für Kinder unter 12 Monaten geeignet.
- For use under adult supervision only.
- Tragen Sie immer geeignete Sicherheitsausrüstung, einschließlich Helm, Knieschützer und Ellbogenschützer.
- Vor jedem Gebrauch sicherstellen, dass alle Komponenten fest befestigt sind.
- Nicht auf öffentlichen Straßen, in der Nähe von Kraftfahrzeugen oder an steilen Hängen verwenden.
- Maximum weight limit: 110 lbs (without seat), 44 lbs (with seat).
3. Product Configurations and Stages
The Mini 3in1 Deluxe offers three distinct configurations to grow with your child:

Image: Micro Kickboard Mini 3in1 Deluxe in its initial ride-on configuration, featuring a seat and an O-bar handle, suitable for young toddlers.
Stage 1: Ride-on with Seat (Approx. 12 months - 2 years)
Dies isttage is ideal for the youngest riders, allowing them to sit and push with their feet. The O-bar provides a secure grip and helps with early balance development. The seat height is adjustable to accommodate growing children.

Image: Micro Kickboard Mini 3in1 Deluxe in stand-on mode, with the seat removed and the O-bar handle in place, for children learning to stand and scoot.
Stage 2: Stand-on Scooter with O-bar (Approx. 2 - 3 years)
Once your child is comfortable pushing off and balancing, the seat can be removed. The O-bar remains, offering a lower, more stable handlebar for children transitioning to standing and scooting.
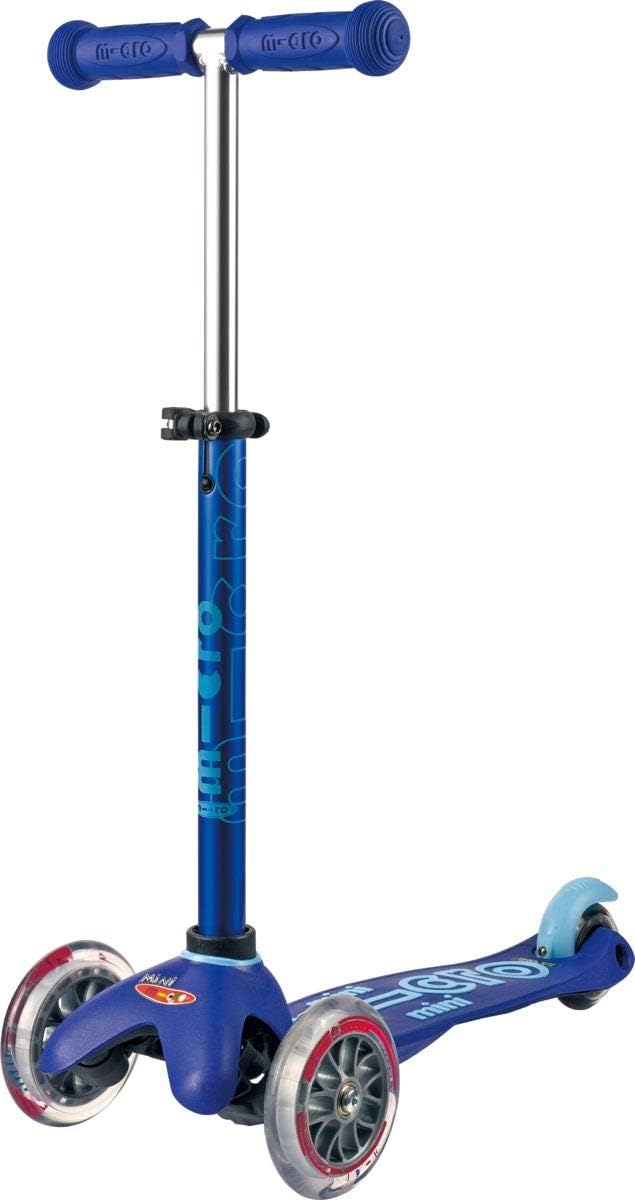
Image: Micro Kickboard Mini 3in1 Deluxe in its final scooter configuration, featuring a T-bar handle for older children.
Stage 3: Scooter with T-bar (Approx. 3 - 5 years)
For more confident riders, the O-bar can be replaced with the T-bar, converting it into a classic Micro Mini Original scooter. The T-bar is adjustable in height to suit your child's growth.

Image: A visual representation of the three stages of the Mini 3in1 Deluxe, detailing age suitability, scooter weight, maximum weight capacity, and handlebar height ranges.
4. Aufbau und Montage
The Micro Kickboard Mini 3in1 Deluxe requires minimal assembly. An Allen key is supplied for attaching the seat and making adjustments.
Montageschritte:
- Komponenten auspacken: Carefully remove all parts from the packaging. Verify that all components are present: scooter base, O-bar, T-bar, seat, and Allen key.
- Attach O-bar/T-bar: Insert the desired handlebar (O-bar for Stages 1 & 2, T-bar for Stage 3) into the steering column until it clicks securely into place. Ensure it is fully engaged.
- Attach Seat (Stage 1 only): For ride-on mode, slide the seat onto the O-bar stem. Use the supplied Allen key to tighten the screw and secure the seat at the desired height. There are two seat height options.
- Adjust Handlebar Height (Stage 3 only): For the T-bar scooter, adjust the handlebar to an appropriate height for the rider. Ensure the quick-release clamp wird nach der Justierung sicher festgezogen.
IMPORTANT: Always ensure all connections are secure before allowing a child to use the scooter.
5. Bedienungsanleitung
Allgemeine Bedienung:
- Lenkung: The Micro Kickboard Mini 3in1 Deluxe uses a lean-to-steer mechanism. To turn, the rider leans their body in the desired direction, which causes the wheels to turn. This intuitive steering helps develop balance and coordination.
- Bremsen: The scooter is equipped with a rear brake. To slow down or stop, the rider should press down on the rear fender with their foot.
Stage-Specific Operation:
- Stage 1 (Ride-on): The child sits on the seat and propels themselves forward by pushing off the ground with their feet. Adult supervision is crucial to guide and ensure safety.
- Stage 2 (Stand-on with O-bar): The child stands on the deck, holding the O-bar. They push off with one foot and use the lean-to-steer mechanism to guide the scooter.
- Stage 3 (Scooter with T-bar): Ähnlich wie Stage 2, the child stands and pushes off. The T-bar provides a more traditional scooter feel, with the lean-to-steer still active for turning.
6. Wartung
Regelmäßige Wartung gewährleistet die Langlebigkeit und den sicheren Betrieb Ihres Scooters.
- Reinigung: Wischen Sie den Roller mit einem Desinfektionsmittel ab.amp Nach Gebrauch abwischen. Scharfe Chemikalien vermeiden.
- Radinspektion: Periodically check the wheels for wear and tear. Ensure they spin freely and are free of debris.
- Überprüfung der Befestigungselemente: Überprüfen Sie regelmäßig alle Schrauben, Bolzen und Klemmen.amps to ensure they are tight and secure. Tighten with the supplied Allen key if necessary.
- Lagerung: Um Materialbeschädigungen vorzubeugen, lagern Sie den Roller an einem trockenen Ort, fern von direkter Sonneneinstrahlung und extremen Temperaturen.
7. Fehlerbehebung
- Scooter not steering smoothly: Check for debris in the steering mechanism or wheels. Ensure the handlebar is correctly inserted and secured.
- Räder drehen sich nicht frei: Inspect wheels for dirt, hair, or other obstructions. Clean as necessary. If wheels are damaged, contact customer support for replacement parts.
- Lose Teile: Regularly check and tighten all screws and fasteners using the provided Allen key.
If you encounter issues not covered here, please contact Micro Kickboard customer support.
8. Spezifikationen
| Besonderheit | Spezifikation |
|---|---|
| Marke | Mikro |
| Modellname | Mini 3in1 Deluxe (MMD014) |
| Altersspanne (Beschreibung) | 12 Monate bis 5 Jahre |
| Gewichtsbeschränkung | 110 Pounds (without seat), 44 Pounds (with seat) |
| Artikelgewicht | 4.2 Pfund |
| Anzahl der Räder | 3 |
| Radmaterial | Polyurethan |
| Rahmenmaterial | Legierter Stahl, Aluminium |
| Lenkertyp | Adjustable (O-bar, T-bar) |
| Bremsenausführung | Rear brake, Tilt |
| Besonderheit | Faltbar, leicht |
9. Garantie und Support
The Micro Kickboard Mini 3in1 Deluxe comes with a 2 Jahr Herstellergarantie. Diese Garantie deckt Material- und Verarbeitungsfehler bei normalem Gebrauch ab.
For warranty claims, replacement parts, or further assistance, please contact Micro Kickboard customer support. Our US-based team of Micro scooter experts is available to assist you.
You can find more information and contact details on the official Micro Kickboard webWebsite.


