1. Einleitung
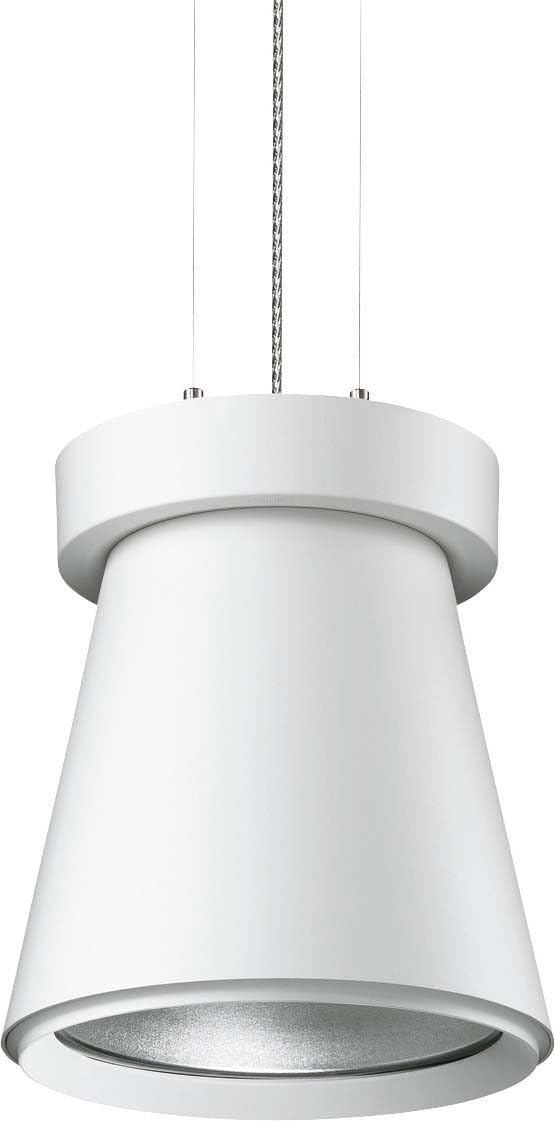
This manual provides essential instructions for the safe installation, operation, and maintenance of your Philips Uni Cone Compact Pendant Lamp, model MPK561 #68009600. Please read this manual thoroughly before installation and keep it for future reference.
2. Sicherheitshinweise
WARNUNG: Electrical installation should only be performed by a qualified electrician. Disconnect power before installation or servicing.
- Vor Beginn jeglicher Arbeiten muss sichergestellt werden, dass die Hauptstromversorgung ausgeschaltet ist.
- Überprüfen Sie, ob die Versorgungsspannungtage entspricht dem Volumentage specified on the luminaire label.
- Do not install the luminaire on a damp oder leitfähige Oberfläche.
- Verwenden Sie nur angegebene lamp Arten und Wassertages. This luminaire uses a G12 base metal halide lamp (70 W).
- Halten Sie brennbare Materialien von der Leuchte fern.
- Berühren Sie nicht das lamp or luminaire housing immediately after use, as they may be hot.
3. Packungsinhalt
Vor der Installation prüfen Sie bitte, ob alle Komponenten vorhanden und unbeschädigt sind.
- Philips Uni Cone Compact Pendant Lamp Leuchte (1 Einheit)
- Befestigungsmaterial (Schrauben, Dübel)
- Installationsanleitung (dieses Handbuch)
- Anmerkung: Lamp bulb (G12, 70W metal halide) may be included or sold separately depending on the specific product package. Refer to your purchase details.
4. Installationsanweisungen
Befolgen Sie diese Schritte für eine ordnungsgemäße Installation. Eine Installation durch einen Fachmann wird empfohlen.
- Bereiten Sie den Installationsbereich vor: Ensure the power supply to the installation area is switched off at the circuit breaker. Mark the desired mounting location on the ceiling.
- Montieren Sie die Deckenplatte: Secure the provided ceiling plate to the ceiling using appropriate screws and anchors. Ensure it is firmly attached to a structural element.
- Verkabelung anschließen: Connect the electrical wires from the ceiling to the luminaire's terminal block. Ensure correct polarity (Live, Neutral, Earth). All connections must be secure.
- Bringen Sie die Leuchte an: Carefully attach the pendant lamp fixture to the ceiling plate, ensuring all connections are properly seated and secured. Adjust the suspension cables to the desired height.
- Installieren Sie das Lamp Birne: If not already installed, insert the G12 metal halide lamp in das lamp holder. Ensure it is seated correctly and securely. Do not overtighten.
- Endkontrolle: Double-check all connections and ensure the luminaire is securely mounted. Restore power at the circuit breaker.
5. Bedienungsanleitung
The Philips Uni Cone Compact Pendant Lamp is designed for straightforward operation.
- Ein-/Ausschalten: Nach korrekter Installation und Verkabelung des lamp is operated via a standard wall switch connected to its power supply.
- Aufwärmzeit: Metallhalogenid lamps require a short warm-up period to reach full brightness and color stability. This typically takes a few minutes.
- Nachschlagzeit: Wenn das lamp is switched off, it may require a cool-down period before it can be reignited. Attempting to switch it on immediately after turning it off may result in a delay before it lights up again.
6. Wartung
Regelmäßige Wartung gewährleistet optimale Leistung und Langlebigkeit Ihrer Leuchte.
- Reinigung: Disconnect power before cleaning. Use a soft, dry cloth to wipe the exterior of the luminaire. Do not use abrasive cleaners or solvents.
- Lamp Ersatz: Disconnect power and allow the lamp to cool completely before attempting replacement. Carefully remove the old G12 lamp and insert a new one of the same type and wattage (70W metal halide). Ensure proper seating.
- Inspektion: Periodically inspect the suspension cables and electrical connections for any signs of wear or damage. If any damage is found, consult a qualified electrician.
7. Fehlerbehebung
| Problem | Mögliche Ursache | Lösung |
|---|---|---|
| Lamp leuchtet nicht. | Keine Stromversorgung. Fehlerhafte lamp Birne. Falsche Verkabelung. | Prüfen Sie den Sicherungsautomaten und den Wandschalter. Ersetzen Sie lamp Birne. Überprüfen Sie die Verdrahtungsanschlüsse (ziehen Sie einen Elektriker hinzu). |
| Lamp flackert oder dunkler wird. | Lamp sich dem Lebensende nähernd. Wackelkontakt. Falsch lamp Typ. | Ersetzen Sie lamp Birne. Überprüfen Sie die elektrischen Anschlüsse. Ensure correct G12 70W metal halide lamp verwendet wird. |
| Lamp takes a long time to warm up. | Normal operation for metal halide lamps. Lamp sich dem Lebensende nähernd. | Allow sufficient warm-up time. Ersetzen Sie ggf. das lamp bulb if warm-up time becomes excessively long. |
8. Spezifikationen
- Marke: Philips
- Modellnummer: MPK561 #68009600
- Lamp Typ: Metallhalogenid L.amp
- Lamp Base: G12
- Lamp Wastage: 70 Watt
- Anzahl der Lampen: 1
- Bediengerät: Standard EVG (Electronic Ballast)
- Material: Aluminium
- Energiequelle: Kabelgebundene Elektrik
- Montageart: Monopoint
9. Garantie und Support
Informationen zur Garantie und zum technischen Support finden Sie in der mit Ihrem Kauf gelieferten Dokumentation oder auf der offiziellen Philips-Website. webBewahren Sie Ihren Kaufbeleg für Garantieansprüche auf.
Offizieller Philips-Auftritt WebWebsite: www.philips.com