1. Produktüberschreitungview
The CORNAT YA12 3086 Yago Low Pressure Washbasin Mixer Tap is designed for use with electric low-pressure accumulators. Constructed from high-quality brass, this mixer tap features a durable ceramic sealing disc cartridge and flexible connection hoses for reliable performance. It includes a sieve flow regulator M 24 x 1 and a pop-up waste of 1 ¼ inches.

Bild 1.1: Vorderseite view of the CORNAT YA12 3086 Yago Low Pressure Washbasin Mixer Tap.
2. Sicherheitshinweise
- Wichtig: This mixer tap is designed exclusively for use with electric low-pressure accumulators. Do not connect to high-pressure water systems.
- Vor Beginn der Installation oder Wartungsarbeiten muss sichergestellt werden, dass alle Wasserleitungen abgestellt sind.
- Wenn Sie sich bei einzelnen Installationsschritten unsicher sind, konsultieren Sie einen qualifizierten Installateur.
- Check all connections for leaks after installation and before full operation.
- Avoid using abrasive cleaners or harsh chemicals on the chrome finish, as this can cause damage.
3. Packungsinhalt
Bitte vergewissern Sie sich vor Beginn der Installation, dass alle Komponenten vorhanden sind:
- CORNAT YA12 3086 Washbasin Mischbatterie
- Flexible connection hoses (length 350 mm)
- KTW approved cartridge (pre-installed)
- Sieve flow regulator M 24 x 1
- Pop-up waste 1 ¼ inches (chrome)
- Montagezubehör
4. Spezifikationen
| Besonderheit | Detail |
|---|---|
| Modell | YA12 3086 |
| Marke | Cornat |
| Material | Messing |
| Beenden | Chrom |
| Montagetyp | Deck Mount (for washbasin) |
| Steckertyp | Clamp |
| Schlauchlänge | 350 mm |
| Patrone | KTW approved ceramic disc |
| Durchflussregler | M 24 x 1 |
| Pop-up Waste | 1 ¼ Zoll |
| Kompatibilität | Electric low-pressure accumulators only |
| Maximaltemperatur | 80 Grad Celsius |

Image 4.1: Detailed product dimensions for installation planning.

Image 4.2: Additional dimensional views of the mixer tap.
5. Einrichtung und Installation
Before starting, ensure you have the necessary tools (e.g., adjustable wrench, screwdriver, sealant tape) and that the main water supply is turned off.
5.1. Preparing the Washbasin
- Ensure the mounting hole on your washbasin is clean and free of debris. Refer to the product dimensions for compatibility.
- If replacing an old faucet, remove it and clean the area thoroughly.
5.2. Installing the Mixer Tap
- Insert the flexible connection hoses into the base of the mixer tap and hand-tighten.
- Place the mixer tap onto the washbasin, ensuring the base gasket is correctly positioned to prevent leaks.
- From underneath the washbasin, secure the tap using the provided mounting accessories (washer, nut, and clamp). Tighten firmly but do not overtighten.
- Connect the flexible hoses to your electric low-pressure accumulator's hot and cold water outlets. Ensure correct orientation (typically red for hot, blue for cold). Use sealant tape on threaded connections if necessary.
5.3. Installing the Pop-up Waste
- Montieren Sie den Pop-up-Abfallmechanismus gemäß der beiliegenden Anleitung.
- Insert the drain body into the washbasin drain hole, ensuring gaskets are properly seated.
- Secure the drain body from underneath the basin with the provided nut.
- Connect the pop-up rod from the mixer tap to the waste mechanism.
5.4. Schlusskontrollen
- Drehen Sie langsam die Hauptwasserversorgung auf.
- Check all connections for any signs of leaks. Tighten gently if necessary.
- Operate the mixer tap to ensure proper water flow and temperature control.
6. Bedienungsanleitung
The CORNAT YA12 3086 mixer tap features a single lever for controlling both water flow and temperature.
- Wasserdurchfluss: Lift the lever upwards to increase water flow. Push it downwards to decrease or shut off the flow.
- Temperaturkontrolle: Bewegen Sie den Hebel nach links für heißes Wasser und nach rechts für kaltes Wasser. Die Mittelstellung liefert Mischwasser.
- Pop-up Waste: Use the small rod located at the back of the faucet to open or close the basin Abfluss.
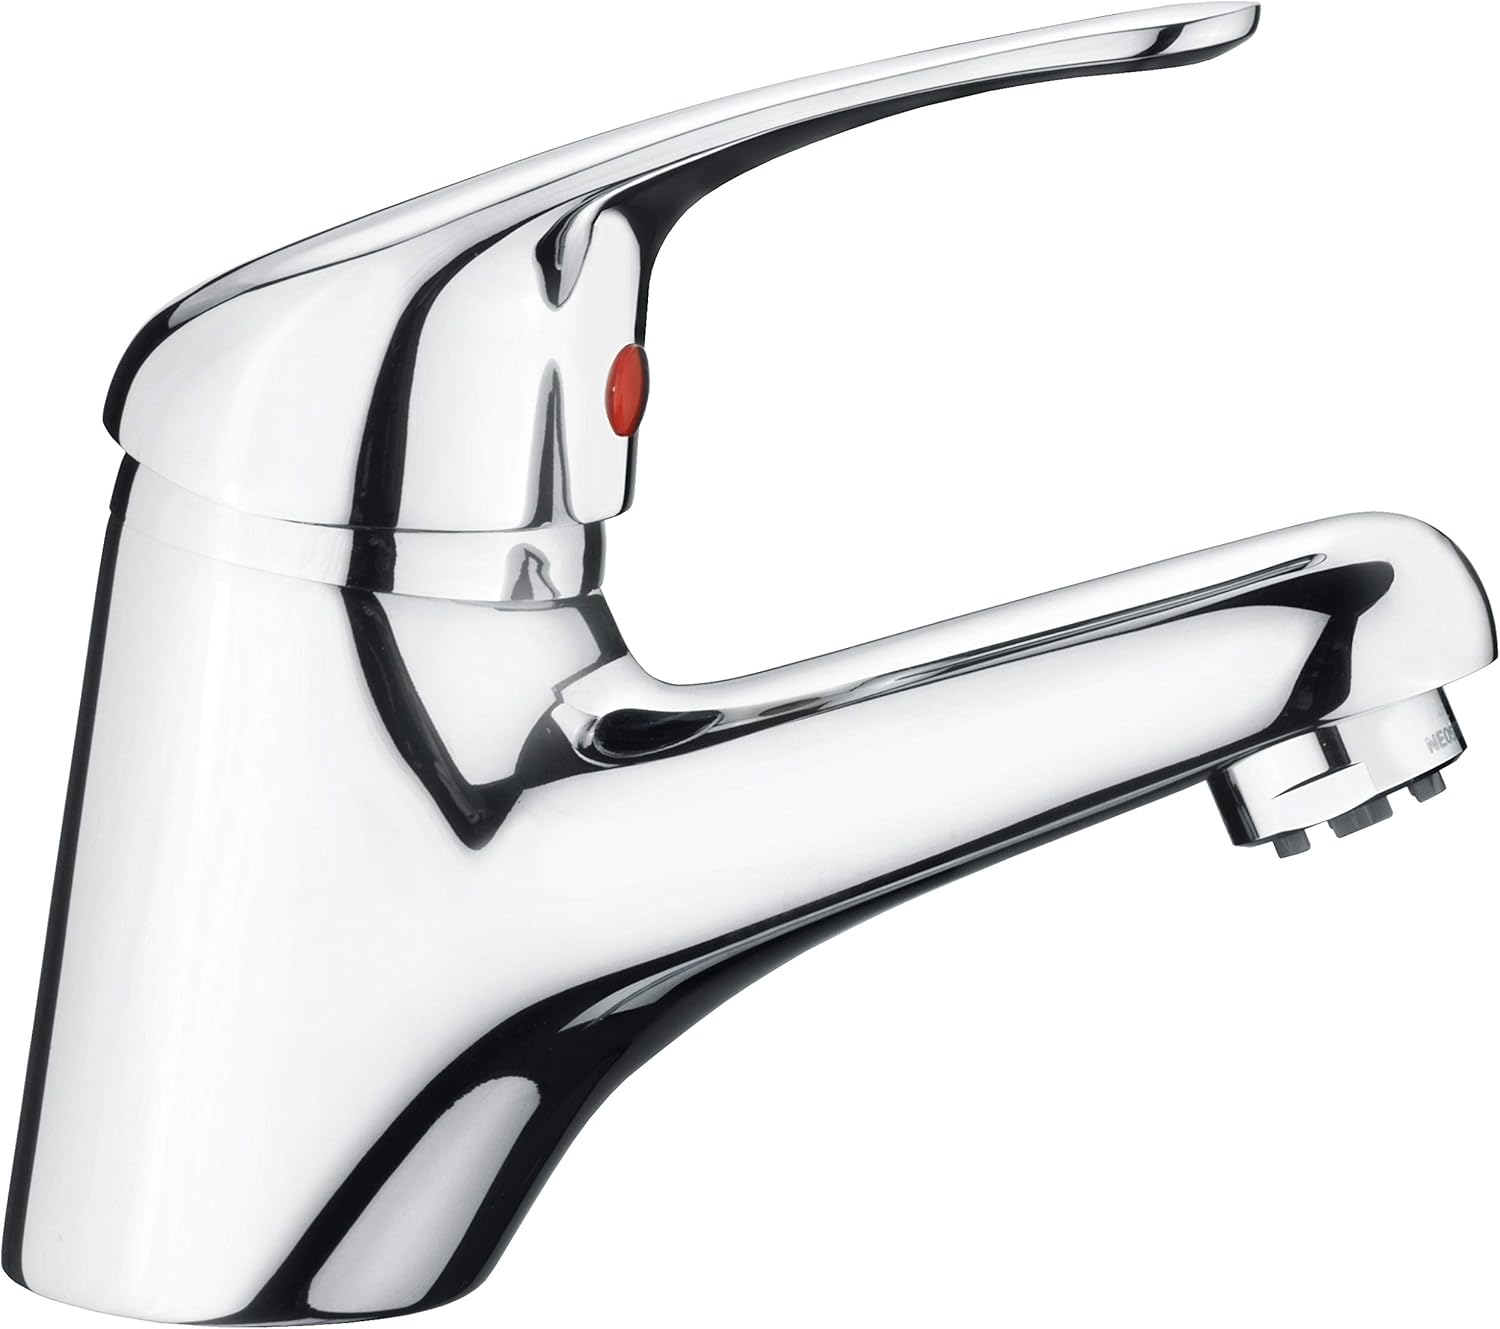
Abbildung 6.1: Seite view illustrating the single lever operation.
7. Wartung
7.1. Reinigung
- Clean the chrome finish regularly with a soft cloth and mild soap or a non-abrasive cleaner specifically designed for chrome.
- Gründlich mit klarem Wasser abspülen und mit einem weichen Tuch trocknen, um Wasserflecken zu vermeiden.
- Do not use abrasive sponges, scouring pads, or harsh chemical cleaners, as these can damage the finish.
7.2. Patronenwechsel
The KTW approved ceramic cartridge is easily replaceable. If you experience persistent drips or issues with temperature control, the cartridge may need replacement.
- Stellen Sie die Wasserzufuhr zum Wasserhahn ab.
- Remove the handle (usually by unscrewing a small set screw).
- Unscrew the decorative cap and then the retaining nut that holds the cartridge in place.
- Carefully lift out the old cartridge.
- Insert the new cartridge, ensuring it is correctly oriented.
- Reassemble the faucet in reverse order.
- Drehen Sie die Wasserzufuhr auf und prüfen Sie, ob es zu Lecks kommt.
7.3. Sieve Flow Regulator Cleaning
If water flow becomes restricted, the sieve flow regulator (aerator) may be clogged with debris.
- Unscrew the sieve flow regulator (M 24 x 1) from the end of the spout.
- Rinse it under running water to remove any sediment. A soft brush can be used for stubborn deposits.
- Reattach the cleaned regulator to the spout.
8. Fehlerbehebung
| Problem | Mögliche Ursache | Lösung |
|---|---|---|
| Niedriger Wasserdurchfluss | Clogged sieve flow regulator (aerator). Teilweise geschlossenes Absperrventil. Issue with low-pressure accumulator. | Clean the sieve flow regulator (see Section 7.3). Ensure shut-off valves are fully open. Consult your low-pressure accumulator manual or a professional. |
| Auslauf | Abgenutzte oder beschädigte Patrone. | Replace the cartridge (see Section 7.2). |
| Leckage an der Basis | Lose Befestigungsmutter. Damaged base gasket. | Tighten the mounting nut underneath the basin. Prüfen Sie die Fußdichtung und ersetzen Sie sie gegebenenfalls, falls sie beschädigt ist. |
| Kein Warm-/Kaltwasser | Incorrect hose connection. Issue with low-pressure accumulator. Defekte Kartusche. | Verify hot and cold hoses are connected correctly. Check your low-pressure accumulator. Consider replacing the cartridge. |
9. Garantie und Support
CORNAT products are manufactured to high-quality standards. For specific warranty information, please refer to the documentation provided with your purchase or contact CORNAT customer service.
If you require technical assistance or have questions regarding your CORNAT YA12 3086 mixer tap, please contact your retailer or the manufacturer directly. Keep your proof of purchase for warranty claims.