1. Einleitung
This manual provides essential instructions for the safe and efficient operation of your Sharp CD-DH950P 240W Mini-Component System. This system features a 5-disc CD changer, a cassette deck, an iPod/iPhone docking station, a USB host for digital audio playback, and an AM/FM tuner. Please read this manual thoroughly before using the system and retain it for future reference.
2. Sicherheitshinweise
- Energiequelle: Schließen Sie das Gerät nur an eine Wechselstromsteckdose mit der angegebenen Spannung an.tage.
- Belüftung: Sorgen Sie für ausreichende Belüftung. Blockieren Sie keine Belüftungsöffnungen.
- Wasser und Feuchtigkeit: Das Gerät darf weder Regen, Feuchtigkeit noch tropfenden/spritzenden Flüssigkeiten ausgesetzt werden.
- Hitze: Halten Sie das Gerät von Wärmequellen wie Heizkörpern, Heizlüftern, Öfen oder anderen Geräten fern, die Wärme erzeugen.
- Reinigung: Ziehen Sie vor der Reinigung den Netzstecker. Verwenden Sie ein weiches, trockenes Tuch.
- Wartung: Versuchen Sie nicht, dieses Produkt selbst zu warten. Überlassen Sie alle Wartungsarbeiten qualifiziertem Servicepersonal.
3. Packungsinhalt
Überprüfen Sie, ob Ihr Paket die folgenden Artikel enthält:
- Main Unit (CD-DH950P)
- Linker Lautsprecher
- Rechter Lautsprecher
- Fernbedienung mit Batterien
- AM-Rahmenantenne
- FM-Drahtantenne
- Netzkabel
4. Einrichtung
4.1 Anschließen der Lautsprecher
Connect the speaker wires from the main unit to the corresponding terminals on the back of each speaker. Ensure correct polarity (red to red, black to black) for optimal sound quality. The left speaker connects to the left speaker output, and the right speaker to the right speaker output.
4.2 Anschließen der Antennen
- FM-Antenne: Connect the supplied FM wire antenna to the FM antenna terminal on the rear of the main unit. Extend the wire for better reception.
- AM-Antenne: Connect the supplied AM loop antenna to the AM antenna terminals on the rear of the main unit. Position the antenna for best reception.
4.3 Stromanschluss
Plug the power cord into the AC IN jack on the rear of the main unit, then plug the other end into a standard AC wall outlet.
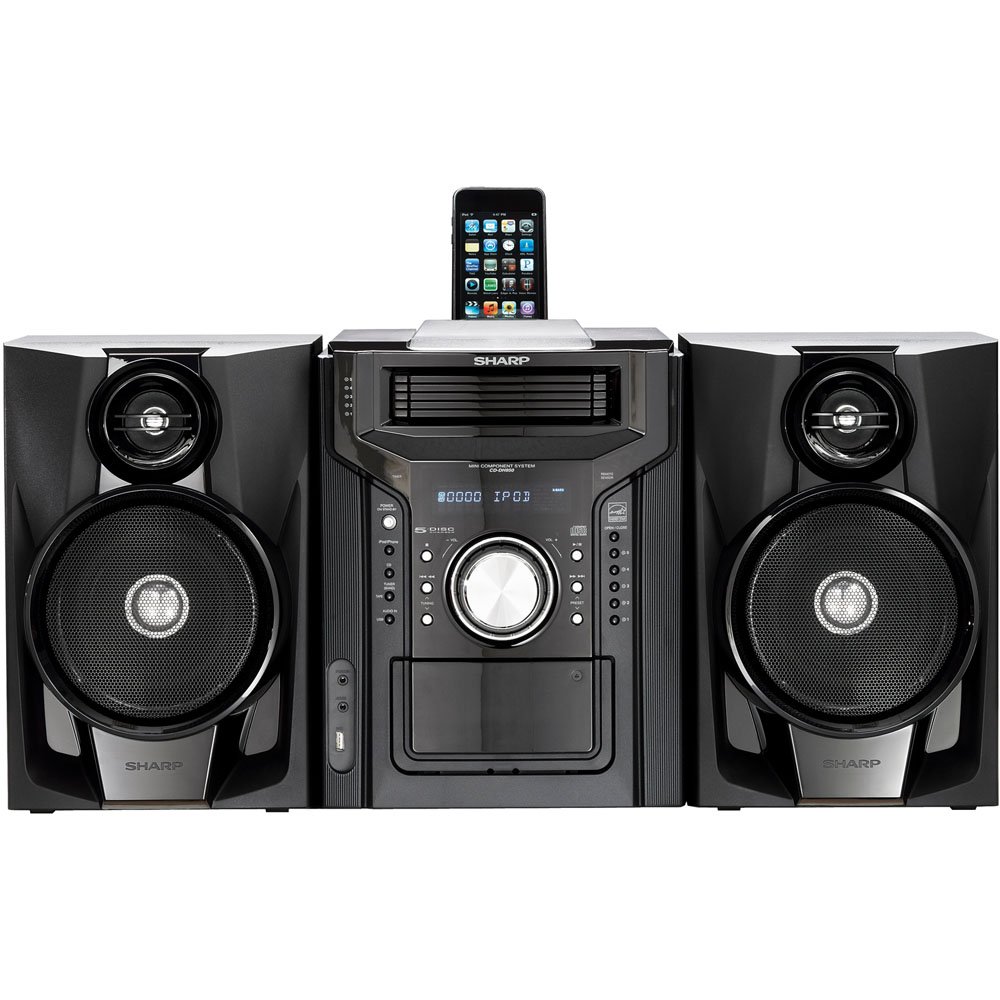
Abbildung 4.3.1: Insgesamt view of the Sharp CD-DH950P Mini-Component System, showing the main unit flanked by two speakers, with an iPhone docked on top of the main unit.
5. Bedienungsanleitung
5.1 Ein-/Ausschalter und Lautstärkeregelung
- Drücken Sie die LEISTUNG Zum Ein- und Ausschalten des Geräts dient eine Taste an der Vorderseite oder auf der Fernbedienung.
- Drehen Sie den VOLUMEN Drehknopf an der Vorderseite oder verwenden Sie den LAUTSTÄRKE +/- Tasten auf der Fernbedienung zur Einstellung der Lautstärke.
5.2 CD-Wiedergabe
This system features a 5-disc CD changer.
- Drücken Sie die ÖFFNEN/SCHLIESSEN Taste, um das CD-Fach zu öffnen.
- Place up to five CDs on the disc trays, label side up.
- Drücken ÖFFNEN/SCHLIESSEN erneut, um das Fach zu schließen.
- Drücken Sie die CD Taste zur Auswahl der CD-Funktion.
- Drücken Sie die WIEDERGABE/PAUSE Taste, um die Wiedergabe zu starten.
- Verwenden Sie die ÜBERSPRINGEN buttons to navigate between tracks or discs.
5.3 Kassettendeckbetrieb
- Drücken Sie die TAPE OPEN/CLOSE Taste zum Öffnen des Kassettendecks.
- Legen Sie eine Kassette ein.
- Drücken Sie die BAND button to select the cassette function.
- Drücken SPIELEN um die Wiedergabe zu starten.
- To record, ensure the source is selected (e.g., CD, Tuner) and press the AUFZEICHNEN Knopf am Kassettendeck.
5.4" iPod/iPhone-Dockingstation
The system includes a top-mounted docking slot for compatible iPod and iPhone devices (30-pin connector).
- Carefully place your iPod or iPhone into the docking slot.
- The system will automatically switch to iPod/iPhone mode or you may need to press the iPod / iPhone Taste.
- Use the system's controls or your device's controls to play music. The device will also charge while docked.
5.5 USB Host Playback
Connect a USB storage device containing MP3 or WMA audio files to the USB port on the front panel.
- Stecken Sie das USB-Gerät in den USB-Anschluss.
- Drücken Sie die USB Taste zur Auswahl der USB-Funktion.
- Use the playback controls to navigate and play files.
5.6-Zoll-AM/FM-Tuner
- Drücken Sie die TUNER Taste zur Auswahl von AM- oder FM-Radio.
- Verwenden Sie die ABSTIMMUNG +/- Tasten zum manuellen Einstellen eines Senders.
- Zum automatischen Scannen die Taste gedrückt halten ABSTIMMUNG +/- Schaltflächen.
- To store a preset, tune to the desired station, then press ERINNERUNG gefolgt von einer voreingestellten Zahl.
5.7 Audioeingang
Connect an external audio device (e.g., MP3 player, smartphone) to the AUDIO IN jack on the front panel using a 3.5mm stereo cable.
- Connect your device to the AUDIO IN jack.
- Drücken Sie die AUDIO IN Schaltfläche zum Auswählen dieser Quelle.
- Steuern Sie die Wiedergabe von Ihrem angeschlossenen Gerät aus.
6. Wartung
6.1 Reinigung des Geräts
Wischen Sie die Außenseite des Geräts mit einem weichen, trockenen Tuch ab. Verwenden Sie keine Scheuermittel, Wachse oder Lösungsmittel. Stellen Sie sicher, dass das Gerät vor der Reinigung vom Stromnetz getrennt ist.
6.2 CD and Cassette Care
- Handle CDs by their edges to avoid fingerprints and scratches. Clean discs with a soft, lint-free cloth from the center outwards.
- Store cassette tapes away from strong magnetic fields and direct sunlight.
7. Fehlerbehebung
| Problem | Mögliche Ursache | Lösung |
|---|---|---|
| Kein Strom | Netzkabel nicht angeschlossen; Steckdose defekt | Stellen Sie sicher, dass das Netzkabel fest eingesteckt ist; versuchen Sie es mit einer anderen Steckdose. |
| Kein Ton | Lautstärke zu niedrig; Lautsprecher nicht angeschlossen; Falsche Quelle ausgewählt | Lautstärke erhöhen; Lautsprecheranschlüsse prüfen; Richtige Eingangsquelle auswählen |
| CD wird nicht abgespielt | Disc inserted incorrectly; Disc is dirty or scratched | Insert disc correctly (label side up); Clean or replace disc |
| Schlechter Radioempfang | Antenna not positioned correctly; Weak signal | Adjust position of AM/FM antennas; Try auto-tuning or manual fine-tuning |
| iPod/iPhone not charging/playing | Device not properly docked; Device not compatible (e.g., newer connector) | Re-dock the device; Note that this system uses a 30-pin connector, newer devices may require an adapter (not included) |
8. Spezifikationen
- Marke: Scharf
- Modell: CD-DH950P
- Gesamtausgangsleistung: 240 Watts RMS (85W/ch FTC)
- Lautsprecherkonfiguration: 2.1 Kanäle
- Unterstützte Audioformate: CD, MP3, WMA
- Signal-Rausch-Verhältnis: 100 dB
- Kompatible Geräte: MP3 Player, Smartphone (via 30-pin dock or USB/Audio In)
- Abmessungen (L x B x H): 27.6 x 13.6 x 13.5 Zoll
- Artikelgewicht: 24.4 Pfund
- UPC: 074000369863, 074000369290
9. Garantieinformationen
This product is covered by a 1-year limited warranty from the date of purchase. Please refer to the warranty card included with your product for full terms and conditions, or contact Sharp customer service for details.
10. Unterstützung
For further assistance, technical support, or service inquiries, please contact Sharp customer service. Contact information can typically be found on the Sharp official webauf der Website oder in der mit Ihrem Produkt gelieferten Dokumentation.