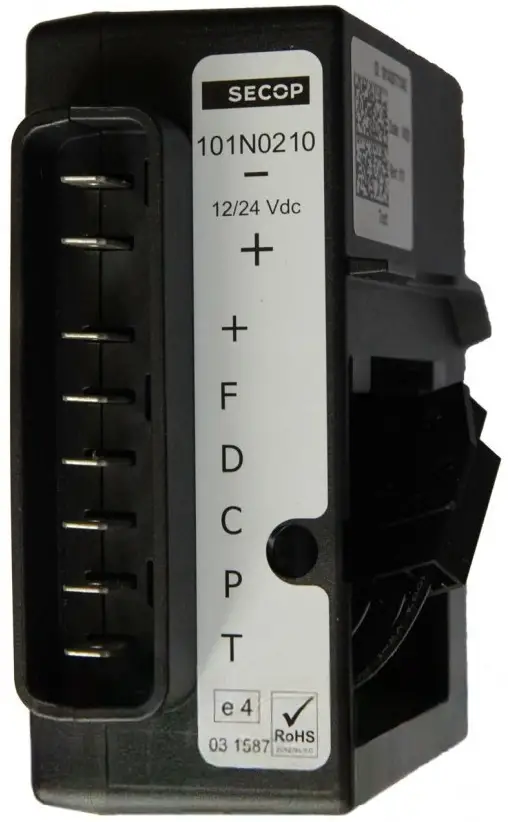
Danfoss 101N0210 Electronic Control for Compressor
Specifications
- Model Numbers: 101N0210, 101N0220, 101N0300, 101N0320
- Input Voltage: 12-24V
- AWG Section:
- 12V DC: 8 ft. / 2.5 m (Gauge 12), 5 ft. / 1.5 m (Gauge 16), 4 ft. / 1.2 m (Gauge 13), 6 ft. / 1.8 m (Gauge 10)
- 24V DC: 8 ft. / 2.5 m (Gauge 12), 6 ft. / 1.8 m (Gauge 10), 12 ft. / 3.7 m (Gauge 8), 10 ft. / 3 m (Gauge 6)
- Max Length: As per specifications
- Voltage Ratings: Refer to the provided voltage cutoff and engagement values
- Compressor Speed: Variable with specified current ratings
- LED Indicator for Faults: Refer to the table for fault indications
- Website: compressors.danfoss.com.
Product Usage Instructions
- Installation:
- Ensure proper power supply within the specified voltage range.
- Connect the device following the provided wiring diagram.
- Mount the compressor securely in a well-ventilated area.
- Operation:
- Switch on the power supply within the recommended voltage limits.
- Monitor the LED indicator for any fault indications.
- Adjust compressor speed as needed based on cooling demands.
- Maintenance:
- Regularly check for any loose connections or damaged wires.
- Clean the compressor and surrounding area to ensure proper ventilation.
- Refer to the user manual for troubleshooting tips.
PRODUCT INFORMATION
The electronic unit is a dual-voltage device. This means that the same unit can be used in both 12V and 24V power supply systems. Maximum voltage is 17V for a 12V system and 31.5V for a 24V power supply system. Max. ambient temperature is 55°C. The electronic unit has a builtin thermal protection which is actuated and stops compressor operation if the electronic unit temperature gets too high.
Installation
(Fig. 1)
Connect the terminal plug from the electronic unit to the compressor terminal. Mount the electronic unit on the compressor by snapping the cover over the screw head (1).
Power supply (Fig. 1)
- The electronic unit must always be connected directly to the battery poles (2). Connect the plus to + and the minus to -, otherwise the electronic unit will not work. The electronic unit is protected against reverse battery connection.
- For protection of the installation, a fuse (3) must be mounted in the + cable as close to the battery as possible. 15A fuse for 12V and 7.5A fuse for 24V circuits are recommended.
- If a main switch (4) is used, it should be rated to a current of min. 20A.
- The wire dimensions in Fig. 2 must be observed.
- Avoid extra junctions in the power supply system to prevent voltage drop from affecting the battery protection setting.
Battery protection (Fig. 1)
- The compressor is stopped and restarted again according to the decided voltage limits measured on the + and – terminals of the electronic unit.
- The standard settings for 12V and 24V power supply systems appear from Fig. 3.
- Other settings (Fig. 4) are optional if a connection which includes a resistor (9) is established between terminals C and P.
- In solar applications without a battery a 220 kW resistor is recommended. In AEO (Adaptive Energy Optimizing) speed mode the BD compressor will always adapt its speed to the actual cooling demand within a random operation voltage of 9.6 to 31.5V.
Thermostat (Fig. 1)
- The thermostat (7) is connected between the terminals C and T. Without any resistor in the control circuit, the compressor with electronic unit 101N0210 or 101N0220 will run with a fixed speed of 2,000 rpm when the thermostat is switched on. With the thermostat directly connected to terminal C the electronic unit 101N0300 will adjust its speed to the actual cooling demand.
- Other fixed compressor speeds in the range between 2,000 and 3,500 rpm can be obtained when a resistor (8) is installed to adjust the current (mA) of the control circuit. Resistor values for various motor speeds appear from Fig. 5.
Fan (optional, Fig. 1)
- A fan (5) can be connected between the terminals + and F. Connect the plus to + and the minus to F. Since the output voltage between the terminals + and F is always regulated to 12V, a 12V fan must be used for both 12V and 24V power supply systems.
- The fan output can supply a continous current of 0.5Aavg. A higher current draw is allowed for 2 seconds during start.
LED (optional, Fig. 1)
- A 10mA light emitting diode (LED) (6) can be connected between the terminals + and D.
- In case the electronic unit records an operational error, the diode will flash a number of times. The number of flashes depends on what kind of operational error was recorded. Each flash will last ¼ second. After the actual number of flashes there will be a delay with no flashes, so that the sequence for each error recording is repeated every 4 seconds.
| Number of flashes | Error type |
| 5 | Thermal cut-out of electronic unit (If the refrigeration system has been too heavily loaded, or if the ambient temperature is high, the electronic unit will run too hot). |
| 4 | Minimum motor speed error (If the refrigeration system is too heavily loaded, the motor cannot maintain minimum speed 1,850 rpm). |
| 3 | Motor start error (The rotor is blocked or the differential pressure in the refrigeration system is too high (>5 bar)). |
| 2 | Fan over-current cut-out (The fan loads the electronic unit with more than 1Apeak). |
| 1 | Battery protection cut-out (The voltage is outside the cut-out setting). |
Wire dimensions
Fig. 2 *Length between battery and electronic unit
| Cross section mm2 | Max length* m 12V operation | Max length* m 24V operation |
| 2.5 | 2.5 | 5 |
| 4 | 4 | 8 |
| 6 | 6 | 12 |
| 10 | 10 | 20 |
Standard battery protection settings
Fig. 3
| 12V cut-out V | 12V cut-in V | 24V cut-out V | 24V cut-in V |
| 10.4 | 11.7 | 22.8 | 24.2 |
Optional battery protection settings
Fig. 4
| Resistor (9) kΩ | 12V cut-out V | 12V cut-in V | 12V max. Voltage | 24V cut-out V | 24V cut-in V | 24V max. Voltage |
| 0 | 9.6 | 10.9 | 17.0 | 21.3 | 22.7 | 31.5 |
| 1.6 | 9.7 | 11.0 | 17.0 | 21.5 | 22.9 | 31.5 |
| 2.4 | 9.9 | 11.1 | 17.0 | 21.8 | 23.2 | 31.5 |
| 3.6 | 10.0 | 11.3 | 17.0 | 22.0 | 23.4 | 31.5 |
| 4.7 | 10.1 | 11.4 | 17.0 | 22.3 | 23.7 | 31.5 |
| 6.2 | 10.2 | 11.5 | 17.0 | 22.5 | 23.9 | 31.5 |
| 8.2 | 10.4 | 11.7 | 17.0 | 22.8 | 24.2 | 31.5 |
| 11 | 10.5 | 11.8 | 17.0 | 23.0 | 24.5 | 31.5 |
| 14 | 10.6 | 11.9 | 17.0 | 23.3 | 24.7 | 31.5 |
| 18 | 10.8 | 12.0 | 17.0 | 23.6 | 25.0 | 31.5 |
| 24 | 10.9 | 12.2 | 17.0 | 23.8 | 25.2 | 31.5 |
| 33 | 11.0 | 12.3 | 17.0 | 24.1 | 25.5 | 31.5 |
| 47 | 11.1 | 12.4 | 17.0 | 24.3 | 25.7 | 31.5 |
| 82 | 11.3 | 12.5 | 17.0 | 24.6 | 26.0 | 31.5 |
| 220 | 9.6 | 10.9 | 31.5 | |||
Compressor speed
Fig. 5
| Electronic unit | Resistor (8) Ω | Motor speed rpm | Contr.circ. current mA |
 | 0 | 2,000 | 5 |
| 277 | 2,500 | 4 | |
| 692 | 3,000 | 3 | |
| 1523 | 3,500 | 2 | |
 | 0 | AEO | 6 |
| 173 | 2,000 | 5 | |
| 450 | 2,500 | 4 | |
| 865 | 3,000 | 3 | |
| 1696 | 3,500 | 2 |
FAQs
- Q: What should I do if the LED indicator flashes multiple times?
- A: Refer to the provided table for fault indications and take appropriate action based on the number of flashes.
- Q: How do I determine the correct compressor speed?
- A: Adjust the compressor speed based on the cooling demands; refer to the specified current ratings for guidance.
Documents / Resources
 | Danfoss 101N0210 Electronic Control for Compressor [pdf] Instructions 101N0210, 101N0220, 101N0300, 101N0320, 101N0210 Electronic Control for Compressor, 101N0210, Electronic Control for Compressor, Control for Compressor, Compressor |