1. Introduktion
Thank you for choosing the Blütezeit 1400lb Sliding Gate Opener. This manual provides essential information for the safe installation, operation, and maintenance of your gate opener. Please read this manual thoroughly before installation and keep it for future reference. This model is designed for sliding gates up to 1400 lbs and features solar power compatibility, WiFi control, and a built-in battery backup.
2. Sikkerhedsoplysninger
ADVARSEL: Forkert installation eller brug kan forårsage alvorlig personskade eller død. Følg altid alle sikkerhedsinstruktioner.
- Ensure the gate is properly installed and operates freely before installing the opener.
- Hold børn og kæledyr væk fra portområdet, især under drift.
- Do not allow children to operate the gate opener or play with remote controls.
- Install the gate opener controls and remote controls out of reach of children.
- Never attempt to repair the gate opener yourself. Contact qualified service personnel.
- Disconnect power to the gate opener before performing any maintenance or repairs.
- Ensure all safety devices, such as infrared sensors, are correctly installed and functioning.
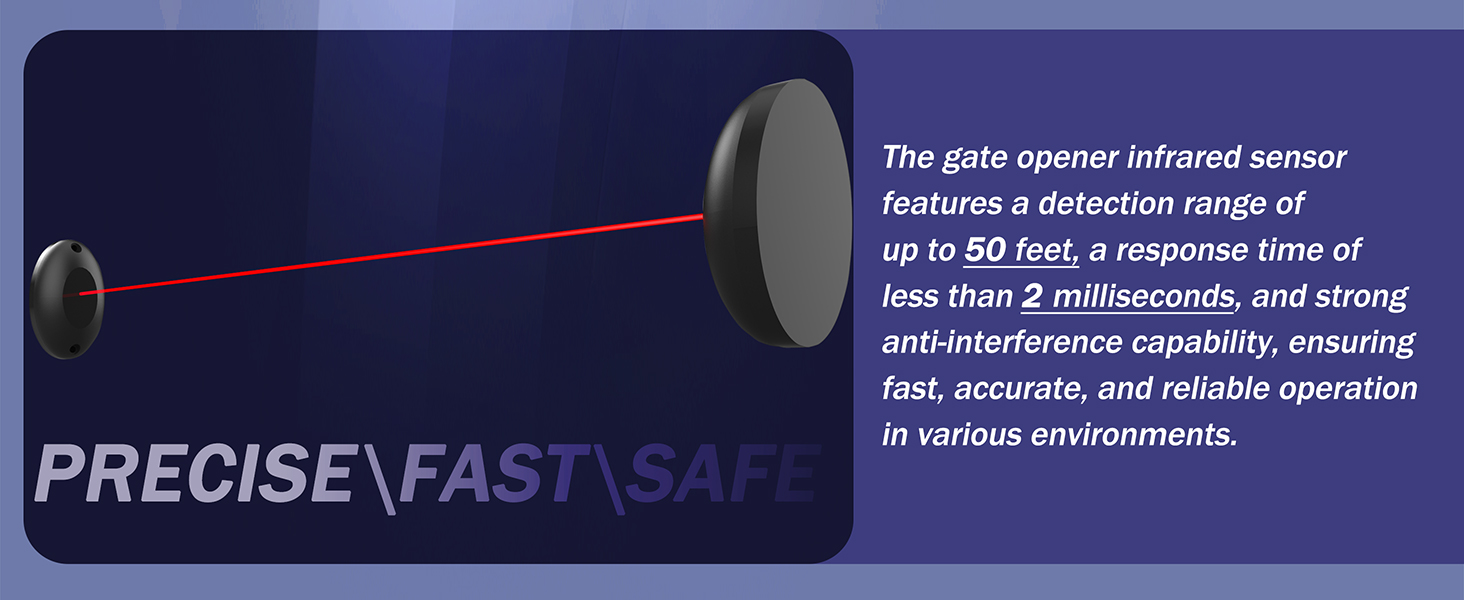
Image: Infrared safety sensor. This sensor detects obstacles in the gate's path, stopping and reversing the gate to prevent accidents.
3. Pakkens indhold
Bekræft at alle komponenter er til stede i din pakke:
- 1 × Gate Opener Motor Unit
- 2 × Remote Controls (batteries included)
- 2 × Manual Release Keys
- 1 × Infrared Sensor Set
- 1 × Installation Kits (mounting hardware)
- 1 × Brugermanual (dette dokument)
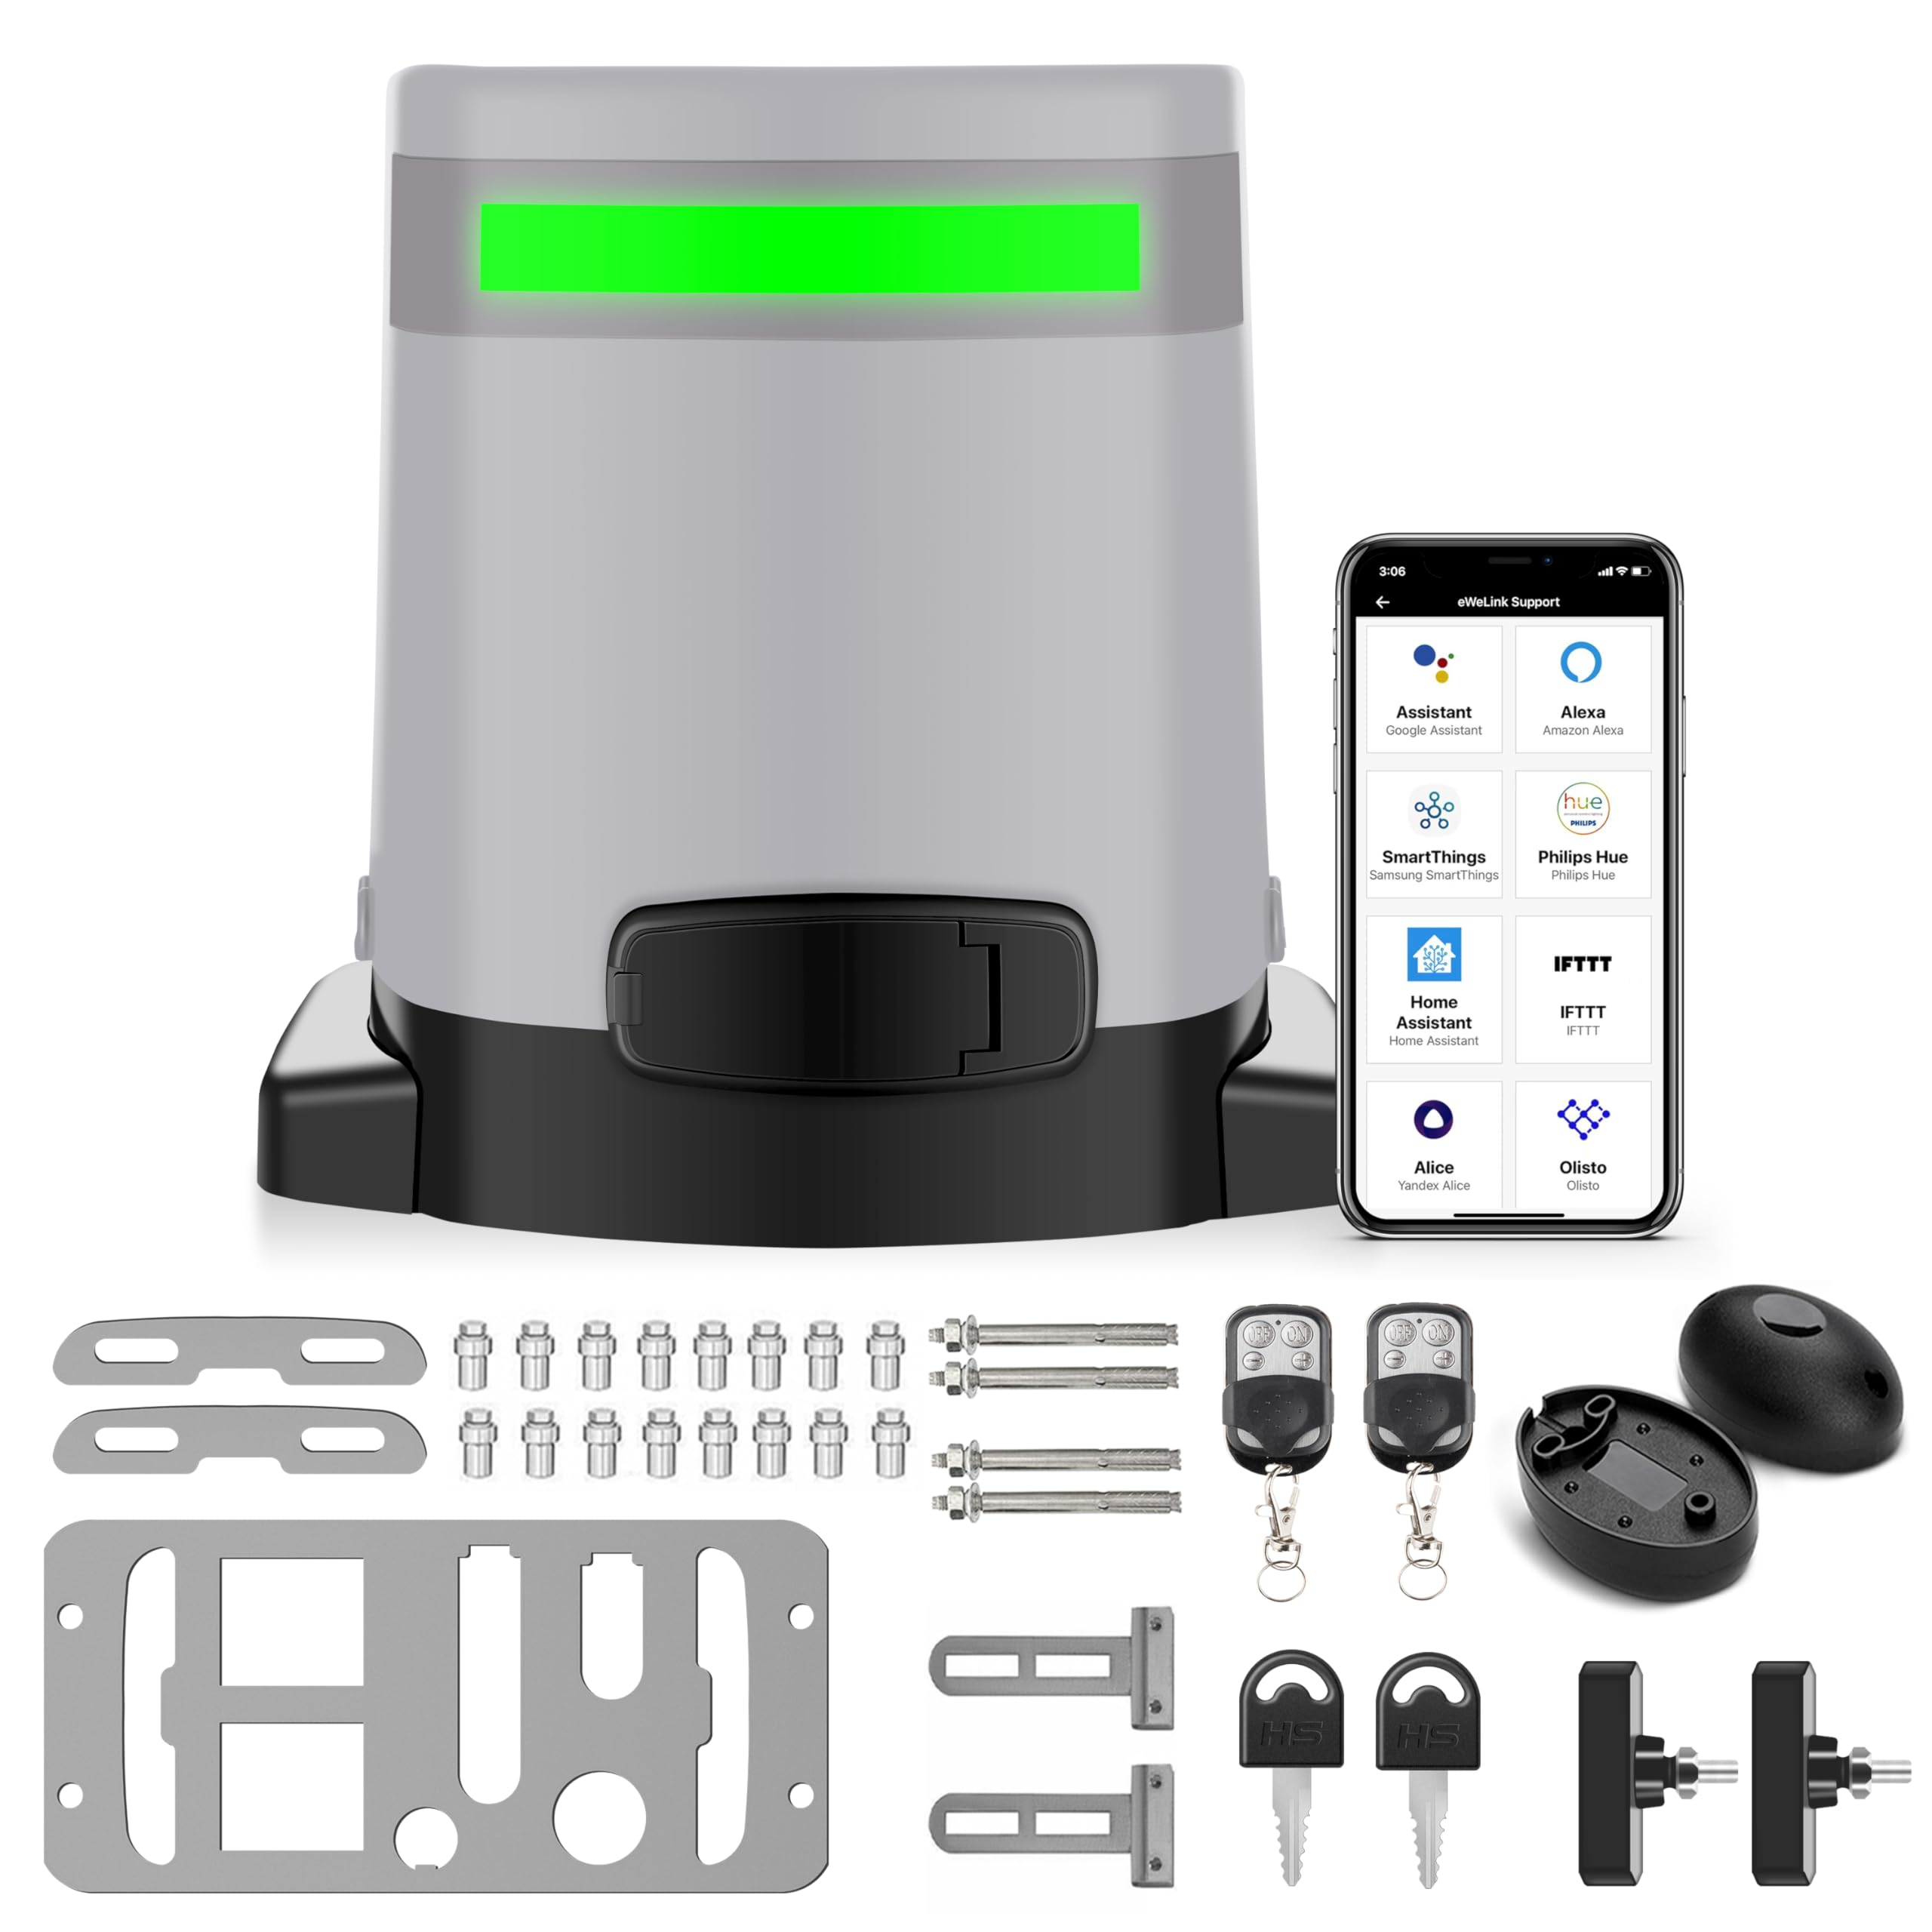
Image: Main product image showing the gate opener motor unit.
4. Specifikationer
| Feature | Specifikation |
|---|---|
| Modelnummer | ME-GO-600 |
| Max portvægt | 1400 lbs |
| Motorkraft | 280W DC |
| Operation Voltage | DC24V |
| Indbygget batteri | DC24V 6.0Ah Lithium-ion |
| Batteriets standbytid | 3-5 days (without WiFi/IR), up to 7 days (with solar) |
| Solar Panel Input (Optional) | 32-35V (Recommended 20-25W, Max 35W) |
| Vekselstrømsindgang | AC110V |
| Støjniveau | <45dB |
| Driftstemperatur | -13℉ til 131℉ (-25℃ til 55℃) |
| Beskyttelsesvurdering | IP65 |
| Fjernbetjenings rækkevidde | Op til 165 fod (50 m) |
| Produktdimensioner | 11.81 x 8.27 x 10.63 tommer |
| Varens vægt | 22.9 pund |
5. Opsætning og installation
5.1 Montering af åbneren
The gate opener should be mounted on a stable, level concrete pad or a sturdy mounting post adjacent to the gate. Ensure the opener's drive gear aligns correctly with the gate rack (rack not included in this 'Motor Only' package).
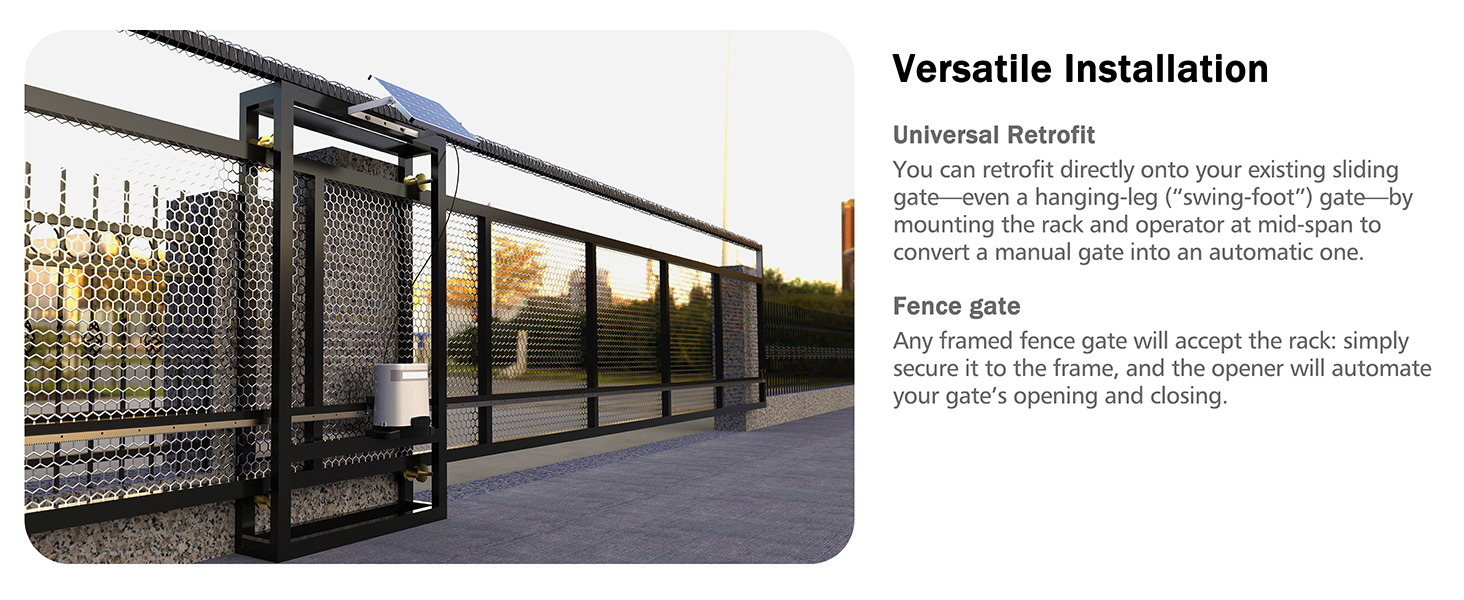
Image: Diagram illustrating the installation of the gate opener and rack on a sliding gate.
5.2 Strømtilslutning
The opener supports both AC110V power and solar charging. It has a built-in lithium-ion battery for backup.
- AC strøm: Connect the provided AC adapter to a standard 110V outlet and to the opener's power input. The system will automatically manage battery charging.
- Solenergi (valgfrit): If using a solar panel (not included), connect it to the designated solar input terminals. The recommended solar panel specification is 20-25W (max 35W) with a 32-35V output. The system will prioritize solar charging and maintain the built-in battery.

Image: Illustration of solar panel connection to the gate opener for eco-friendly power.
5.3 Installation af tilbehør
- Infrarød sensor: Mount the infrared sensor units on opposite sides of the gate opening, ensuring a clear line of sight between them. Connect them to the designated terminals on the control board. This sensor provides an essential safety feature, stopping and reversing the gate if an obstruction is detected.
- Magnetiske grænseafbrydere: Install the magnetic limit switches at the desired open and closed positions of the gate. These switches signal the opener when to stop, ensuring precise gate positioning.
- Gate Rack (Not Included): For operation, a gate rack must be securely attached to your sliding gate. Ensure the rack teeth mesh correctly with the opener's drive gear.
6. Betjeningsvejledning
6.1 Betjening af fjernbetjening
Your gate opener comes with two remote controls. Press the designated button on the remote to open or close the gate. The remote has a range of up to 165 feet (50 meters).

Image: Two remote controls for operating the gate opener.
6.2 WiFi and App Control (eWeLink)
The built-in WiFi module allows control via the "eWeLink" smartphone app. Download the app, register an account, and follow the in-app instructions to connect your gate opener. The app enables:
- Remote open/close functionality.
- Scheduling gate operations.
- Customizing scenes (e.g., open when you arrive home).
- Multi-user access for family members.
- Compatibility with Amazon Alexa, Google Assistant, and Apple Siri for voice control.

Image: A smartphone displaying the eWeLink app interface, showing the gate status as 'Opened'.
6.3 Auto-Close Feature
The auto-close feature can be configured to automatically close the gate after a set period (1 to 60 seconds) once it has fully opened. Refer to the control board settings for adjustment instructions.
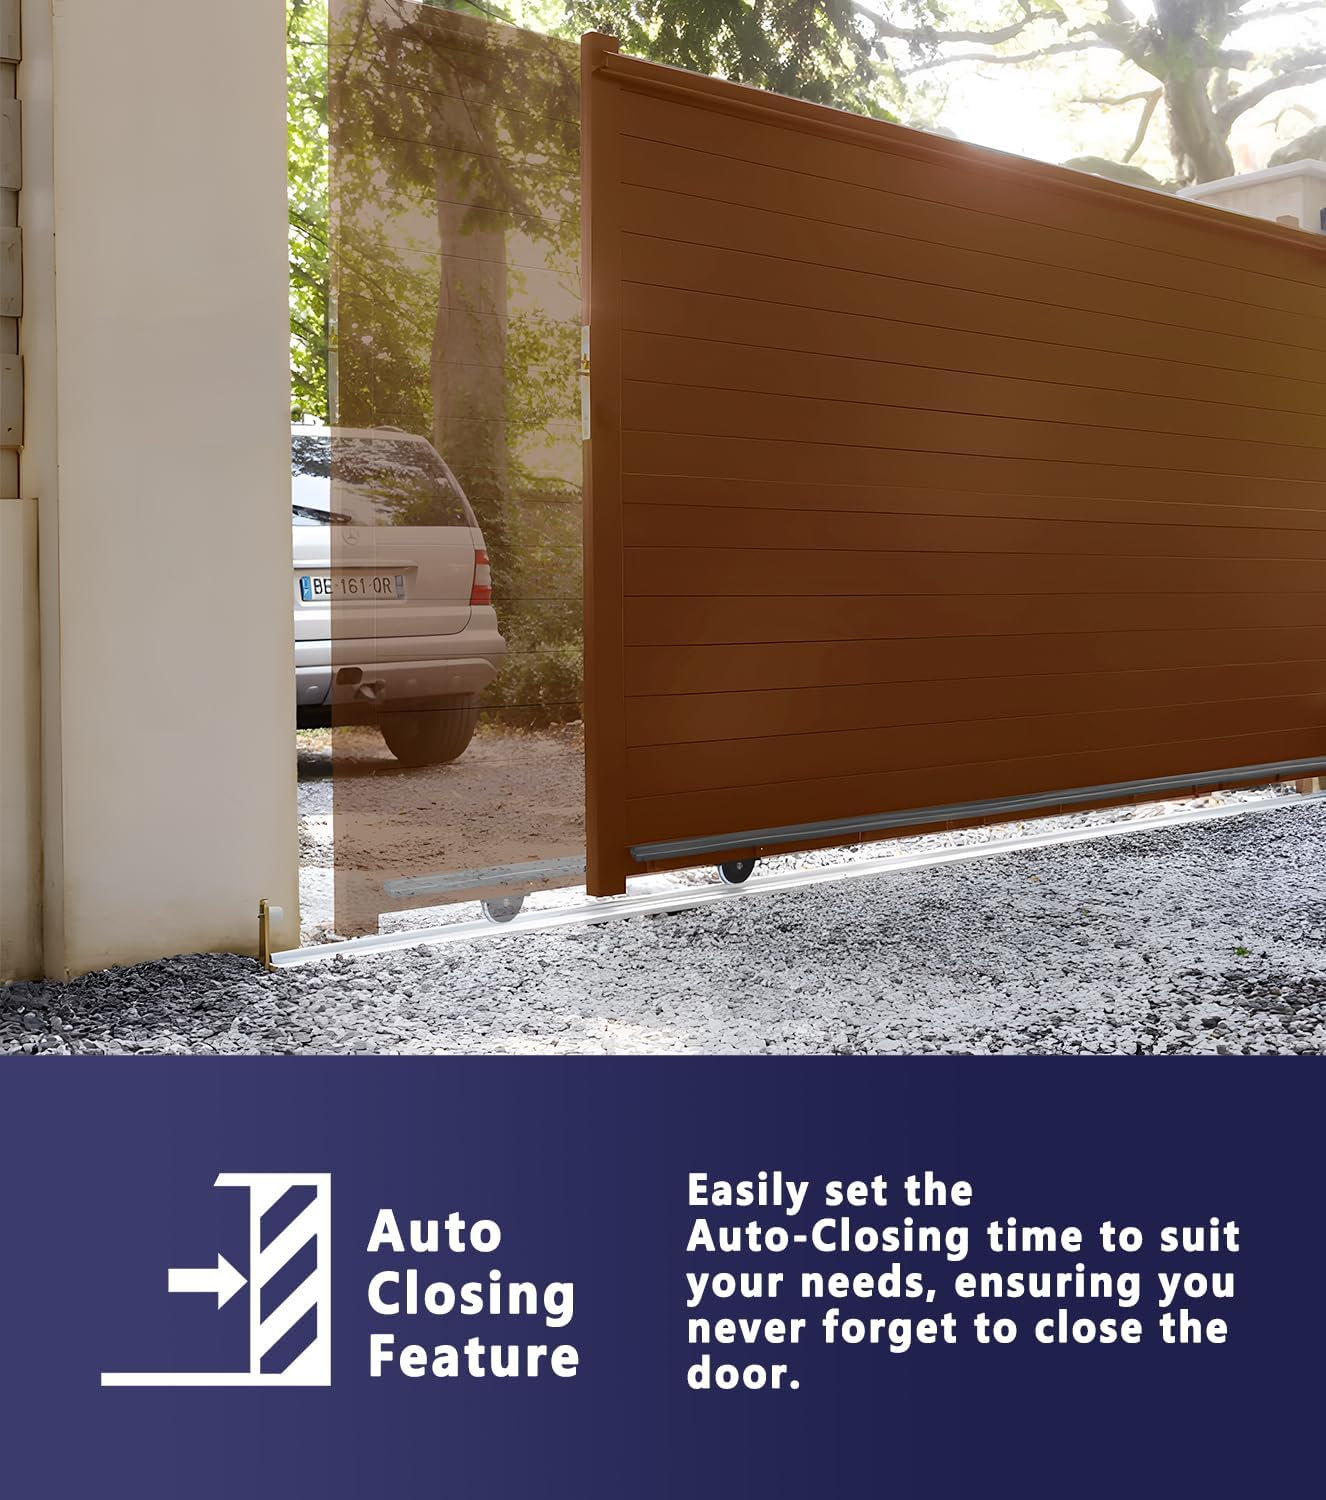
Image: A gate in the process of closing, illustrating the auto-closing feature.
6.4 Manuel udløsning
I tilfælde af en magt outage or system malfunction, the gate can be operated manually. Insert the provided manual release key into the lock on the opener and turn it to disengage the motor clutch. This allows you to push the gate open or closed by hand.
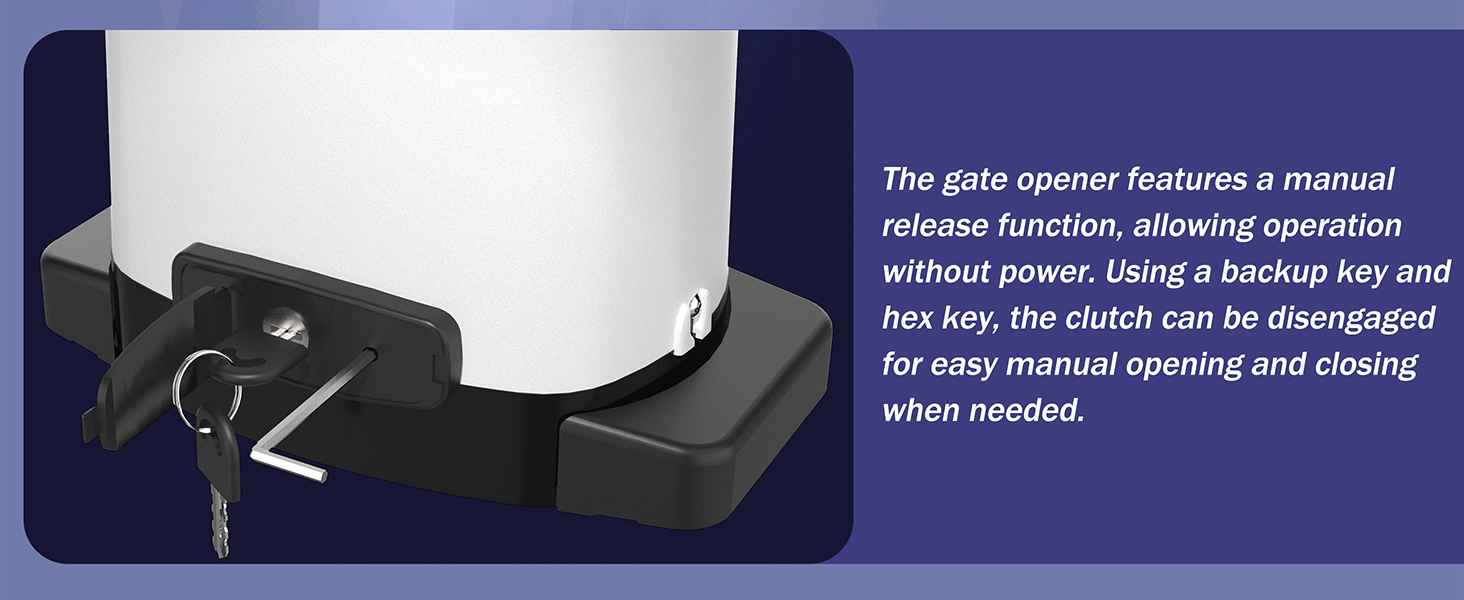
Image: Manual release keys inserted into the gate opener for emergency manual operation.
6.5 LED-statusindikator
The built-in LED indicator provides real-time status of the gate:
- Grønt lys: Indicates the gate is open.
- Rødt lys: Indicates the gate is closed.
7. Vedligeholdelse
- Regelmæssig inspektion: Periodically check the gate and opener for any signs of wear, damage, or loose connections. Ensure the gate moves freely without obstruction.
- Renhed: Keep the opener unit clean and free from debris. The IP65 rating protects against dust and water, but excessive buildup can affect performance.
- Batterikontrol: The built-in lithium-ion battery is designed for long life. If the opener is primarily AC powered, ensure the battery is charging correctly. If solar-powered, keep the solar panel clean for optimal efficiency.
- Smøring: Lubricate moving parts of the gate (hinges, rollers) as recommended by the gate manufacturer. The opener's internal components are generally maintenance-free.
- Sikkerhedssensortest: Regularly test the infrared safety sensor by placing an object in its path while the gate is closing to ensure it stops and reverses.
8. Fejlfinding
| Problem | Mulig årsag | Løsning |
|---|---|---|
| Porten bevæger sig ikke | No power; Remote battery dead; Manual release engaged; Obstruction; Limit switch issue. | Check power supply/battery; Replace remote battery; Disengage manual release; Remove obstruction; Check limit switch connections. |
| Porten stopper uventet | Obstruction detected by infrared sensor; Motor overheating; Power fluctuation. | Clear obstruction; Allow motor to cool; Check power connections. |
| Fjernbetjening virker ikke | Dead battery; Out of range; Remote not paired. | Replace remote battery; Move closer to opener; Re-pair remote (refer to pairing instructions). |
| WiFi/App control issues | No internet connection; App not configured; WiFi module issue. | Check home WiFi network; Reconfigure app settings; Contact support if module is faulty. |
9. Garanti og support
Blütezeit products are manufactured to high-quality standards. For specific warranty details, please refer to the warranty card included with your product or contact Blütezeit customer service.
If you encounter any problems during installation or operation, or require technical assistance, please contact Blütezeit customer support. Our professional team is available to provide guidance and solutions.

Image: Illustration representing technical support and assistance.