1. Introduktion og sikkerhedsoplysninger
Thank you for choosing the tectake Clamp Awning. This manual provides essential instructions for the safe and efficient assembly, operation, and maintenance of your awning. Please read it thoroughly before installation and keep it for future reference.
1.1 Vigtige sikkerhedsadvarsler
- Sikker forankring: Ensure the awning is securely anchored to prevent detachment during adverse weather conditions. Failure to do so may result in injury or damage.
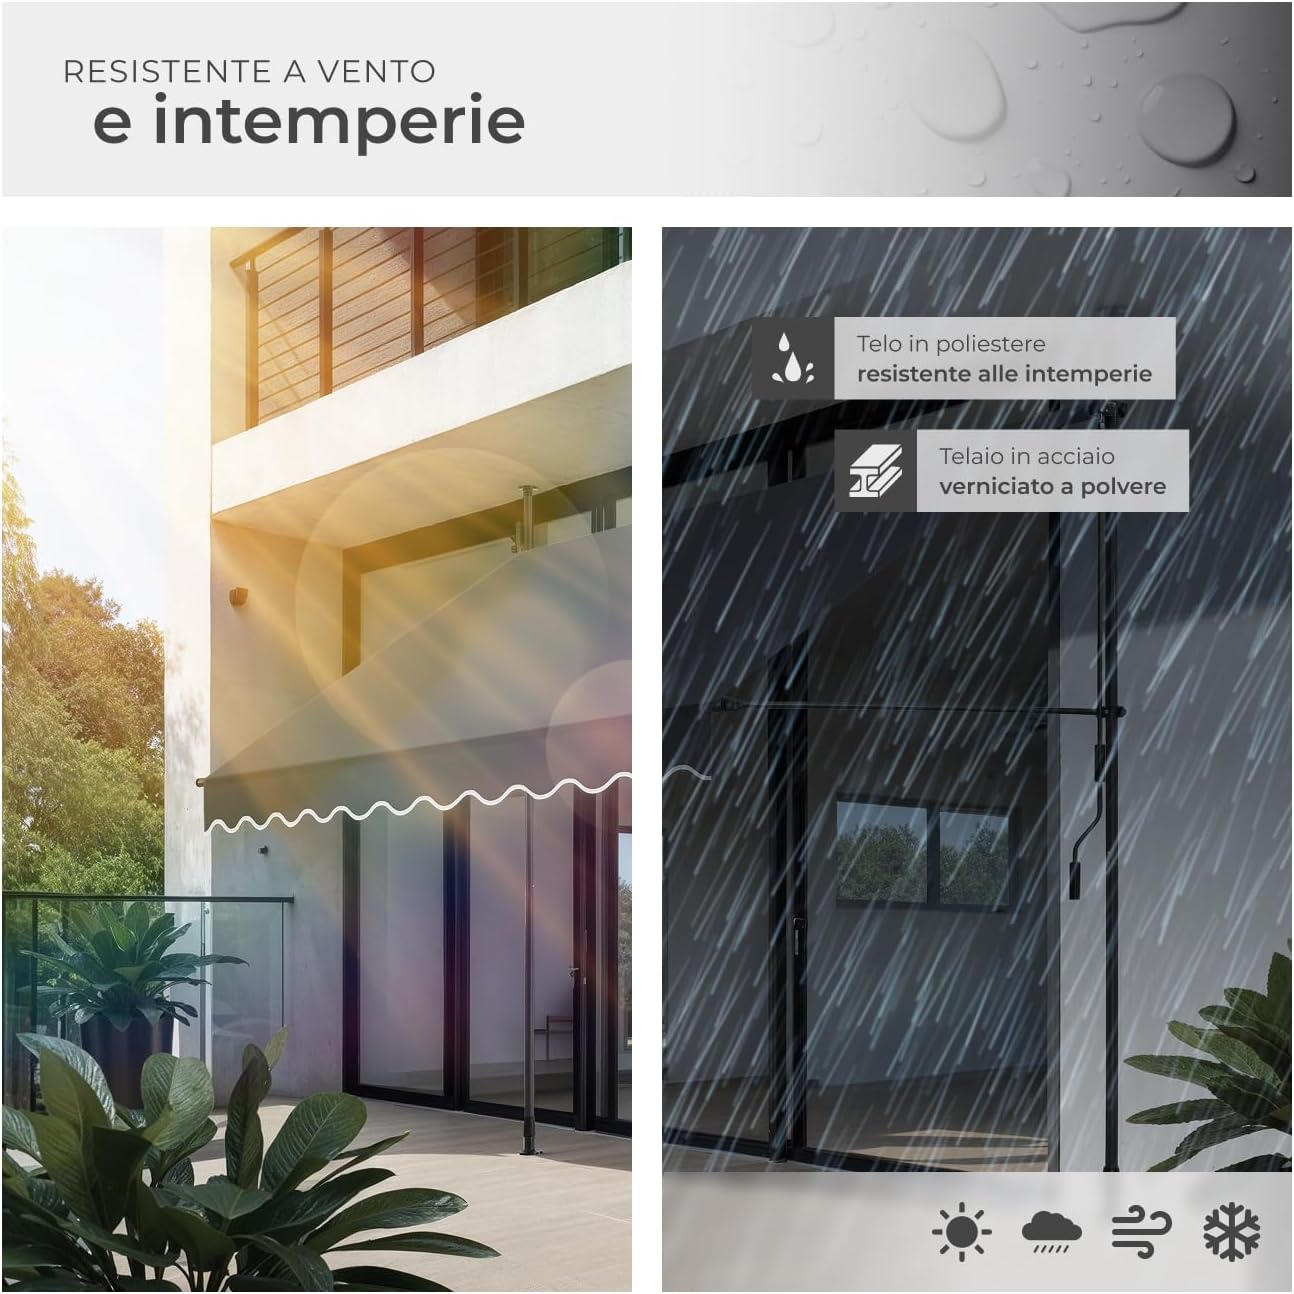
- Vejrforhold: Exercise extreme caution when using the awning in windy or rainy conditions. Retract the awning during strong winds, heavy rain, or snow to prevent damage.
- Forsamling: Assembly should ideally be performed by two adults. Follow all steps carefully.
- Børn og kæledyr: Hold børn og kæledyr væk fra markisen under montering og betjening.
- Inspektion: Regularly inspect all components for wear, damage, or loose connections. Do not use the awning if any parts are damaged.
1.2 Pakkens indhold
Kontroller, at alle komponenter er til stede, før monteringen påbegyndes:
- Awning Fabric (1)
- Vertikale støttestænger (2)
- Horizontal Support Arms (2)
- Crank Handle (1)
- Monteringshardware (skruer, kl.amps, footpads)
- Instruktionsmanual (1)
2. Opsætning og installation
The tectake Clamp Awning is designed for quick and easy installation without the need for drilling. Follow these steps for a secure setup.
2.1 Forberedelse til installation
- Choose a suitable location on your balcony or terrace with a stable ceiling and floor.
- Ensure the installation area has a minimum clearance height of 211 cm and a maximum of 304 cm.
- Unpack all components and lay them out to ensure nothing is missing.
2.2 Monteringstrin
- Assemble the Vertical Support Poles: Connect the pole sections as per the diagram. The telescopic design allows for height adjustment.
- Fastgør fodpuder: Secure the plastic footpads to the bottom of the vertical poles. These provide stability and prevent slipping.
- Mount the Awning Fabric: Carefully attach the awning fabric to the main horizontal bar and the support arms. Ensure the fabric is correctly oriented.
- Position the Awning: Place the assembled awning in the desired location. Extend the vertical poles using the telescopic mechanism until they firmly clamp between the floor and ceiling. Adjust the height using the screw feet for maximum stability.
- Attach the Crank Mechanism: Install the crank handle mechanism to the designated side of the awning frame. It can be mounted on either side for convenience.


3. Betjeningsvejledning
Your tectake Clamp Awning offers adjustable shade and privacy with simple manual operation.
3.1 Udtræk og indtræk af markisen
- Sæt håndsvinget ind i den dertil beregnede løkke på markisemekanismen.
- Turn the crank handle clockwise to extend the awning fabric.
- Turn the crank handle counter-clockwise to retract the awning fabric.
- Extend or retract the awning to your desired projection, up to 250 cm.
3.2 Justering af hældningsvinklen
The awning's inclination can be adjusted to provide optimal shade throughout the day.
- Locate the tilt adjustment mechanism on the support arms.
- Loosen the adjustment knobs or levers.
- Adjust the angle of the awning from diagonal to completely vertical, as needed.
- Tighten the adjustment knobs or levers to secure the desired tilt angle.

4. Vedligeholdelse
Proper maintenance will extend the lifespan of your tectake Clamp Markise.
4.1 Rengøring af stoffet
- The awning fabric is made of 100% polyester, which is waterproof and UV resistant.
- Clean the fabric regularly with a soft brush or cloth to remove loose dirt and debris.
- For stubborn stains, use a mild soap solution and lukewarm water. Rinse thoroughly with clean water and allow to air dry completely before retracting.
- Do not use harsh chemicals, abrasive cleaners, or high-pressure washers, as these can damage the fabric's protective coating.
4.2 Stellepleje
- The frame is constructed from powder-coated steel and aluminum. Wipe down the frame periodically with a damp cloth to remove dirt and prevent corrosion.
- Check all screws and connections regularly and tighten if necessary.
4.3 Sæsonbestemt opbevaring
If you plan to store the awning for an extended period, especially during winter or severe weather:
- Ensure the fabric is completely clean and dry to prevent mold and mildew.
- Retract the awning fully.
- If possible, disassemble and store in a dry, protected area.

5. Fejlfinding
Her er løsninger på almindelige problemer, du kan støde på:
5.1 Awning Not Extending/Retracting Smoothly
- Tjek for forhindringer: Ensure there are no objects blocking the awning's path or interfering with the crank mechanism.
- Inspect Crank Handle: Verify the crank handle is properly inserted and not damaged.
- Smøring: If the mechanism feels stiff, apply a silicone-based lubricant to moving parts (avoiding fabric).
5.2 Awning Feels Unstable
- Re-adjust Poles: Ensure the vertical support poles are fully extended and firmly clamped between the floor and ceiling. Tighten the screw feet for maximum tension.
- Tjek overflade: Verify that the floor and ceiling surfaces are flat and sturdy enough to support the awning.
- Vejrforhold: Retract the awning immediately during strong winds. This awning is not designed for extreme weather.
5.3 Water Accumulation on Fabric
- Juster hældning: Increase the tilt angle of the awning to allow water to run off more effectively.
- Fabric Tension: Ensure the fabric is taut when extended to prevent sagging.
6. Specifikationer
| Feature | Specifikation |
|---|---|
| Modelnummer | 404962-1 |
| Total Dimensions (W x P x H) | 250 x 120 x 211-304 cm |
| Closed Dimensions (W x P x H) | 250 x 12 x 211-304 cm |
| Dækareal | 237 x 180 cm |
| Armlængde | 120 cm |
| Footpad Diameter | 7 cm |
| UV beskyttelse | UV 50+ |
| Fabric Thickness | 180 g/m² |
| Vægt | Ca. 8.5 kg |
| Materialer | Powder-coated steel, aluminum, 100% polyester, polyethylene, polyurethane |
| Driftstilstand | Manual (Crank) |
| Montering påkrævet | Ja |
| Minimum Clearance Height | 211 cm |
| Maksimal projektionsafstand | 250 cm |

7. Garanti og support
tectake products are manufactured with quality and durability in mind. While specific warranty details may vary by region and retailer, we recommend retaining your proof of purchase.
For any questions, missing parts, or support needs, please contact your retailer or the tectake customer service directly. Contact information can usually be found on the product packaging or the retailer's webwebsted.
Please have your model number (404962-1) and purchase date ready when contacting support.