
1. Introduktion
This manual provides essential information for the safe and efficient operation of your MakeSkyBlue MPPT Solar Charge Controller, model 40A-V123. This device is designed to optimize power harvesting from your solar panels and efficiently charge your battery bank in 12V, 24V, or 48V solar systems. Please read this manual thoroughly before installation and use.
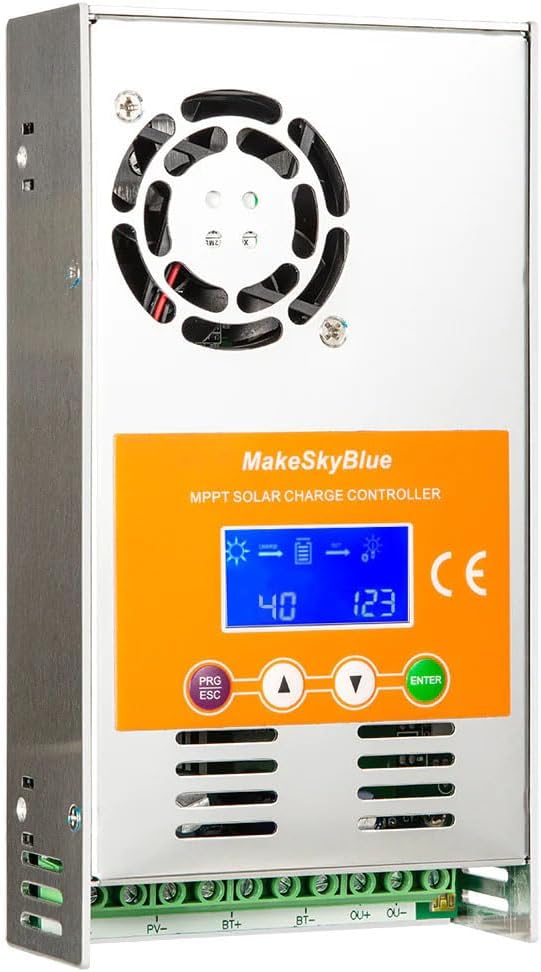
Figure 1: MakeSkyBlue 40A-V123 MPPT Solar Charge Controller
2. Sikkerhedsinstruktioner
Overhold følgende sikkerhedsforanstaltninger under installation og drift:
- Ensure all wiring is correctly polarized and securely connected to prevent damage to the controller and other components.
- Tilslut altid batteriet til laderegulatoren først, and disconnect it sidst.
- Do not connect the solar panel array to the controller without a battery connected.
- Ensure the solar panel array's open circuit voltage (Voc) overstiger ikke regulatorens maksimale indgangsvolumentage.
- Installer styreenheden i et godt ventileret område, væk fra brandfarlige materialer og direkte sollys.
- Use appropriate circuit breakers or fuses for all connections (solar, battery, load).
- Avoid touching live terminals. Only qualified personnel should perform electrical work.
3. Produktet er slutview
The MakeSkyBlue 40A-V123 MPPT Solar Charge Controller features advanced Maximum Power Point Tracking technology to maximize energy harvest from your solar array. It includes a multi-function LCD for monitoring and parameter adjustment, and supports 12V, 24V, and 48V battery systems with automatic voltage afsløring.
3.1 Nøglefunktioner
- Intelligent Maximum Power Point Tracking (MPPT) technology.
- Indbygget DSP-controller for høj ydeevne.
- Tre-stage charging algorithm to optimize battery performance and lifespan.
- Multi-function LCD display with backlight for real-time data and error codes.
- Automatisk batteri voltage detection (12V/24V/48V).
- Compatible with various battery types including Lead-Acid, AGM, and Gel.
- Protection features: limited current, temperature, and overcharging.

Figure 2: Compatible Battery Types (Gel, Flooded, AGM)

Figure 3: Illustration of Maximum Power Point Tracking (MPPT) vs. PWM
4. Opsætning og installation
Follow these steps for proper installation of your MPPT solar charge controller. Refer to the wiring diagram for visual guidance.
4.1 Ledningsdiagram

Figure 4: MPPT Charge Controller System Wiring Diagram
4.2 Installationstrin
- Montering: Mount the controller vertically on a non-flammable surface in a cool, dry, and well-ventilated area. Ensure adequate clearance around the unit for heat dissipation.
- Batteriforbindelse: Connect the battery cables to the controller's BAT+ and BAT- terminals. Ensure correct polarity. The controller will automatically detect the battery voltage (12V, 24V eller 48V).
- Solpaneltilslutning: Connect the solar panel array cables to the controller's PV+ and PV- terminals. Ensure correct polarity. The controller will begin charging the battery.
- Belastningsforbindelse (valgfrit): If using the load output, connect your DC loads to the OUT+ and OUT- terminals. Ensure the total current draw does not exceed the controller's rated load current.
- Bekræft forbindelser: Dobbelttjek alle forbindelser for tæthed og korrekt polaritet, før du tænder for systemet.
Important: Always connect the battery first and disconnect it last. Failure to follow this sequence may damage the controller.
5. Betjeningsvejledning
The controller's LCD display provides real-time system status and allows for parameter adjustments. The control buttons are PRG/ESC, Up (▲), Down (▼), and ENTER.
5.1 LCD-skærmfunktioner
The LCD cycles through various screens displaying system information. You can manually cycle through screens using the Up/Down buttons or enter parameter settings using PRG/ESC and ENTER.
- Hoveddisplay: Shows charging status, battery level, and output status.
- Kumulativ kraftproduktion: Displays total energy generated by the solar panels.
- PV Voltage and Load Power: Shows current solar panel voltage and load power consumption.
- Batteri Voltage and Load Current: Viser den aktuelle batterivolumentage og belastningsstrøm.
- Accumulated Discharge: Shows total energy discharged from the battery.
- Intern temperatur: Displays the internal temperature of the controller.
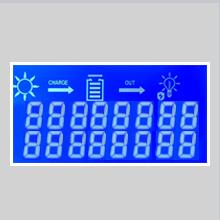
Figure 5: Main Display showing charge and output status.
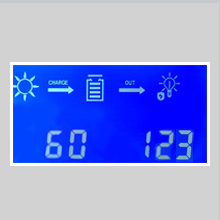
Figure 6: Display showing cumulative power generation.
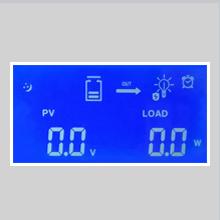
Figure 7: Display showing PV voltage and load power.
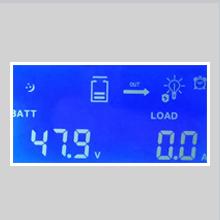
Figure 8: Display showing battery voltage og belastningsstrøm.
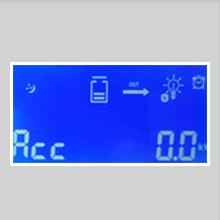
Figure 9: Display showing accumulated discharge.
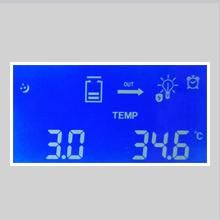
Figure 10: Display showing internal temperature.
5.2 Parameterjustering
To enter parameter adjustment mode, press the PRG/ESC knap. Brug Up (▲) og Ned (▼) buttons to navigate through parameters and adjust values. Press ENTER to confirm changes. Press PRG/ESC igen for at afslutte indstillingstilstanden.
Common adjustable parameters include:
- b00: Load working mode (e.g., 24H for continuous, or timed modes).
- b01: Overopladningsbeskyttelse voltage (e.g., 55.2V for 48V system).
- b02: Opladningsgenvinding voltage (e.g., 58.0V for 48V system).
- b03: Overafladningsbeskyttelse voltage (e.g., 40.0V for 48V system).
- b04: Overudladningsindvinding voltage.
- b06: Battery type setting (e.g., 47.9V for a specific battery type).
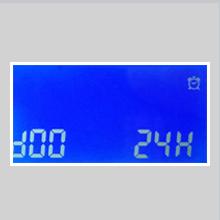
Figure 11: Parameter b00 for load working mode.
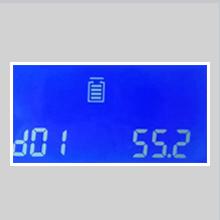
Figure 12: Parameter b01 for overcharge protection voltage.
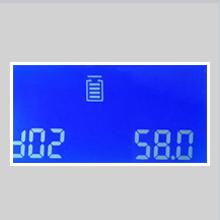
Figure 13: Parameter b02 for charging recovery voltage.
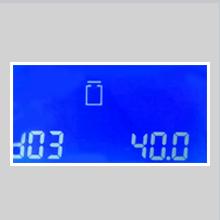
Figure 14: Parameter b03 for over-discharge protection voltage.
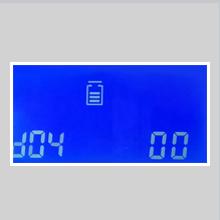
Figure 15: Parameter b04 for over-discharge recovery voltage.
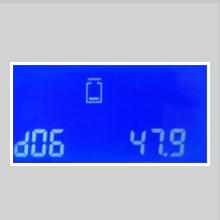
Figure 16: Parameter b06 for battery type setting.
Refer to the full product manual (if available from the manufacturer) for a complete list of parameters and their recommended settings for different battery types.
6. Vedligeholdelse
Regelmæssig vedligeholdelse sikrer optimal ydeevne og levetid for din solcelleladeregulator:
- Rensning: Periodically clean the controller's exterior, especially the cooling fins and fan openings, to prevent dust buildup and ensure proper heat dissipation. Use a dry cloth.
- Tilslutningskontrol: Kontrollér årligt alle ledningsforbindelser for tæthed og korrosion. Løse forbindelser kan forårsage overophedning og strømtab.
- Ventilation: Sørg for, at installationsområdet er godt ventileret og fri for forhindringer.
- Batteriinspektion: Regularly check your battery bank for signs of damage, corrosion, or electrolyte levels (for flooded batteries).
7. Fejlfinding
The LCD display can show error codes to indicate specific issues. If an error occurs, note the code and refer to the manufacturer's documentation for detailed troubleshooting steps. General troubleshooting tips include:
- Intet display/Ingen strøm: Check battery connections and ensure the battery has sufficient voltage.
- Ingen opladning: Verify solar panel connections, ensure sufficient sunlight, and check for any shading on the panels. Confirm PV array voltage er inden for regulatorens driftsområde.
- Overopladning/Underopladning: Check battery type settings and charging parameters (b01, b02). Ensure the battery is healthy.
- Indlæsning virker ikke: Check load connections, ensure the load output is enabled (b00 setting), and verify the load current does not exceed the controller's rating. Check for over-discharge protection (b03).
- Over-temperature Error: Ensure adequate ventilation around the controller. Clean any dust from cooling fins.
If the issue persists, contact MakeSkyBlue customer support.
8. Specifikationer
Key technical specifications for the MakeSkyBlue 40A-V123 MPPT Solar Charge Controller:
| Feature | Specifikation |
|---|---|
| Model | 40A-V123 |
| System Voltage | 12V / 24V / 48V Auto |
| Maximum PV Array Power (12V Battery) | ≤ 720W |
| Maximum PV Array Power (24V Battery) | ≤ 1440W |
| Maximum PV Array Power (48V Battery) | ≤ 2800W |
| PV-array åbent kredsløbsvolumentage (Voc) (12V Battery) | 20V - 80V |
| PV-array åbent kredsløbsvolumentage (Voc) (24V Battery) | 37V - 105V |
| PV-array åbent kredsløbsvolumentage (Voc) (48V Battery) | 72V - 160V |
| Begrænset strømbeskyttelse | 61A |
| Temperaturbeskyttelse | >75℃ |
| Temperatur ved ventilator | >45℃ |
| Blæser-fra-temperatur | <40℃ |
| Overopladningsbeskyttelse Voltage (12V batteri) | 15V |
| Overopladningsbeskyttelse Voltage (24V batteri) | 30V |
| Overopladningsbeskyttelse Voltage (48V batteri) | 60V |
| Driftstemperatur | Op til 45 ℃ |
| Display Type | LCD |
| Varens vægt | 2.87 pund (1300 gram) |
| Pakkedimensioner | 9.84 x 7.87 x 2.76 tommer |
| UPC | 634769632563 |
8.1 Produktdimensioner

Figure 17: Product Dimensions (approx. 21.65cm H x 14.96cm W x 8.66cm D)
9. Garanti og support
For warranty information, technical support, or service inquiries, please contact MakeSkyBlue directly through their official channels. Keep your purchase receipt as proof of purchase.
Du kan besøge MakeSkyBlue Store on Amazon for mere information.