tectake SK1000W
tectake SK1000W Sandwich Maker Instruction Manual
Model: SK1000W
1. Introduktion
Thank you for choosing the tectake SK1000W Sandwich Maker. This appliance is designed for preparing delicious toasted sandwiches quickly and efficiently. Please read this instruction manual carefully before first use to ensure safe operation and optimal performance. Keep this manual for future reference.
2. Vigtige sikkerhedsinstruktioner
- Læs alle instruktioner før brug af apparatet.
- Rør ikke ved varme overflader. Brug håndtag eller knopper.
- For at beskytte mod elektrisk stød må ledningen, stik eller apparatet ikke nedsænkes i vand eller anden væske.
- Tæt opsyn er nødvendigt, når et apparat bruges af eller i nærheden af børn.
- Træk stikket ud af stikkontakten, når det ikke er i brug, og før rengøring. Lad det køle af, før du sætter dele på eller af, og før du rengør apparatet.
- Brug ikke et apparat med en beskadiget ledning eller stik, eller efter at apparatet ikke fungerer korrekt eller er blevet beskadiget på nogen måde. Kontakt kundeservice for undersøgelse, reparation eller justering.
- Brug af tilbehør, der ikke er anbefalet af apparatets producent, kan forårsage skader.
- Må ikke bruges udendørs.
- Lad ikke ledningen hænge ud over kanten af bordet eller bordpladen eller røre ved varme overflader.
- Må ikke placeres på eller i nærheden af en varm gas- eller elektrisk brænder eller i en opvarmet ovn.
- Der skal udvises ekstrem forsigtighed ved flytning af et apparat, der indeholder varm olie eller andre varme væsker.
- Sæt altid stikket i apparatet først, og sæt derefter ledningen i stikkontakten. For at afbryde forbindelsen skal du slukke for en vilkårlig knap og derefter tage stikket ud af stikkontakten.
- Brug ikke apparatet til andet end tilsigtet brug.
- Dette apparat er ikke beregnet til brug af personer (inklusive børn) med nedsatte fysiske, sensoriske eller mentale evner, eller mangel på erfaring og viden, medmindre de har fået opsyn eller instruktion i brugen af apparatet af en person, der er ansvarlig for deres sikkerhed.
- Børn skal være under opsyn for at sikre, at de ikke leger med apparatet.
3. Opsætning
3.1 Udpakning
Carefully remove the sandwich maker from its packaging. Retain the packaging for future storage or disposal. Ensure all components are present and undamaged. The package should contain the sandwich maker and this instruction manual.
3.2 Rengøring ved første brug
Tør non-stick kogepladerne af med en klud inden første brug.amp klud eller svamp. Tør grundigt. Ydersiden kan tørres af med en blød, tør klud.amp klæde. Nedsænk ikke apparatet i vand.
3.3 Placering
Place the sandwich maker on a stable, heat-resistant, and dry surface. Ensure there is adequate ventilation around the appliance. Do not place it near flammable materials or under cabinets that could be damaged by heat or steam.
4. Betjeningsvejledning
4.1 Forvarmning
- Close the sandwich maker and plug the power cord into a suitable wall outlet (220-240V).
- The red indicator light will illuminate, indicating the appliance is powered on and beginning to heat.
- Allow the sandwich maker to preheat for approximately 3-5 minutes. The green indicator light will illuminate when the optimal cooking temperature is reached.
4.2 Making Sandwiches
- Once the green indicator light illuminates, carefully open the sandwich maker using the handle.
- Place your prepared sandwiches onto the lower cooking plates. The appliance is designed for two sandwiches.
- Close the lid gently, ensuring the latch is secured. Do not force the lid shut if the sandwiches are too thick, as this may damage the appliance.
- Cook for approximately 3-6 minutes, or until the sandwiches are golden brown and the filling is heated through. Cooking time may vary depending on the ingredients and desired crispness.
- During cooking, the green indicator light may cycle on and off, indicating that the thermostat is maintaining the correct temperature.
- Once cooked, carefully open the lid and remove the sandwiches using a heat-resistant plastic or wooden utensil. Do not use metal utensils, as they can damage the non-stick coating.
- Tag stikket ud af stikkontakten efter brug.

Image 1: The tectake SK1000W Sandwich Maker showing its non-stick cooking plates and indicator lights. The red light indicates power, and the green light indicates readiness for cooking.
5. Rengøring og vedligeholdelse
Always unplug the sandwich maker and allow it to cool completely before cleaning.
- Kogeplader: The non-stick coating allows for easy cleaning. Wipe the cooking plates with a damp cloth or sponge. For stubborn residue, a small amount of mild dish soap can be used, then wipe clean with a damp klud. Brug ikke slibende rengøringsmidler, skuresvampe eller metalredskaber, da disse vil beskadige non-stick-overfladen.
- Ydre: Tør ydersiden af apparatet af med en blød, damp klæde. Brug ikke skrappe eller slibende rengøringsmidler.
- Opbevaring: Once clean and dry, the sandwich maker can be stored in a vertical position to save space. Wrap the power cord neatly around the base if a cord wrap feature is present.
- Nedsænk ikke apparatet i vand eller anden væske.
6. Fejlfinding
- Apparatet varmer ikke op:
- Sørg for, at netledningen er korrekt tilsluttet en fungerende stikkontakt.
- Check if the red indicator light is on. If not, check the power supply.
- Sandwiches are not cooking evenly:
- Ensure the appliance was fully preheated (green light on) before placing sandwiches.
- Check that the sandwiches are evenly placed on the cooking plates and the lid is closed properly.
- Juster tilberedningstiden efter behov.
- Smoke or unusual odor during first use:
- A slight smoke or odor may occur during the first use due to manufacturing residues. This is normal and should dissipate quickly. Ensure good ventilation. If it persists, unplug the appliance and contact customer support.
7. Specifikationer
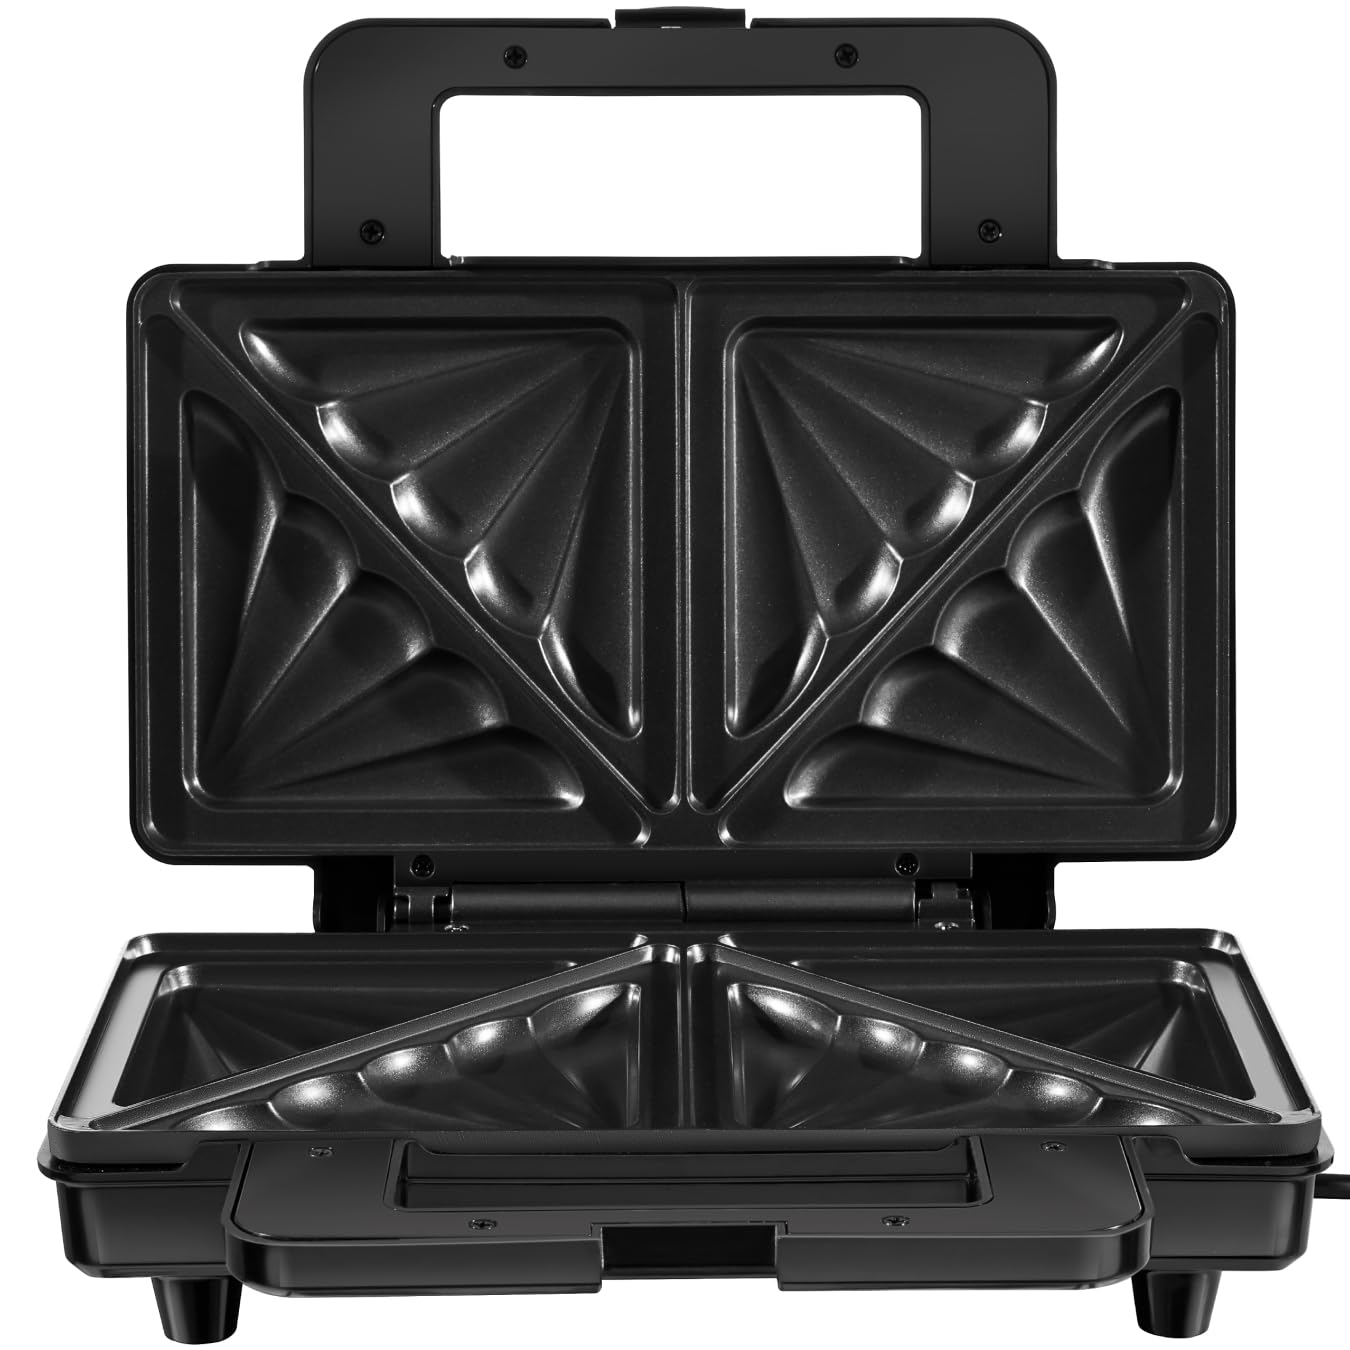
Image 2: The tectake SK1000W Sandwich Maker with key dimensions and technical details highlighted.
| Modelnummer | 405369 |
| Samlede dimensioner (L x B x H) | Ca. 29 cm x 24.5 cm x 10 cm |
| Per Sandwich Compartment | Ca. 14.5 cm x 13.5 cm |
| Vægt | Ca. 1.7 kg |
| Magt | 1000 W |
| Voltage | 220 - 240 V (vekselstrøm) |
| Kabellængde | Ca. 63 cm |
| Materialer | Aluminum, Bakelite, Stainless Steel, Copper Alloy, Polyvinyl Chloride |
| Særlige funktioner | Temperature control, Non-stick coating |
8. Garanti og support
This product is covered by the standard warranty terms and conditions of tectake. For detailed warranty information, please refer to the documentation provided with your purchase or visit the official tectake website. If you encounter any issues or require technical assistance, please contact tectake customer support. Information regarding spare parts availability is not provided in this manual.
For yderligere hjælp, besøg venligst tectake Brand Store.
Ask a question about this manual
Ask about setup, troubleshooting, compatibility, parts, safety, or missing instructions. Manuals+ will review the question and use this page’s manual context to help answer it.