This manual provides detailed instructions for the setup, operation, and maintenance of your Chilkey ND75 Aluminum 75% Wireless Mechanical Keyboard. Please read this manual thoroughly before using the product to ensure optimal performance and longevity.
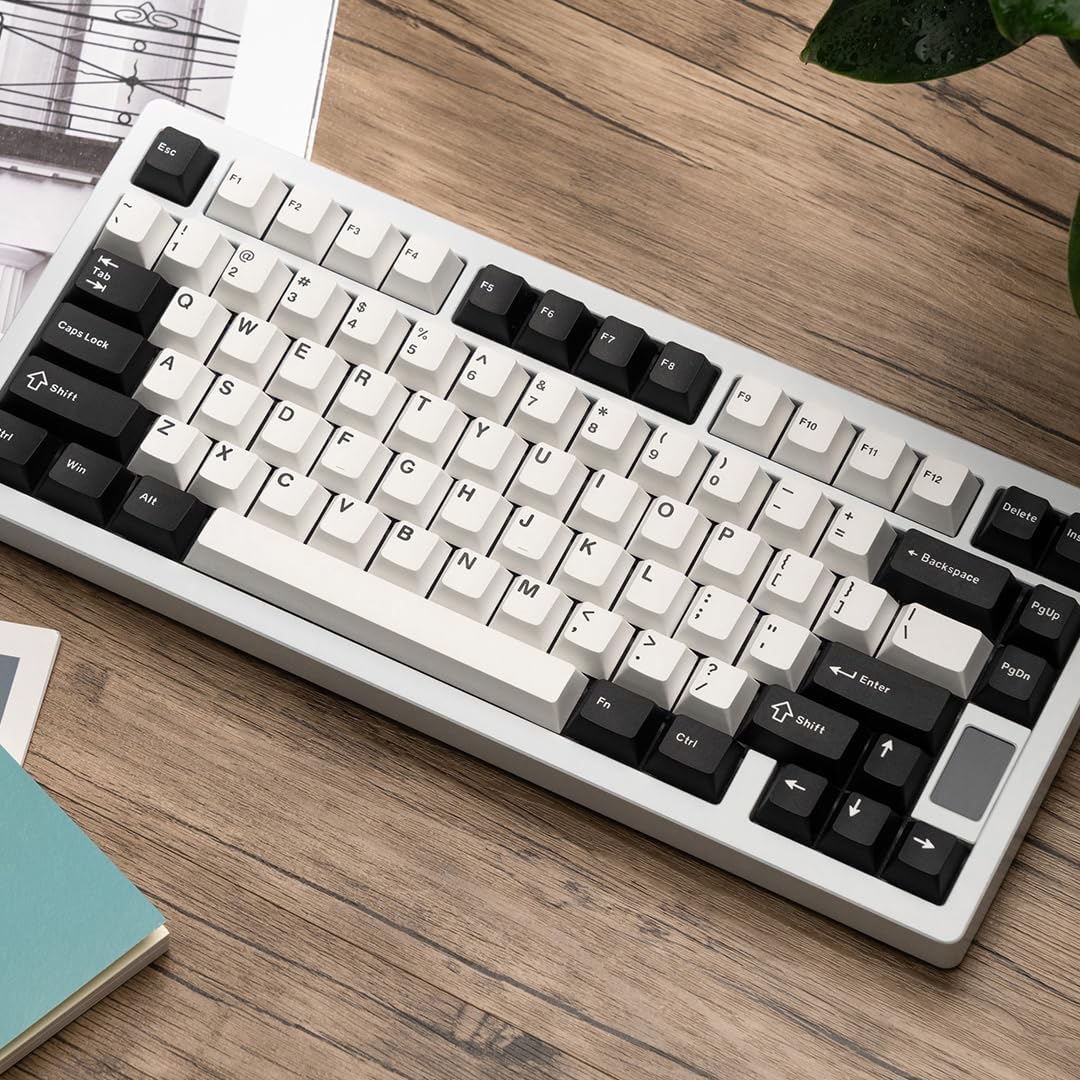
The Chilkey ND75 is a high-performance 75% layout mechanical keyboard featuring a full aluminum alloy case, multi-mode connectivity (Bluetooth 5.0, 2.4GHz wireless, USB-C wired), hot-swappable switches, per-key RGB backlighting, and an integrated LCD screen for enhanced functionality.
Image: The Chilkey ND75 keyboard, showcasing its 75% layout and aluminum casing.
2. Pakkens indhold
Bekræft at alle varer er til stede i din pakke:
Chilkey ND75 Aluminum Mechanical Keyboard
USB-C kabel
Switch Puller / Keycap Puller Tool
Brugervejledning (dette dokument)
Additional hardware (e.g., screwdriver, spare mounting system components if applicable)
Note: The product includes 2 Lithium Polymer batteries (pre-installed).
3. Opsætning
3.1 Første tilslutning
The ND75 keyboard supports three connection modes: Bluetooth 5.0, 2.4GHz wireless, and USB-C wired.
3.1.1 Kablet tilstand (USB-C)
Tilslut det medfølgende USB-C-kabel til tastaturets USB-C-port.
Tilslut den anden ende af USB-C-kablet til en ledig USB-port på din computer.
Tastaturet vil automatisk blive registreret og klar til brug.
3.1.2 2.4 GHz trådløs tilstand
Locate the 2.4GHz USB receiver. This is typically stored in a compartment on the keyboard or included separately.
Remove the Right Shift keycap to access the wireless switch. Ensure the switch is in the 2.4GHz position.
Sæt 2.4 GHz USB-modtageren i en ledig USB-port på din computer.
Tastaturet burde oprette forbindelse automatisk. Hvis ikke, tryk på Fn + 4 for at aktivere 2.4 GHz parringstilstand.
3.1.3 Bluetooth 5.0-tilstand
Remove the Right Shift keycap to access the wireless switch. Ensure the switch is in the Bluetooth position.
Aktiver Bluetooth på din computer eller enhed, og søg efter nye enheder.
Tryk og hold nede på tastaturet Fn + 1, Fn + 2, eller Fn + 3 for 3-5 seconds to enter pairing mode for one of the three available Bluetooth channels. The LCD screen will indicate pairing status.
Select "Chilkey ND75" from the list of available Bluetooth devices on your computer/device to complete pairing.
You can switch between paired Bluetooth devices using Fn + 1, Fn + 2, eller Fn + 3.
3.2 Mounting System Adjustment
The ND75 keyboard features a screwless quick assembly structure and supports three different mounting systems: Split O-Ring Mounting, Silica Gel Particle Mounting, and Top Mounting. These can be adjusted to customize typing feel.
Billede: Nærbillede view of the keyboard's internal structure highlighting the three mounting systems: Top Mount, Split O-Ring Mount, and Silica Gel Particle Mount. Each system offers a distinct typing experience.
Refer to the detailed instructions provided with the additional hardware for specific guidance on disassembling and reassembling the keyboard to change mounting systems.
4. Betjeningsvejledning
4.1 LCD-skærmfunktioner
The integrated LCD screen provides real-time information and allows for quick adjustments without software. Functions include:
Connection Mode display (BT, 2.4G, USB-C)
Batteriniveauindikator
Backlight Brightness/Speed adjustment
RGB Mode/Color selection
Volumenkontrol
Sprogindstillinger
Custom GIF/Image display
Image: The ND75 keyboard with an overlay illustrating the various functions accessible via the LCD screen, including configuration, connection modes, RGB settings, system information, and volume control.
Navigate the LCD screen menu using the dedicated knob or specific key combinations (refer to the quick guide provided with the keyboard).
4.2 RGB-baggrundsbelysning
The ND75 keyboard features per-key RGB backlighting with 19 preset lighting effects. Custom light colors can also be defined.
Image: The ND75 keyboard illuminated with per-key RGB backlighting, demonstrating the range of colors and effects available.
Adjust lighting effects and colors directly via the LCD screen or using specific Fn key combinations. Consult the quick guide for a list of shortcuts.
4.3 Hot-swap-kontakter
The ND75 keyboard is equipped with a hot-swappable PCB, allowing users to replace switches without soldering. It supports both 3-pin and 5-pin switches.
Image: A switch puller tool is used to remove a mechanical switch from the keyboard, illustrating the hot-swappable functionality.
Sådan udskifter du en kontakt:
Carefully remove the keycap using the keycap puller tool.
Use the switch puller tool to gently grip the top and bottom clips of the switch.
Træk kontakten lige op for at fjerne den fra printkortet.
Juster stifterne på den nye kontakt med hullerne på printkortet.
Tryk den nye kontakt godt fast på plads, indtil den klikker. Sørg for, at stifterne ikke er bøjede.
Udskift tastaturdækslet.
Caution: Apply gentle, even pressure when inserting switches to avoid bending pins or damaging the PCB.
4.4 Softwaretilpasning
The ND75 keyboard supports independent driver/software for advanced customization, including key remapping, macro creation, and further RGB lighting control. The software can be downloaded from the official Chilkey webwebsted.
Note: Some users have reported that the software can be clunky. Refer to the official Chilkey Discord community or support channels for assistance with software usage.
5. Vedligeholdelse
5.1 Rengøring af tastaturet
Frakobl tastaturet fra computeren, før du rengør det.
Brug en blød børste eller trykluft til at fjerne støv og snavs mellem tasterne.
For deeper cleaning, keycaps can be removed using the provided keycap puller. Clean keycaps with a mild soap solution and allow them to dry completely before reattaching.
Tør tastaturet af med en blød kludamp klud. Undgå barske kemikalier eller slibende materialer.
5.2 Pleje af batterier
The keyboard contains two Lithium Polymer batteries. To prolong battery life:
Undgå at aflade batteriet helt ofte.
Opbevar tastaturet et køligt og tørt sted, hvis det ikke bruges i længere perioder.
Charge the keyboard using the provided USB-C cable or a compatible charger.
6. Fejlfinding
6.1 Tastaturet reagerer ikke
Kablet tilstand: Sørg for, at USB-C-kablet er korrekt tilsluttet til både tastaturet og computeren. Prøv en anden USB-port eller et andet kabel.
2.4 GHz trådløs tilstand: Ensure the USB receiver is properly inserted and the wireless switch (under the Right Shift keycap) is in the 2.4GHz position. Try re-pairing by pressing Fn + 4.
Bluetooth-tilstand: Verify Bluetooth is enabled on your device and the keyboard is paired. Ensure the wireless switch is in the Bluetooth position. Try re-pairing by holding Fn + 1/2/3.
Batteri: Check the battery level on the LCD screen. Connect the keyboard to a power source to charge if the battery is low.
6.2 Nøgler registreres ikke eller dobbelttastes
This may indicate a faulty switch. Utilize the hot-swappable feature to replace the affected switch.
Sørg for, at kontakten er helt indsat i printkortet.
6.3 Problemer med RGB-belysning
Check the lighting settings via the LCD screen or software.
Sørg for, at tastaturets firmware er opdateret.
6.4 Software registrerer ikke tastatur
Ensure the keyboard is connected via USB-C wired mode when attempting to use the software.
Download the latest version of the software from the official Chilkey webwebsted.
Deaktiver midlertidigt al antivirus- eller firewallsoftware, der muligvis blokerer forbindelsen.
7. Specifikationer
Model
ND75
Layout
75 %
Etui materiale
Full Aluminum Alloy (CNC with electrophoretic surface treatment)
Forbindelse
Bluetooth 5.0, 2.4 GHz trådløs, USB-C kablet
Afbrydere
Hot-swappable (supports 3-pin/5-pin switches), Pre-lubed Linear Switches
Image: Technical drawing illustrating the precise dimensions of the ND75 keyboard.
Billede: Eksploderet view diagram detailing the internal layers and components of the ND75 keyboard, including keycaps, switches, case, and sound dampmaterialer.
8. Garanti og support
For warranty information, technical support, or further assistance, please refer to the official Chilkey website or contact their customer service. You may also find helpful resources and community support on the official Chilkey Discord server.
Manufacturer: OOCTPK
Ask a question about this manual
Ask about setup, troubleshooting, compatibility, parts, safety, or missing instructions. Manuals+ will review the question and use this page’s manual context to help answer it.