Indledning
Welcome to the user manual for the Lost Vape Centaurus E40 Max Pod Kit. This device is engineered to deliver a premium vaping experience, combining powerful performance with a sophisticated design. Please read this manual thoroughly before using your device to ensure proper operation and maintenance.
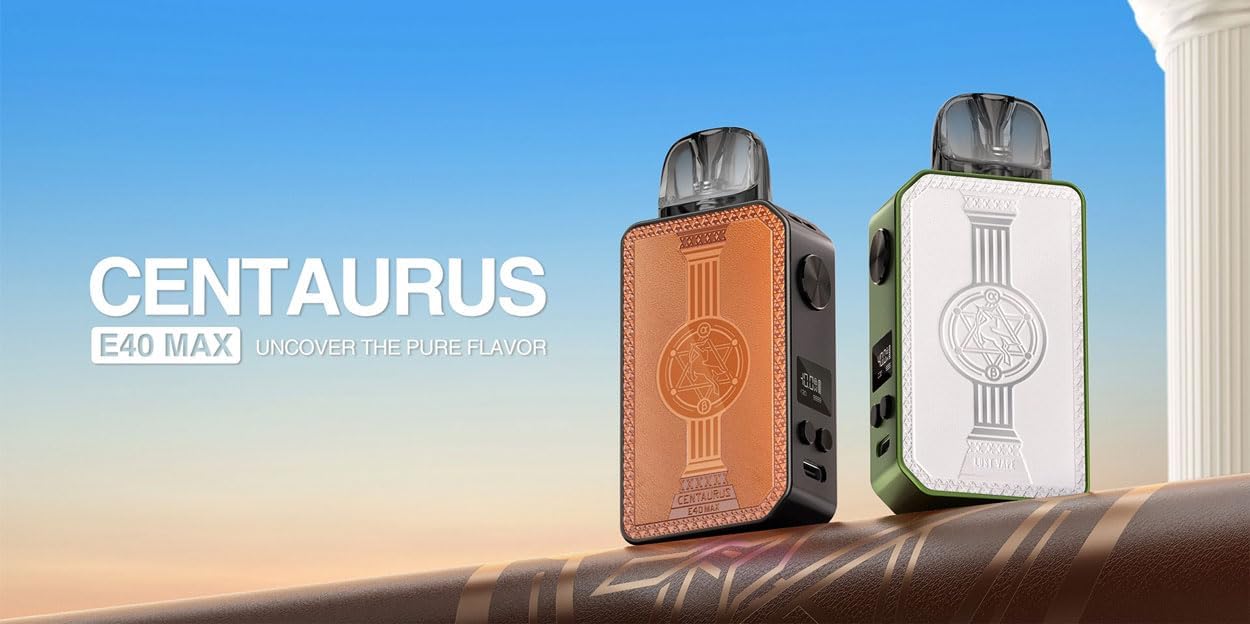
Image: Two Centaurus E40 Max devices, showcasing different color options and the sleek design.
Sikkerhedsoplysninger
Overhold følgende sikkerhedsforanstaltninger for at forhindre personskade eller beskadigelse af enheden:
- Hold enheden utilgængeligt for børn og kæledyr.
- Udsæt ikke enheden for ekstreme temperaturer, direkte sollys eller vand.
- Do not attempt to disassemble, modify, or repair the device yourself.
- Use only the provided USB Type-C charging cable and genuine Lost Vape E-plus cartridges.
- Dette produkt er kun beregnet til voksne brugere.
- This product does not contain nicotine or e-liquid.
Pakkens indhold
Bekræft at alle varer er til stede i din pakke:
- 1x Centaurus E40 Max Device
- 1x 0.3ohm E Plus Cartridge (3ml)
- 1x 0.6ohm E Plus Cartridge (3ml)
- 1x USB Type-C kabel
- 1 x rem
- 1x brugermanual
- 1x Authenticity Certificate
Produkt overview
The Centaurus E40 Max features a compact and ergonomic design, crafted from durable aluminum alloy and PCTG. It integrates a powerful 1400mAh battery and a clear LCD screen to display essential vaping information.
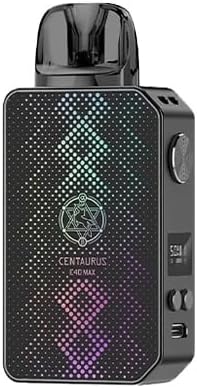
Billede: Forside view of the Centaurus E40 Max device, highlighting its textured finish.
Nøglekomponenter
- Power knap: Used for device activation, power on/off, and firing.
- LCD skærm: Displays current wattage, batteriniveau, spolemodstand og sugeantal.
- Justeringsknapper: Used to increase or decrease the wattage indstilling.
- USB Type-C-port: Til opladning af enheden.
- Pod-patron: Houses the e-liquid and the heating coil.
- Airflow Adjustment Slider: Allows customization of the draw resistance.
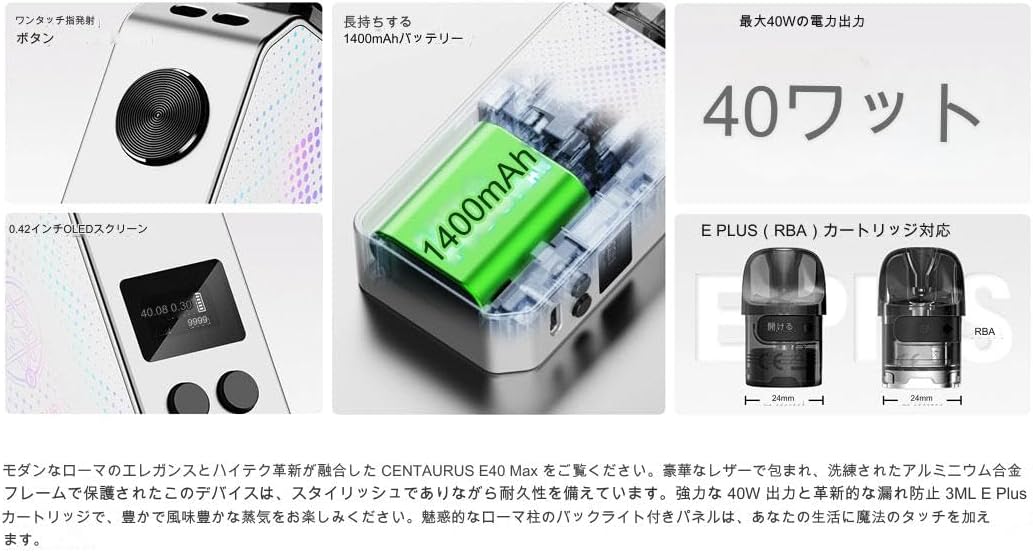
Billede: Intern view highlighting the 1400mAh battery, power button, and cartridge compatibility.
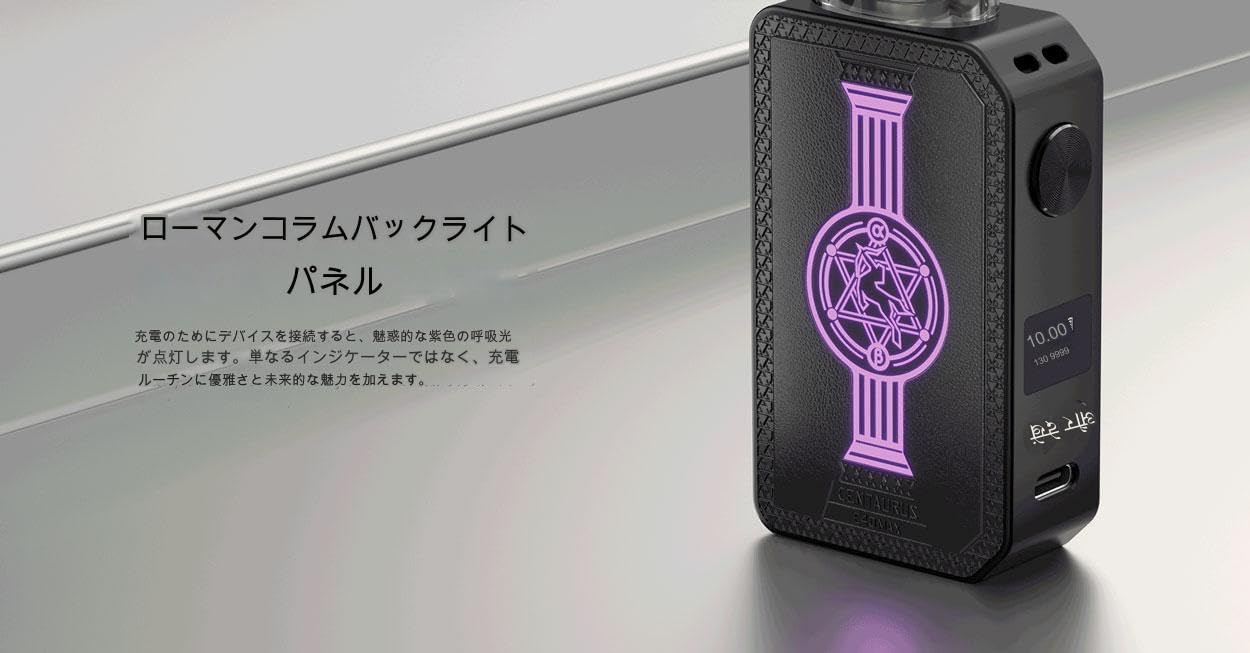
Image: The Roman column backlight panel, which illuminates during charging and operation.
Opsætning
Opladning af enheden
Before first use, fully charge your Centaurus E40 Max. Connect the provided USB Type-C cable to the charging port located at the bottom of the device. Plug the other end into a suitable USB power source (a 5V/1.4A adapter is recommended). The LCD screen will display the charging progress, and the Roman column backlight will illuminate.
Installing and Filling the Pod Cartridge
- Fjern pod-patronen fra enheden.
- Locate the silicone stopper on the side of the cartridge. Open the stopper to reveal the filling port.
- Carefully fill the cartridge with your preferred e-liquid. Do not overfill.
- Luk silikoneproppen forsvarligt.
- For first-time use or with a new coil, allow the e-liquid to soak into the coil for at least 5-10 minutes before vaping to prevent dry hits.
- Insert the filled cartridge firmly into the device until it clicks into place.
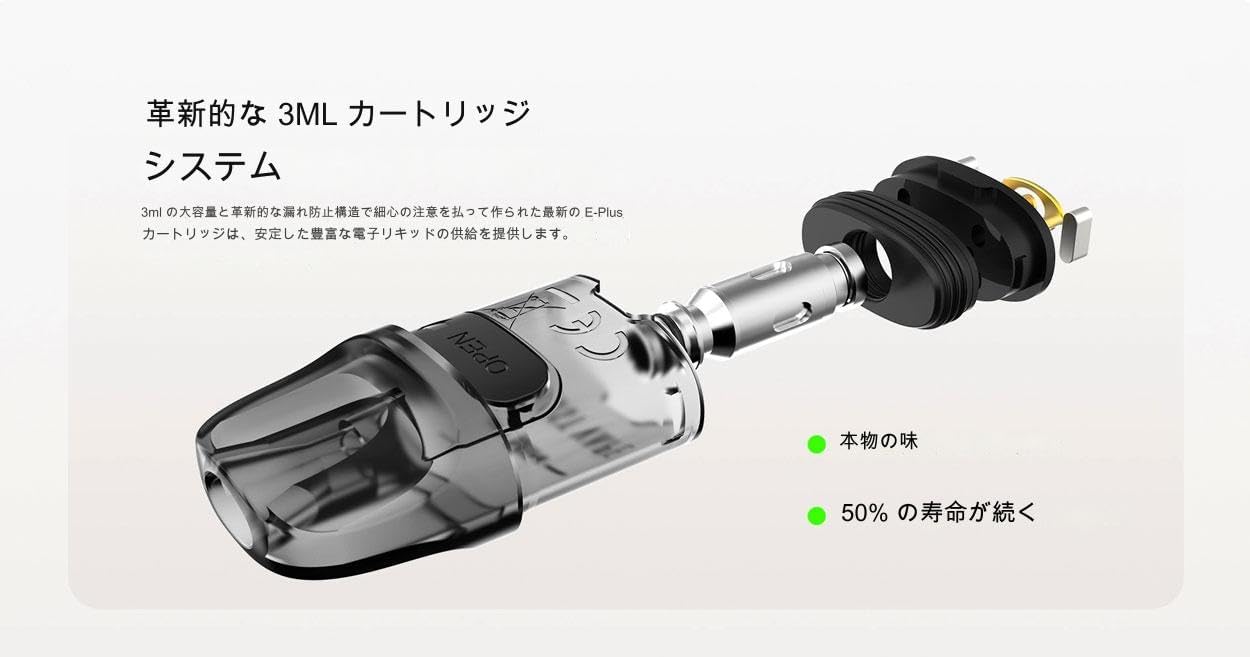
Billede: Detaljeret view of the 3ml E Plus cartridge system, illustrating the filling process.
Betjeningsvejledning
Tænd/sluk
To turn the device on or off, rapidly press the power button 5 times within 2 seconds.
Justering af Wattage
Once the device is on, use the two adjustment buttons located below the LCD screen to increase or decrease the wattage. Hvadtage can be adjusted from 5W to 40W. Select a wattage appropriate for your installed coil (e.g., 0.3ohm for higher wattage, 0.6ohm for lower wattagog).
Vaping
The Centaurus E40 Max supports both auto-draw and button-activated vaping:
- Automatisk tegnebog: Simply inhale through the mouthpiece to activate the device and produce vapor.
- Knapaktiveret: Press and hold the power button while inhaling through the mouthpiece.
Luftstrømsjustering
The device features an adjustable airflow slider, allowing you to customize your draw from a tight MTL (Mouth-to-Lung) to a more open RDL (Restricted Direct-to-Lung) experience. Adjust the slider to your preferred setting.
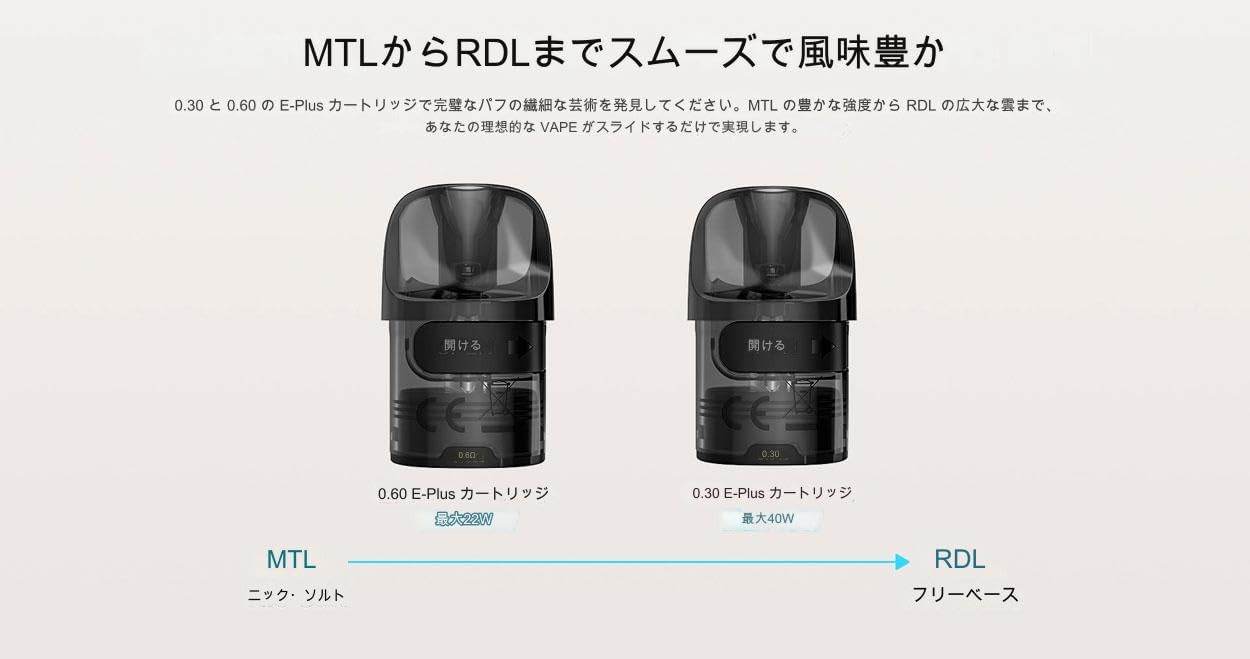
Image: Visual representation of MTL and RDL vaping styles with different cartridge resistances.
Opretholdelse
Rensning
Regularly clean your device to ensure optimal performance and longevity. Use a dry, soft cloth to wipe down the device, especially the pod connection area, to remove any e-liquid condensation or dust. Do not use harsh chemicals or abrasive materials.
Udskiftning af patron
The E Plus cartridges are consumable parts and will need to be replaced periodically. Replace the cartridge when you notice a burnt taste, reduced vapor production, or a significant change in flavor. To replace, simply pull out the old cartridge and insert a new one after filling and priming.
Fejlfinding
Device Not Firing
- Ensure the device is turned on (5 clicks of the power button).
- Check the battery level on the LCD screen and charge if necessary.
- Re-seat the pod cartridge firmly into the device.
- If the coil is burnt or damaged, replace the cartridge.
Ingen dampproduktion
- Check the e-liquid level in the cartridge; refill if empty.
- Ensure the coil is properly saturated with e-liquid (allow priming time for new coils).
- Kontroller, at wattage setting is appropriate for the installed coil resistance.
Utætte
- Ensure the cartridge is properly and securely seated in the device.
- Do not overfill the cartridge.
- Check for any damaged or worn seals on the cartridge.
- Avoid leaving the device in direct sunlight or high temperatures, which can cause e-liquid to thin and leak.
Specifikationer
| Feature | Detalje |
|---|---|
| Mærke | Lost Vape (Manufacturer: meihen) |
| Modelnavn | Centaurus E40 Max |
| Modelnummer | Thelema Nexus |
| Dimensioner | 20 x 43 x 95 mm |
| Batterikapacitet | 1400mAh (indbygget) |
| Effekt rækkevidde | 5-40W |
| Pod kapacitet | 3 ml |
| Spolemodstandsområde | 0.25-2.0 ohm |
| Kompatible patroner | Lost Vape E-plus Pod Cartridges (0.3ohm, 0.6ohm) |
| Opladningsport | Type-C |
| Ladestrøm | 5V/1.4A |
| Kropsmateriale | Aluminiumslegering, PC |
| Aktiveringsmetode | Auto-draw / Button-activated |
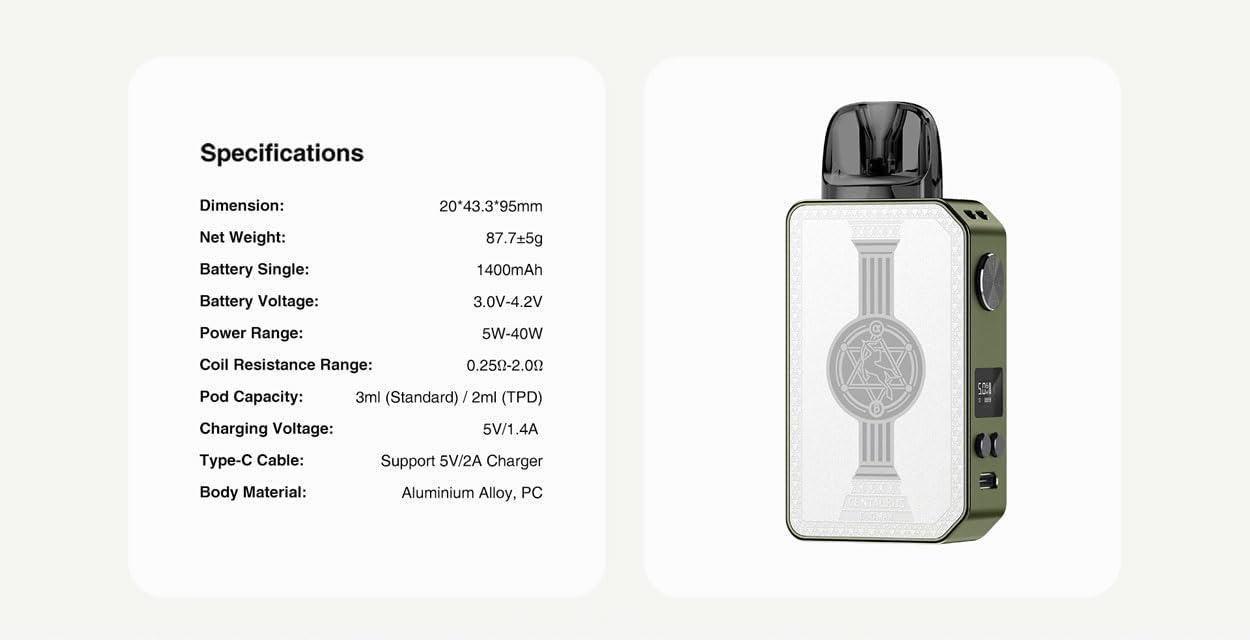
Image: Official product specifications table.
Garanti og support
This product comes with an authenticity certificate to verify its genuine nature. For any warranty claims, technical support, or inquiries, please refer to the contact information provided on the authenticity certificate or reach out to the seller directly. Keep your purchase receipt as proof of purchase.