1. Introduktion
Thank you for choosing the Arcchio Walisa Spotlight. This manual provides essential information for the safe installation, operation, and maintenance of your new lighting fixture. Please read these instructions carefully before installation and retain them for future reference.
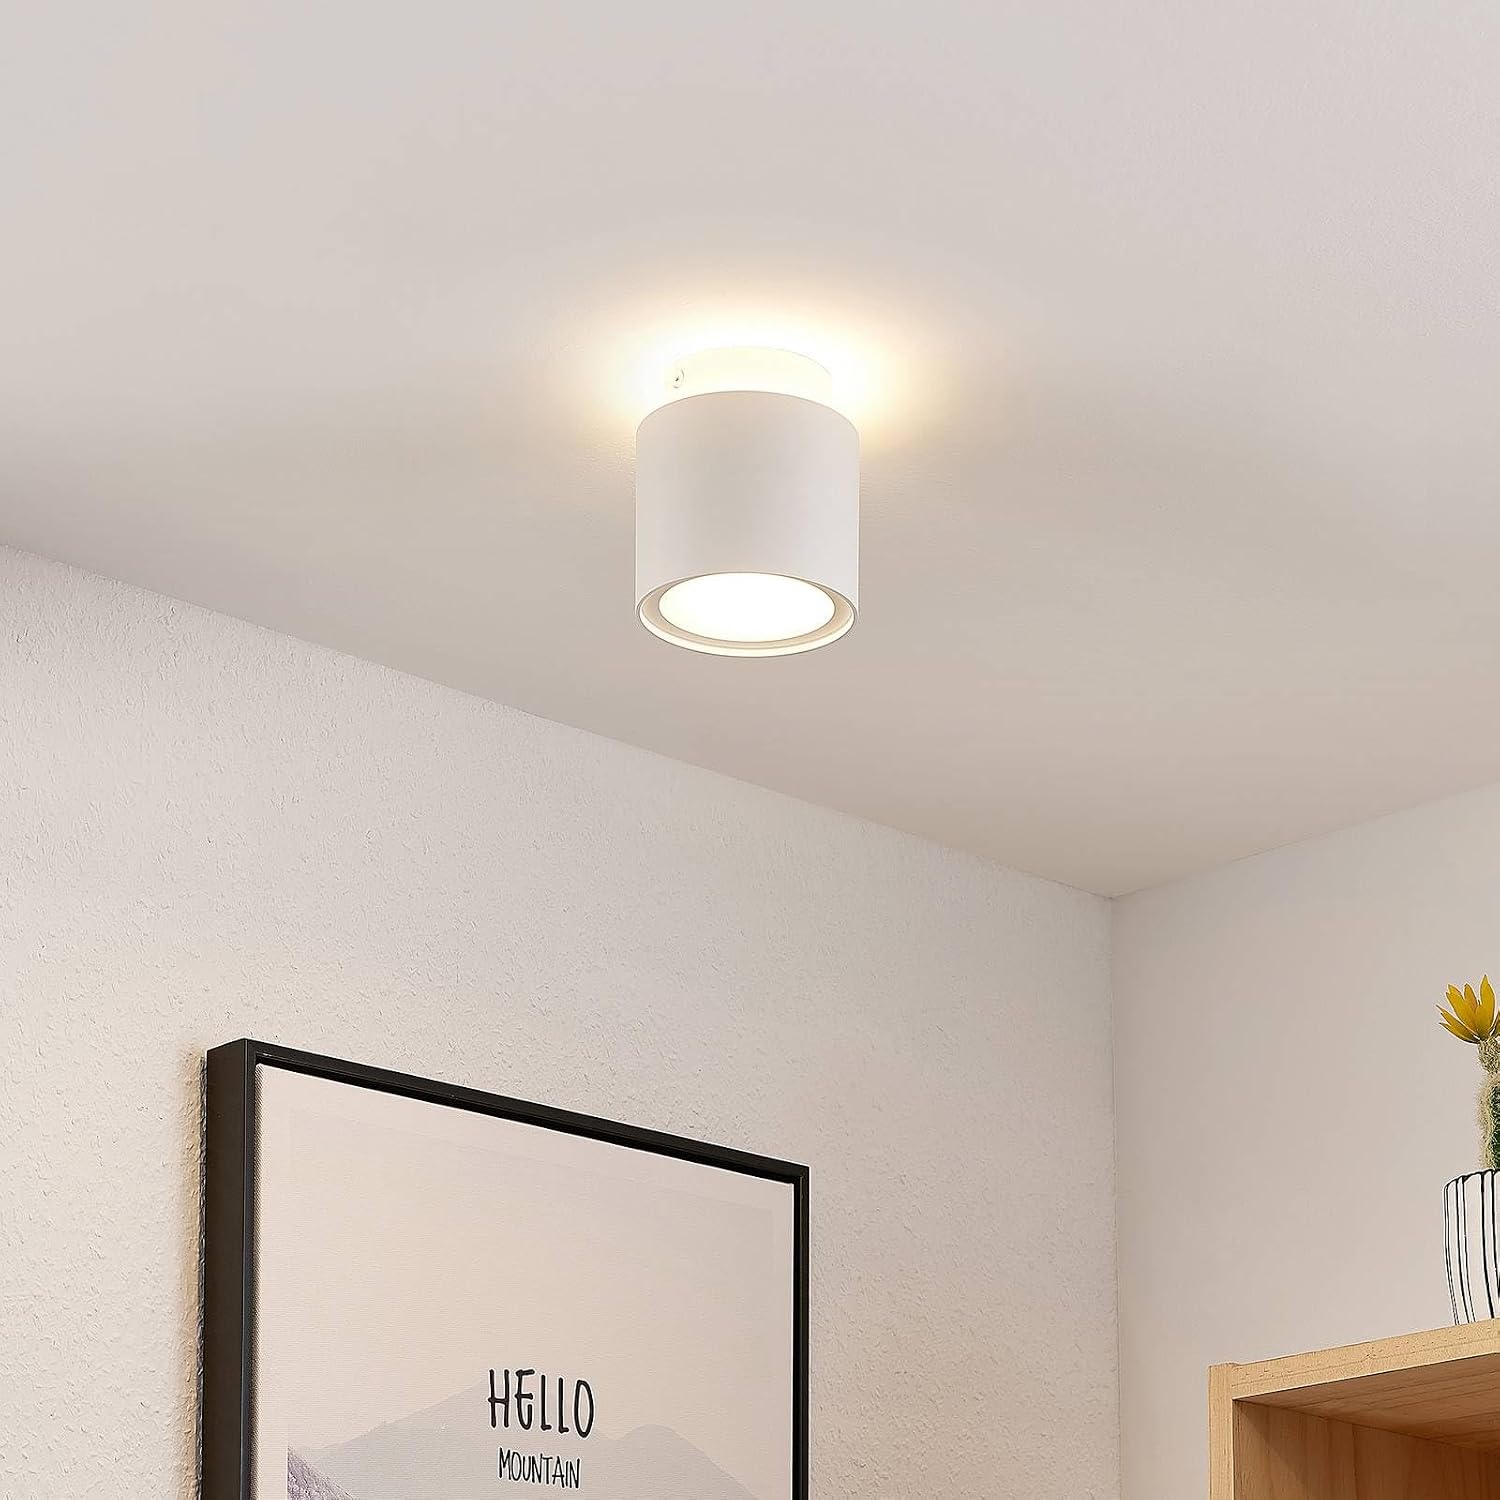
Image: Arcchio Walisa Spotlight illuminated in a room, showcasing its modern design and light output.
2. Vigtige sikkerhedsoplysninger
WARNING: Risk of electric shock. Always disconnect power before installation, maintenance, or bulb replacement.
- Installation should only be performed by a qualified electrician in accordance with local wiring regulations.
- Ensure the main power supply is switched off at the circuit breaker before commencing any work.
- Do not connect the fixture to a dimmer switch unless explicitly stated as compatible.
- Modificér ikke armaturet på nogen måde.
- Hold emballagemateriale utilgængeligt for børn.
- Dette produkt er kun beregnet til indendørs brug (IP20). Må ikke udsættes for fugt eller ekstreme temperaturer.
3. Pakkens indhold
Kontroller, at alle komponenter er til stede og ubeskadigede, før installationen påbegyndes.
- 1 x Arcchio Walisa Spotlight Fixture
- 1 x monteringsbeslag
- Screws and Wall Anchors (may vary)
- Brugermanual
4. Tekniske specifikationer
| Feature | Specifikation |
|---|---|
| Modelnummer | 9626300 |
| Mærke | Arcchio |
| Materiale | Aluminium |
| Farve | Hvid (RAL 9003) |
| Dimensioner (diameter x højde) | 100 mm x 115 mm |
| Lamp Holder | GU10 |
| Lyskildetype | LED (1 lyskilde) |
| Max Wattage | 10 W |
| Operation Voltage | 230 V |
| Tilslutning Voltage | 230 V |
| Beskyttelsesklasse (IP-klassificering) | IP20 |
| Sikkerhedsklasse | I |
| Monteringstype | Loftsmontering |

Image: Technical drawing illustrating the dimensions of the Arcchio Walisa Spotlight (100mm diameter, 115mm height).
Information om energieffektivitet
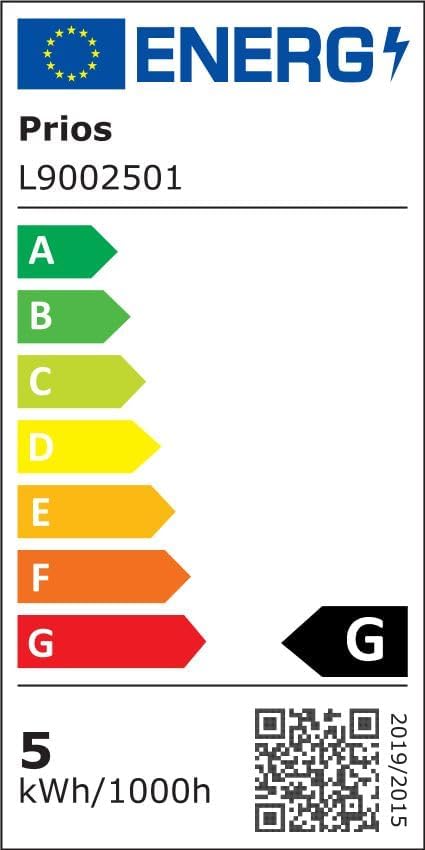
Image: Current EU energy efficiency label for the Arcchio Walisa Spotlight, indicating class G and 5 kWh/1000h.
For detaljerede produktoplysninger og data om energieffektivitet henvises til EPREL-databasen: https://eprel.ec.europa.eu/qr/747676
5. Opsætning og installation
5.1. Før du begynder
- Sørg for, at strømforsyningen til installationsområdet er afbrudt ved hovedafbryderen.
- Saml det nødvendige værktøj: skruetrækker, boremaskine, afisoleringstang, bindtage tester.
- Unpack the fixture carefully and inspect for any damage.
5.2. Montering af armaturet
- Forbered monteringsoverfladen: Vælg en passende placering i loftet. Marker borepunkterne til monteringsbeslaget.
- Monter monteringsbeslaget: Drill holes at the marked points. Insert wall anchors if necessary. Secure the mounting bracket to the ceiling using the provided screws. Ensure it is firmly attached.
- Foretag elektriske forbindelser: Connect the household wiring to the terminal block inside the spotlight fixture. Ensure correct polarity: Live (L) to Live, Neutral (N) to Neutral, and Earth (E) to Earth. Double-check all connections for security.
- Fastgør armaturet: Carefully align the spotlight fixture with the mounting bracket and secure it. Ensure all wires are tucked safely inside the housing and not pinched.
- Install the GU10 Bulb: Insert a GU10 LED bulb (max 10W) into the lamp holderen ved at trykke den ind og dreje den med uret, indtil den klikker på plads.
- Gendan strøm: Once installation is complete and all connections are secure, switch the main power supply back on at the circuit breaker.

Billede: Separat view of the mounting bracket for the Arcchio Walisa Spotlight, ready for installation.

Billede: Intern view of the spotlight showing electrical connections and the terminal block.
6. Betjeningsvejledning
The Arcchio Walisa Spotlight operates via a standard wall switch connected to your household electrical system. Simply toggle the switch to turn the light on or off.

Image: Arcchio Walisa Spotlight mounted on a ceiling, unlit, showing its sleek design.
7. Vedligeholdelse
7.1. Rensning
- Afbryd altid strømmen før rengøring.
- Tør armaturet af med en blød, tør klud.
- Brug ikke slibende rengøringsmidler, opløsningsmidler eller stærke kemikalier, da disse kan beskadige overfladen.
7.2. Udskiftning af lyskilde
To replace the GU10 LED bulb:
- Ensure the power supply is switched off at the main circuit breaker and the bulb has cooled down.
- Gently push the old GU10 bulb upwards and twist it counter-clockwise to release it from the lamp holder.
- Insert the new GU10 LED bulb (max 10W) by pushing it in and twisting clockwise until it locks into place.
- Genopret strømmen og test den nye pære.

Billede: Detaljeret view of the spotlight's light source housing, showing the GU10 bulb area.
8. Fejlfinding
| Problem | Mulig årsag | Løsning |
|---|---|---|
| Lyset tænder ikke | Ingen strømforsyning Defekt pære Forkert ledningsføring | Tjek afbryderen Udskift pære Kontroller ledningsforbindelser (kontakt elektriker) |
| Lyse flimrer | Løs pære Inkompatibel lysdæmper Defekt pære | Ensure bulb is securely seated Remove dimmer or replace with compatible one Udskift pære |
| Overophedning | Forkert pære wattage Dårlig ventilation | Brug korrekt hvadtage bulb (max 10W GU10 LED) Ensure fixture is not covered or in an enclosed space |
9. Garanti og kundesupport
Arcchio products are manufactured to high-quality standards. If you have any questions regarding this product, its installation, or operation, please contact your retailer or Arcchio customer support. Please retain your proof of purchase for warranty claims.