
1. Introduktion
Thank you for choosing the Reebok RDVNEG9P2S2B2N Digital Watch. This manual provides essential information for the proper setup, operation, and maintenance of your new timepiece. Please read this manual thoroughly before using the watch to ensure optimal performance and longevity.
2. Sikkerhedsoplysninger
- Vandtæthed: This watch is water resistant up to 100 meters. It is suitable for swimming and snorkeling but not for diving. Do not operate buttons underwater.
- Temperatur: Avoid exposing the watch to extreme temperatures (hot or cold) for extended periods, as this may affect its accuracy and battery life.
- Kemikalier: Keep the watch away from solvents, detergents, perfumes, and cosmetics, as these can damage the strap, case, or seals.
- Indvirkning: Protect the watch from strong impacts or drops, which can damage internal components or the crystal.
- Batteri: Do not attempt to open the watch case or replace the battery yourself, as this may void the warranty and damage the watch. Refer to qualified service personnel.
3. Pakkens indhold
Bekræft at alle varer er til stede i din pakke:
- Reebok RDVNEG9P2S2B2N Digital Watch (with Stainless Steel Strap)
- Extra Silicone Strap
- Spring Bar Tool for strap replacement
- Brugervejledning (dette dokument)
4. Produktet er slutview
Familiarize yourself with the main components of your Reebok digital watch.
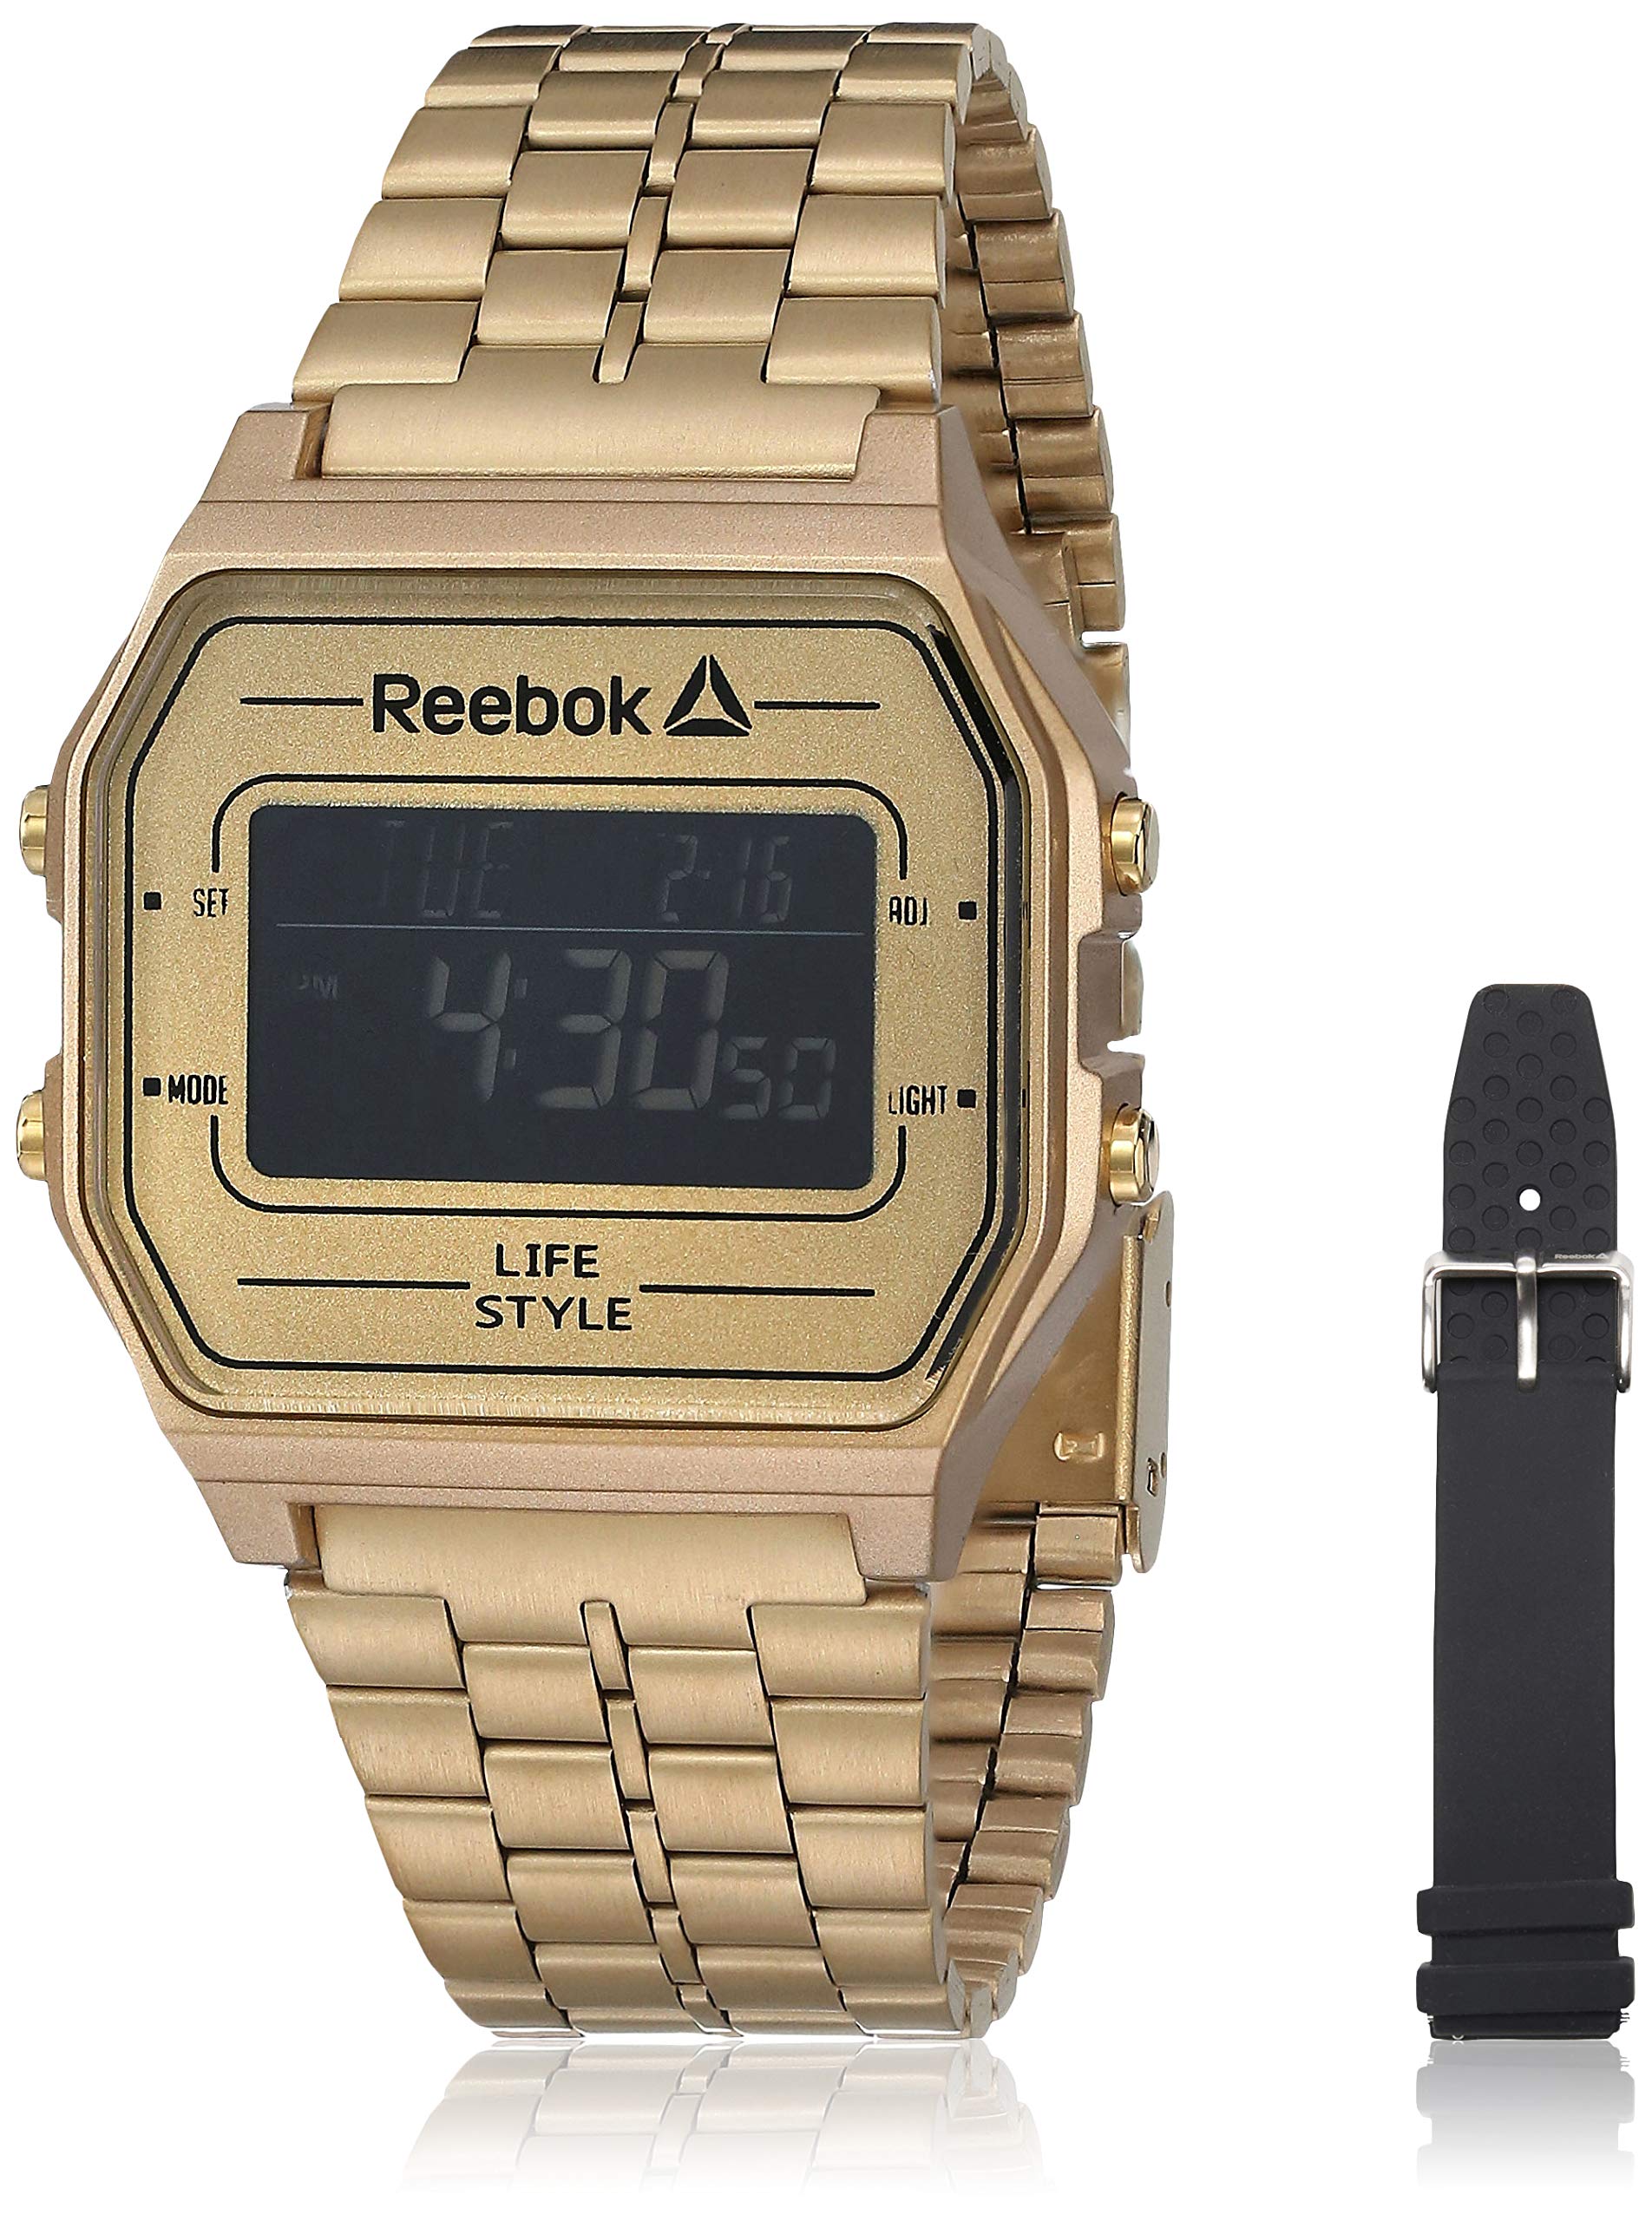
Billede 1: Front view of the Reebok RDVNEG9P2S2B2N Digital Watch with its gold stainless steel strap. The digital display shows time and date, and control buttons are visible on the sides.
- Vise: Digital skærm, der viser tid, dato og andre funktioner.
- SET -knap: Bruges til at indtaste og bekræfte indstillinger.
- MODE knap: Skifter mellem forskellige urtilstande (tid, alarm, stopur osv.).
- ADJ knap: Justerer værdier under indstilling.
- LIGHT -knap: Aktiverer baggrundsbelysningen for at sikre synlighed under dårlige lysforhold.
- Sag: Gold-colored stainless steel case.
- Rem: Interchangeable straps (Stainless Steel and Silicone).
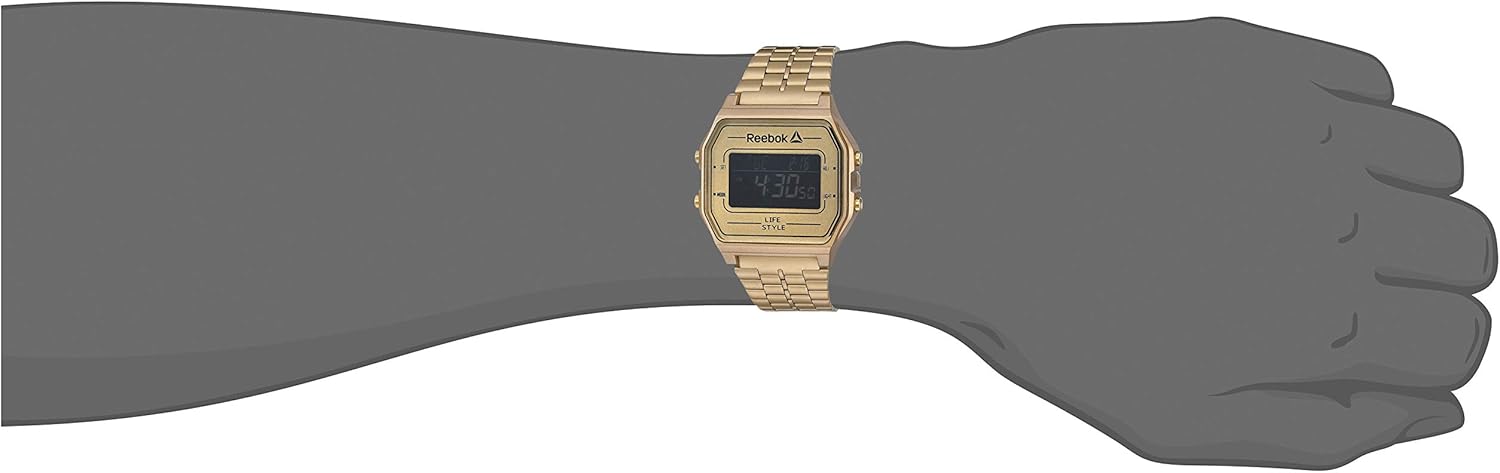
Billede 2: The Reebok RDVNEG9P2S2B2N Digital Watch worn on a wrist, showcasing its size and fit with the gold stainless steel strap.
5. Opsætning
5.1 Indstilling af starttidspunkt og dato
- In normal timekeeping mode, press and hold the SÆT knappen, indtil sekunderne begynder at blinke. Dette indikerer, at du er i indstillingstilstand.
- Tryk på MODE knappen for at gennemgå indstillingerne: Sekunder → Time → Minut → År → Måned → Dag.
- Brug ADJ button to increase the flashing value. Hold the ADJ button to rapidly advance the value.
- Når alle indstillinger er justeret, skal du trykke på SÆT knappen igen for at afslutte indstillingstilstanden og gemme dine ændringer.
5.2 12/24-timers format
Mens du er i tidsindstillingstilstand (sekunder blinker), skal du trykke på ADJ button when the hour is flashing to toggle between 12-hour (with AM/PM indicator) and 24-hour formats.
6. Betjening af uret
6.1 Valg af tilstand
Tryk på MODE knappen gentagne gange for at gennemgå de tilgængelige funktioner:
- Timekeeping Mode (displays current time and date)
- Alarmtilstand
- Stopurstilstand
6.2 Brug af baggrundslyset
Tryk på LYS knappen for at oplyse displayet i et par sekunder. Dette er nyttigt i mørke omgivelser.
6.3 Alarmfunktion
- Fra tidsvisningstilstand, tryk på MODE until "AL" or "Alarm" appears on the display.
- Tryk og hold på SÆT knappen, indtil alarmens time blinker.
- Brug ADJ knappen for at indstille den ønskede time. Trykke MODE at flytte til minutter.
- Brug ADJ knappen for at indstille de ønskede minutter.
- Trykke SÆT for at bekræfte og afslutte alarmindstillingen.
- For at tænde/slukke alarmen skal du trykke på ADJ button while in Alarm Mode (without holding SET). An alarm icon will appear/disappear.
6.4 Stopursfunktion
- Fra tidsvisningstilstand, tryk på MODE until "ST" or "Stopwatch" appears on the display.
- Tryk på ADJ knappen for at starte stopuret.
- Tryk på ADJ knappen igen for at sætte stopuret på pause.
- Tryk på SÆT knappen for at nulstille stopuret.
- To exit Stopwatch Mode, press the MODE knap.
7. Udskiftning af rem
Your Reebok watch comes with an extra silicone strap and a spring bar tool for easy strap changes. Follow these steps carefully to avoid scratching your watch or damaging the spring bars.
7.1 Removing the Current Strap
- Place the watch face down on a soft, clean cloth to prevent scratches.
- Locate the spring bar tool. It typically has a forked end.
- Insert the forked end of the tool between the strap and the watch lug (the part of the watch case where the strap attaches).
- Gently push the spring bar inwards (towards the center of the strap) to compress it.
- Once one end of the spring bar is disengaged from the lug hole, carefully pull the strap away from the watch.
- Repeat for the other side of the strap and for the second strap piece.
- Keep the spring bars in a safe place if you intend to reuse the strap.
7.2 Attaching a New Strap
- Insert one end of a spring bar into one of the lug holes on the watch case.
- With the spring bar tool, compress the other end of the spring bar.
- Guide the compressed end into the opposite lug hole.
- Release the spring bar tool, ensuring both ends of the spring bar are securely seated in the lug holes. Gently tug on the strap to confirm it is firmly attached.
- Repeat for the second strap piece.
8. Vedligeholdelse
8.1 Rengøring
- Watch Case and Stainless Steel Strap: Wipe regularly with a soft, dry cloth. For stubborn dirt, use a slightly damp klud og mild sæbe, og tør derefter grundigt.
- Silikone rem: Wash with mild soap and water, then rinse and dry completely.
- Avoid using abrasive cleaners or chemical solvents.
8.2 Pleje af vandafvisende egenskaber
- Ensure the watch crown (if applicable, though this is a digital watch with buttons) and buttons are fully pressed in before any contact with water.
- Betjen ikke knapperne, mens uret er nedsænket i vand.
- Efter udsættelse for saltvand, skyl uret med ferskvand og tør det grundigt.
- Water resistance is not a permanent condition and may decrease over time. Have the seals checked periodically by a qualified technician.
8.3 Udskiftning af batteri
When the display becomes dim or the watch stops functioning, the battery may need replacement. It is recommended to have the battery replaced by a professional watch technician to ensure proper sealing and water resistance integrity.
9. Fejlfinding
| Problem | Mulig årsag | Løsning |
|---|---|---|
| Urets display er tomt eller svagt. | Lavt eller afladet batteri. | Udskift batteriet (anbefales af en fagmand). |
| Tiden er unøjagtig. | Incorrect time setting; exposure to strong magnetic fields; low battery. | Reset the time and date (refer to Section 5.1). Keep away from strong magnets. Replace battery if issue persists. |
| Knapperne reagerer ikke. | Uret er vådt; intern fejlfunktion. | Sørg for, at uret er tørt. Kontakt kundesupport, hvis problemet fortsætter. |
| Vand inde i uret. | Water resistance compromised; buttons operated underwater. | Tag straks uret til en professionel for inspektion og reparation for at forhindre yderligere skade. |
10. Specifikationer
- Modelnummer: RDVNEG9P2S2B2N
- Skærmtype: Digital
- Bevægelse: Kvarts
- Etui materiale: Rustfrit stål
- Æske diameter: 42 mm
- Sags tykkelse: 5 mm
- Remmateriale: Stainless Steel (Gold), Silicone (Extra)
- Rembredde: 4 cm
- Krystal: Mineral
- Vandtæthed: 100 meter (330 fod)
- Strømkilde: Batteri
- Spændetype: Buckle (for silicone), Elegant Clasp (for stainless steel)
11. Garanti og support
11.1 Producentens garanti
This Reebok watch is covered by a manufacturer's warranty. Please refer to the warranty card included in your original packaging for specific terms, conditions, and duration. The warranty typically covers manufacturing defects but does not cover damage resulting from misuse, accidents, unauthorized repairs, or normal wear and tear.
11.2 Kundesupport
For technical assistance, warranty claims, or service inquiries, please contact Reebok customer support through their official website or the contact information provided with your purchase documentation. When contacting support, please have your watch model number (RDVNEG9P2S2B2N) and proof of purchase readily available.