
Introduction
Thank you for choosing the Outsunny Balcony Garden Greenhouse. This compact and robust greenhouse is designed to provide an optimal environment for your plants, protecting them from harsh weather conditions and pests. Its four-tier shelving system offers ample space for various plants, making it ideal for balconies, patios, and small gardens. Please read this manual carefully before assembly and use to ensure proper setup and longevity of your product.

Image: Front view of the Outsunny Balcony Garden Greenhouse, showcasing its compact design and four internal shelves filled with various potted plants.
Safety Instructions
- Always assemble the greenhouse on a flat, stable surface.
- Do not use the greenhouse in severe weather conditions, such as strong winds, heavy rain, or hail. Disassemble or secure it properly during such conditions.
- Ensure all connections are securely fastened during assembly to prevent collapse.
- Keep children and pets away from the assembly area.
- Do not overload the shelves. The maximum weight capacity per shelf is 15 kg (33 lbs).
- Avoid placing sharp objects near the PE cover to prevent tears.
- Regularly check the stability of the structure and the condition of the cover.
Package Contents
Before starting assembly, please verify that all parts listed below are present and undamaged.
- Galvanized Steel Frame Tubes (various lengths)
- Plastic Connectors
- 4 x Wire Shelves
- 1 x PE (Polyethylene) Cover with Zippered Roll-up Door
- Assembly Instructions (this manual)

Image: A close-up view of a plastic connector joining two steel frame tubes, illustrating the connection mechanism.
Setup and Assembly
Assembly is quick and easy. No tools are required.
- Prepare the Base: Choose a level, stable location for your greenhouse. If placing outdoors, consider burying the excess 10 cm of the PE cover into the soil for added stability against wind.
- Assemble the Frame: Connect the galvanized steel tubes using the plastic connectors. Start by building the base frame, then erect the vertical supports, and finally connect the top frame. Ensure all tubes are fully inserted into the connectors for a rigid structure.
- Install Shelves: Place the wire shelves onto the designated support bars of the frame. Ensure they are seated securely.
- Apply the Cover: Carefully drape the PE cover over the assembled frame. Align the zippered door with the front opening of the frame.
- Secure the Cover: Pull the cover down completely, ensuring it fits snugly around the frame. Use the ties or straps on the cover to secure it to the frame, especially at the bottom and around the door.
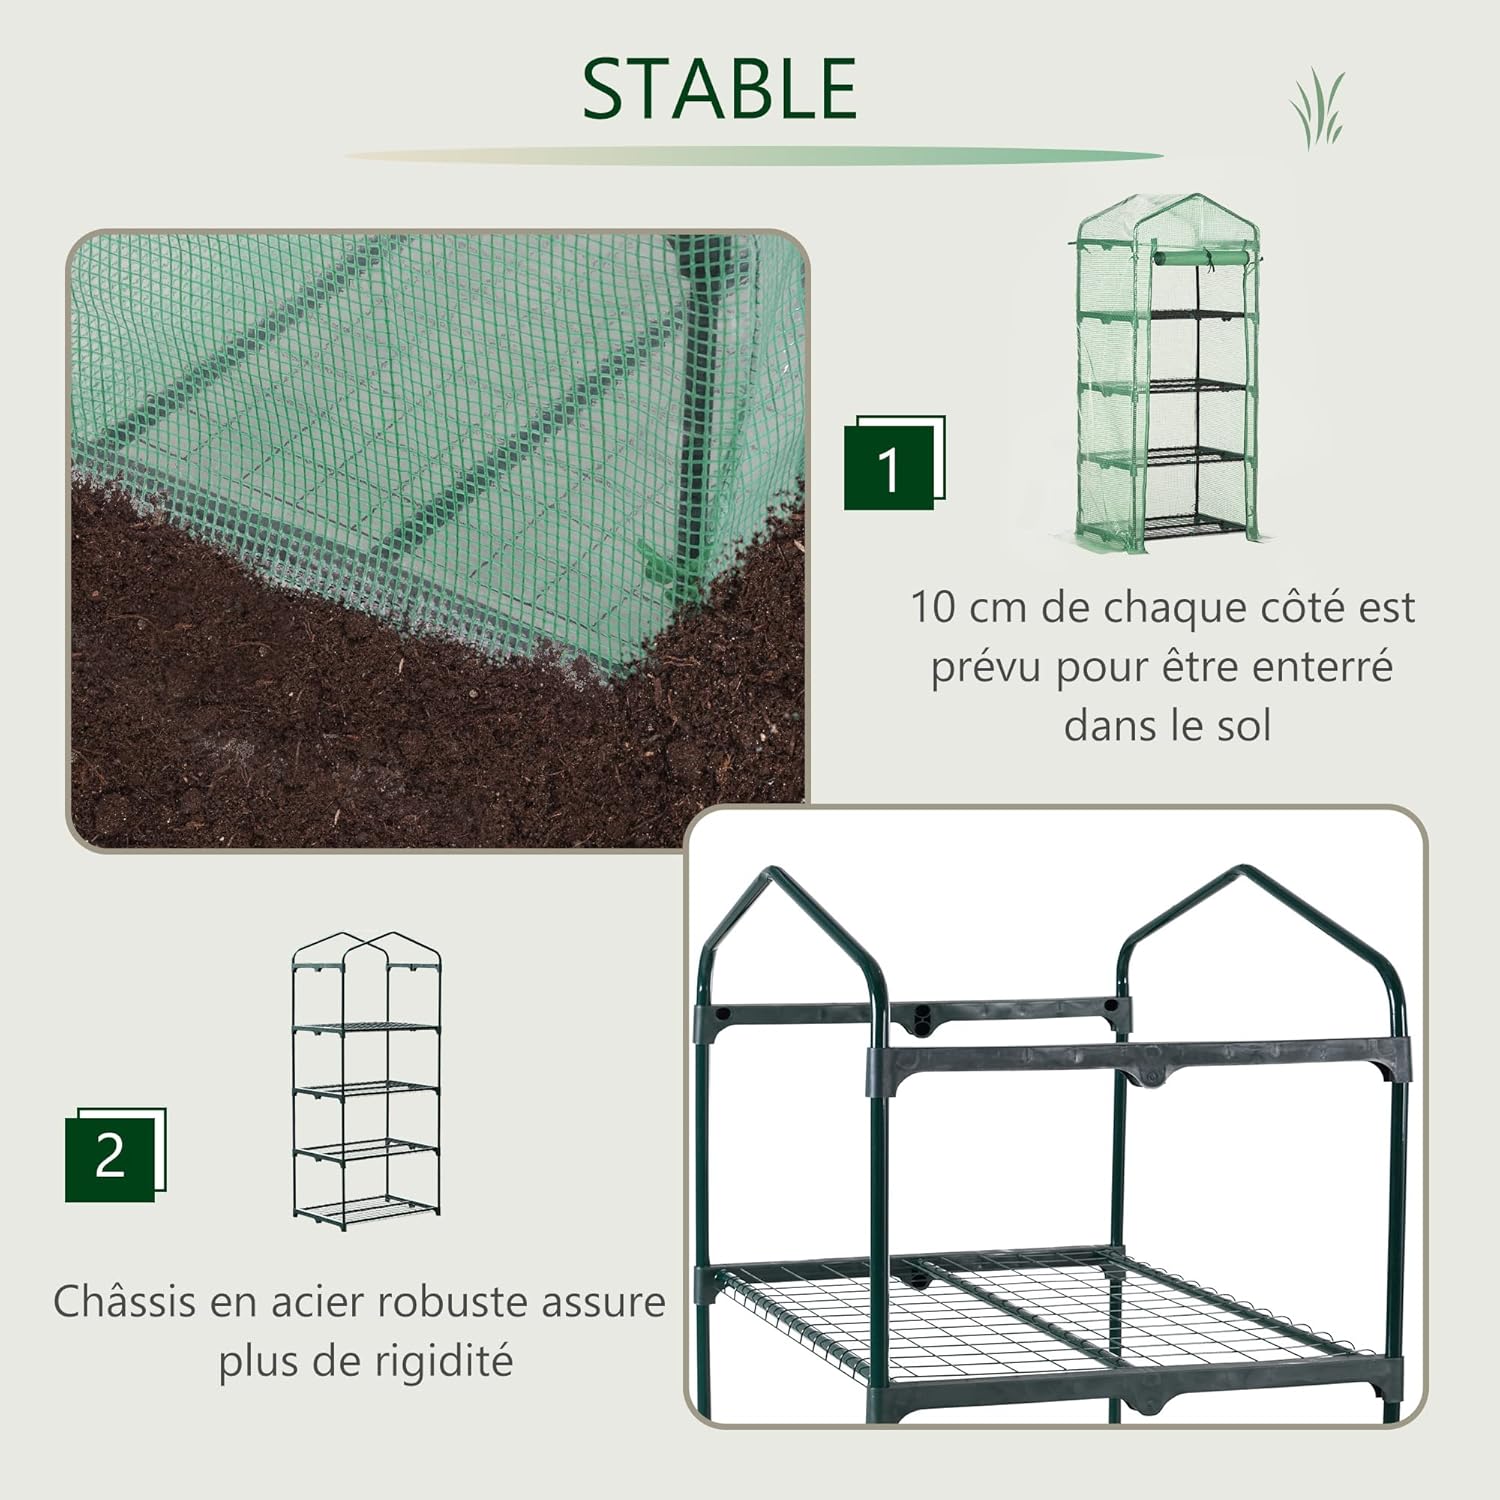
Image: An illustration demonstrating how to bury the bottom 10 cm of the greenhouse cover into the soil for enhanced stability, alongside a detail of the robust steel frame construction.
Operating Instructions
Using your Outsunny greenhouse is straightforward, allowing you to create an ideal environment for your plants.
- Accessing Plants: Use the large zippered roll-up door to easily access your plants for watering, pruning, or repotting.
- Ventilation and Temperature Control: The roll-up door allows you to regulate the temperature and humidity inside the greenhouse. Open the door partially or fully to increase airflow and reduce heat, especially on warm days. Close it to retain heat and humidity during cooler periods.
- Plant Placement: Arrange your potted plants on the four shelves. Consider the light requirements of each plant when deciding its position within the greenhouse.

Image: A detailed view of the greenhouse's practical features, including the roll-up zippered door for easy access and ventilation, and the four spacious tiers for plant arrangement.
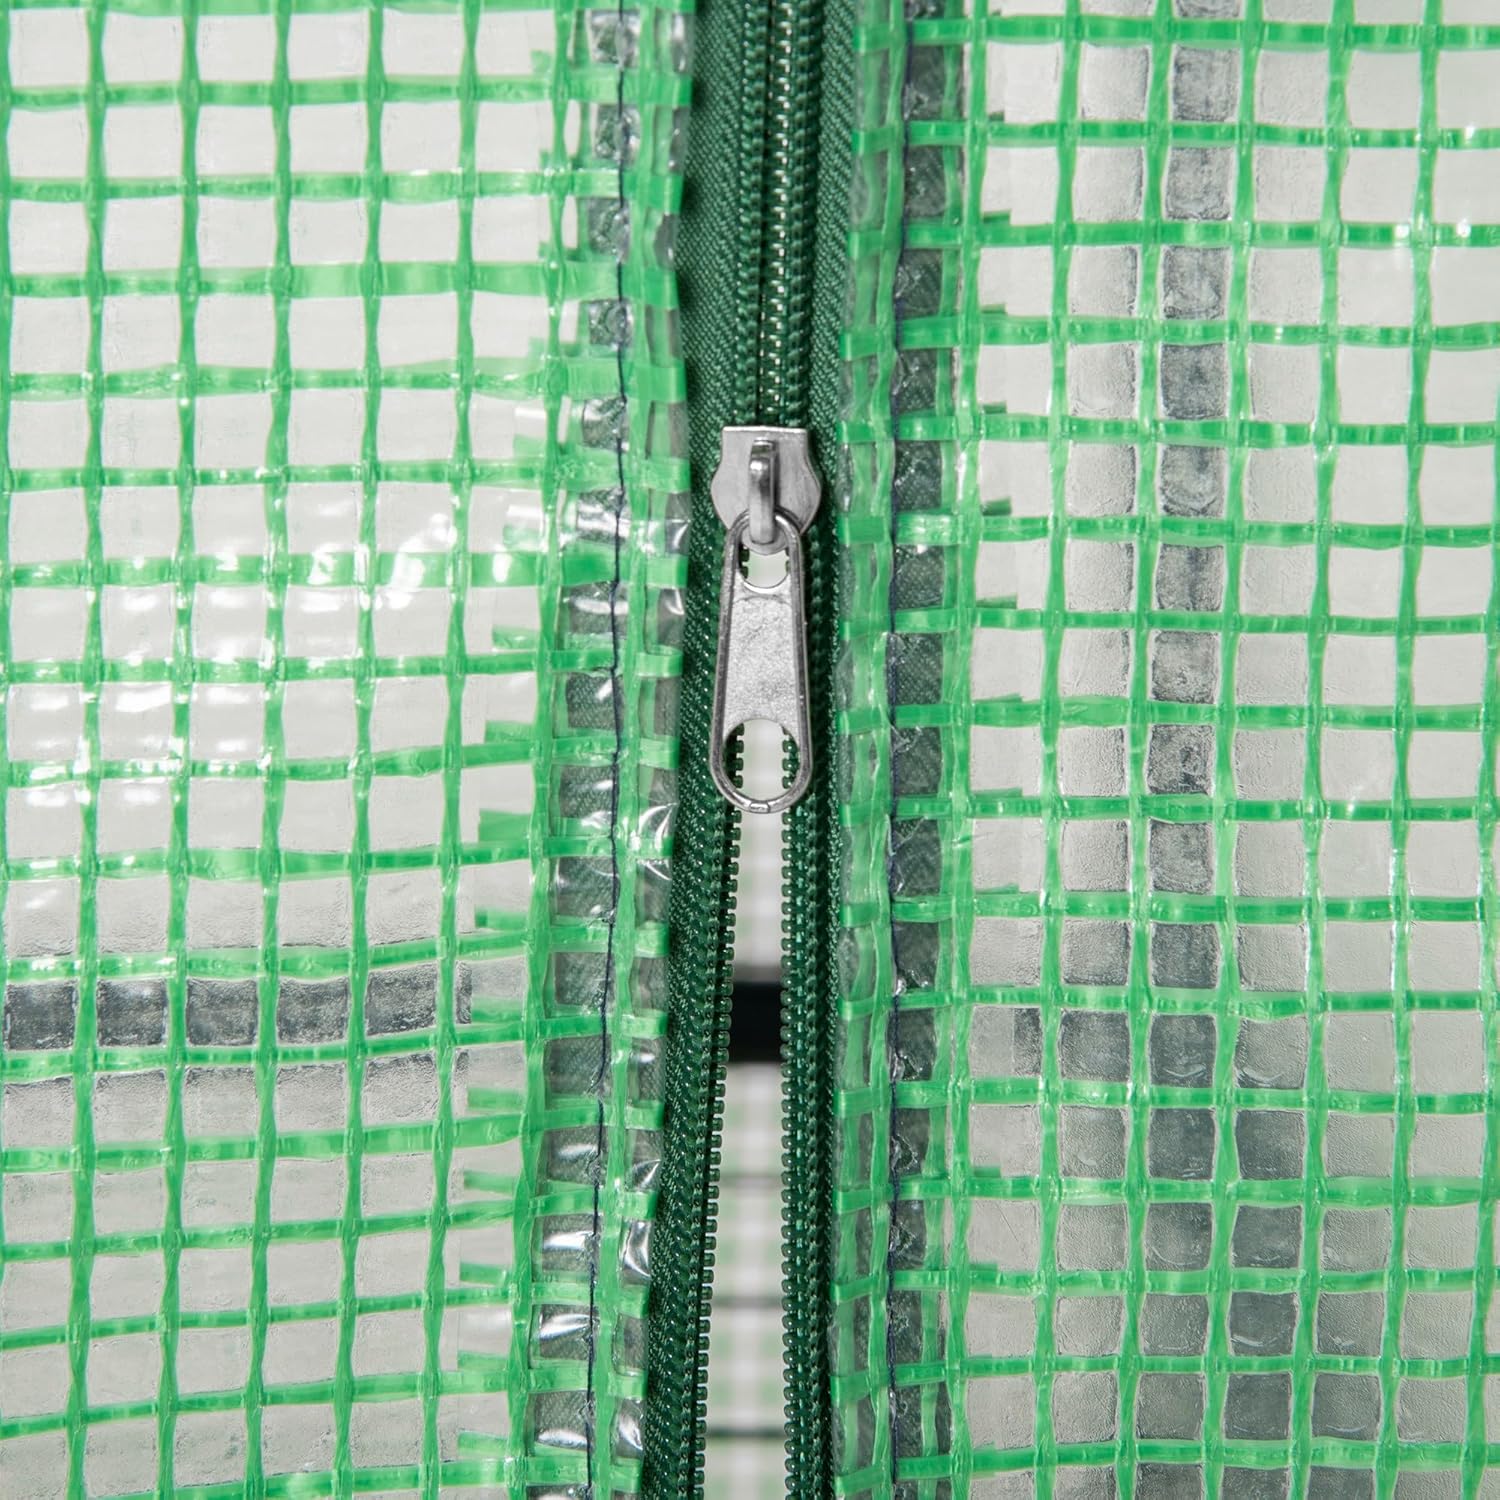
Image: A close-up of the robust zipper mechanism on the polyethylene cover, designed for smooth opening and closing of the door.
Maintenance
Proper maintenance will extend the life of your greenhouse.
- Cleaning the Cover: Wipe the PE cover with a damp cloth and mild soap solution as needed to remove dirt and maintain light transmission. Rinse thoroughly with clean water. Avoid abrasive cleaners.
- Frame Inspection: Periodically check the steel frame and connectors for any signs of rust, damage, or loosening. Tighten connections if necessary.
- Winter Storage: If not used during winter, it is recommended to disassemble the greenhouse and store the components in a dry, sheltered place to protect them from extreme cold and snow accumulation.
- Pest Control: Regularly inspect plants for pests and diseases. The enclosed environment can sometimes encourage certain pests if not properly ventilated.
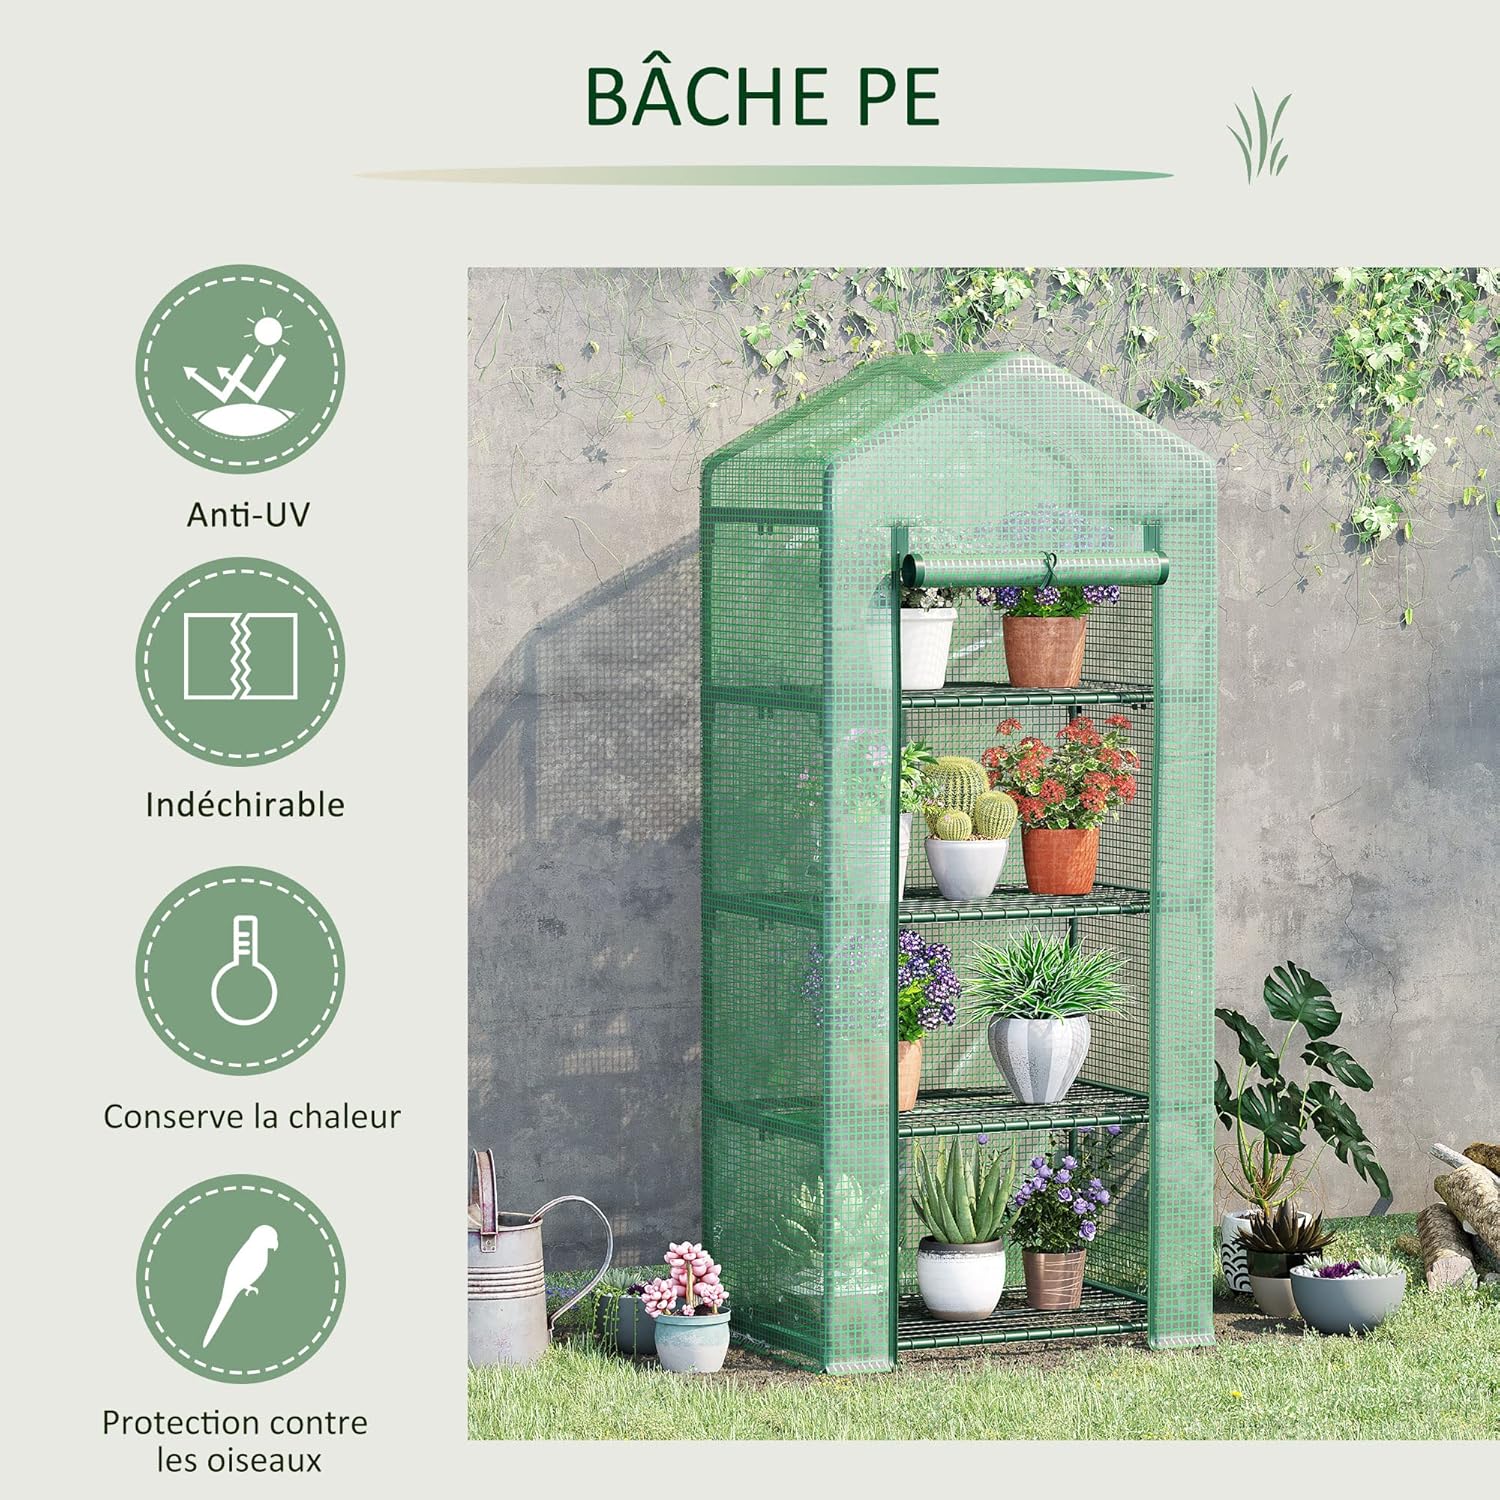
Image: Visual representation of the PE cover's protective qualities: Anti-UV, tear-resistant, heat retention, and protection against birds.
Troubleshooting
| Problem | Possible Cause | Solution |
|---|---|---|
| Greenhouse unstable or wobbly. | Frame not fully assembled; not on a level surface; not secured. | Ensure all tubes are fully inserted into connectors. Place on a level surface. Bury the cover's excess into soil or weigh down the base. |
| Zipper difficult to operate. | Dirt or debris in zipper; cover misaligned. | Clean zipper with a soft brush. Adjust cover to ensure it's not pulling on the zipper. Apply a silicone-based lubricant if needed. |
| Plants wilting or overheating. | Insufficient ventilation; too much direct sunlight. | Open the zippered door for better airflow. Consider relocating the greenhouse to a partially shaded area during peak sun hours or using a shade cloth. |
| Water pooling inside. | Condensation; leak in cover. | Increase ventilation to reduce condensation. Inspect cover for tears; repair with waterproof tape if necessary. |
Specifications
| Feature | Detail |
|---|---|
| Model Number | FR845-228V020531 |
| Dimensions (L x W x H) | 70 cm x 50 cm x 160 cm (27.6" x 19.7" x 63") |
| Weight | 3.9 kg (8.6 lbs) |
| Frame Material | Galvanized Steel |
| Cover Material | High-Density Polyethylene (PE) |
| Number of Tiers | 4 |
| Max. Weight Capacity per Shelf | 15 kg (33 lbs) |
| Door Type | Zippered Roll-up Door |
| Color | Green |
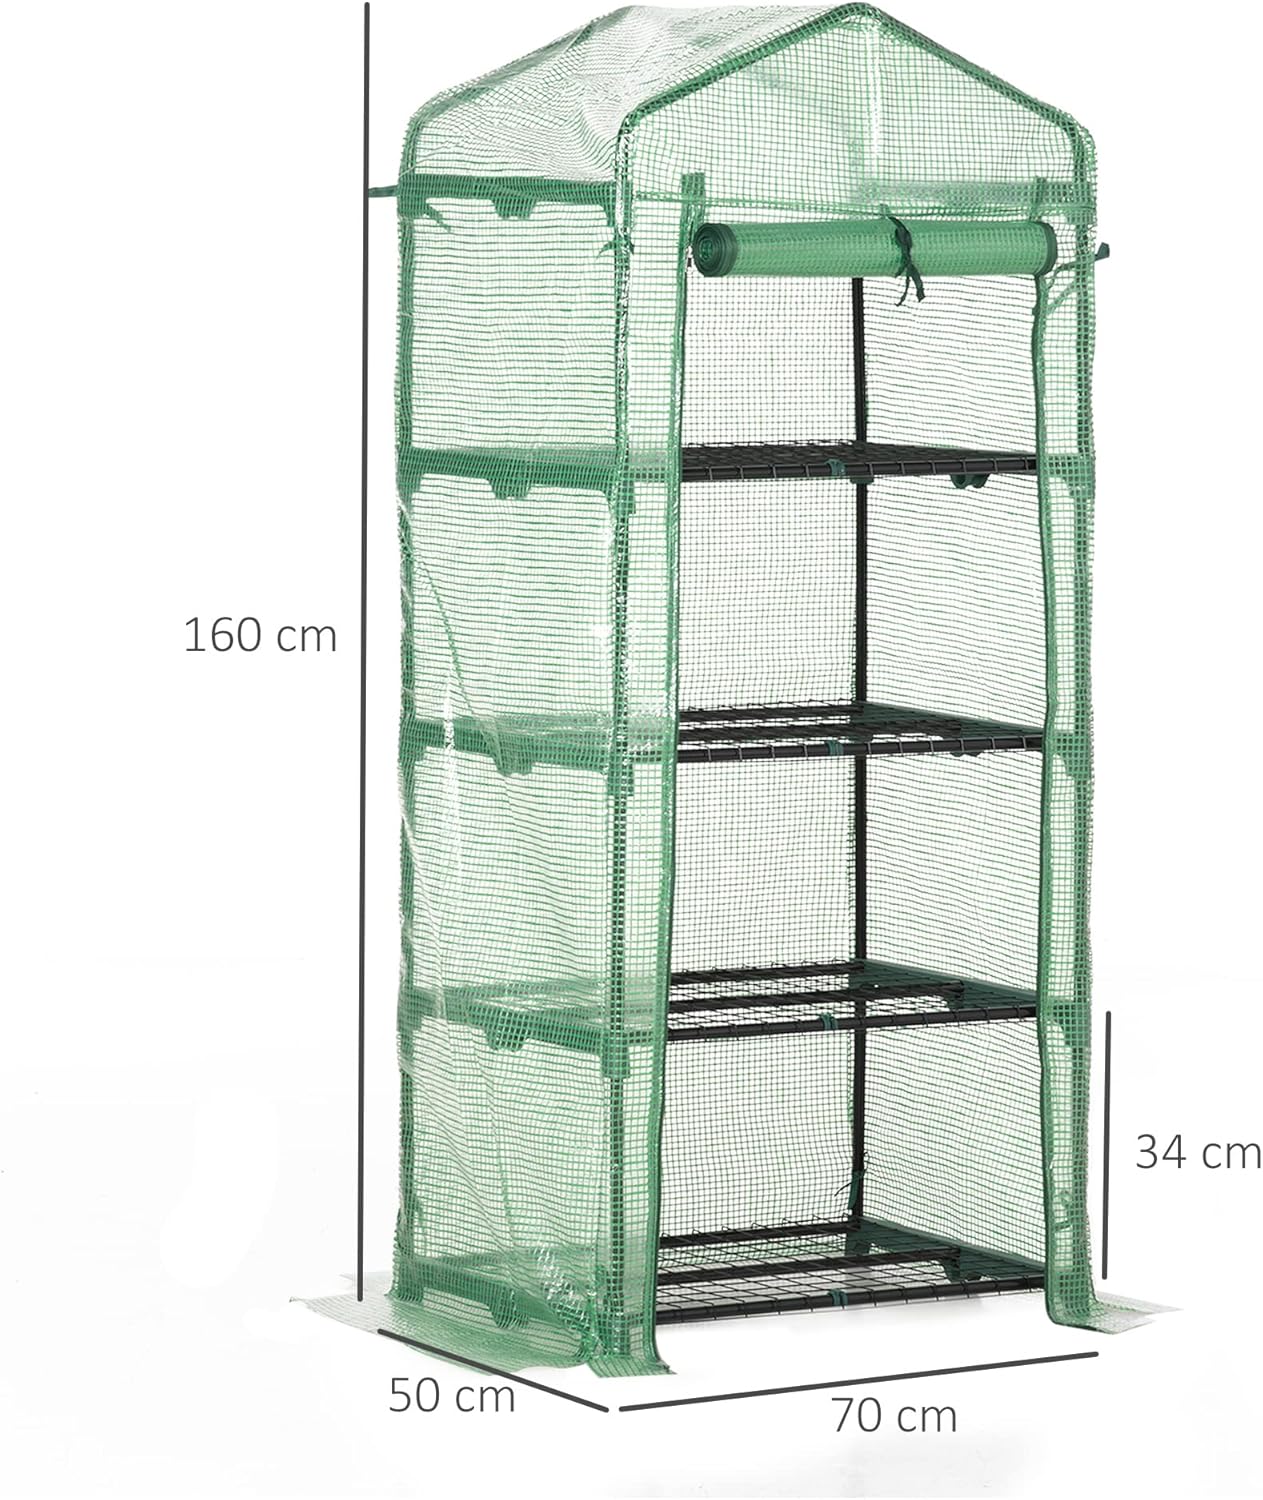
Image: A diagram illustrating the key dimensions of the greenhouse: 160 cm in height, 70 cm in length, and 50 cm in width.
Warranty and Support
Outsunny products are designed for quality and durability. For any questions regarding assembly, parts, or operation, please contact our customer support. Please retain your proof of purchase for warranty claims.
For further assistance, visit the official Outsunny store or contact their customer service through the retailer where you purchased the product.
Online Store: Outsunny Official Store


